If you’ve been following the progress of my 18th Century Ensemble project, thank you! I’ve completed the next item in the layers of underpinnings. This post will describe making the 18th Century Underpetticoat. Other posts in this series can be found at the end of this post.
Supplies
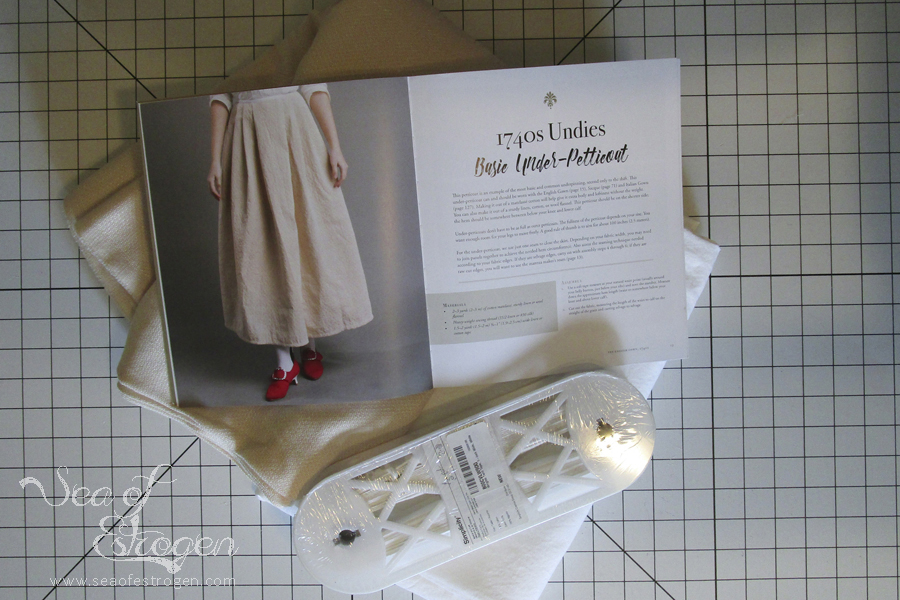
When I purchased the supplies for the ensemble, I used the back of the pattern envelopes and the Robe a la Francaise section in the 18th Century Guide to Dressmaking to create my supply list. There is only one problem with that – the underpetticoat is not included in either of those patterns or in that chapter of the book. However, it is included in the 1740s section of 18th Century Guide to Dressmaking.
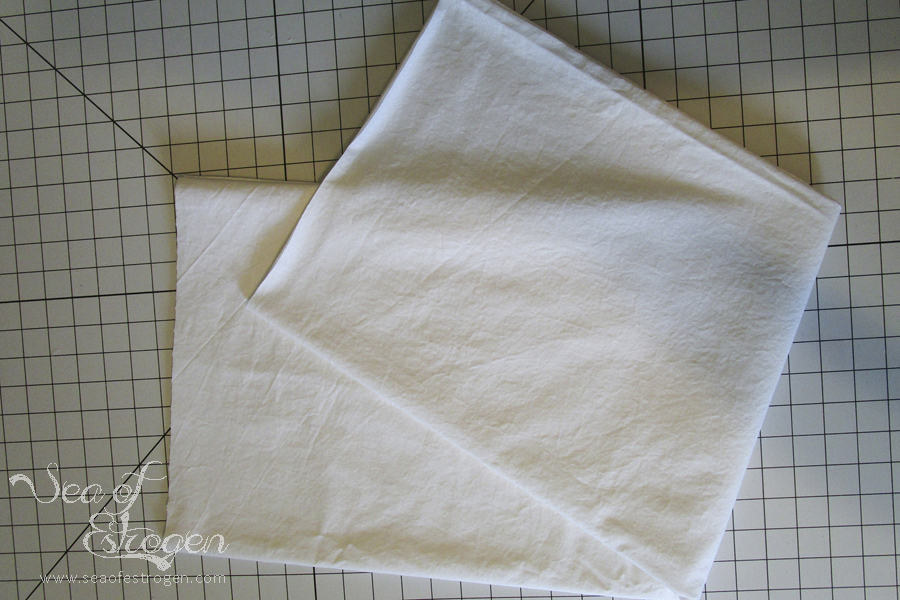
Supplies required for this underpetticoat are the 18th Century Guide to Dressmaking, 1″ twill tape, and fabric. The book suggests using cotton matelasse. If you’re not familiar with that fabric, it looks quilted, but it is not, and it is only a single layer of fabric. I do not have an easy, cost-effective source for that fabric, so I used heavy-weight quilting cotton instead. I purchased 2 yards of a 108″ wide fabric. In addition, you need cutting tools, pins/clips, and thread.
The most difficult part of the underpetticoat pattern are the pleats, so it is well suited for an advanced beginner.
Pattern
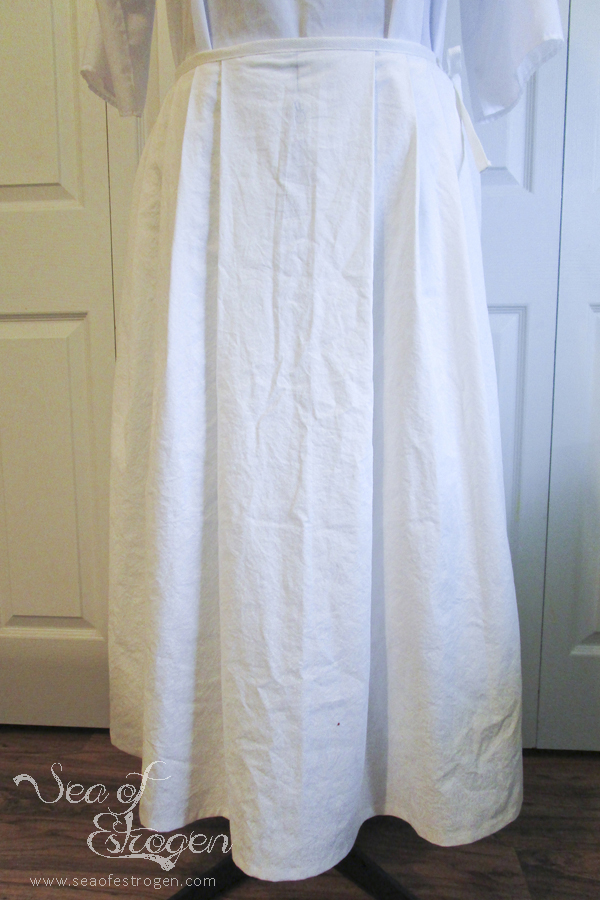
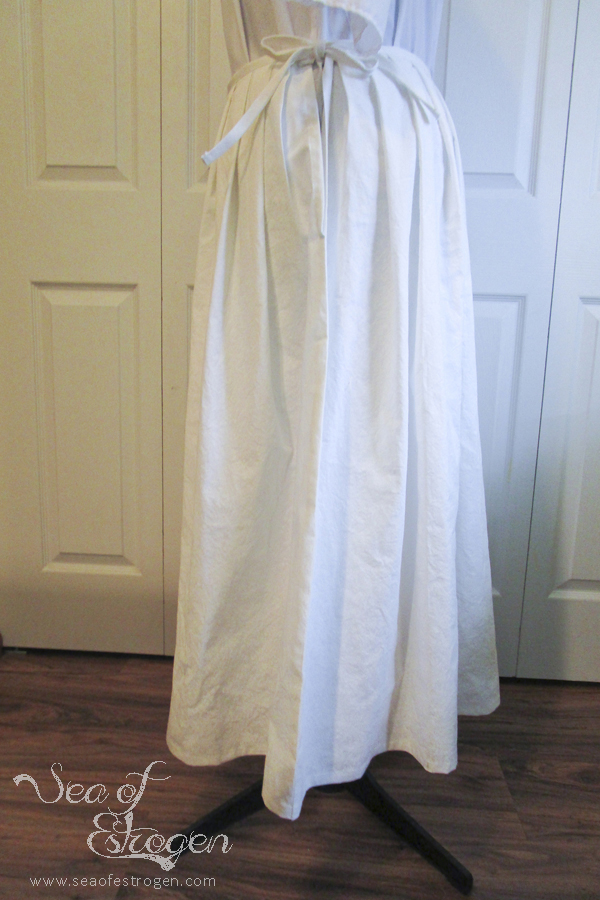
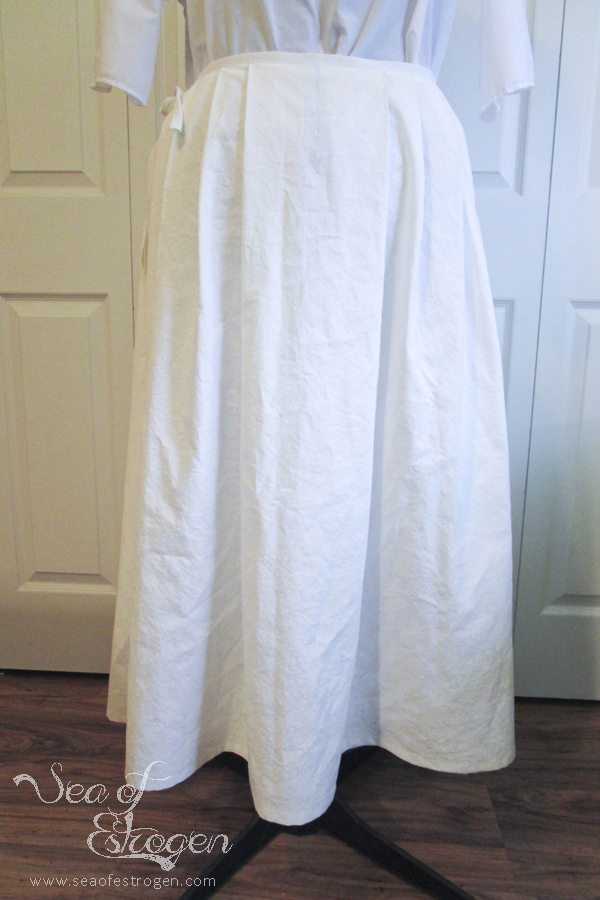
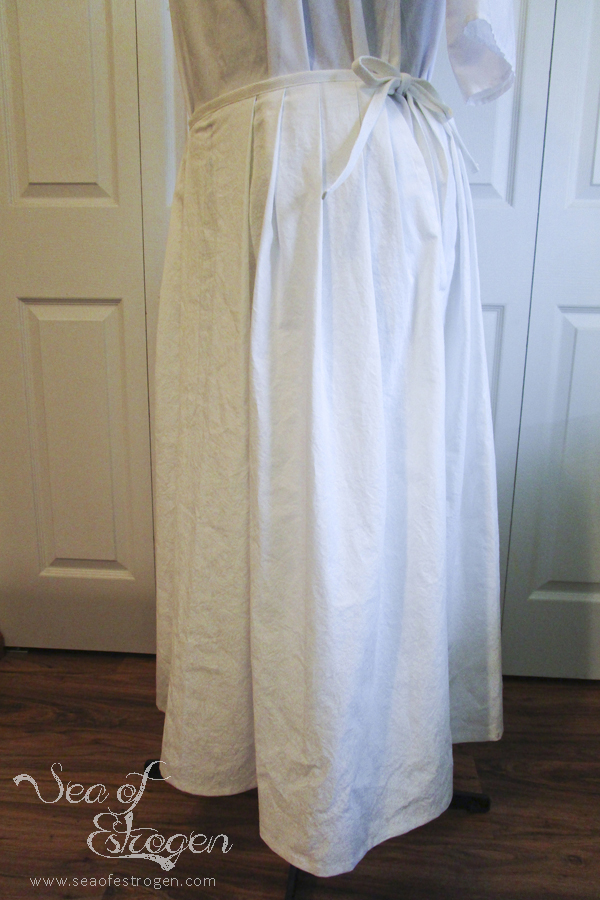
The skirt is essentially one long rectangle sewn together to create a tube, pleated down to the appropriate waist measurement. Since I purchased 108″ wide fabric, I only needed to cut one rectangle. The object is to have a finished hem of about 100″, so the width of fabric used will determine how many fabric rectangles will be used.
The underpetticoat should hit the wearer below the knee and above the ankle, approximately mid-calf. It is worn at the natural waist. To determine the length of the skirt, measure from the waist to midcalf to determine the hem length. My rectangle is 108″ wide and the length is 36″.
Hemming
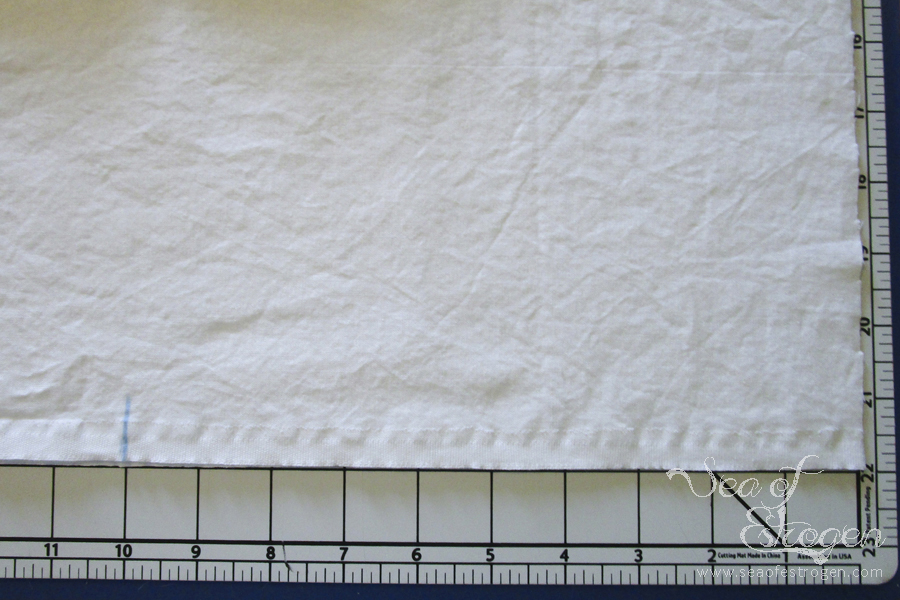
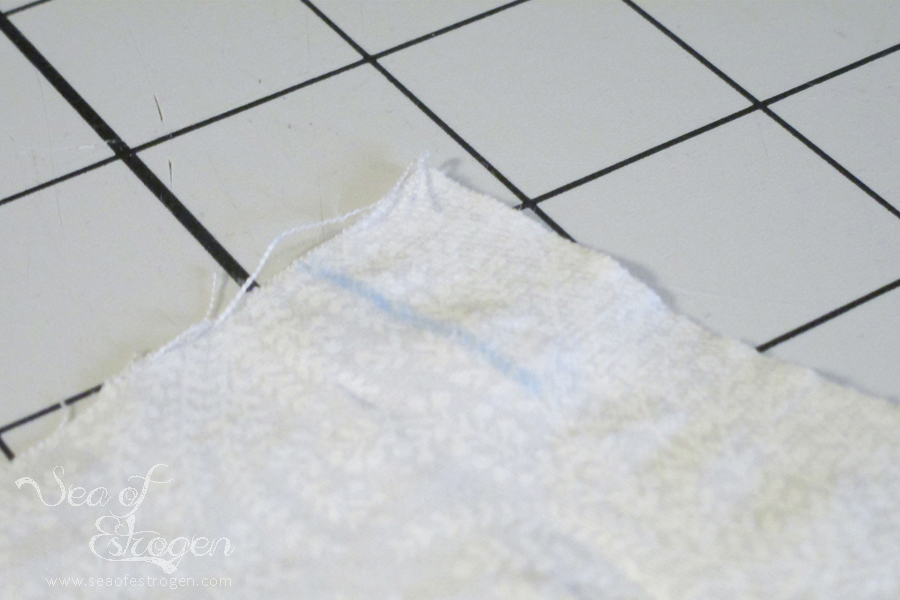
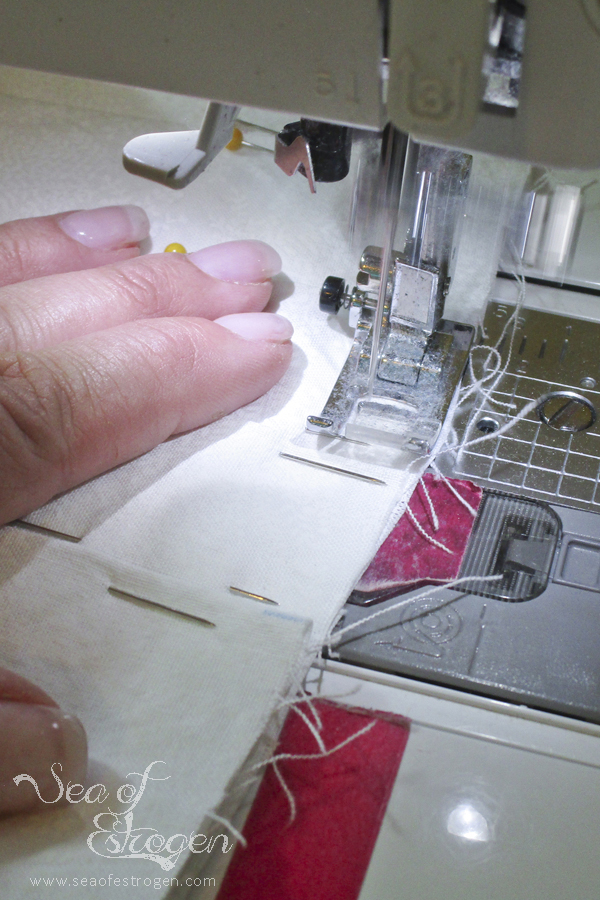
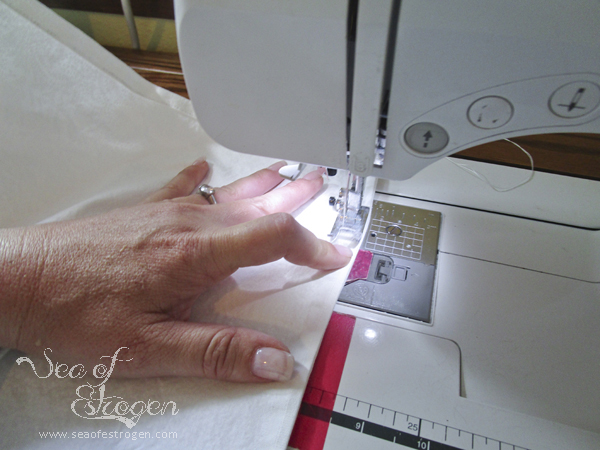
Construction of the underpetticoat is pretty simple. The first step is to sew together all the panels, leaving one side seam undone to form one large rectangle. Since I was using such a wide piece of fabric, I skipped this step. Next, place a mark 10″ from the waistline on each edge of the open side seam.
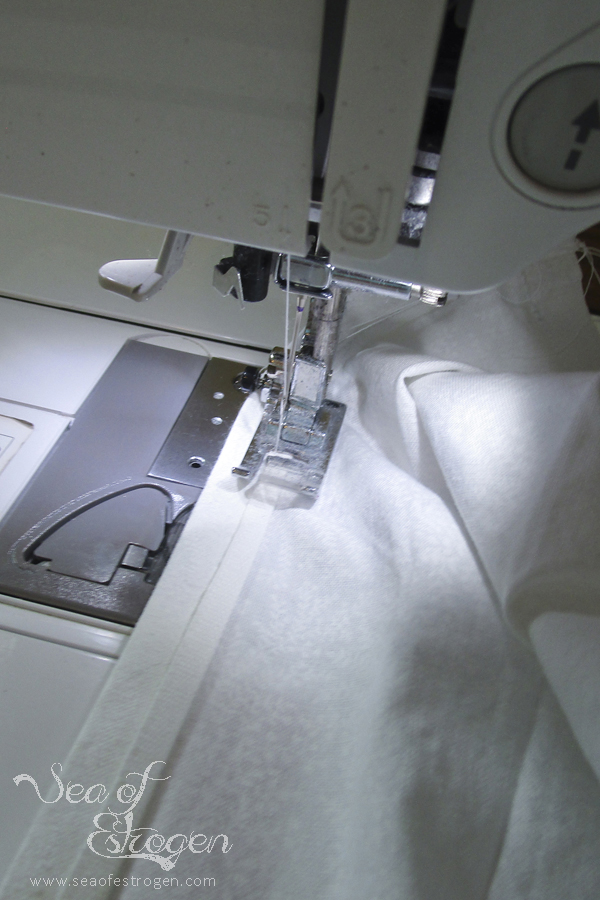
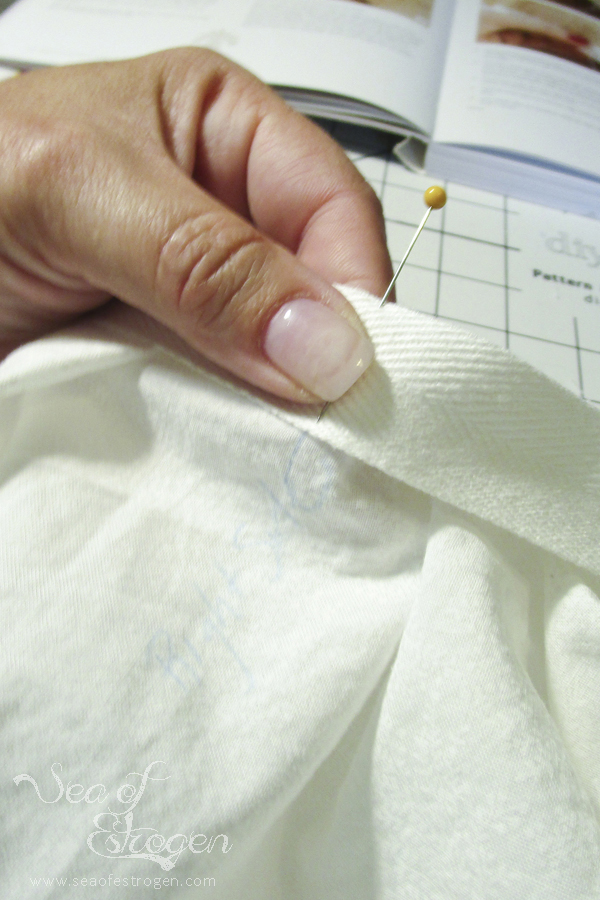
The underpetticoat is hemmed prior to closing up the side seam. Press under 1/2″ along the entire hem, and then press under 1/2″ again to enclose the raw edge.
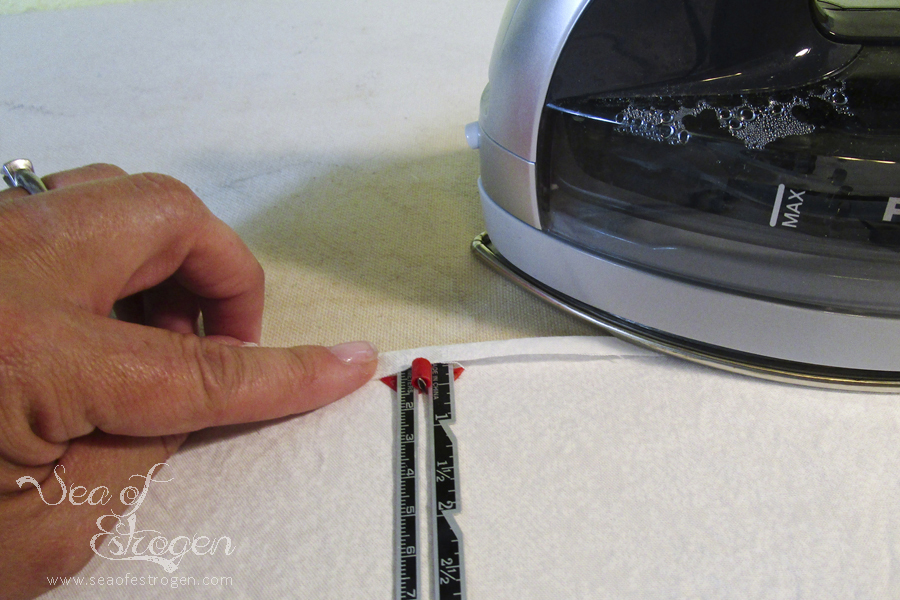
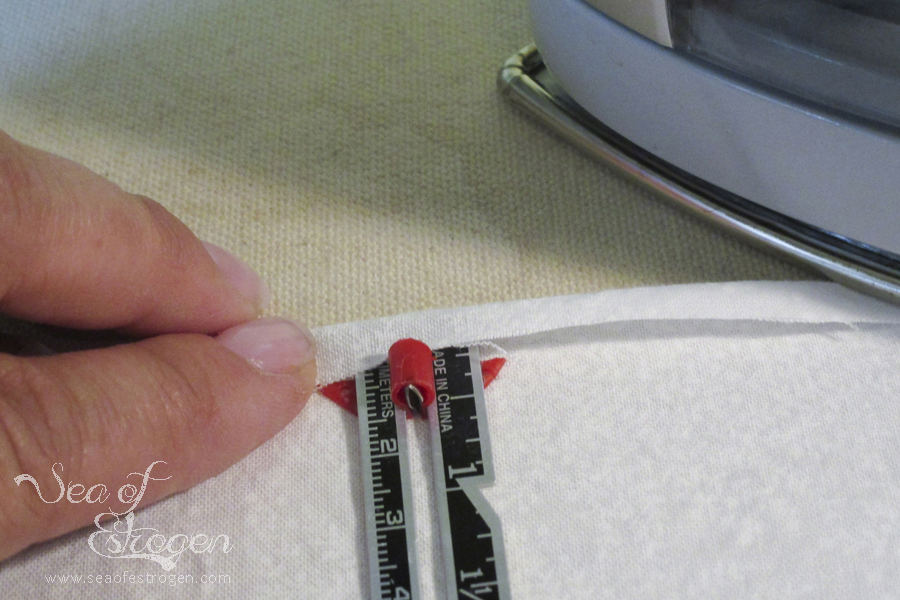

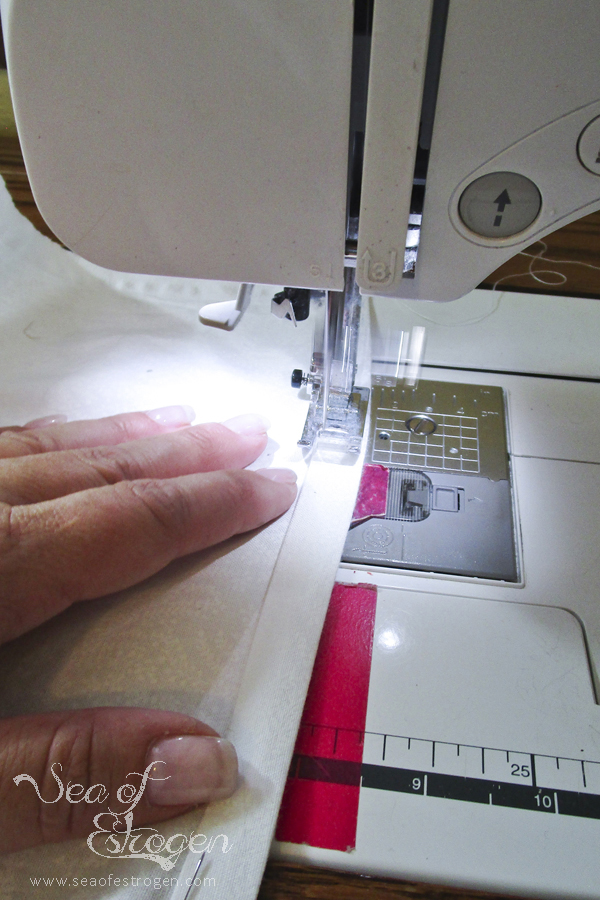
Edge-stitch the hem in place.
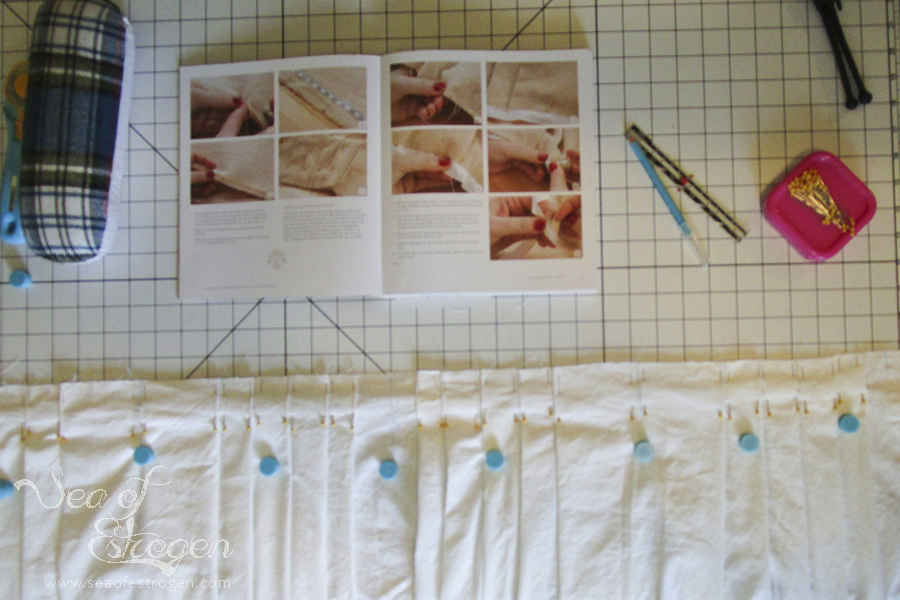
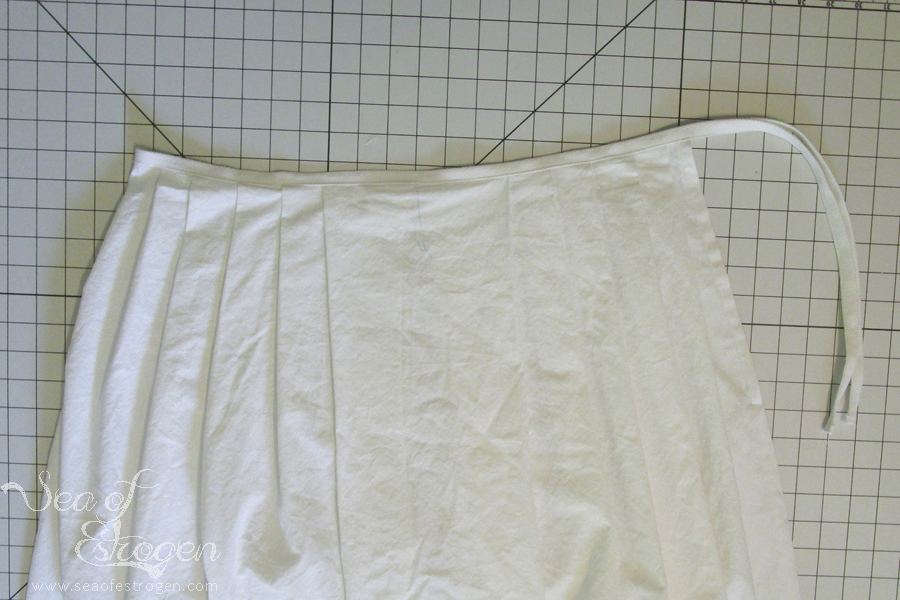
Pleating
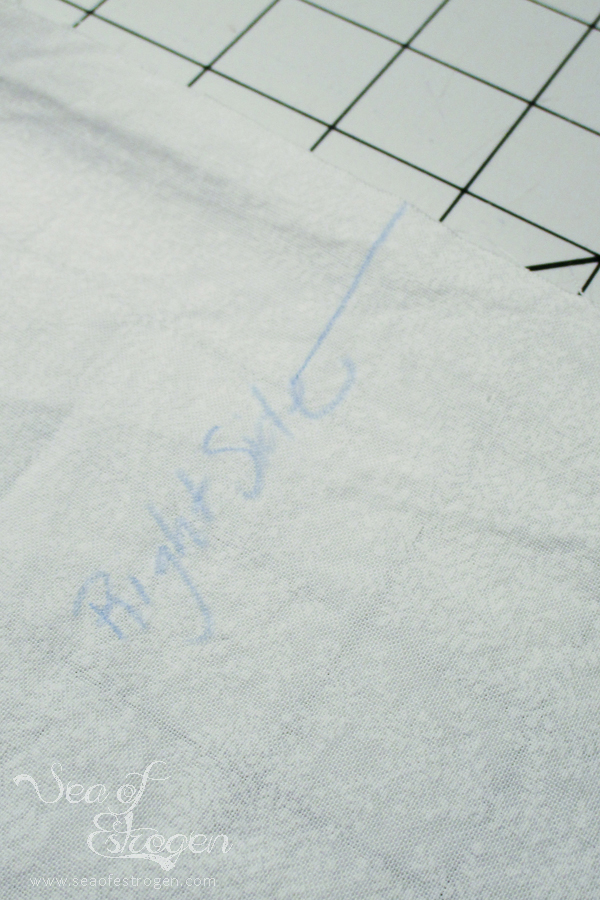
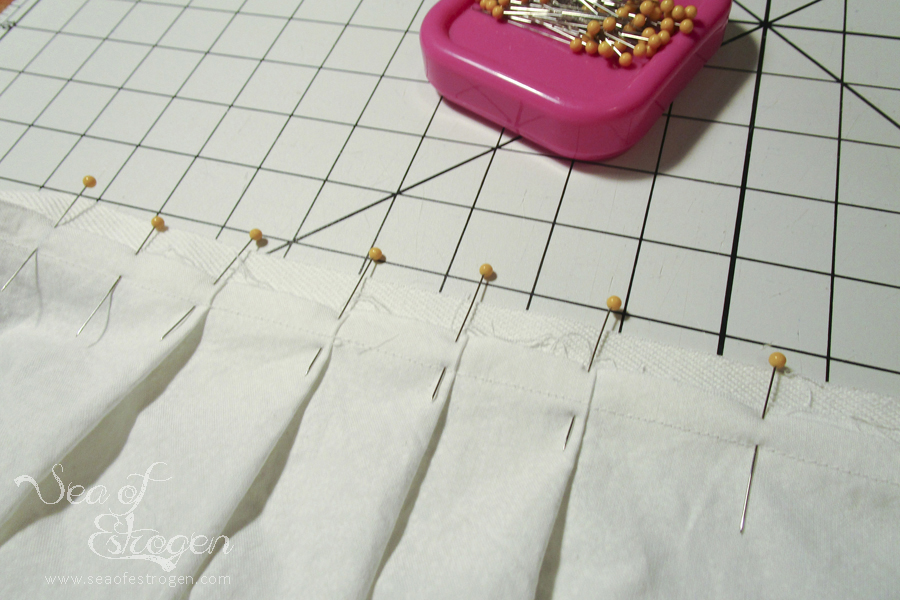
The first step of the pleating process is determining the side seams, center front, and center back. I wanted my underpetticoat to tie on the left side. I matched the two edges of the open side seam, folded the fabric in half, and marked the halfway point as the “right side seam” of the garment. Then, matching the two side seam points, I determined both the center front and center back points. In addition, I marked the 5/8″ seam allowance I planned on using on the side seam so I knew where to stop pleating.
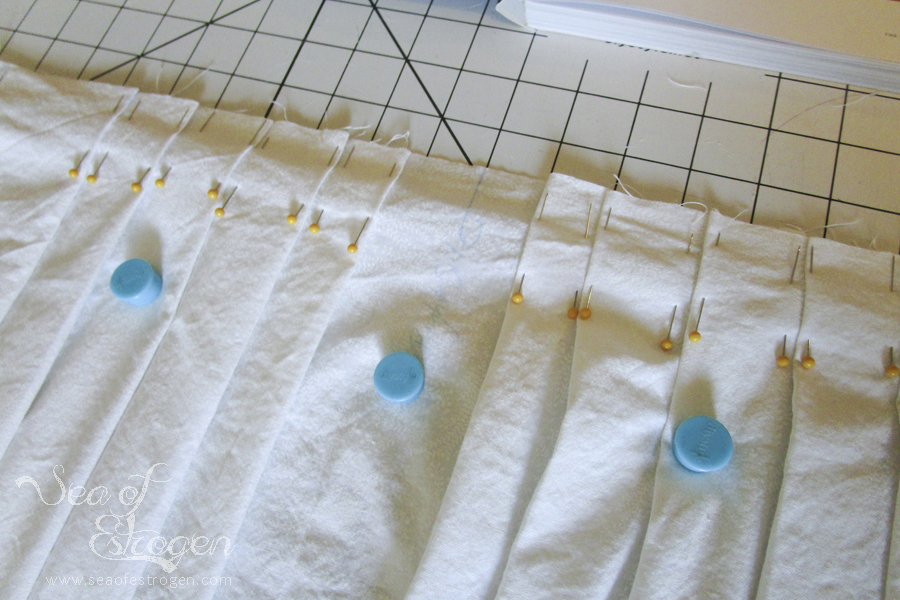
Working on one side at a time (I worked on the front first), begin by making a box pleat in the center front of the underpetticoat. The pleat should be 6″ wide when finished. From that point, use knife pleats towards the back of the garment to pleat the waistline down to the appropriate size. Divide the waist measurement in half to determine how small to pleat the top down to. The smaller the waist measurements, the deeper the pleats will be.
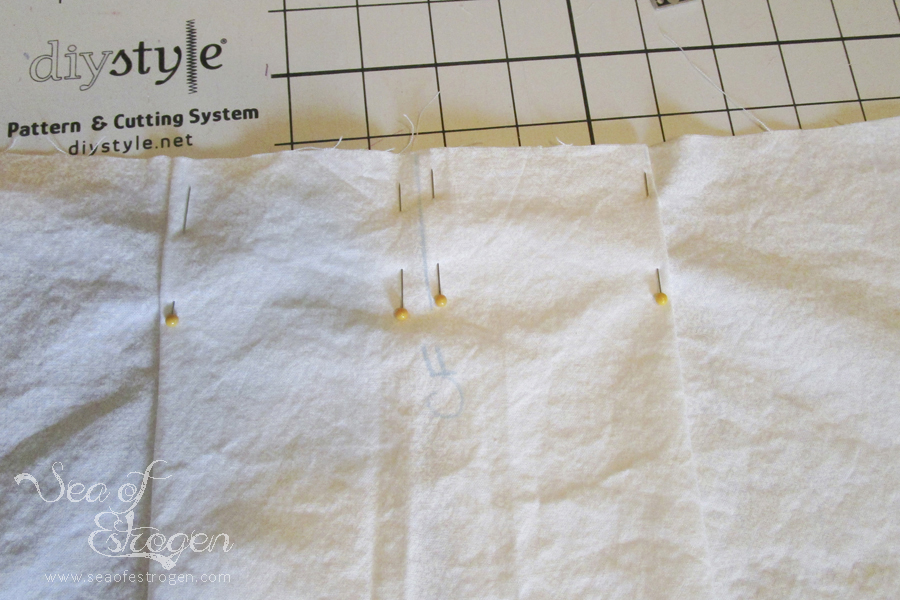
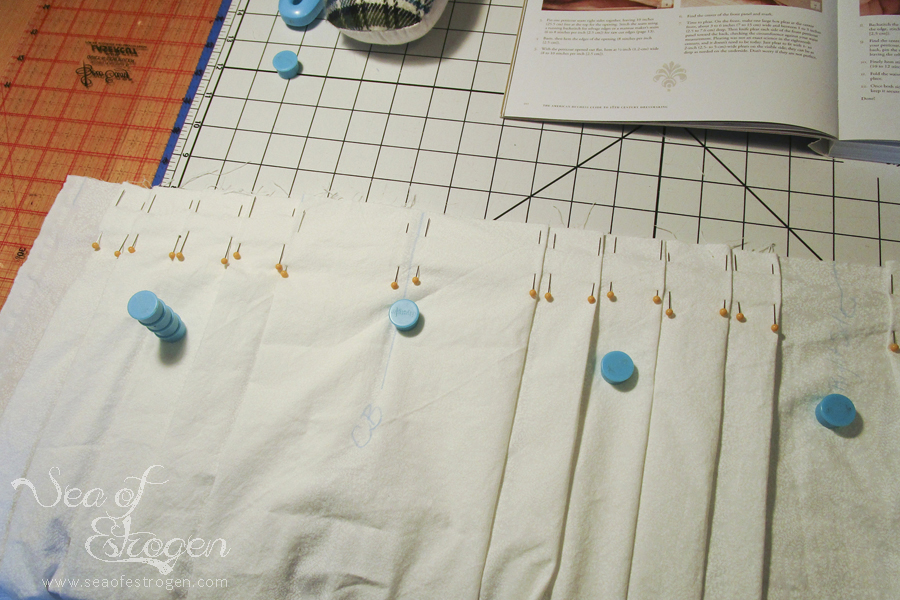
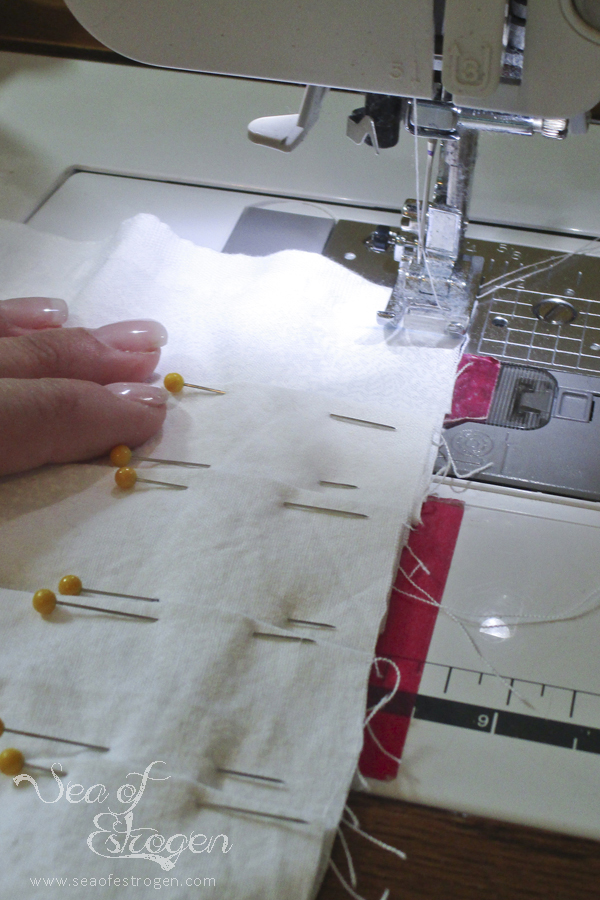
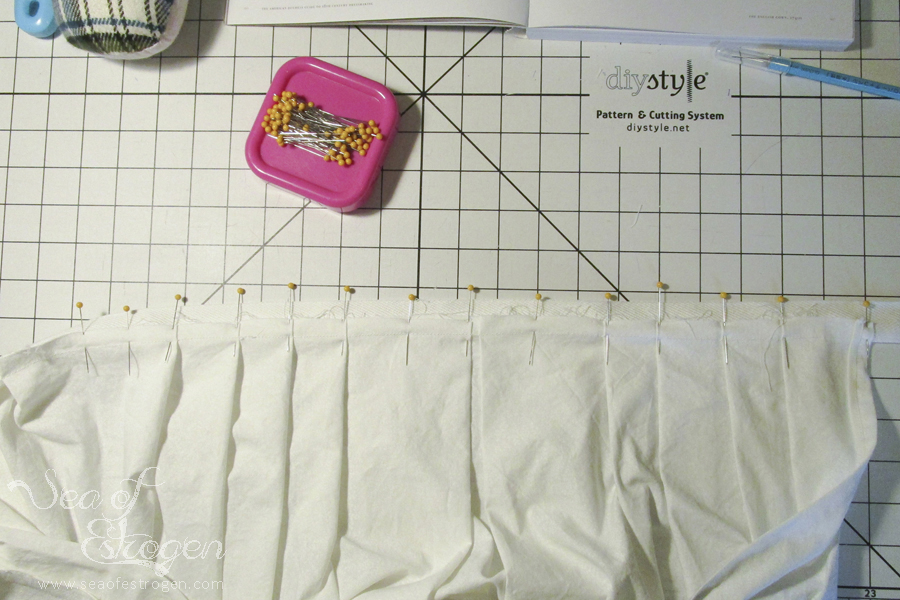
Repeat the process on the other side (for me, it was the back). I used one box pleat and eight knife pleats on each side of the underpetticoat to make it the correct wast size. Baste across the pleats approximately 1/2″ from the top of the underpetticoat. Be sure to pay attention so you don’t catch an of the pleats and accidentally fold them over while stitching.
Side Seam
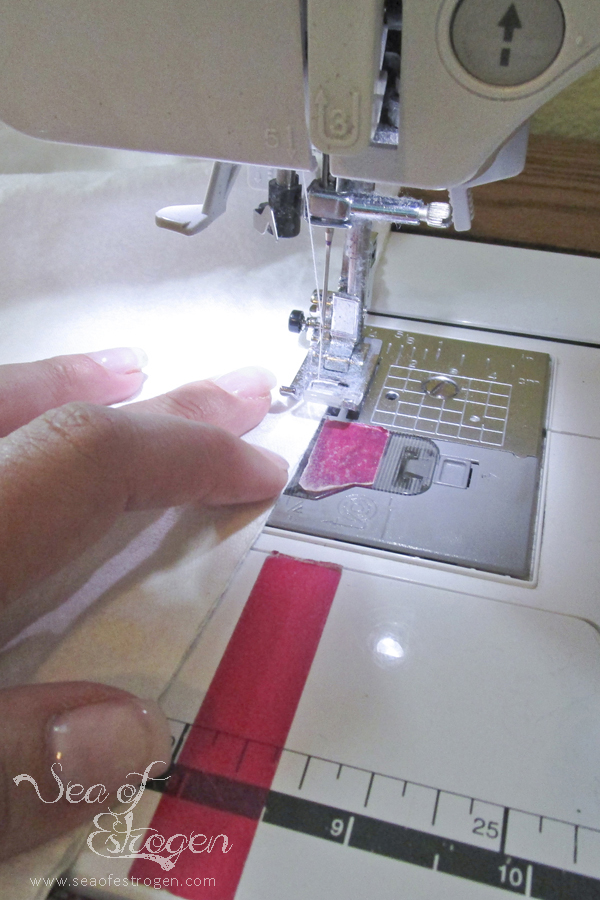
The next step is to close the open side seam. I used the French Seam process discussed in my post about making the shift to sew the side seam. First sew the two pieces together with the wrong sides together, press, and then sew them again with right sides together to enclose the raw edges. Do not close the hem above the mark 10″ from the top, this opening makes it easier for the wearer to get dressed. Use your preferred method to finish the edges of the opening.
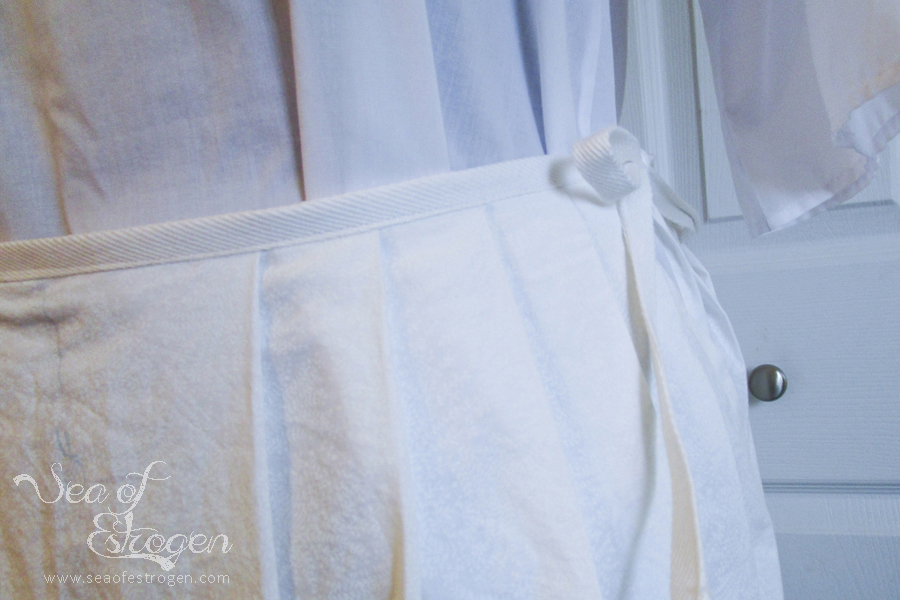
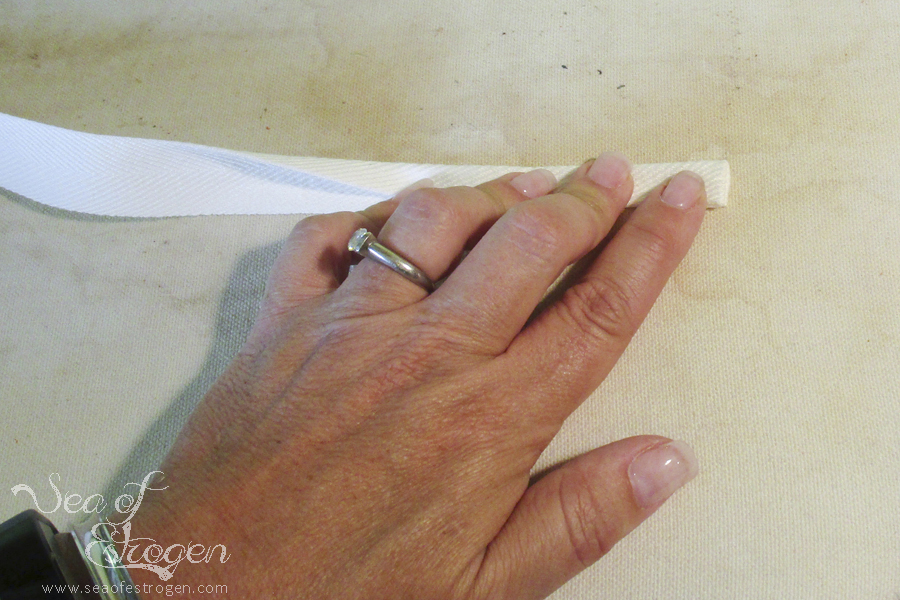
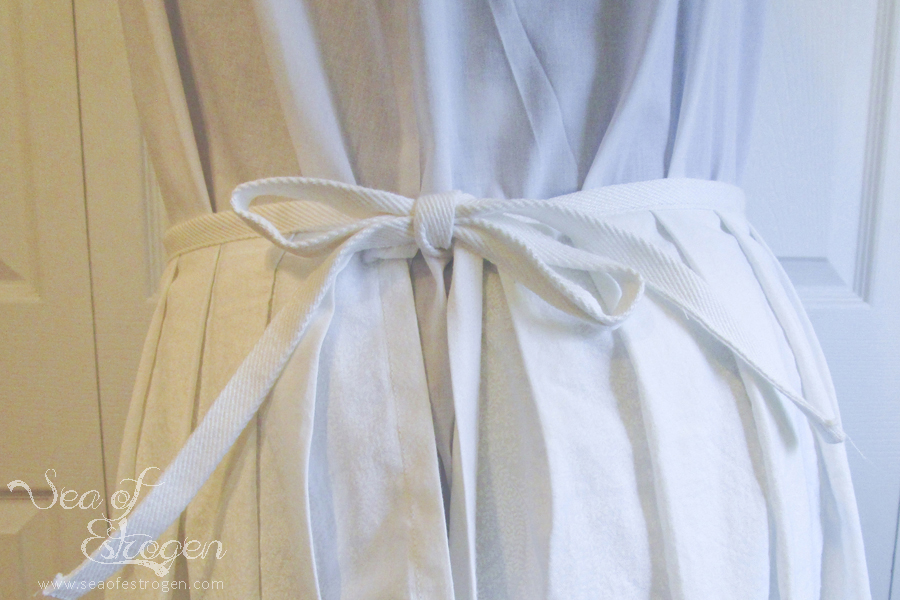
Waist Tie
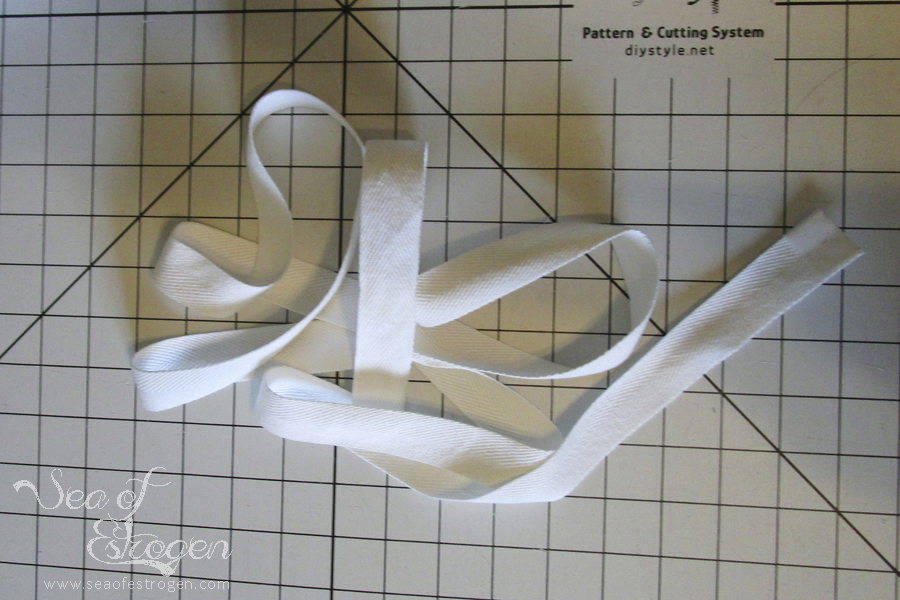
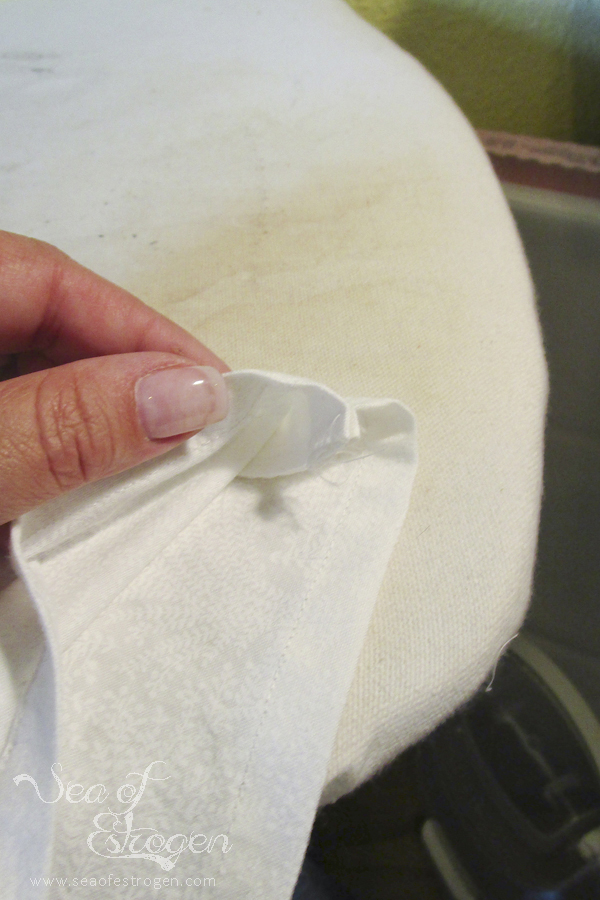
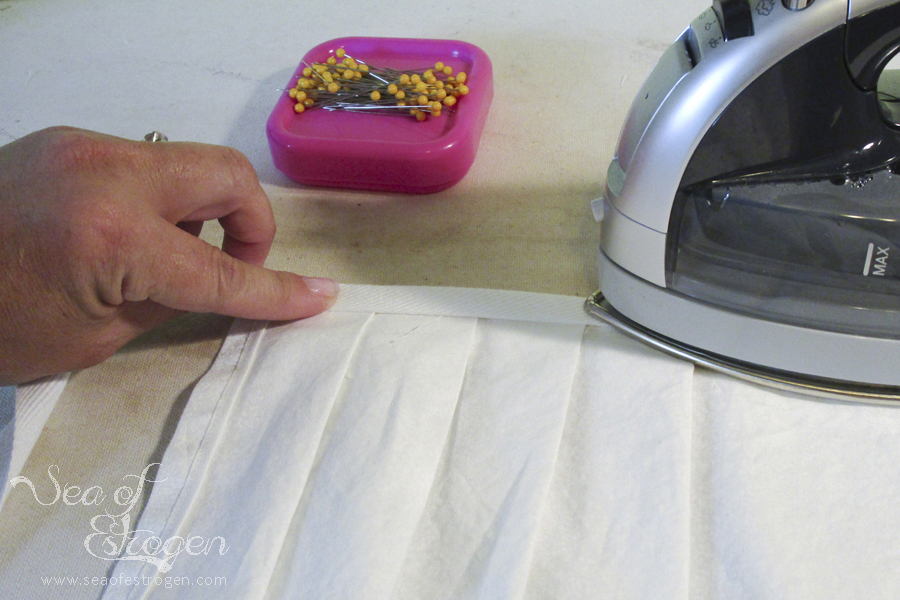
Cut the twill tape to be approximately 3 feet longer than your waist measurement, and find the center of the tape. Match the center of the tape to the side seam opposite of the opening. Pin the underpetticoat to the twill tape leaving approximately 1/2″ of the tape exposed. Baste in place.
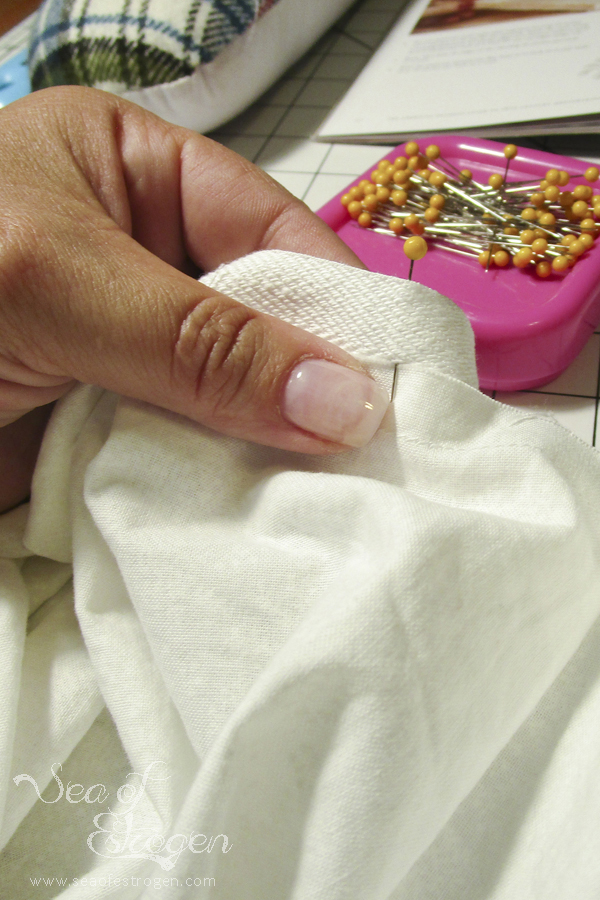
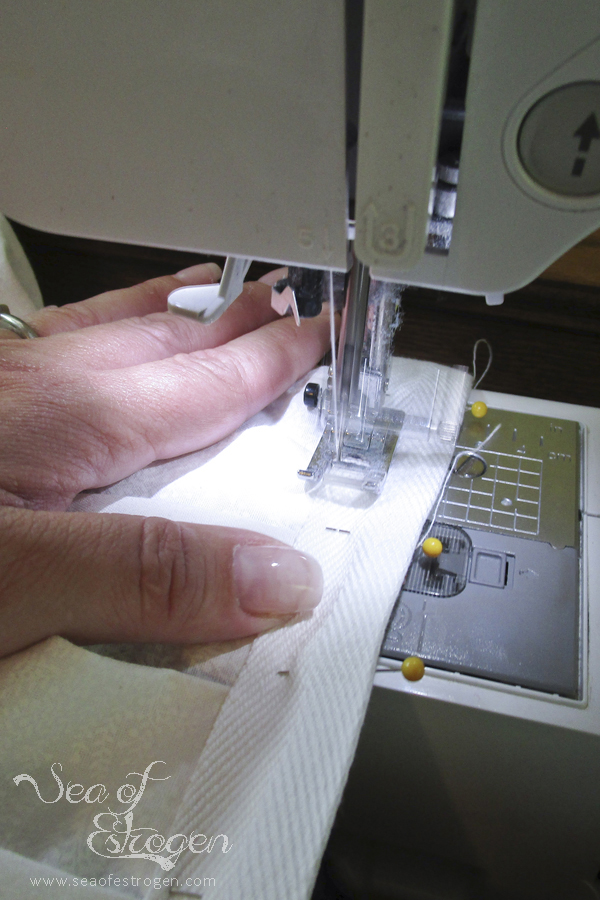
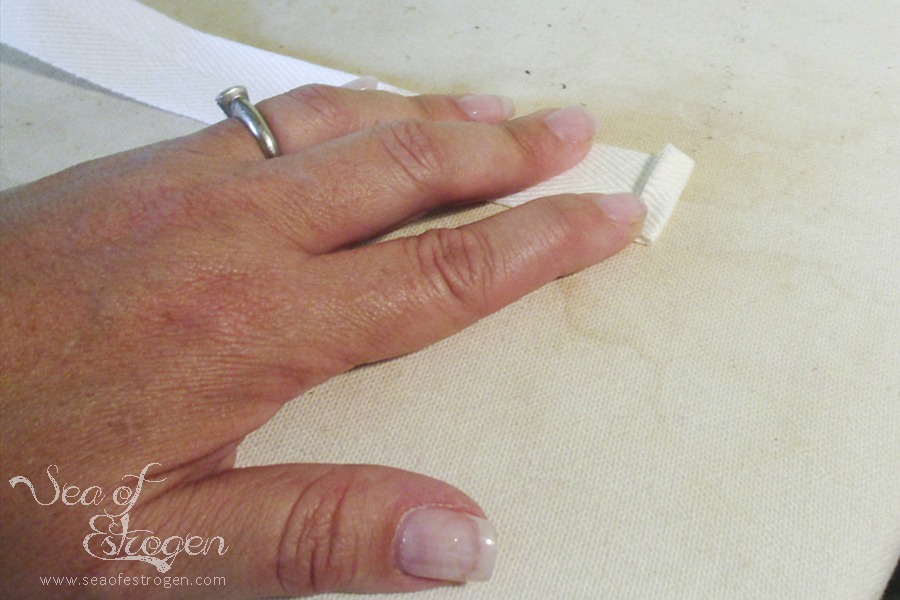
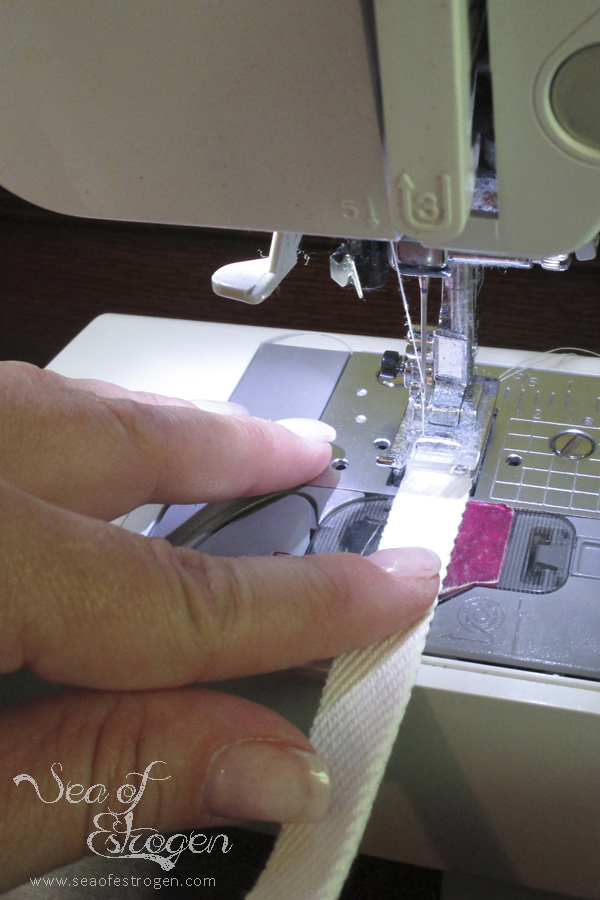
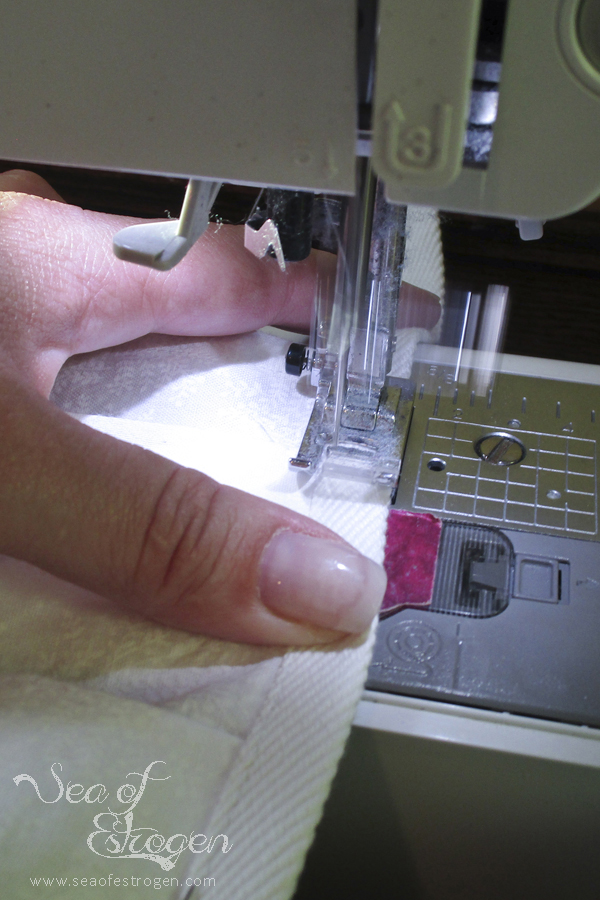
Fold in each end of the twill tape, press. Then fold the twill tape in half, pressing and pinning as you go along the waist, enclosing the raw fabric edges of the underpetticoat. Stitch the entire length of the twill tape.

Done!
Final Thoughts
The construction of the underpetticoat was straightforward. I would have been able to complete it in one evening after work, but I took a break to hang out with Todd and finished in two evenings instead.
Series Posts
- To-Do Tuesday Intro
- Meet My New Friend
- Supplies and Fabric
- 18th Century Shift
- Underpetticoat
- 18th Century Pockets
- Stays for Days
- Panniers
- Underpinnings

Nature Girl. Mom. Wife. Friend. Photographer. Sewer. Crafter. Artist.
To borrow a phrase – “Yeet Ye Riche”
3 thoughts on “18th Century Underpetticoat”
Comments are closed.