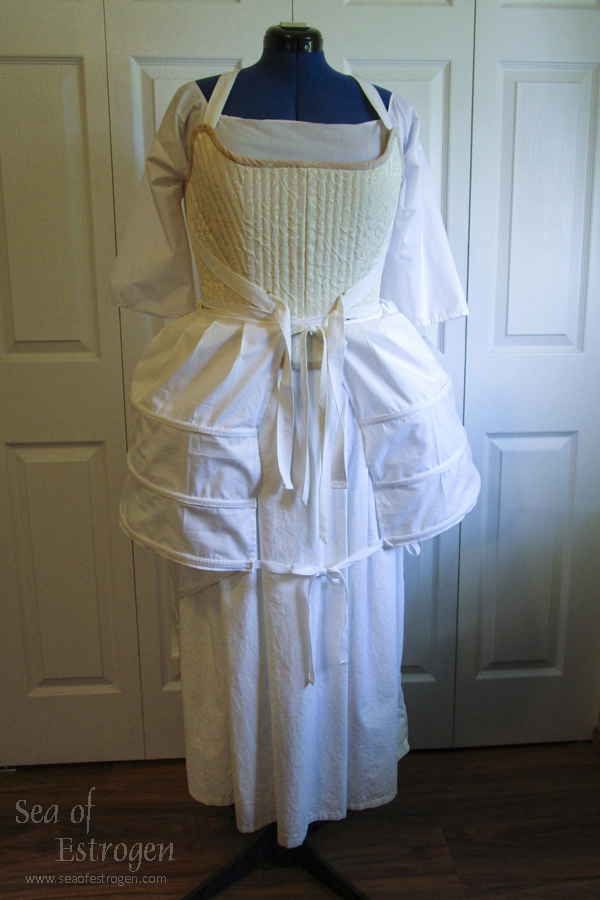
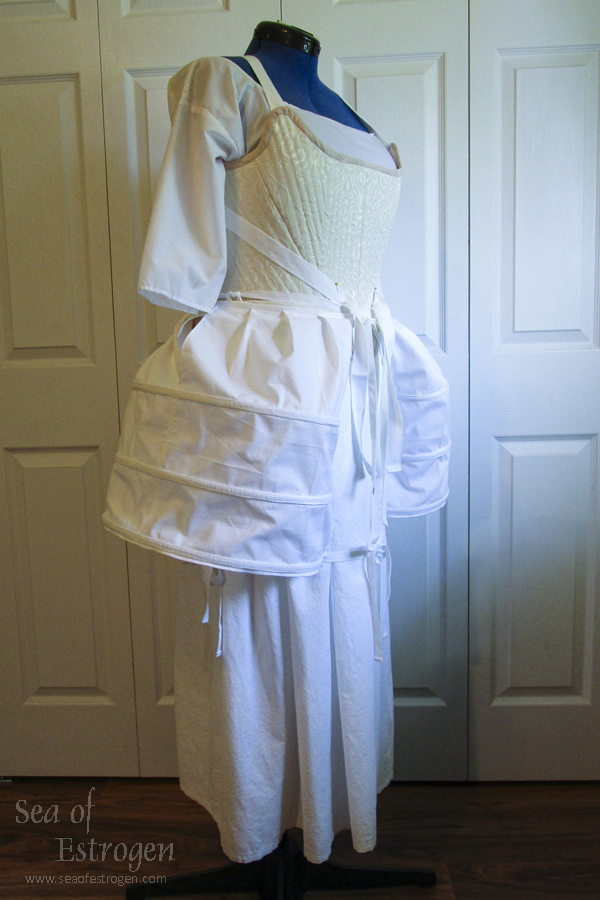
The panniers, or pocket hoops, are the final piece of the underpinnings for the 18th Century Ensemble. They consisted of four pieces, six boning channels, 16 ties, and one waistband. Easy-peasy.
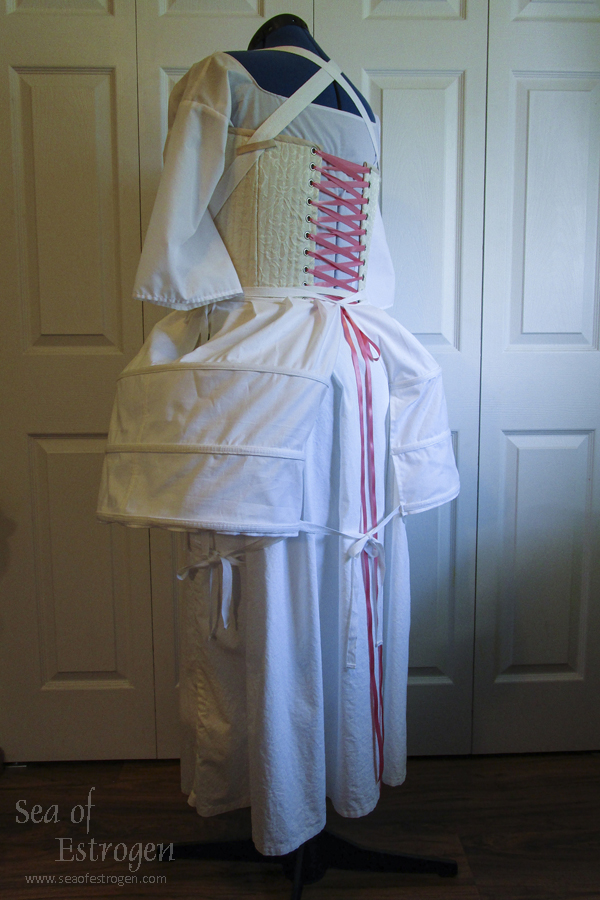
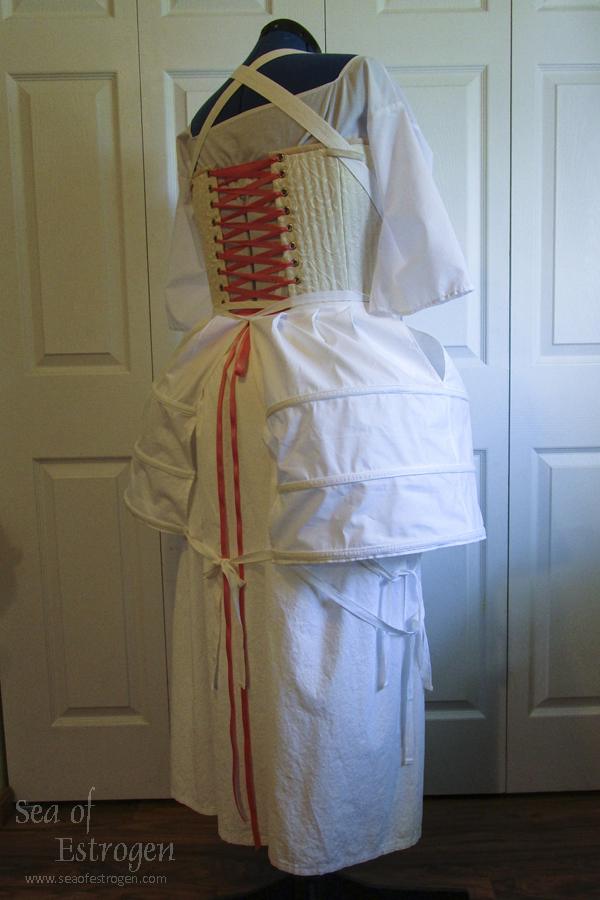
I am finding that getting the panniers tied to sit correctly is a bit difficult, and I’m still not thrilled with how they wear. I will keep fiddling with them until I am happy with them.
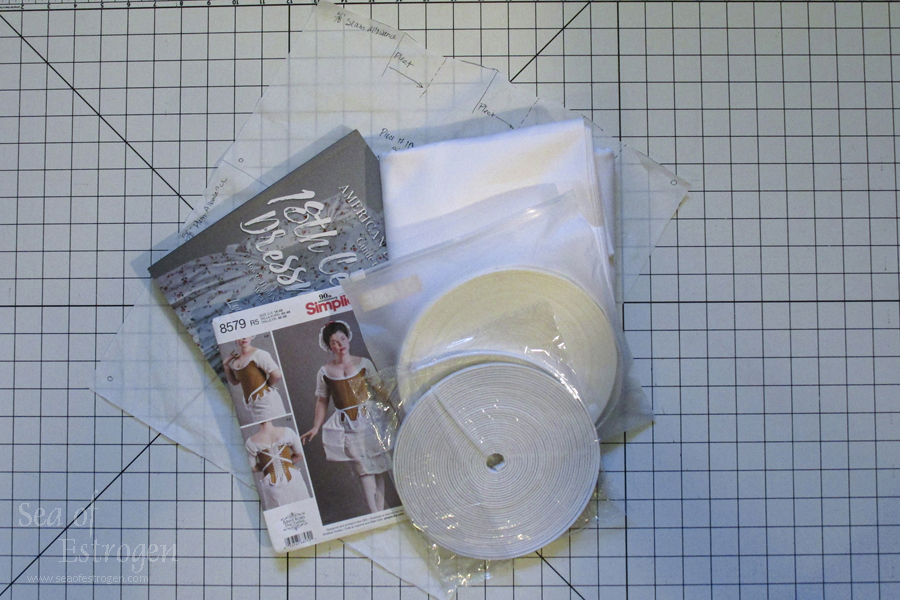
Supplies
The list of supplies for the panniers is very simple. I needed approximately 3/4 yard of plain cotton fabric, plastic boning, 3/4″ twill tape, the American Duchess Guide to 18th Century Dressmaking, and finally the Simplicity Pattern #8579.
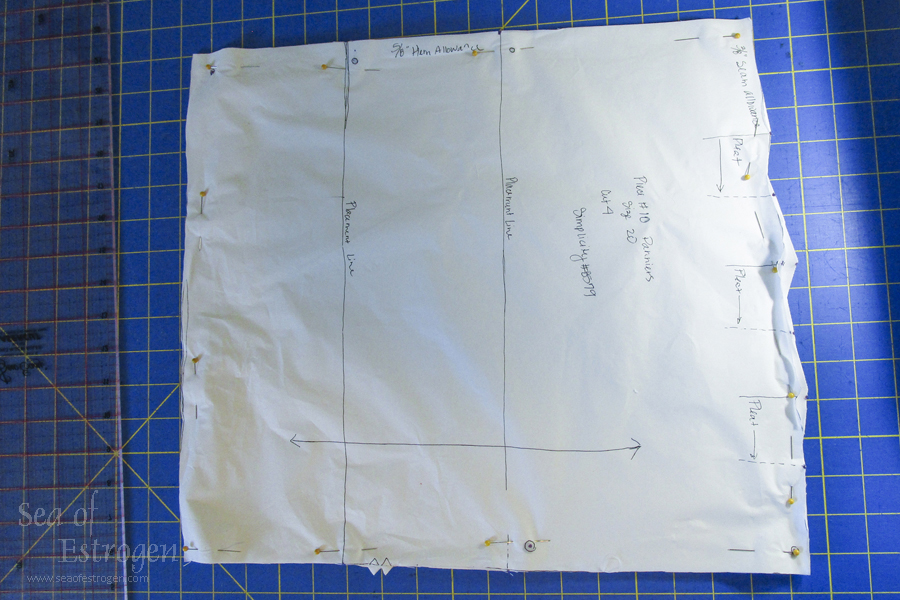
Cutting the Pieces
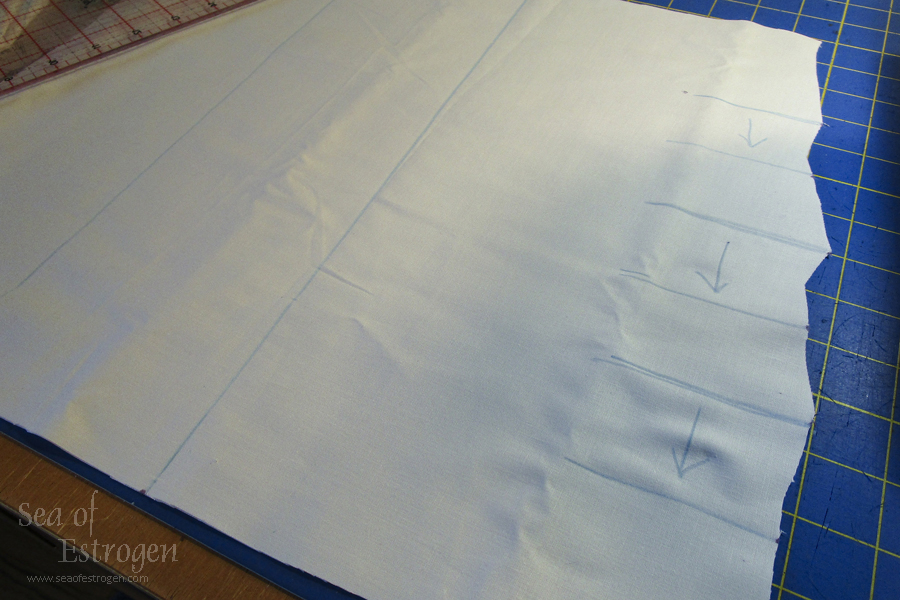
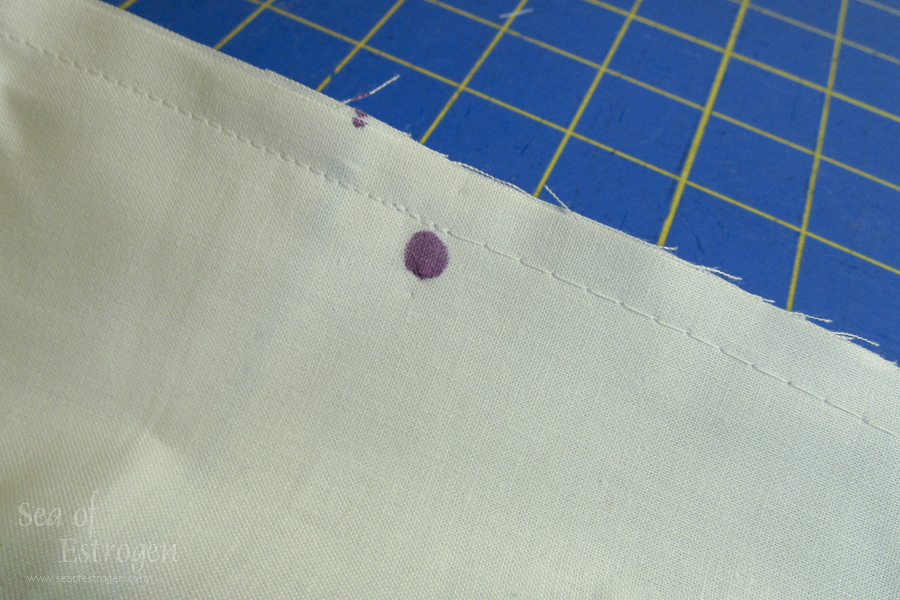
The panniers consist of four pieces of fabric (two mirrored sets). As with the other underpinnings, I traced the pattern onto tissue paper. Then I cut the fabric transferred all the pattern markings using tailors chalk and heat-sensative pen.
Assembly
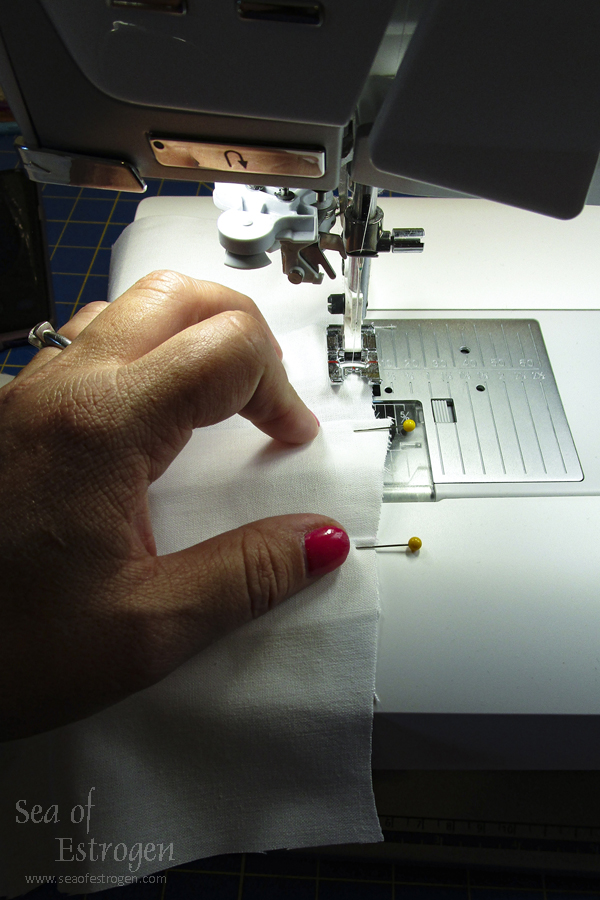
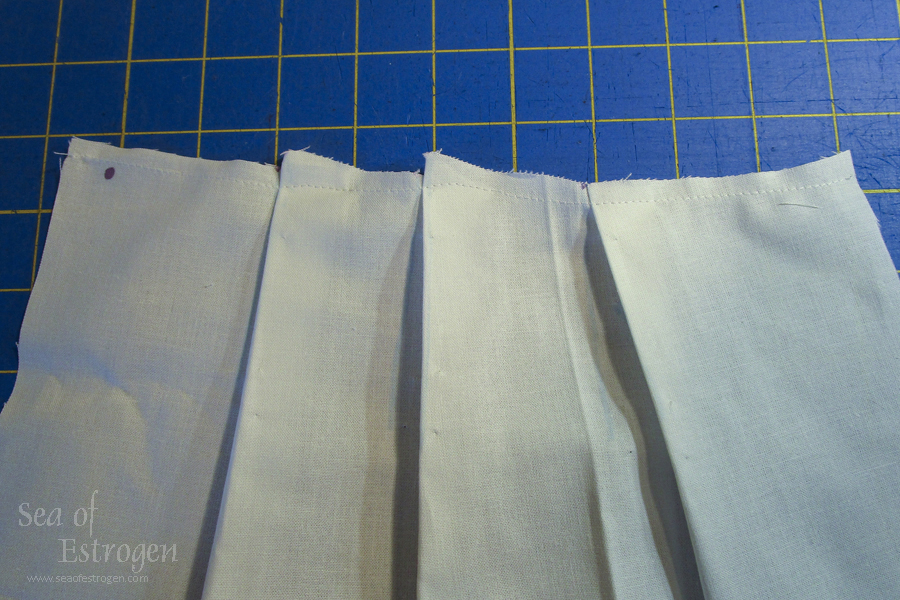
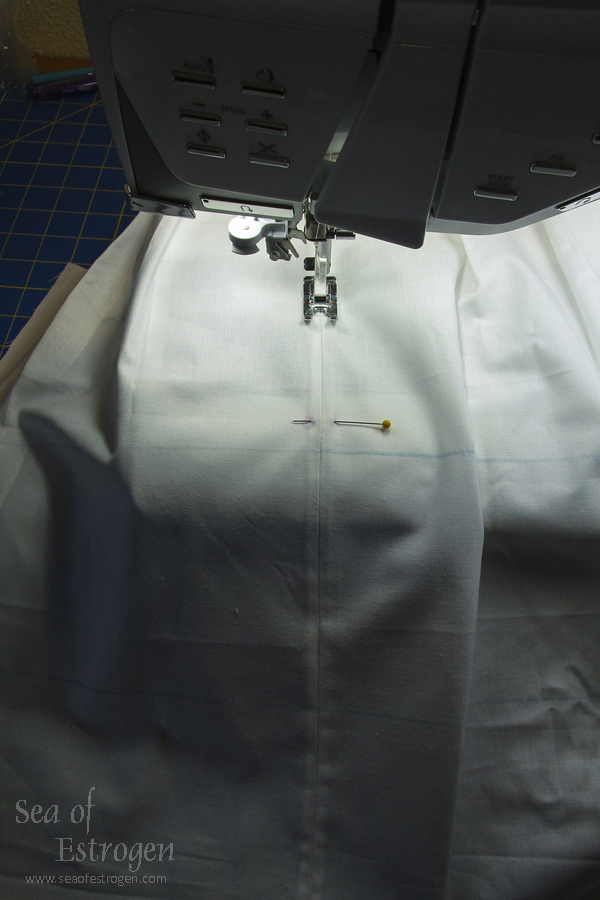
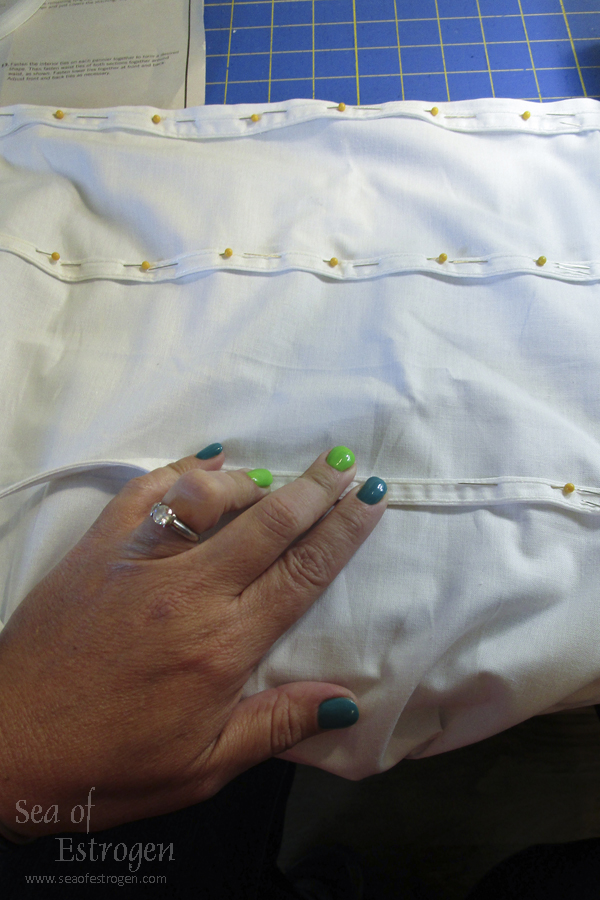
The first step of construction was to create the pleats on each of the four pieces of fabric. Be very careful and make sure you mirror the pieces as instructed. After pinning the pleats, I basted across the top of each piece.

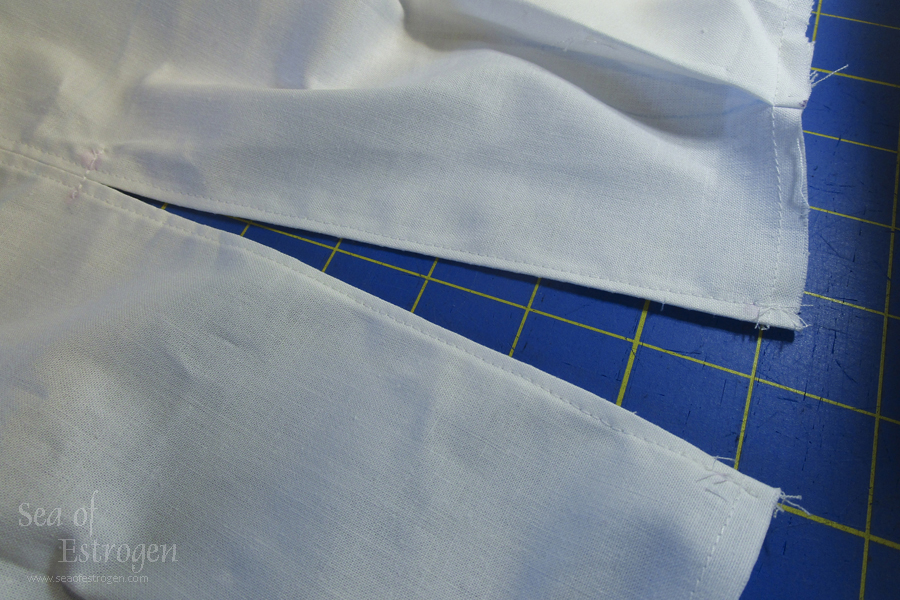
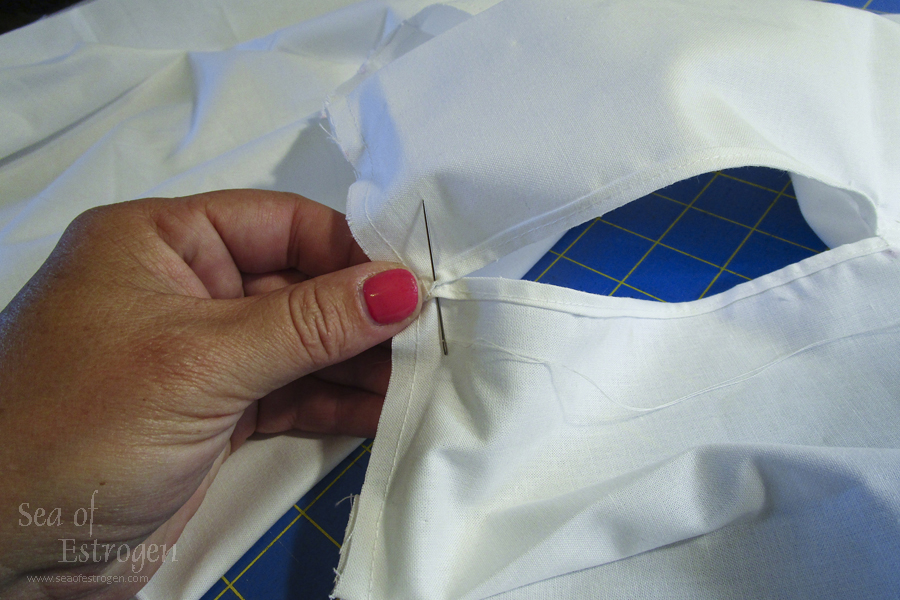
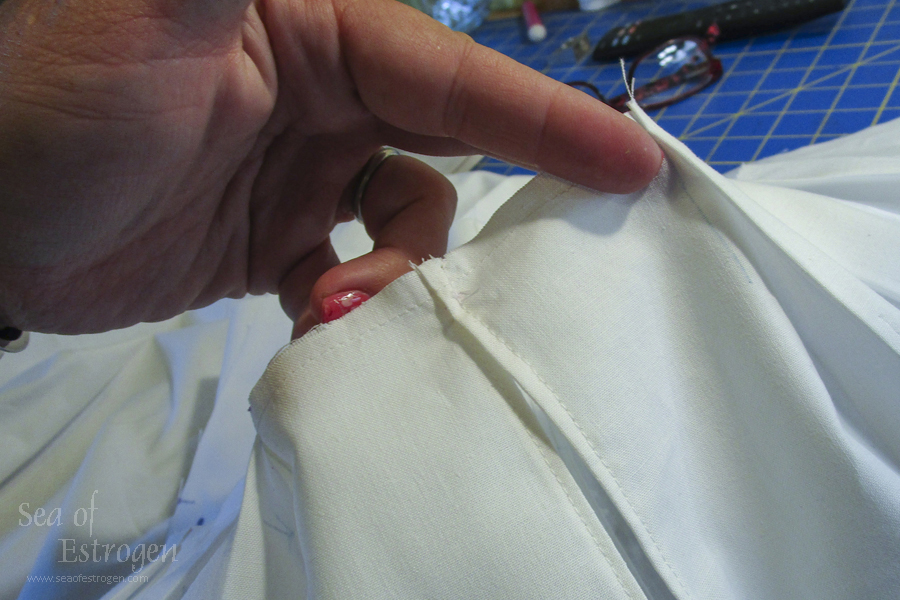
Pocket Slit
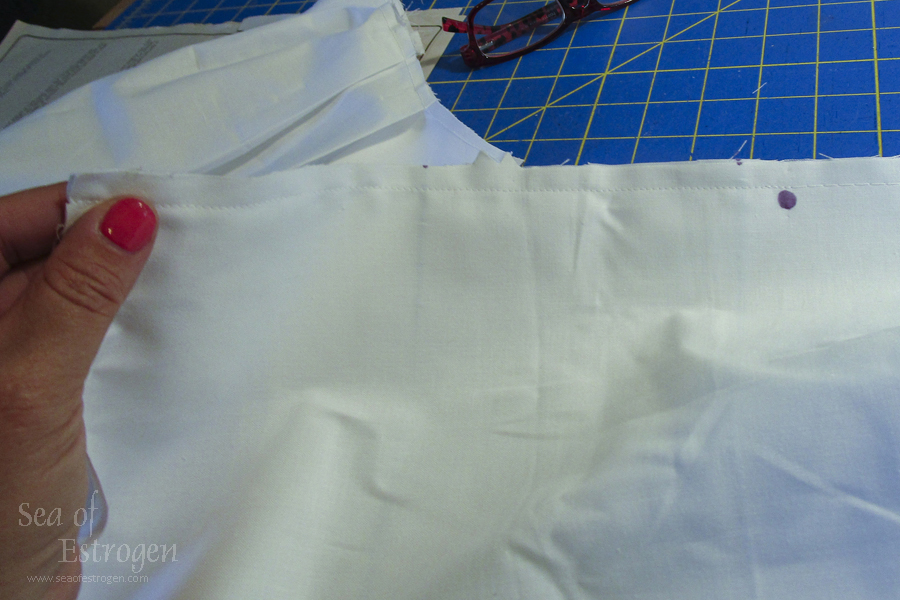
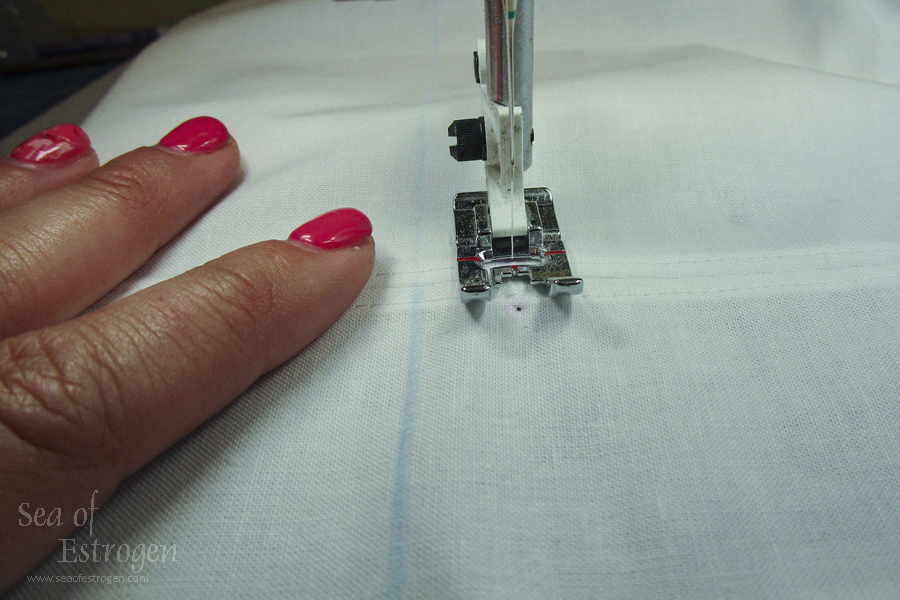
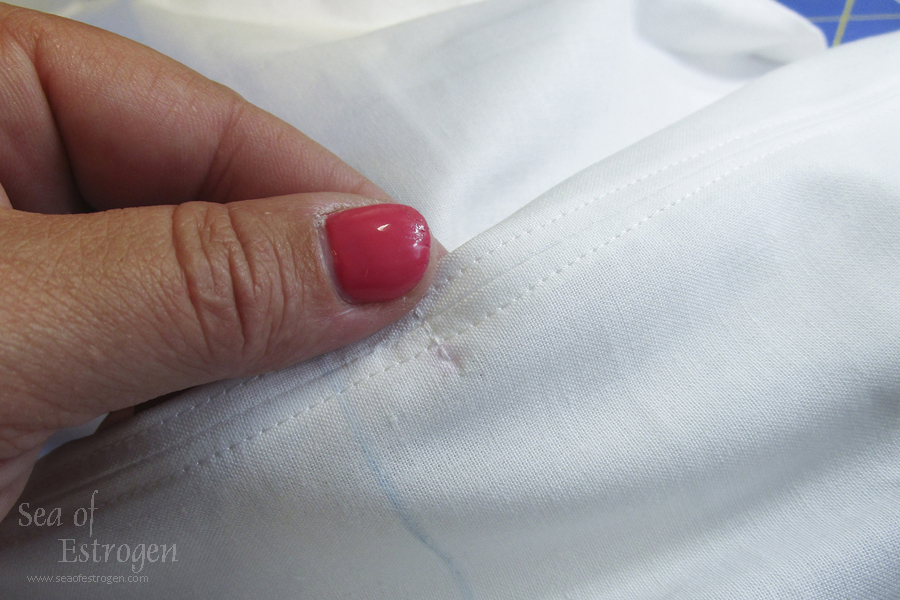
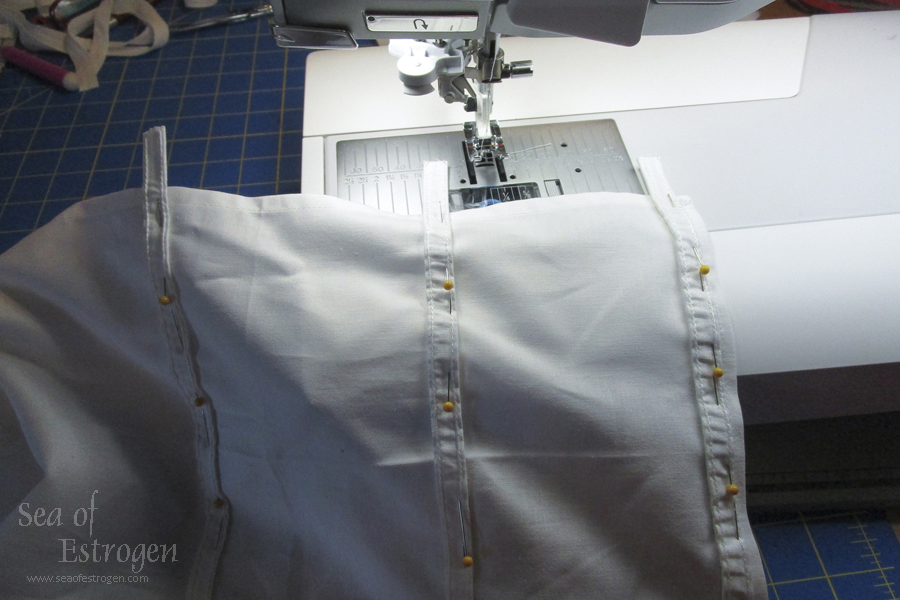
Next, I created the pocket slit in each individual pannier. I basted two pieces together from the waistline down to a pre-marked point. Then sewed the remainder of the seam with a normal stitch length. I pressed the seam allowance under on both sides and then topstitched it in place from the right side of the fabric. Finally, I sewed across the seam at the pre-marked point and removed the basting stitches to create the pocket slit. The top edges of the pocket slit were overlapped by about 1/8″ and hand-stitched together.
Hemming
At this point, I deviated from the pattern instructions. I hemmed the other three sides of each pannier by folding each hem over twice to the wrong side of the fabric and stitching in place.

Boning Channels
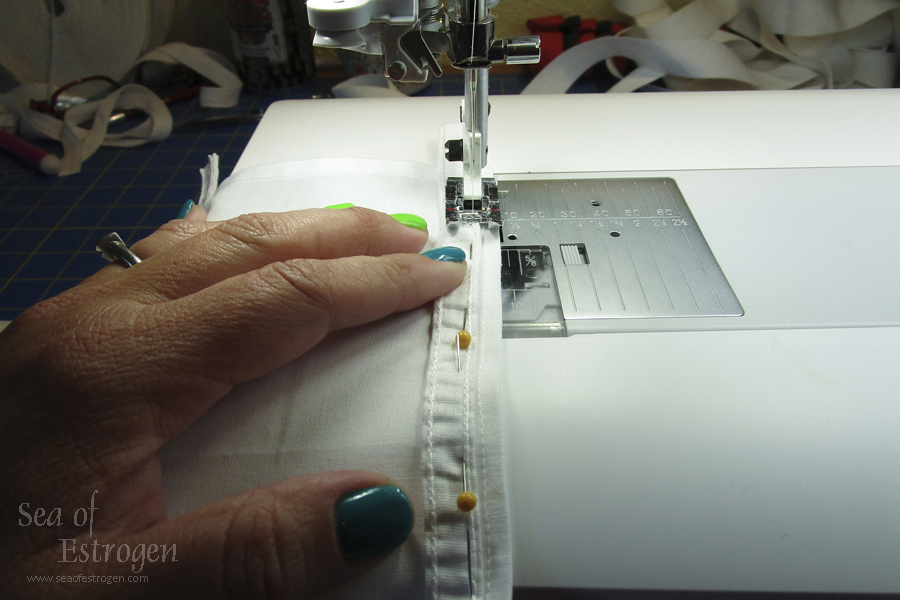
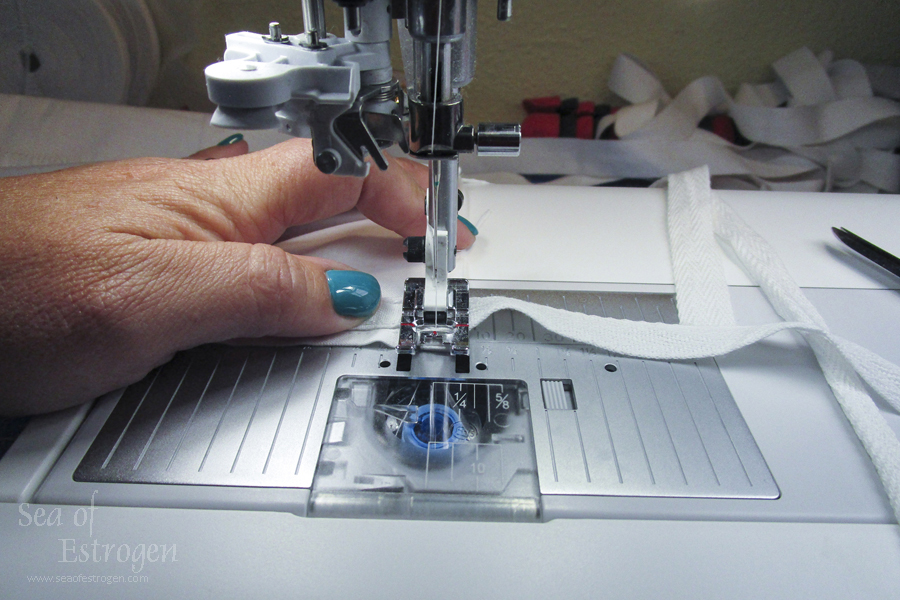
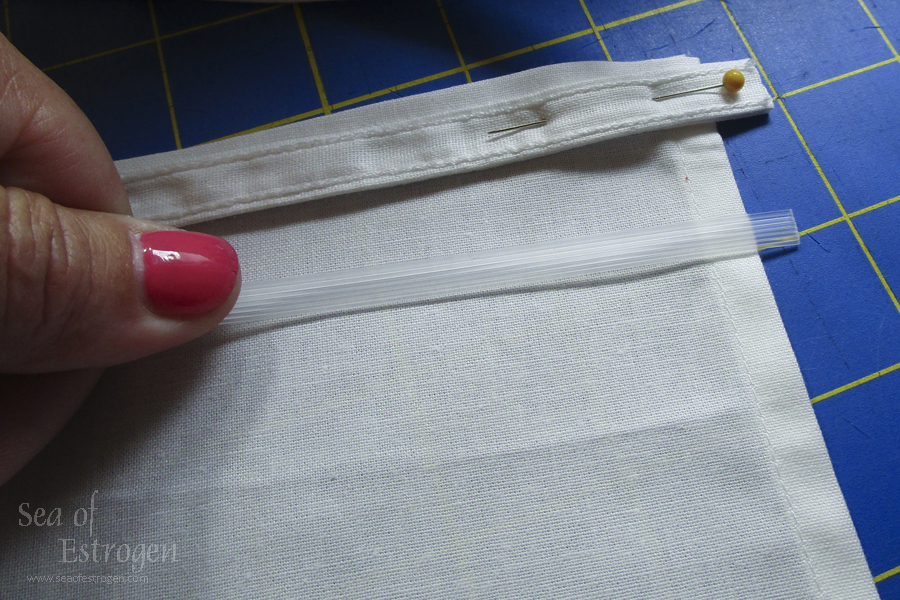
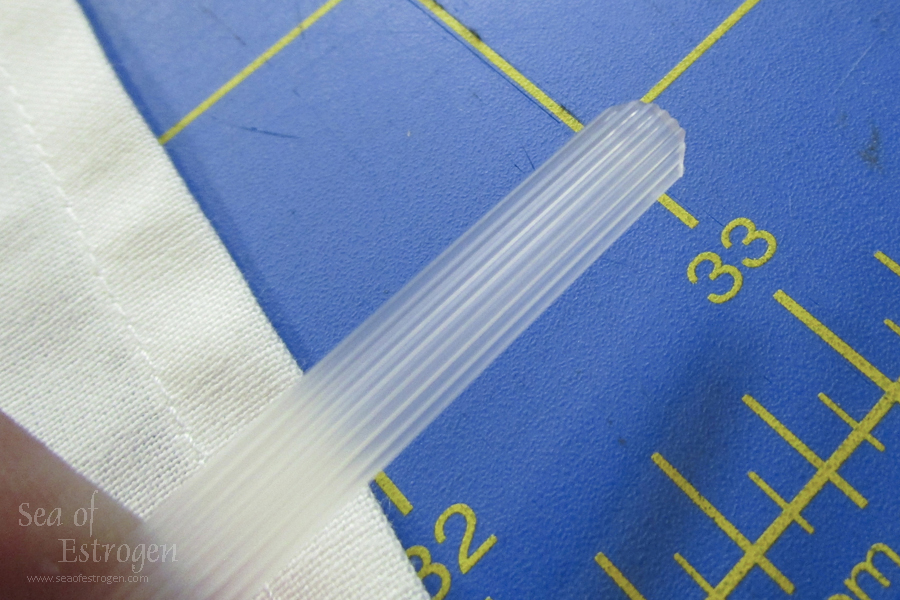
For each pannier, I cut three lengths of plastic hoop boning and removed the boning from the channel. The channels were pinned to the panniers on the pre-marked lines, with one end folded under. Each channel was edge-stitched along each side to secure it to the pannier. Then the boning was inserted, measured to length, and cut. I made sure to round out the ends of the boning to prevent it from poking through the channels. Finally, each open end of the channel was trimmed, folded under, and stitched into place.
The ties for adjusting the shaping of the panniers were sewn in at this point, as well.
Waistband
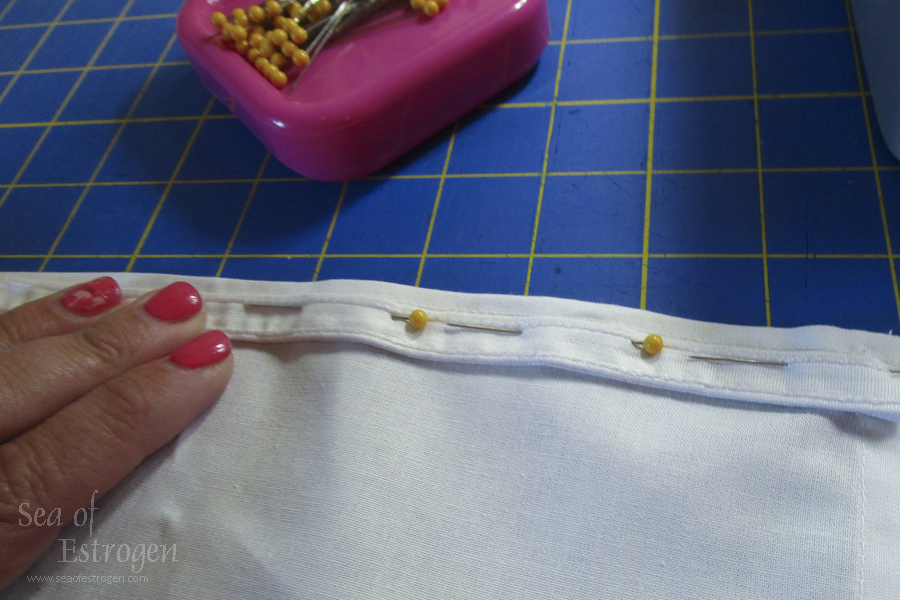
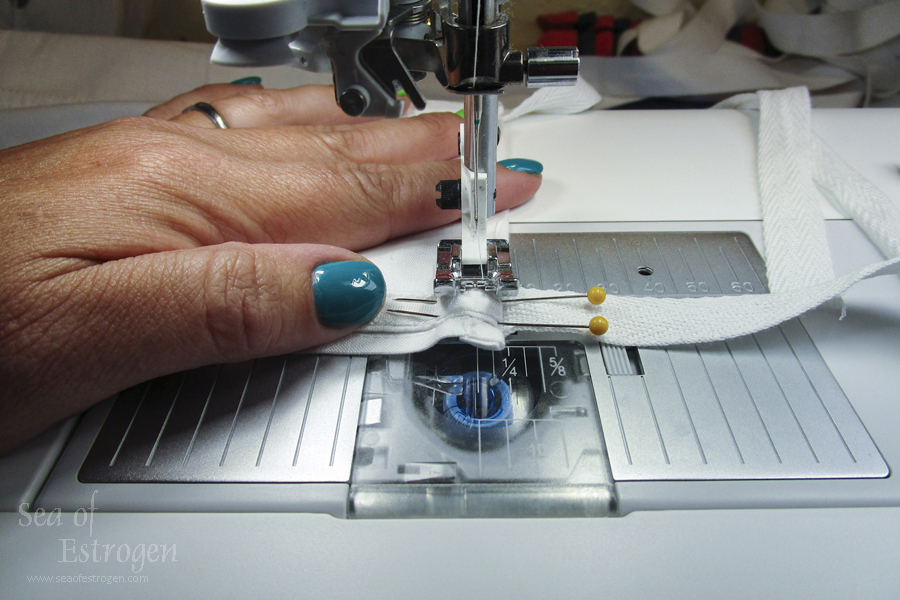
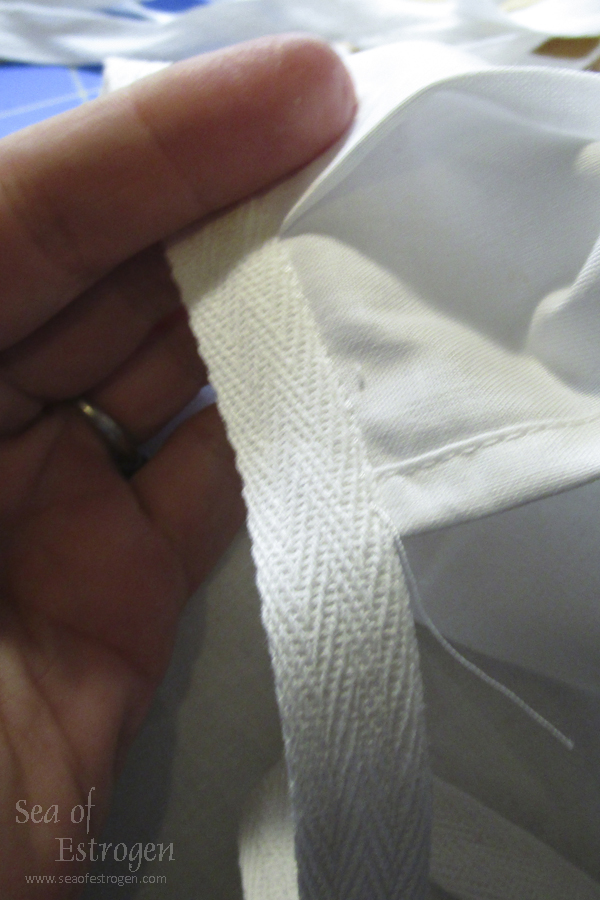
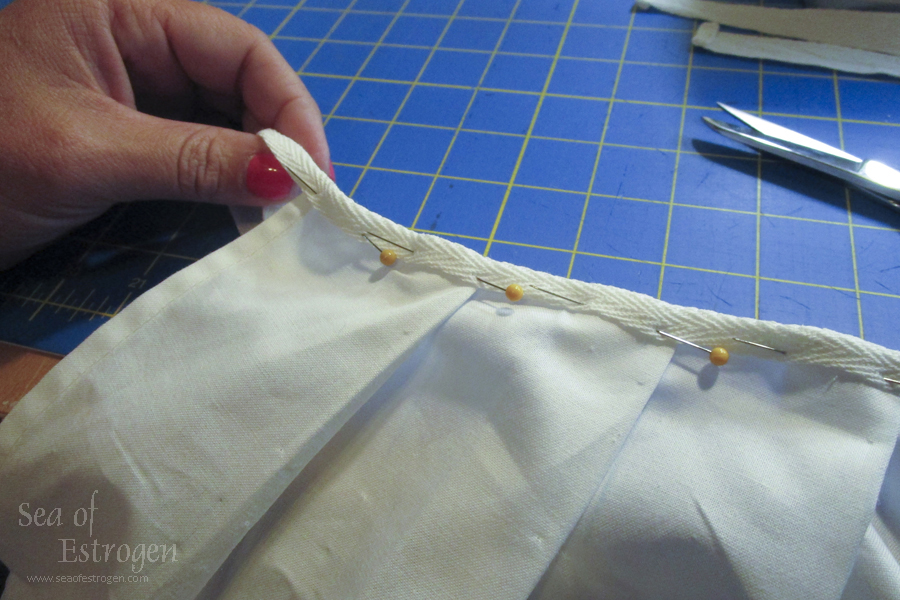
To add the waistband, I found the center point of a length of twill tape and pinned it to the top of the pocket slit. The remainder of the top of each pannier was pinned to the tape, but it was only pinned about halfway up the diameter of the tape. After basting in place, I folded the twill tape over to the front of the panniers and stitched it in place to enclose the raw edge of the top of each pannier.
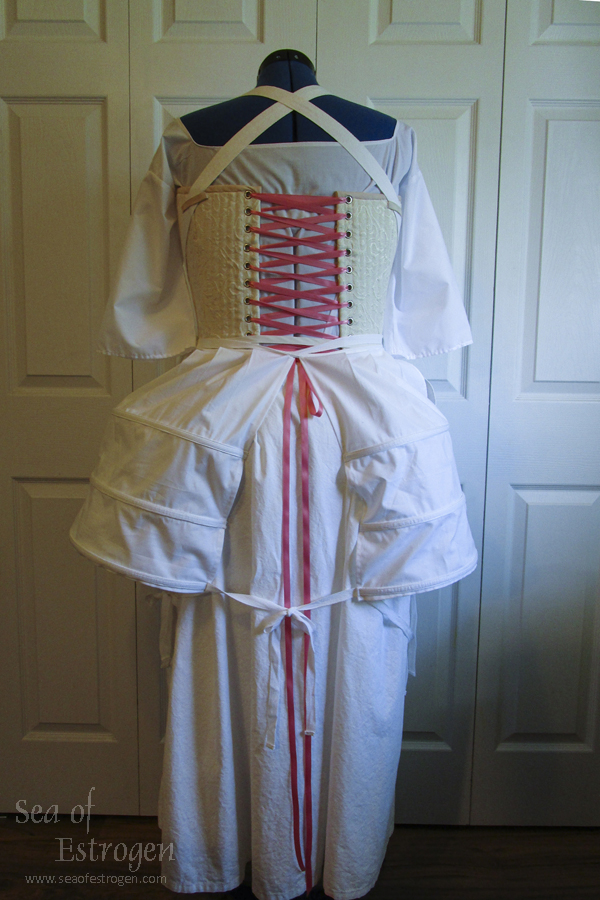
Finished!!!
I tied the panniers to my dress form and adjusted the ties to sit correctly. I will keep adjusting them until I like the way they sit.
Final Thoughts
Luckily, I had watched Noelle’s review this pannier pattern prior to making mine. Noelle is Costuming Drama on YouTube. She just spent 8 months working on some major costumes for Costume College and a trip to the Jane Austen Festival in Bath. She has great advice. Because of her review, I basically skipped the instructions in the pattern, which probably cut down my sewing time to 1/3 of what it would have taken otherwise. Thank you, Noelle! These panniers were WAY easier than I was expecting. I am eager to get the petticoat made so I can see how they all work together!

Leave a comment below and let me know if you have any questions.
Series Posts
- To-Do Tuesday Intro
- Meet My New Friend
- Supplies and Fabric
- 18th Century Shift
- Underpetticoat
- 18th Century Pockets
- Stays for Days
- Panniers
- Underpinnings

Nature Girl. Mom. Wife. Friend. Photographer. Sewer. Crafter. Artist.
To borrow a phrase – “Yeet Ye Riche”
7 thoughts on “Panniers”
Comments are closed.