Yay for progress! I used the momentum of posting about the supplies and fabric for my Robe a la Francaise project to get started on the first piece of the ensemble. My sewing room got a little TLC and cleaning, and afterward, I started the 18th Century Shift.
Supplies
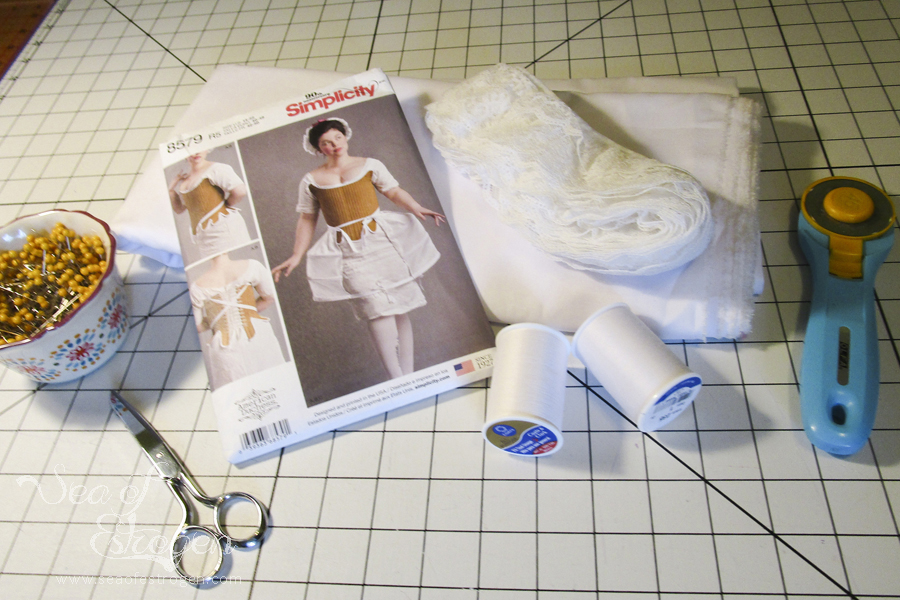
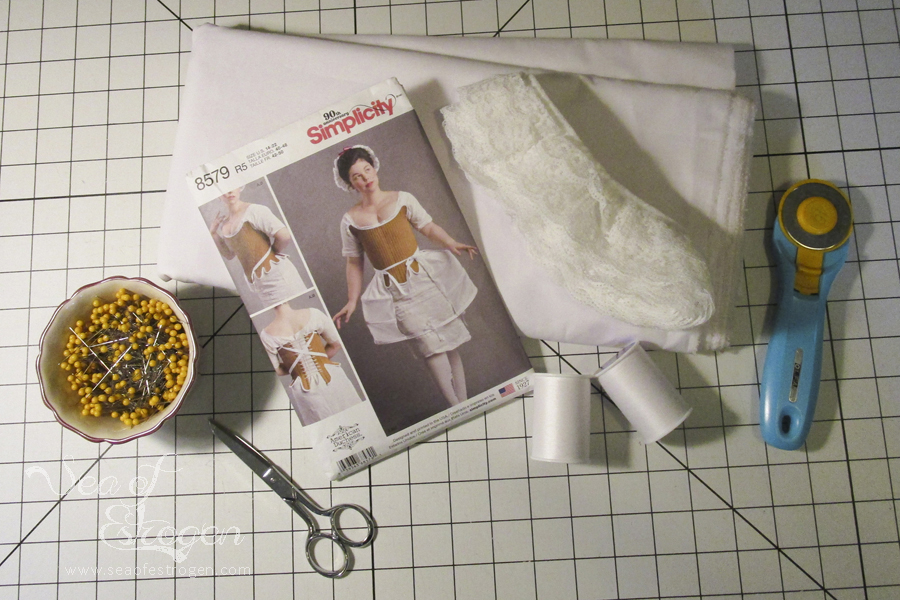
The supplies for this project are pretty basic. The only supplies needed are the Simplicity #8579 pattern and the white cotton batiste fabric. In addition, you need cutting tools, pins/clips, and thread. I have no idea why I included lace in the picture because the shift doesn’t include lace.
The shift is an easy pattern, and I feel like an ambitious beginner could make it without much difficulty. The total pattern is eleven straight seams, two set-in sleeves, and four hems. However, I added two steps to the process that increased the difficulty and/or amount of time it took.
Pattern Tracing
The first thing I did that increased the amount of time this project took was to trace each pattern piece. If you’re familiar with tissue-paper patterns, you know they include multiple sizes. In order to be able to use different sizes of the pattern in the future, I traced my size so I didn’t ruin the tissue pattern. This is the same method I use for the PDF patterns I use, so it wasn’t much of a departure for me.
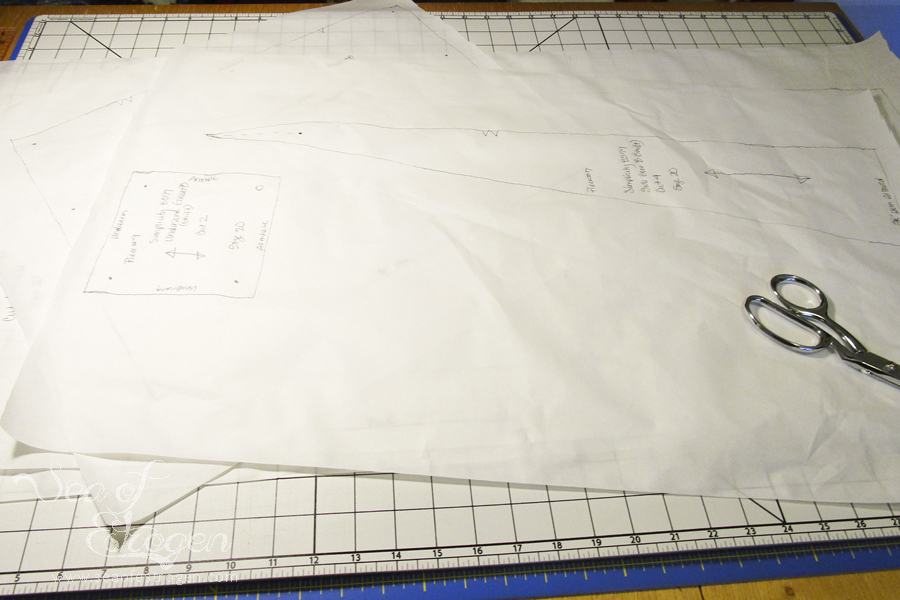
I use medical exam paper to trace the pattern pieces, and it is sturdy and doesn’t tear easily. I used a rotary cutter to cut all the pieces out of the exam paper, and then I was good to go.
French Seams
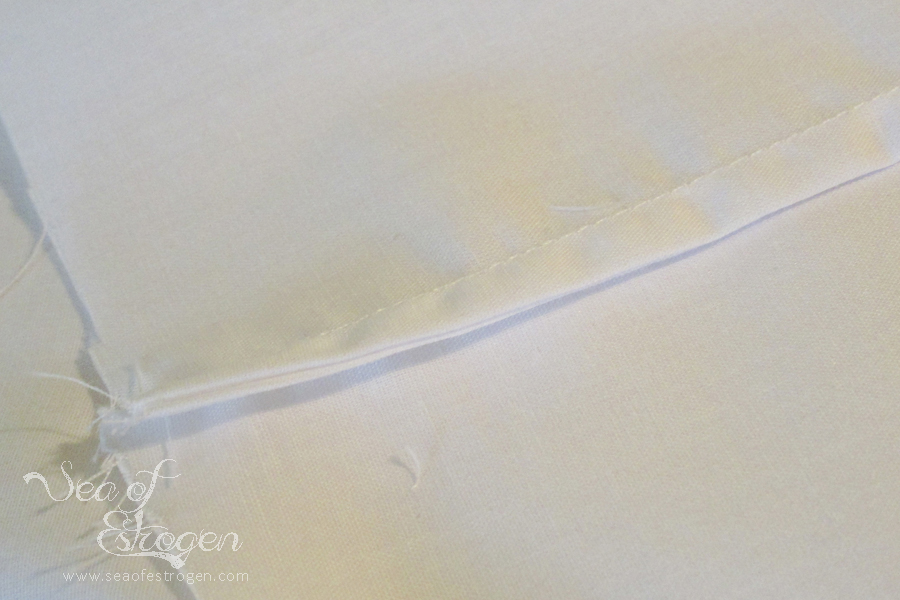
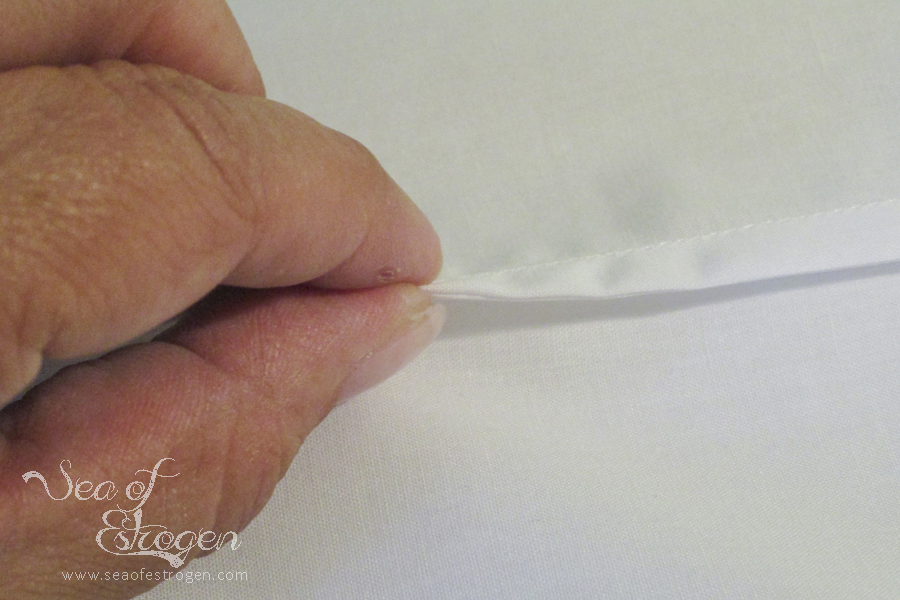
The second process I followed that increased the overall project time was using French Seams to construct the shift. To create a French Seam, first sew the pieces together wrong sides together, which is contrary to normal seam construction. Then, trim the seam allowance, press, and sew the seam right sides together. Following this process encloses the raw fabric edges inside the seam.
Construction
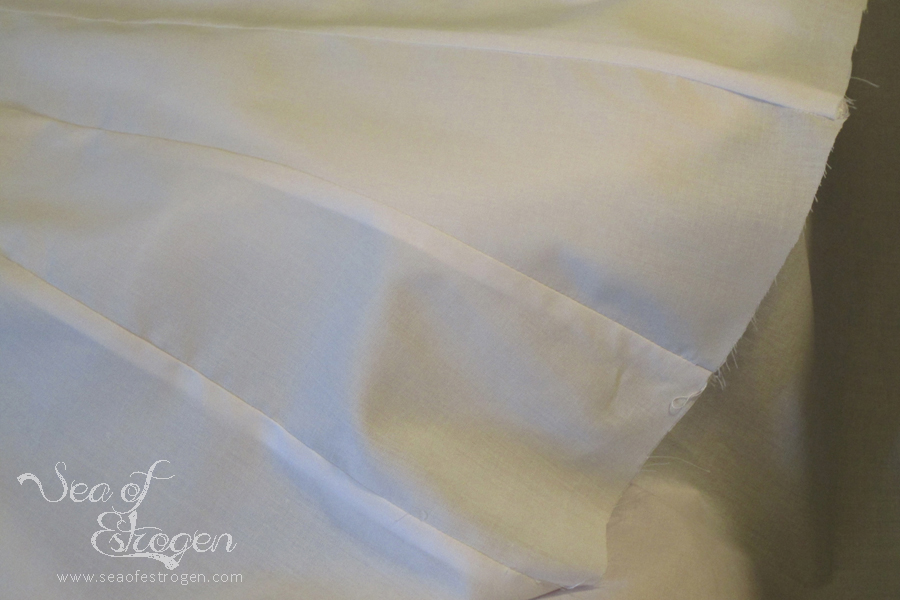
The construction of the shift is very easy. First I attached two gore pieces to the front and back main pieces. After the gore pieces, I sewed the front and back together at the shoulder and side seams. I have sewn with gores before, so this wasn’t a new process for me.
One construction method I have not used before is gussets in the armpit area of a garment. To construct the sleeves, first I added the gusset piece to each sleeve, and then closed the arm seam. After hemming the sleeves, they were inserted using the set-in method. Unfortunately, I didn’t take any pictures of this part of the process.
Hemming
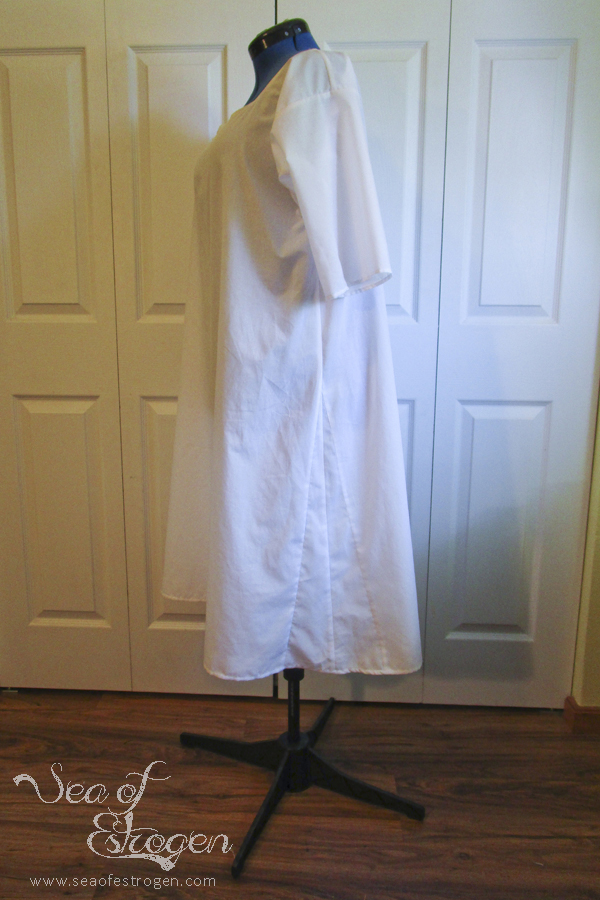
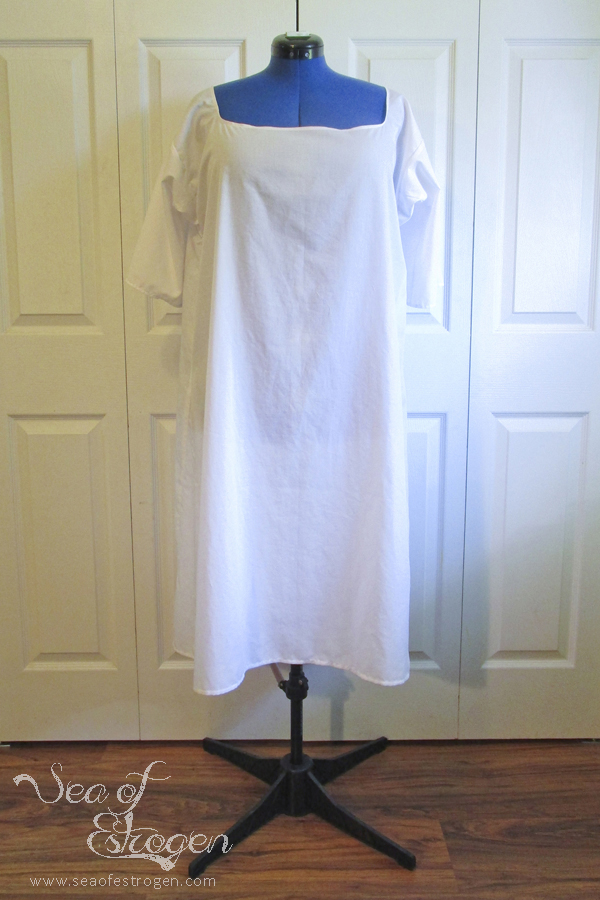
Both sleeves, the bottom hem, and the neckline are all finished with small hems – basically rolled hems. First, I pressed each hem in 1/8″, and then pressed it in again and edge-stitched. Once I finished the hemming, the shift was done! I gave it a quick wash, and it is now living on Francis full time!
Final Thoughts
Completing the shift was very easy, and it has made me even more excited to finish the entire ensemble. I can’t wait to get started on the next piece. I’m trying to decide whether I’ll make the stays or underpetticoat next. It will probably be the underpetticoat because I’m pretty terrified of the stays.
Series Posts
- To-Do Tuesday Intro
- Meet My New Friend
- Supplies and Fabric
- 18th Century Shift
- Underpetticoat
- 18th Century Pockets
- Stays for Days
- Panniers
- Underpinnings

Nature Girl. Mom. Wife. Friend. Photographer. Sewer. Crafter. Artist.
To borrow a phrase – “Yeet Ye Riche”
5 thoughts on “18th Century Shift”
Comments are closed.