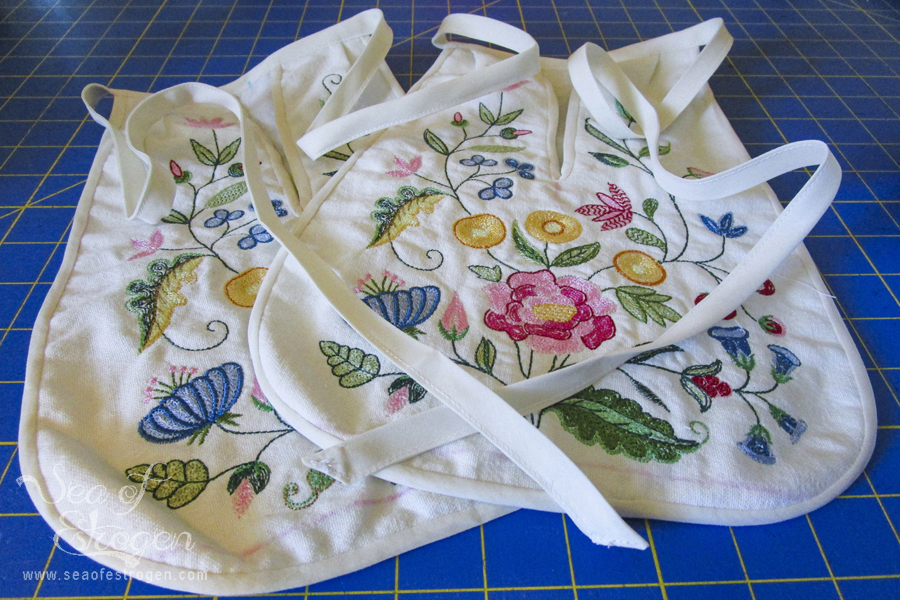
Technically, the next step in the 18th Century project was to make the stays. I did start them after the shift, but then I got to the point of having to hand-stitch what seemed like miles and miles of binding and needed a break.
In reality, I got a new combination sewing and embroidery machine, and I wanted to play with the embroidery feature. I worked on hand-sewing the stays while the embroidery was being worked. If you’ve been following the progress of my 18th Century Ensemble project, thank you! This post covers embroidering and then sewing the 18th Century Pockets. Other posts in this series can be found at the end of this post.
There will be a second post about making pockets because I will be making another pair. My sister does amazing hand-embroidery work, and she volunteered to re-create the embroidery from an extant example of 18th Century Pockets. Those will be the pockets I actually wear with my full ensemble, but I wanted to make a practice pair so I didn’t mess up Erika’s hard work.
Patterns
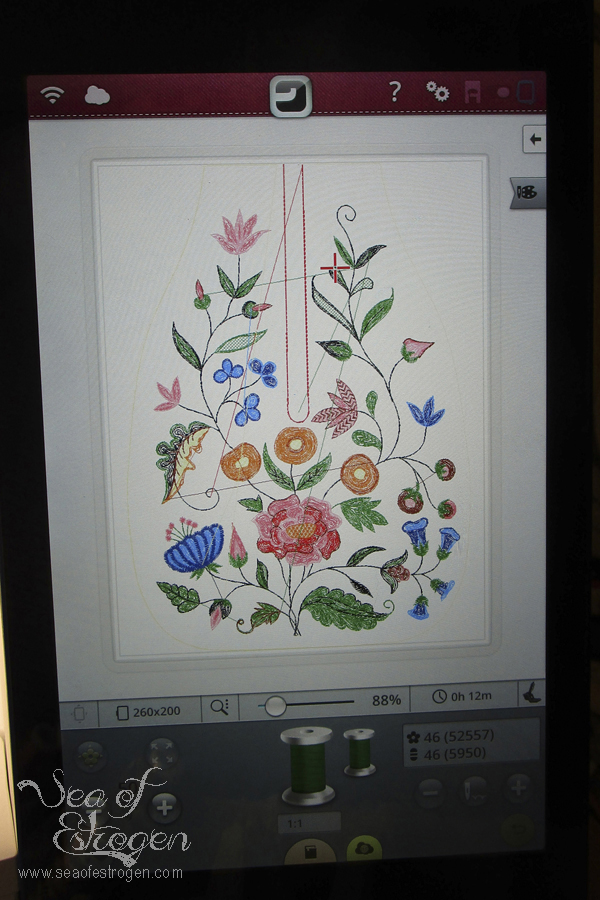
The pockets essentially used two patterns – the embroidery pattern, and the pocket pattern. I used an embroidery pattern I found online, and for the pockets themselves, I used the same pattern as Lauren on the American Duchess Blog.
Embroidery Supplies
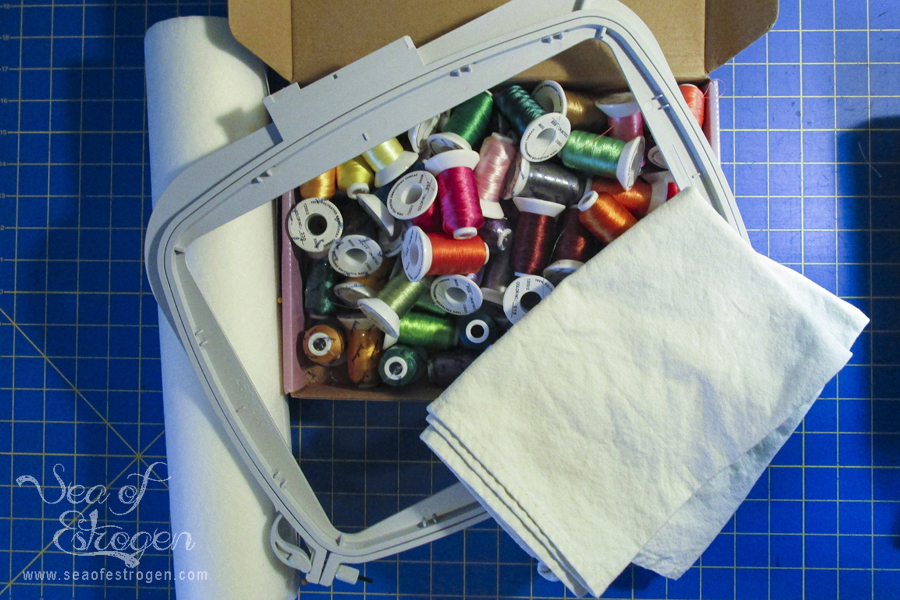
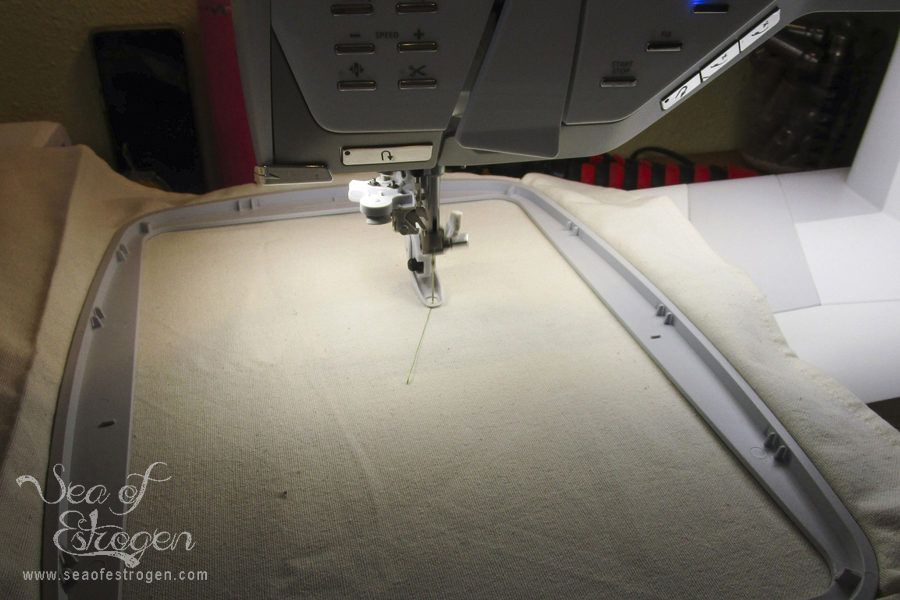
Supplies required for the pockets included my embroidery machine, floss, and frame. In addition, I used a wash-away stabilizer and the fabric to embroider. I used 100% natural cotton towels – the embroidery pattern fit perfectly on one half, and I will use the other half for the back of the pockets.
Embroidery
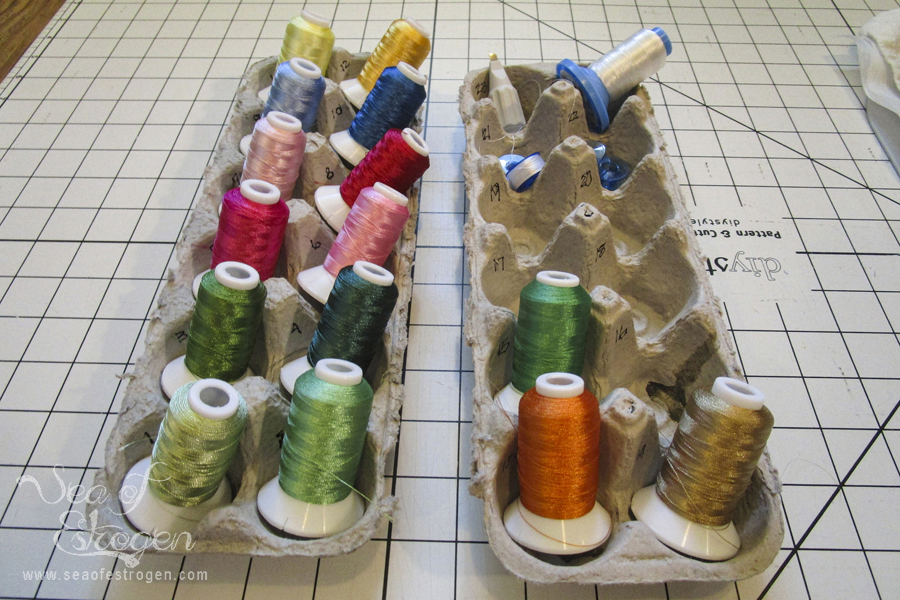
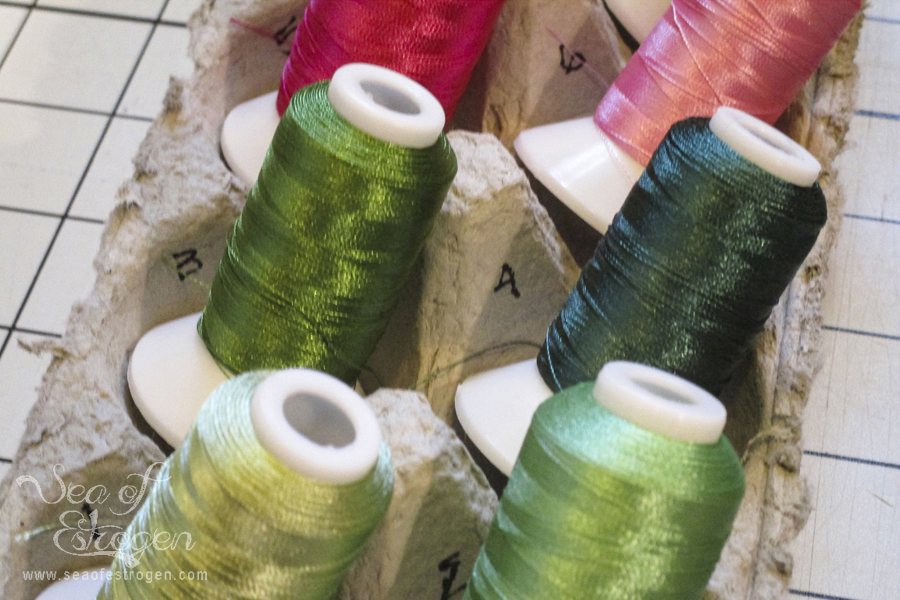
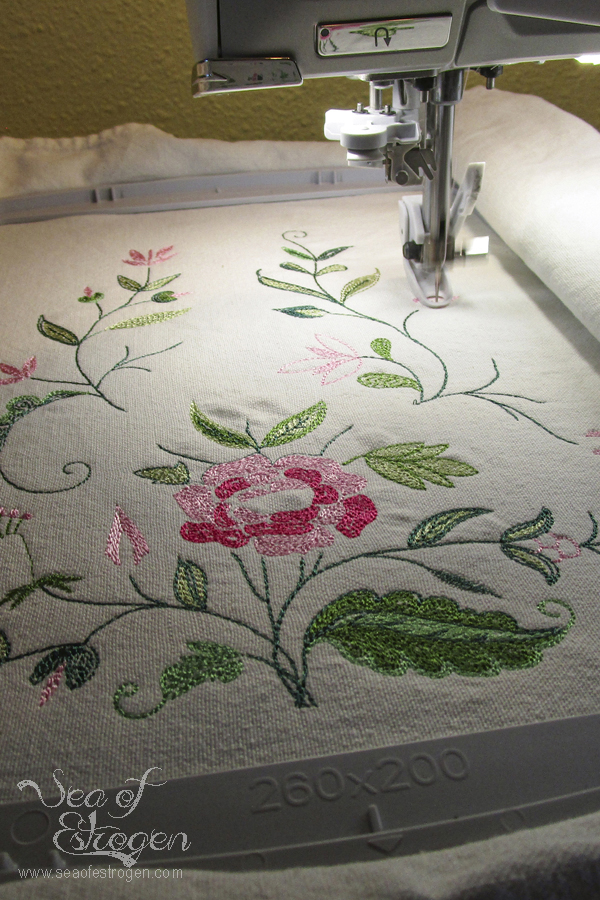
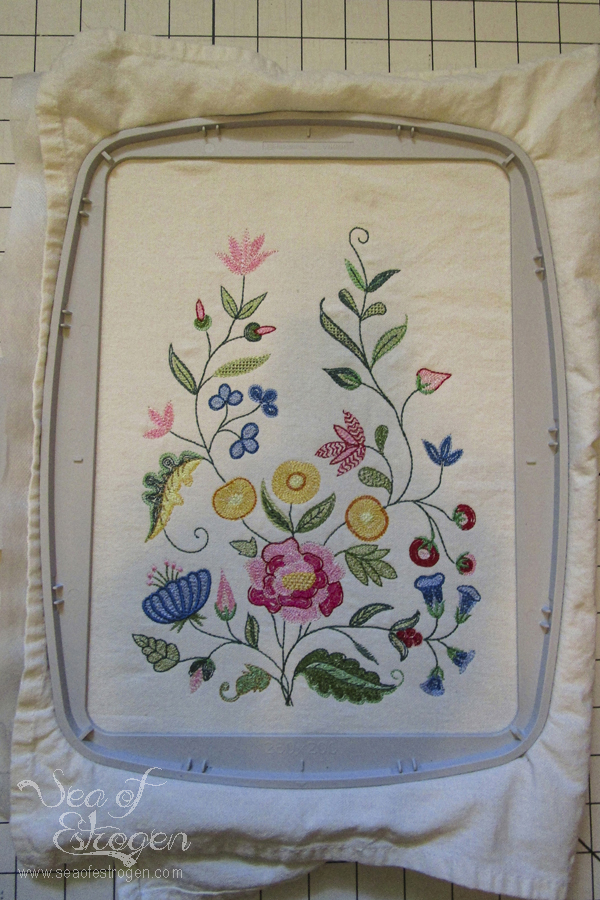
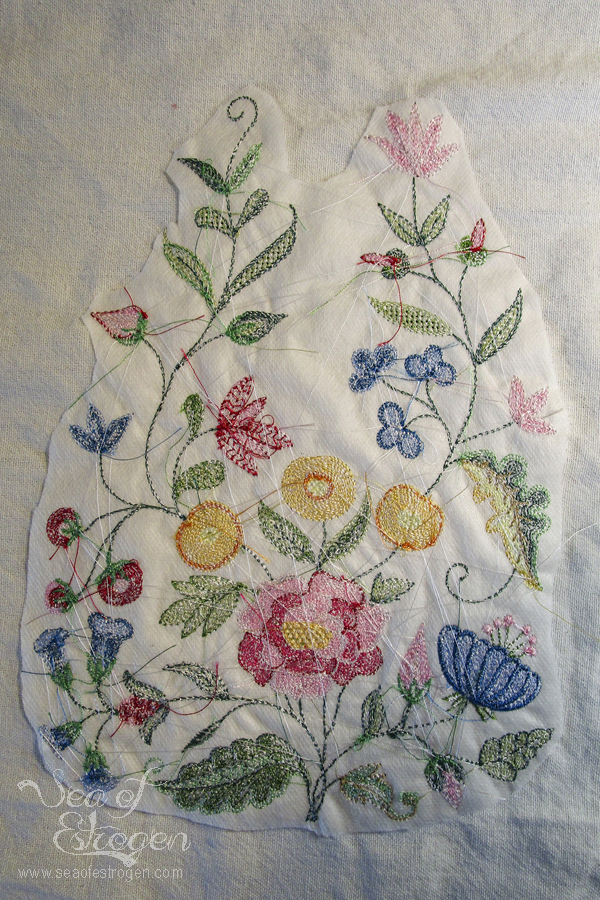
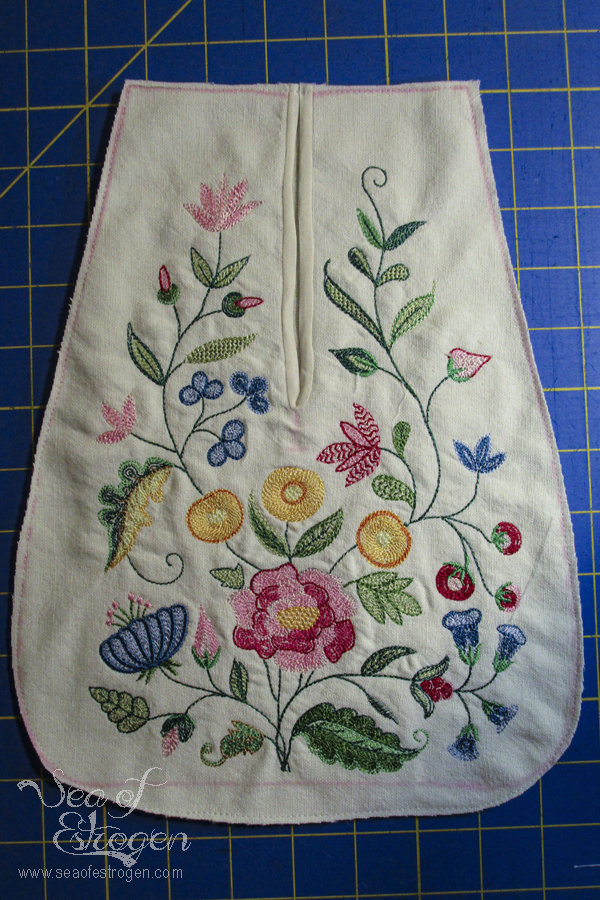
The hardest part of the embroidery portion of this project was choosing floss colors. I made three practice pieces before I finalized the colors. Once chosen, I used my handy-dandy numbered egg cartons to make sure they stayed in the proper order. Each piece took about 1-1/2 to 2 hours to make.
While the machine was stitching out each color, I killed time hand-sewing my stays. I am absolutely thrilled with this new machine, and I cannot wait to see what else it can do. For reference, I have the Husqvarna Viking Designer Epic 1. I will write another post in the future talking about the purchase, my experience using it, and how I feel about it.
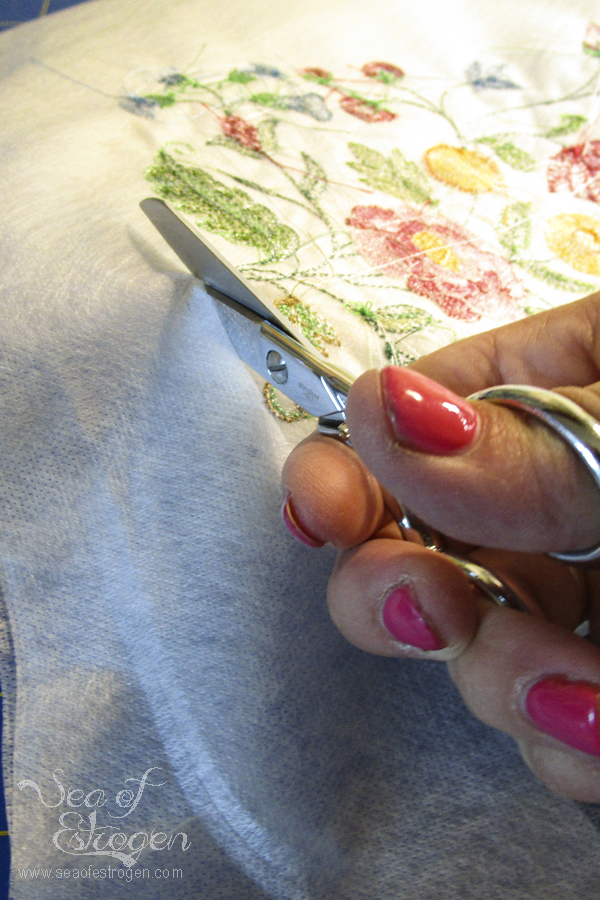
Once the embroidery was finished, I trimmed off all the excess stabilizer as close to the stitching as I was comfortable with.
Creating the Pockets
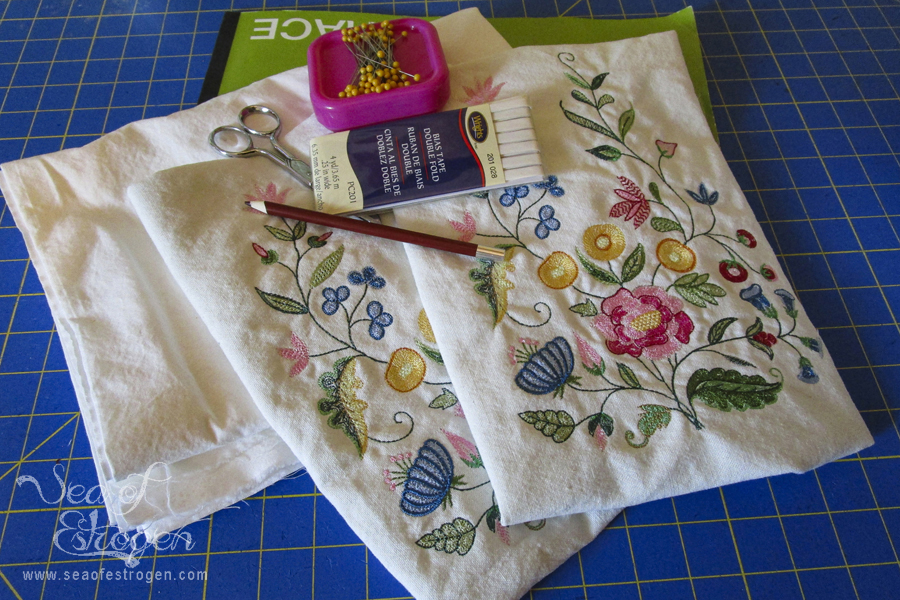
Once the embroidery was finished, it was time to get sewing. Supplies for making the pockets included the finished embroidery pieces, a lining fabric, pattern transfer pencil, 1/4″ bias tape, and tracing paper.
Transferring the Pattern
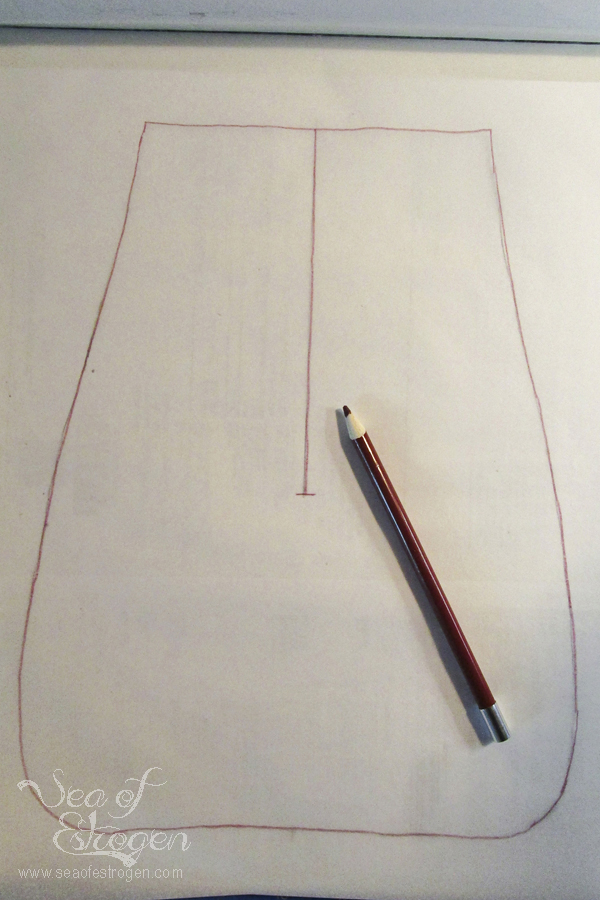
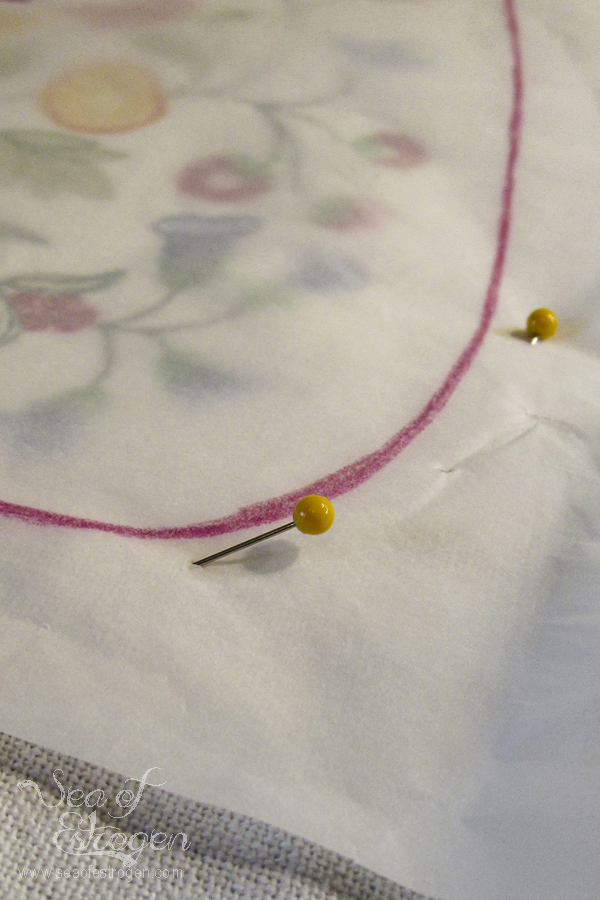
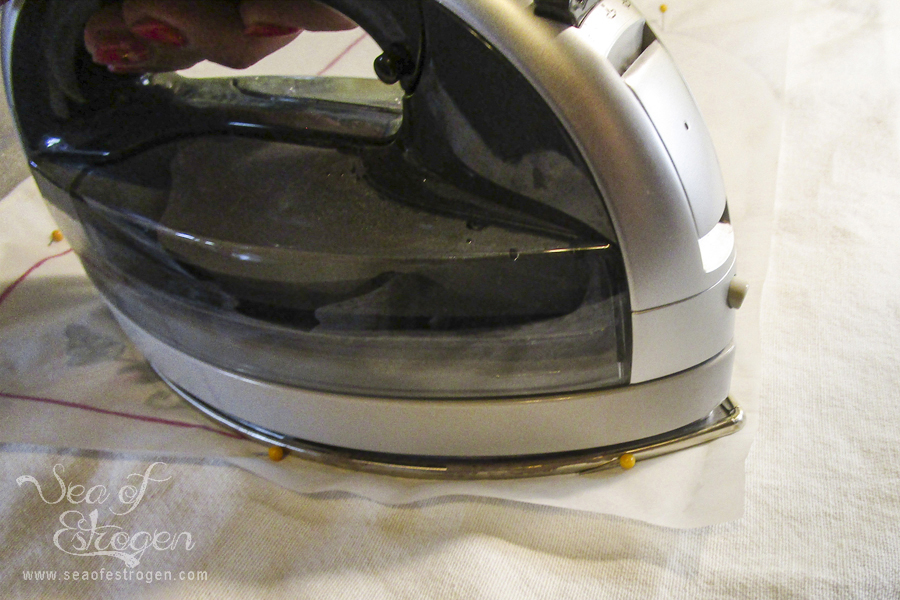
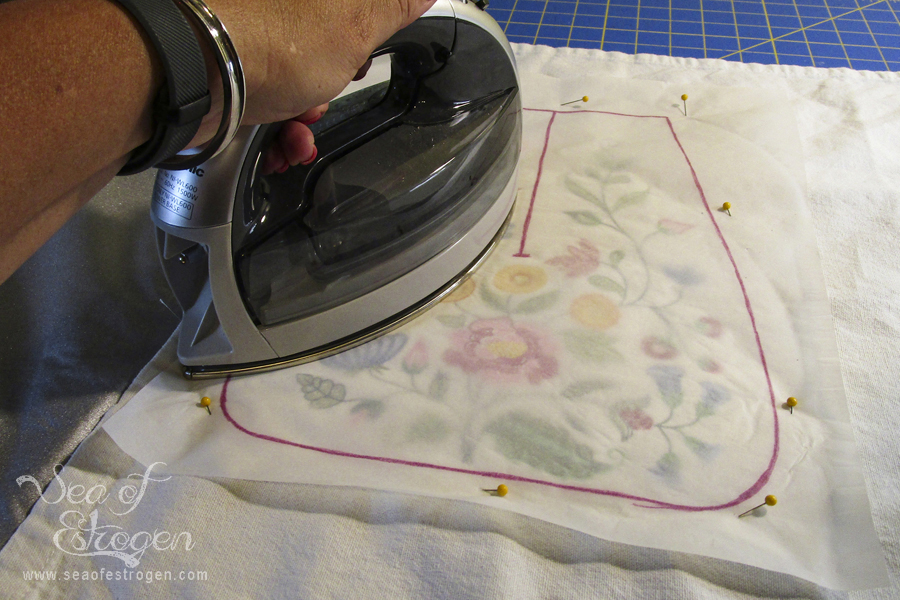
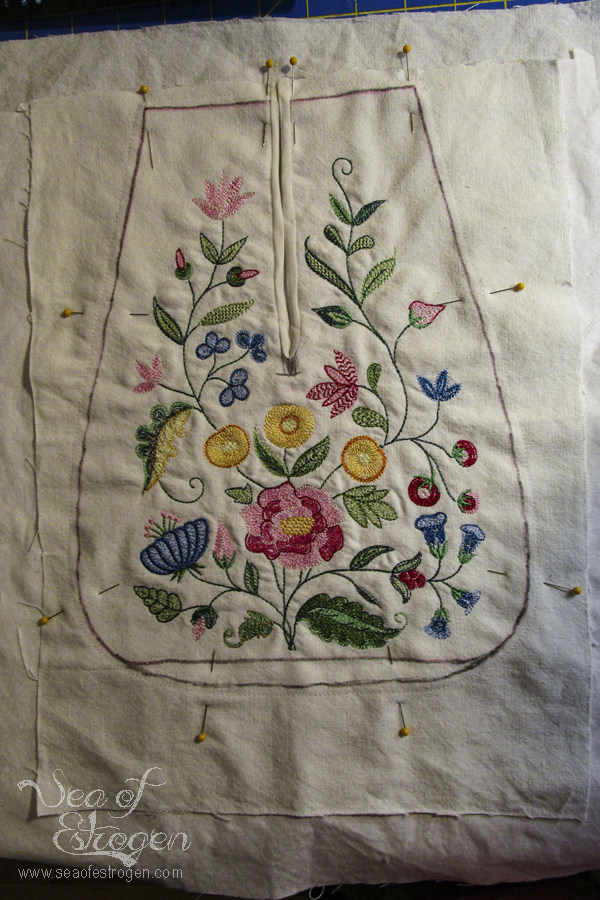
The first step of creating the process included cutting the pieces of cotton in half to separate the embroidered half from the backing fabric. Then, I traced the pocket pattern onto tracing paper with the pattern-transfer pencil and ironed the pattern onto the embroidered pieces.
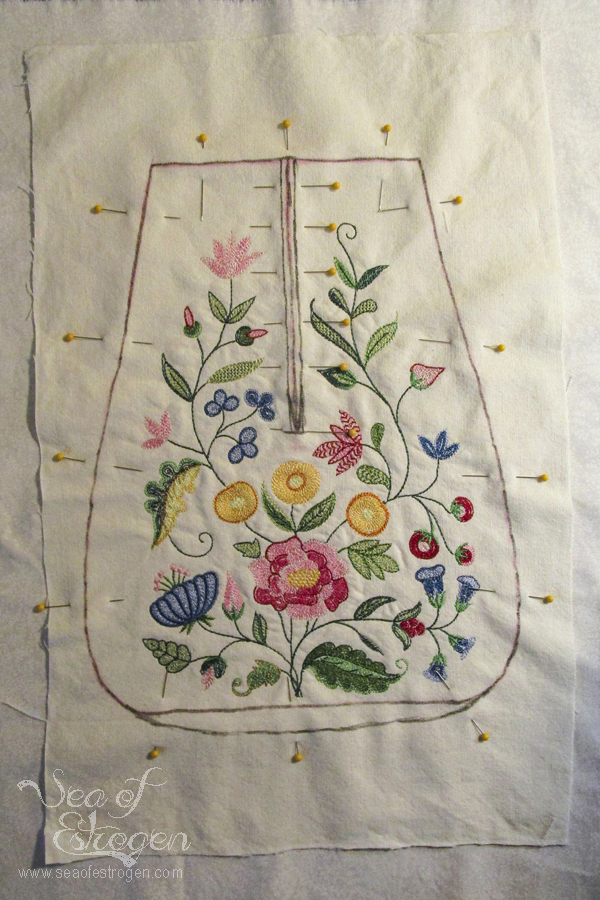
The pattern transfer lines were pretty light, so I traced over them using a water-soluble fabric marker.
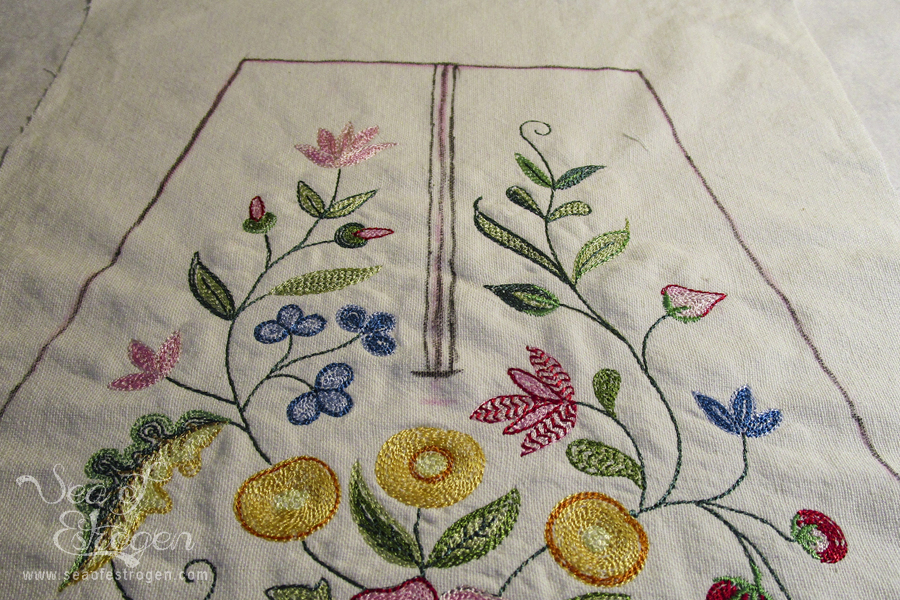
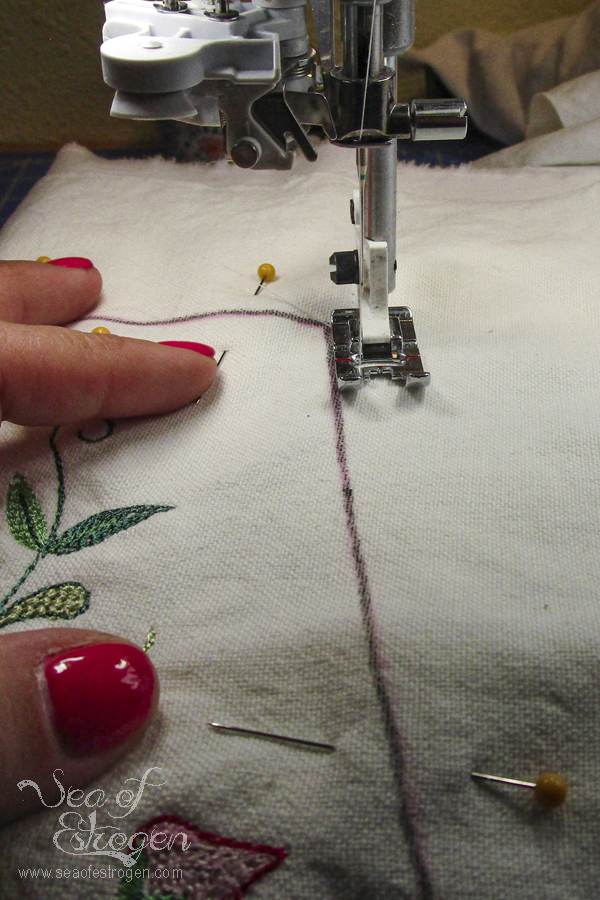
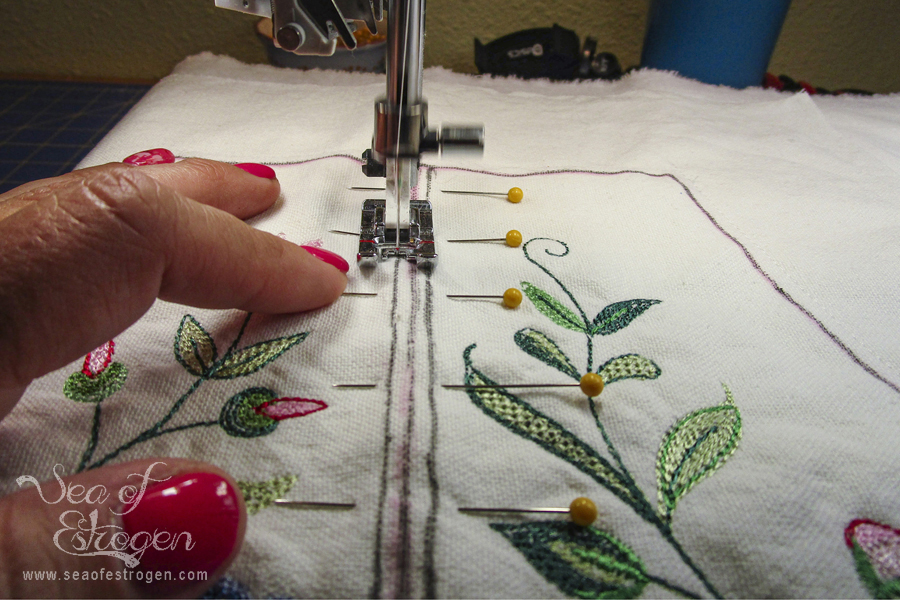
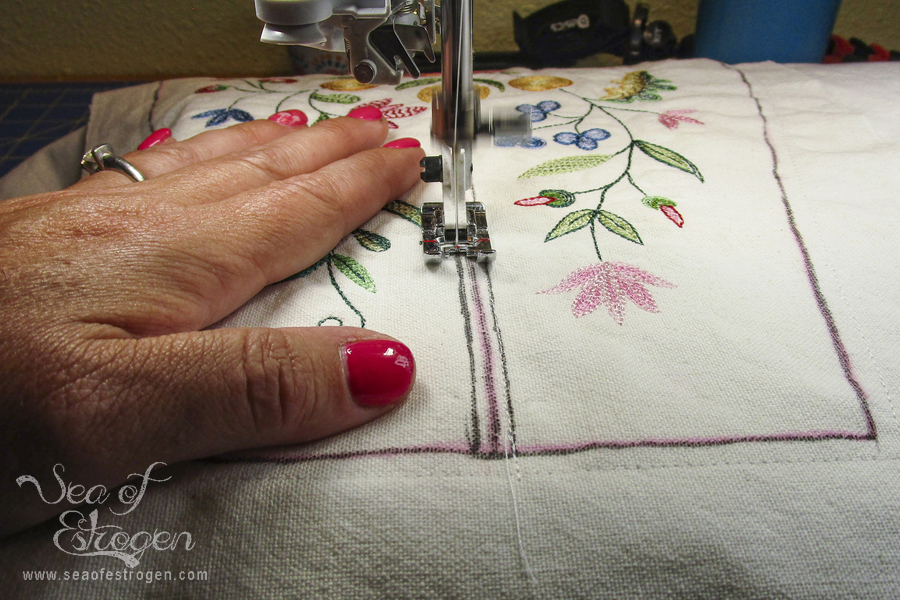
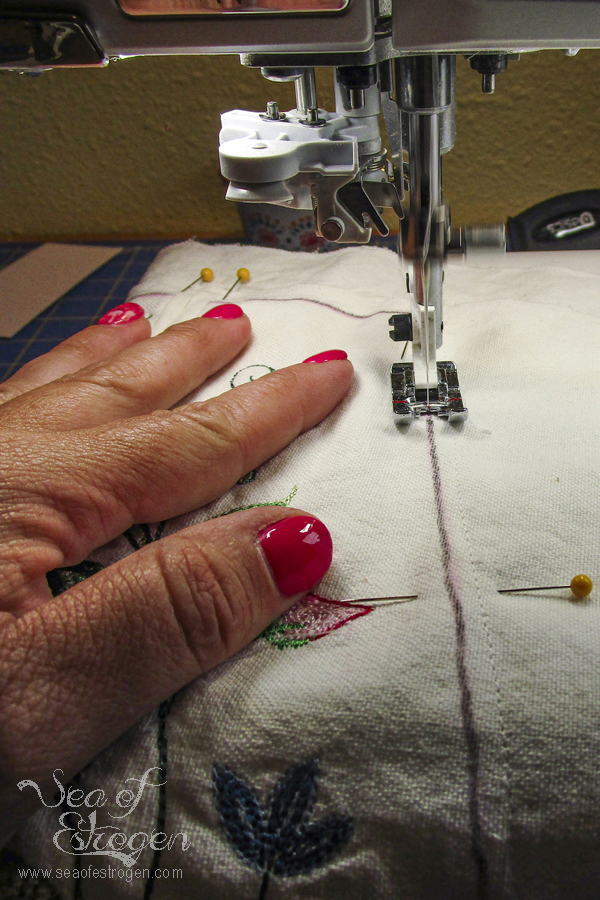
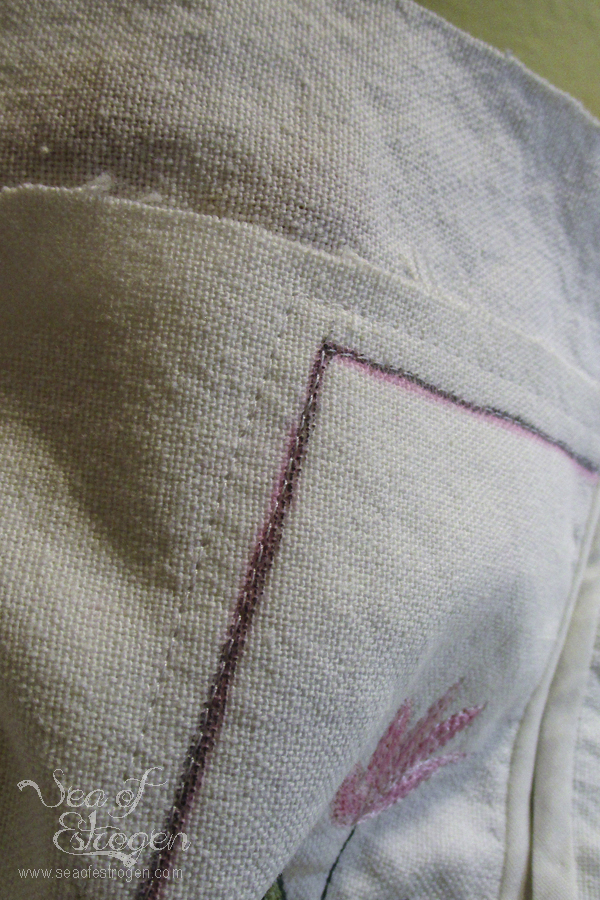
Next, I pinned the lining fabric to the backside of the embroidered piece wrong sides together. The lining fabric will protect the back-side of the embroidery, keeping it from getting snagged and ruined when the pockets are in use. I did not sew the lining to the front directly on the line, rather, I sewed approximately 1/8″ away from the line so I could sew on the line when attaching the back piece. The exception is the pocket opening. I did sew directly on each of the outer lines next to the pocket split.
Bind the Pocket
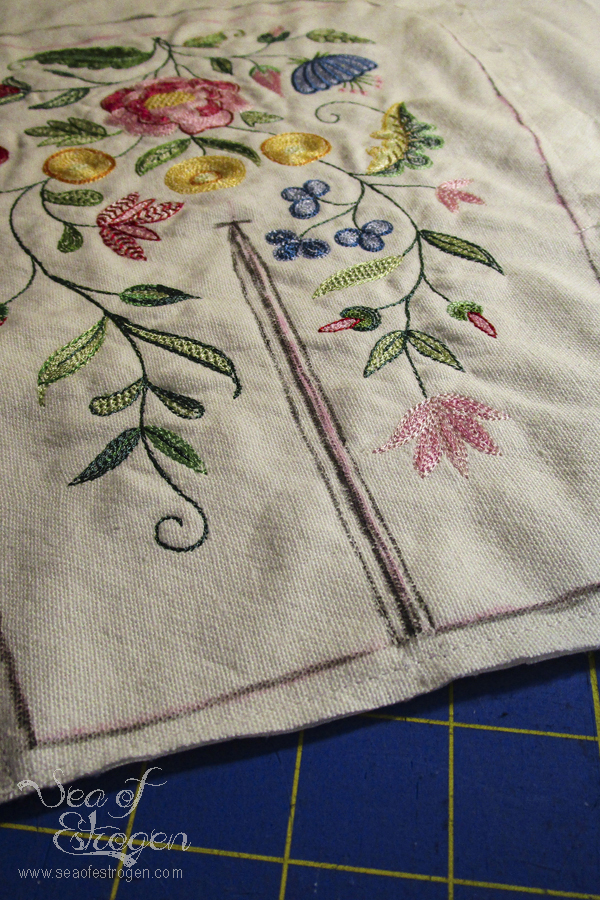
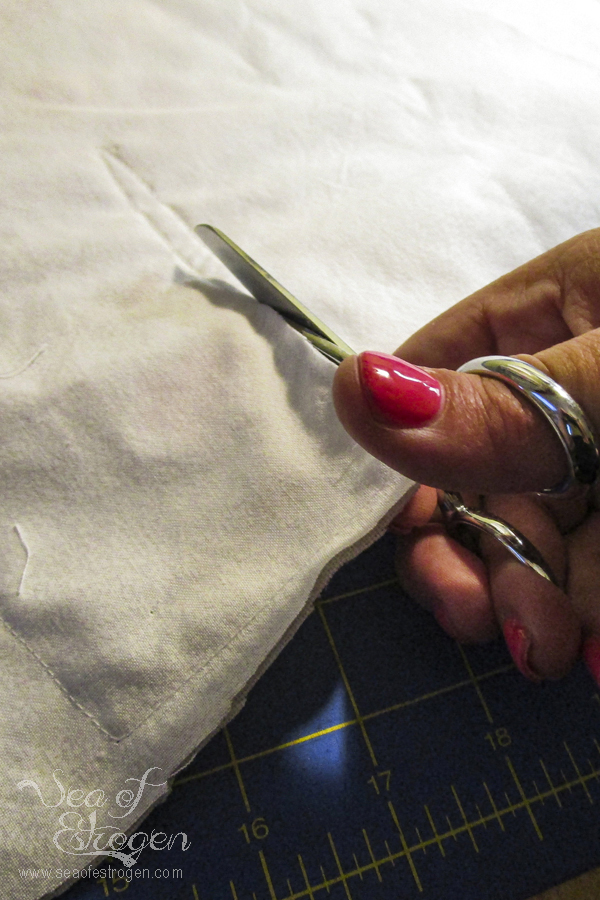
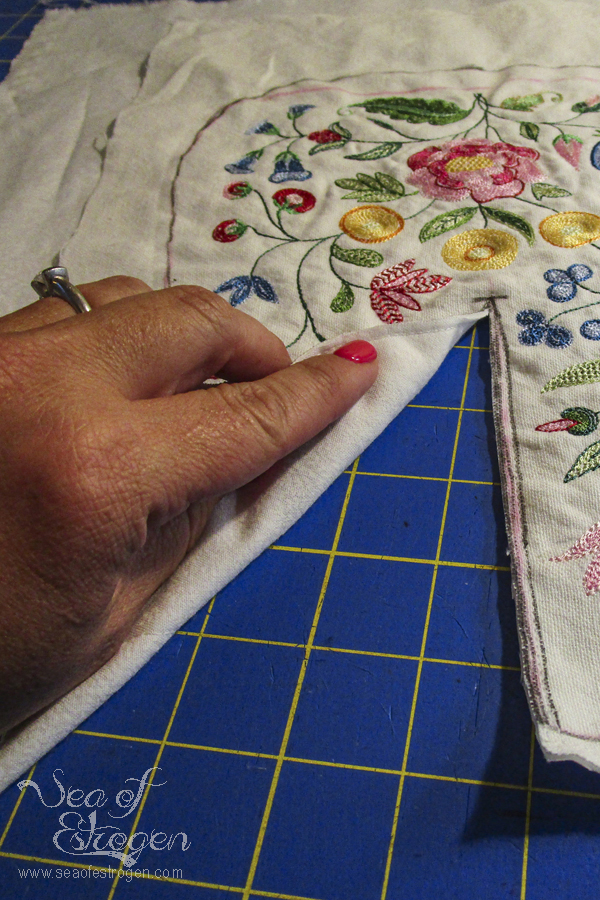
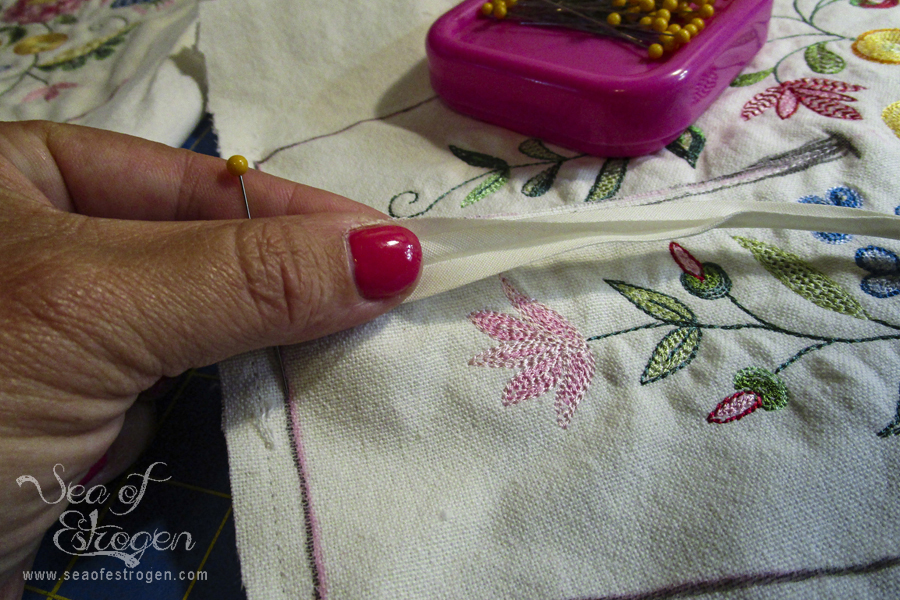
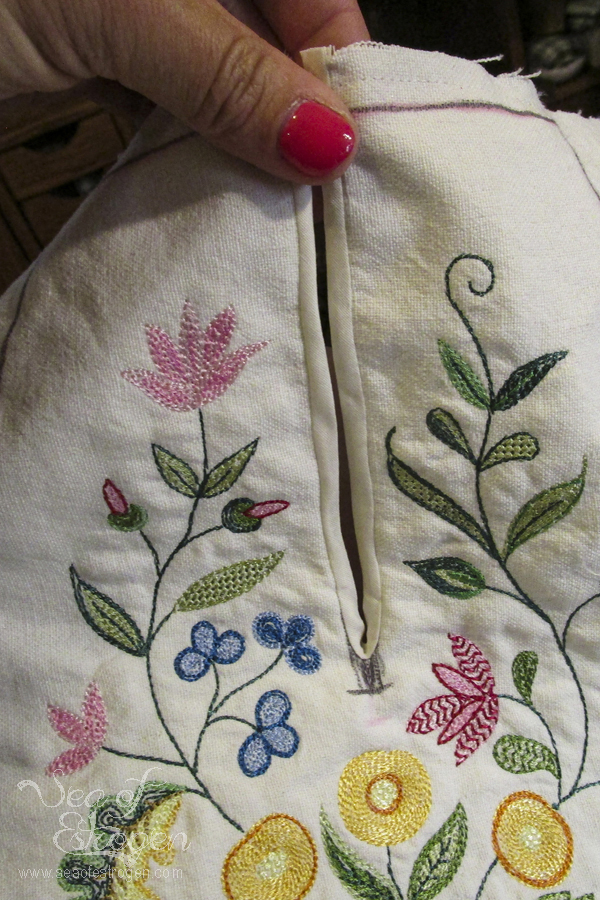
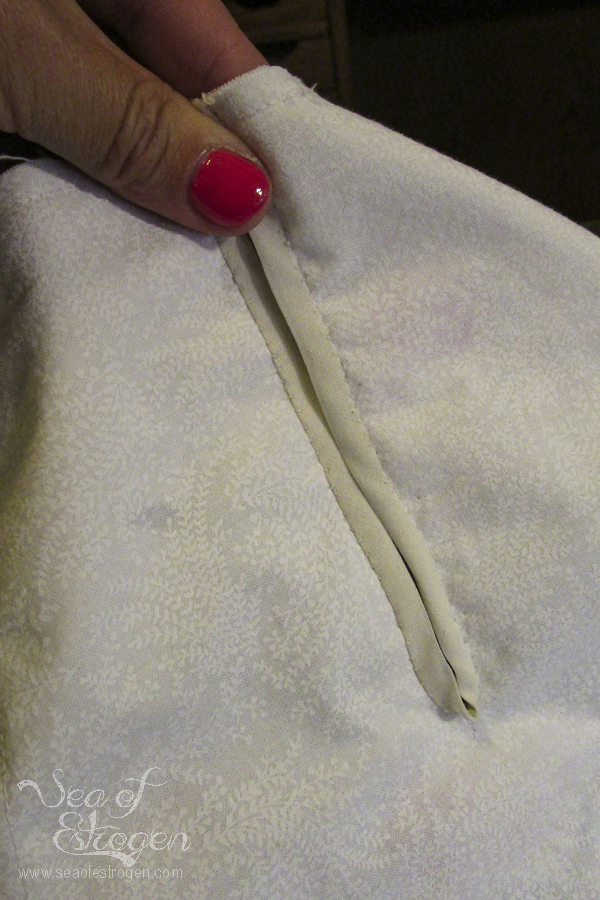
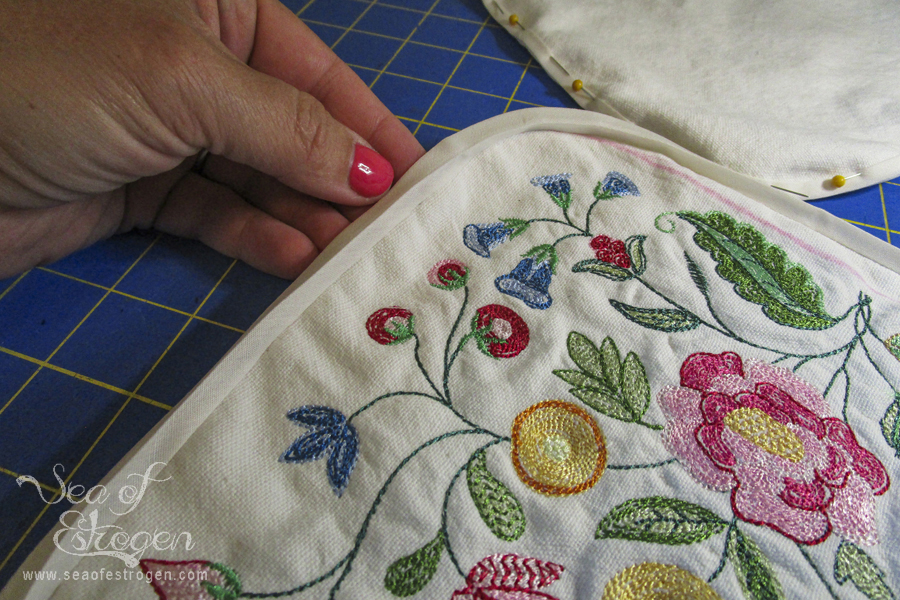
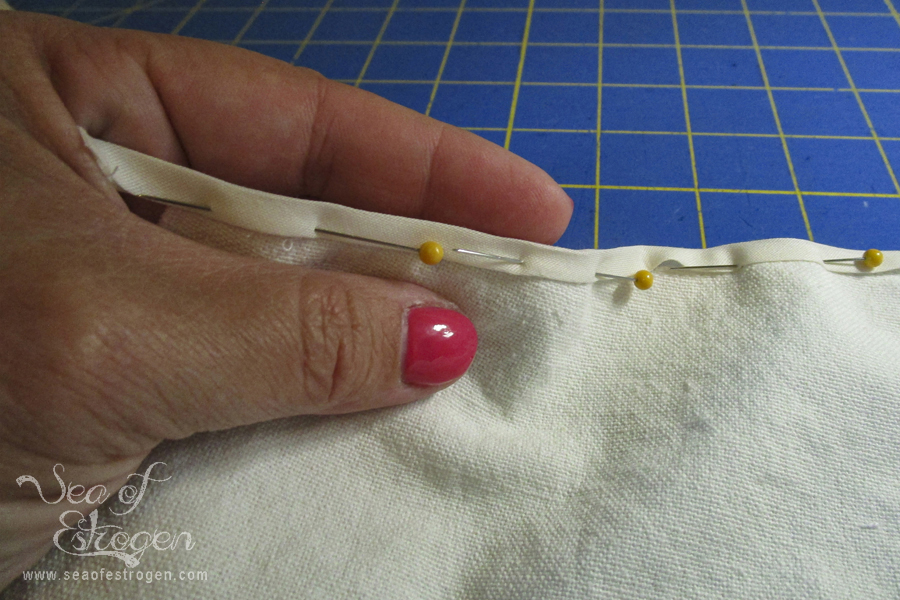
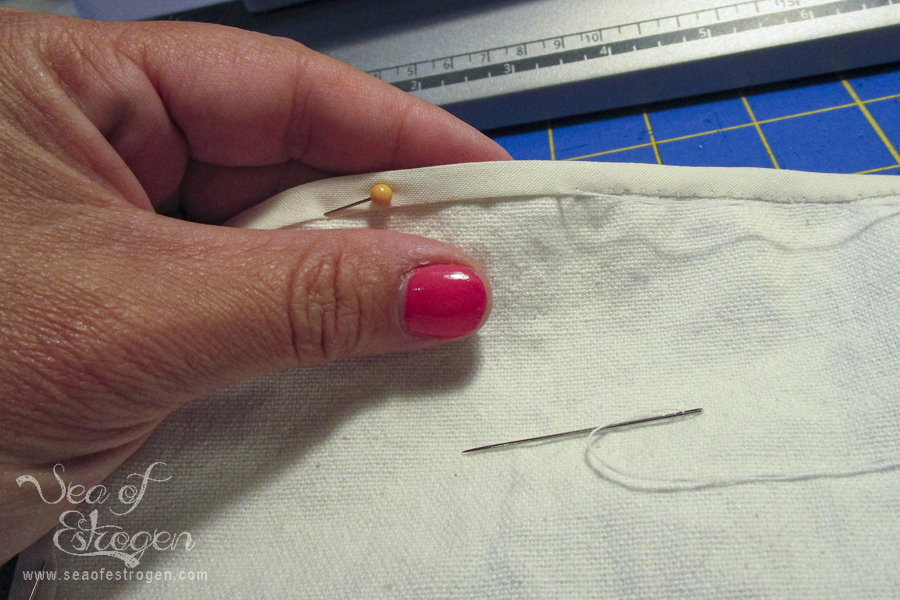
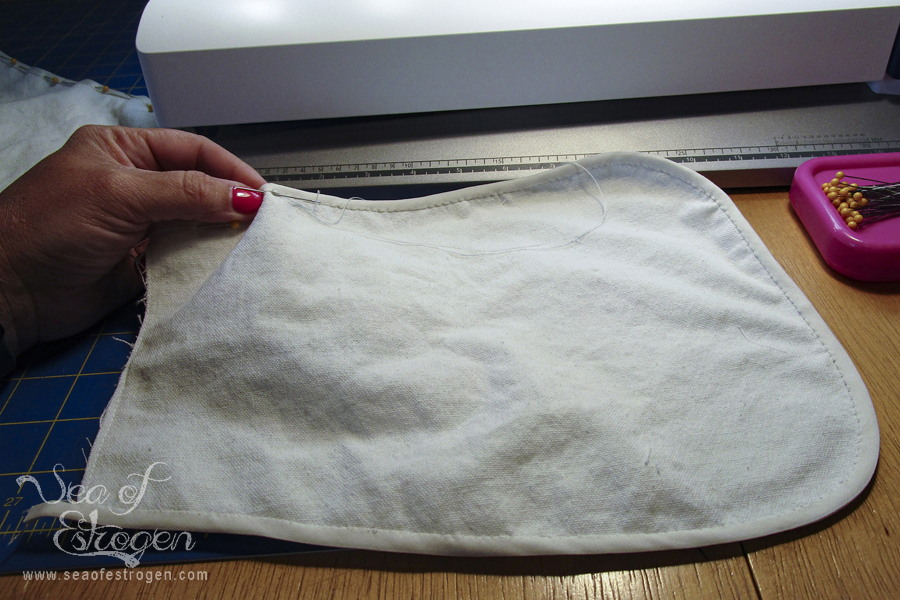
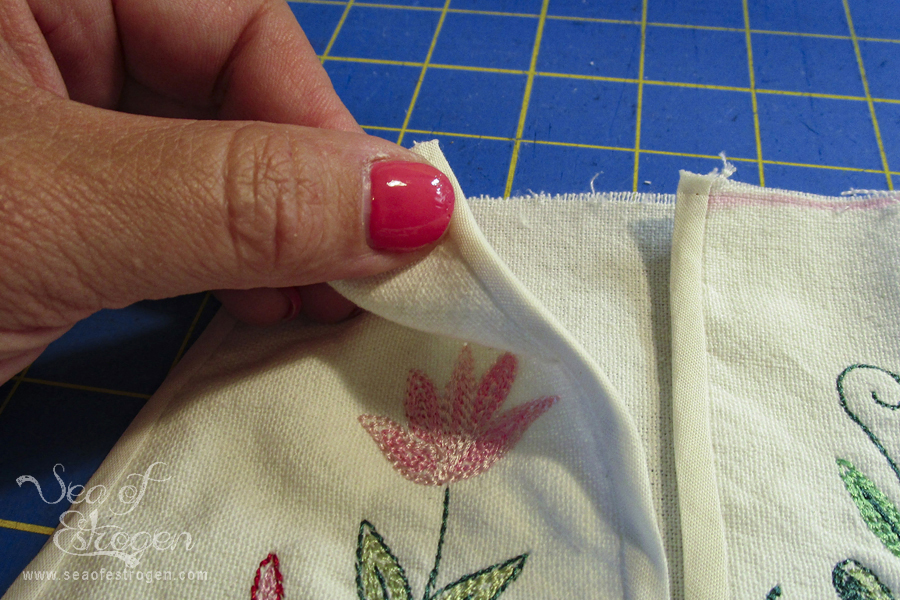
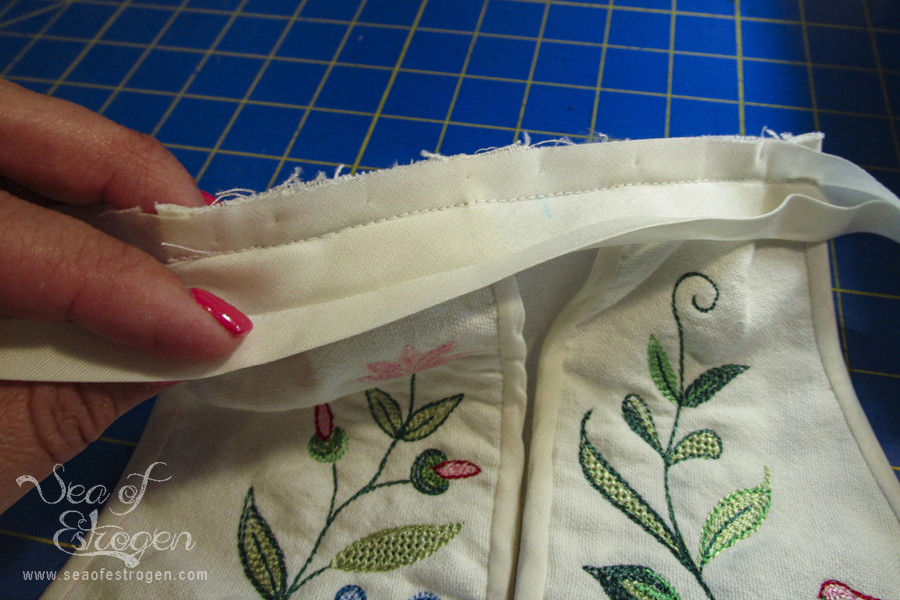
Before attaching the pocket back, we need to bind the pocket opening. First, cut directly down the center of the pocket opening stitching, be careful not to cut through the stitching at the bottom. Unfold and pin the bias tape to the right side of the pocket opening and stitch at 1/4″ seam allowance (on the bias tape fold). Once attached, fold the bias tape over to the back and pin in place. Hand stitch using a whip or slip stitch (please ignore my awful hand-stitching).
Add the Backing
We’re nearly done! Pin the front of the pocket to the backing piece. Stitch around the pocket on the stitching line. Trim the pocket 1/8″ around the outside of the stitching. I trimmed on the original stitching line from sewing the lining to the front piece.
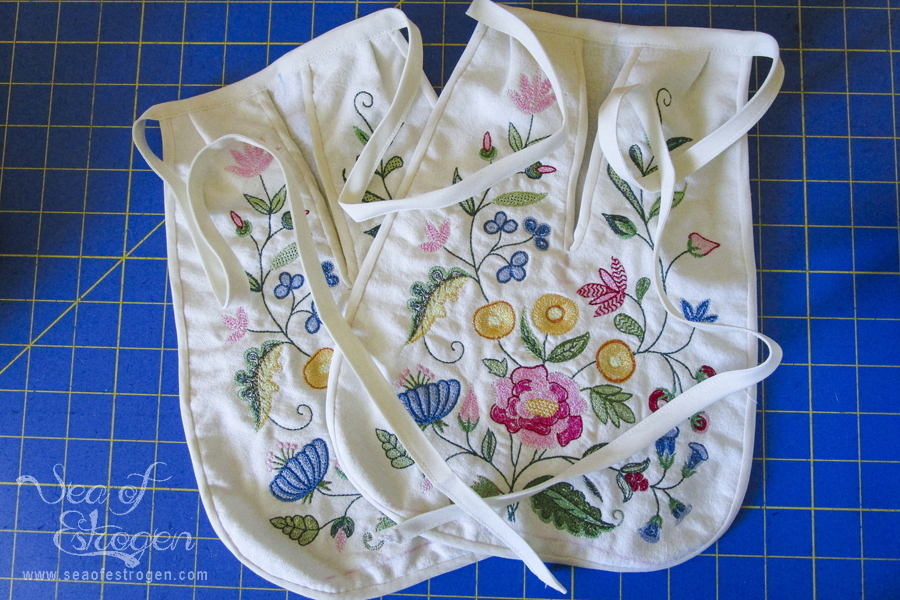
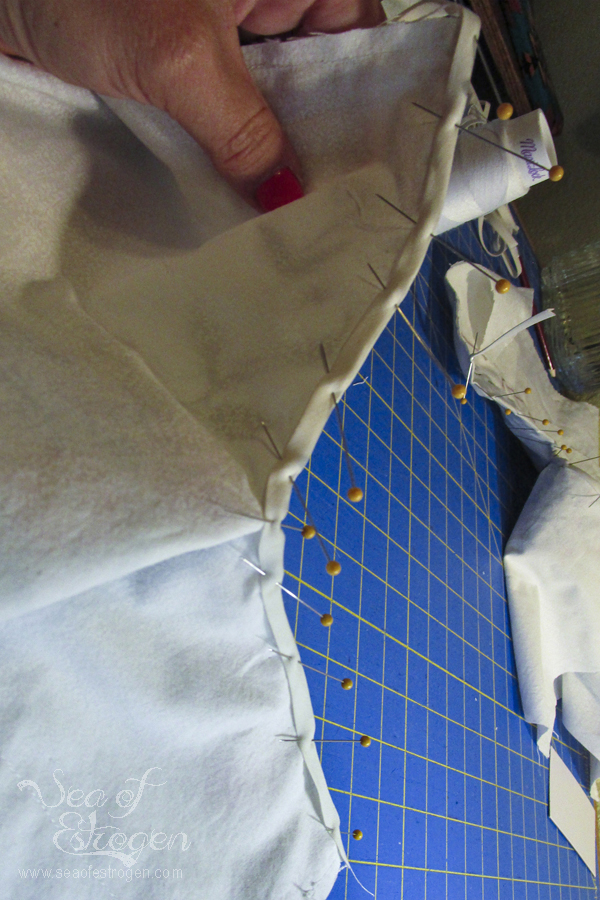
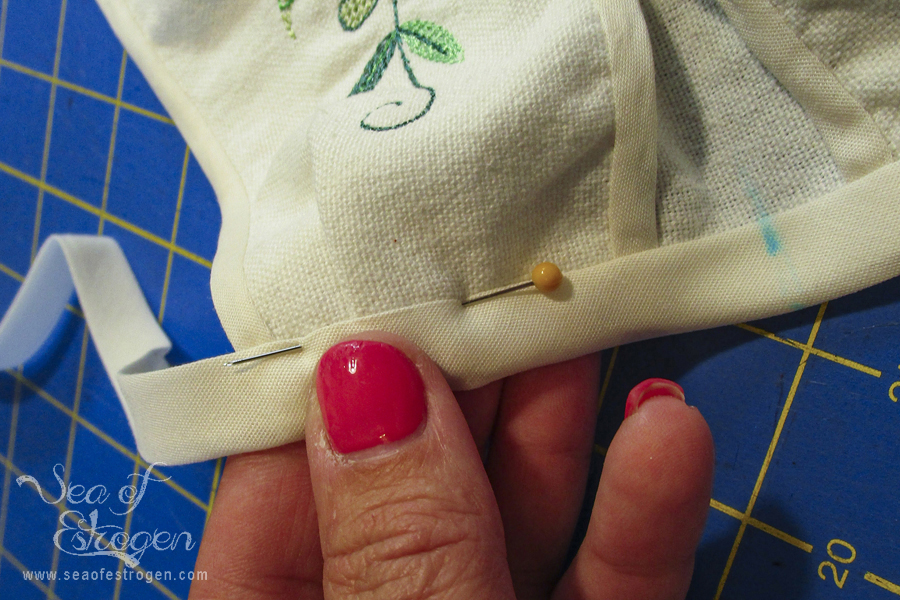
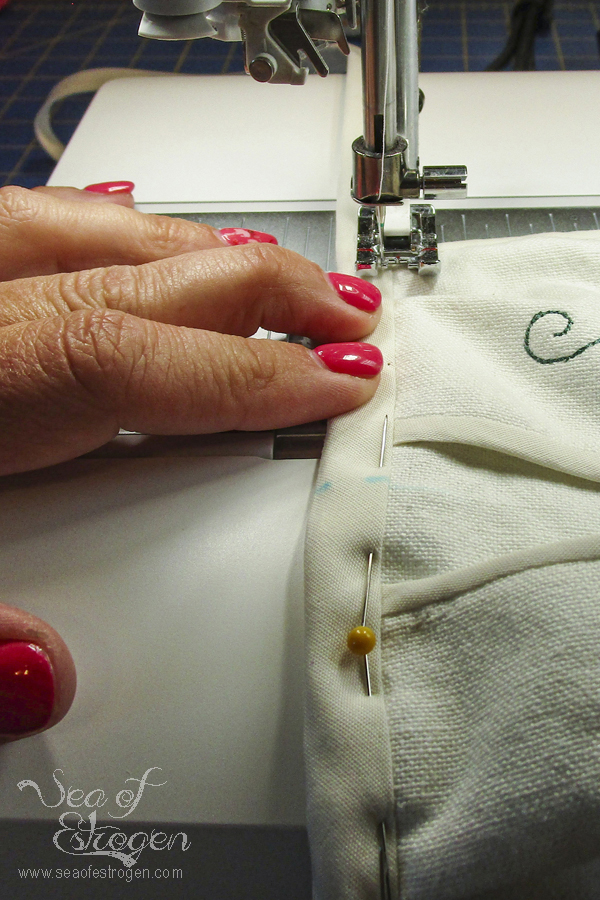
Bind the outside of the pocket by unfolding and pinning the bias tape to the front of the pocket. Stitch in the fold all the way around. Fold the bias tape to the back, pin in place, and stitch. Voila! The pocket is functional . . .
Oops
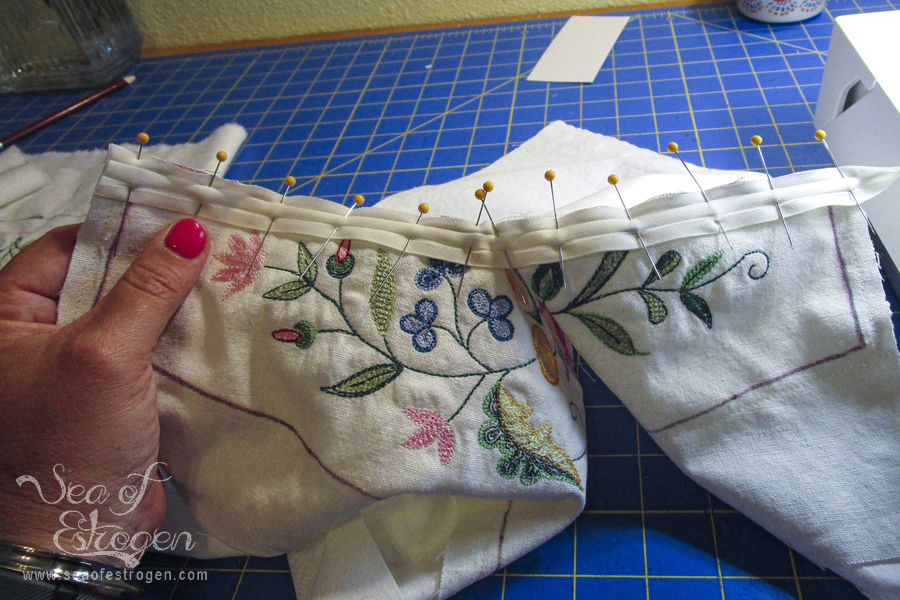
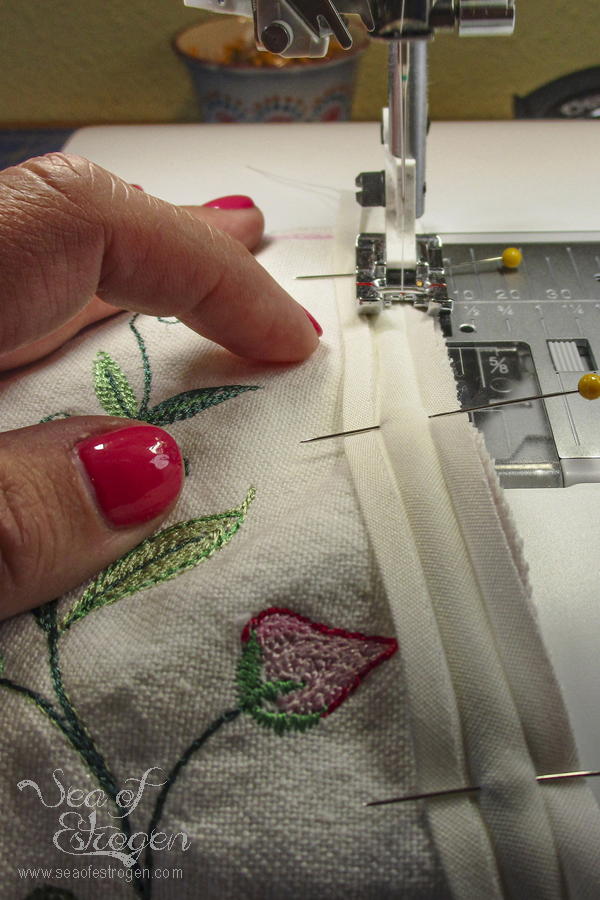
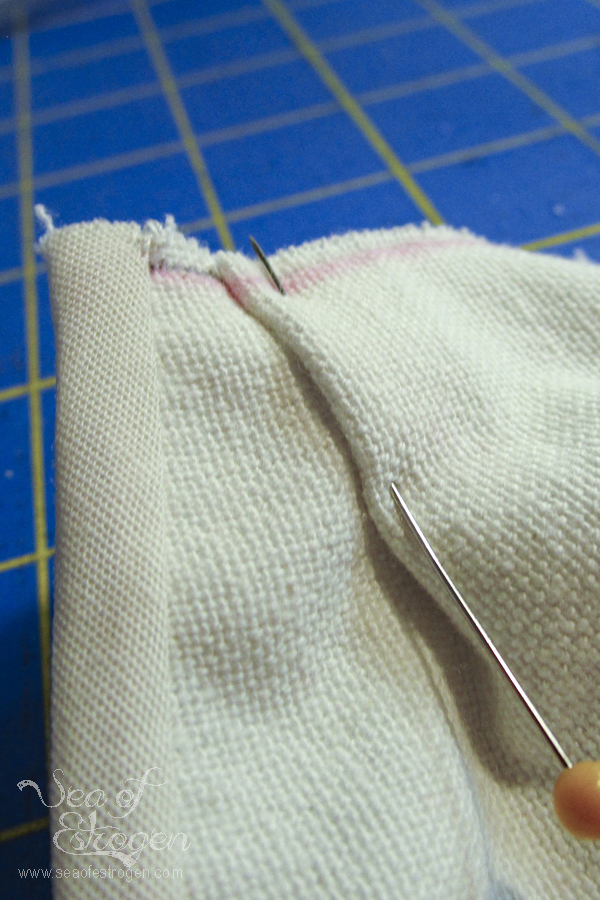
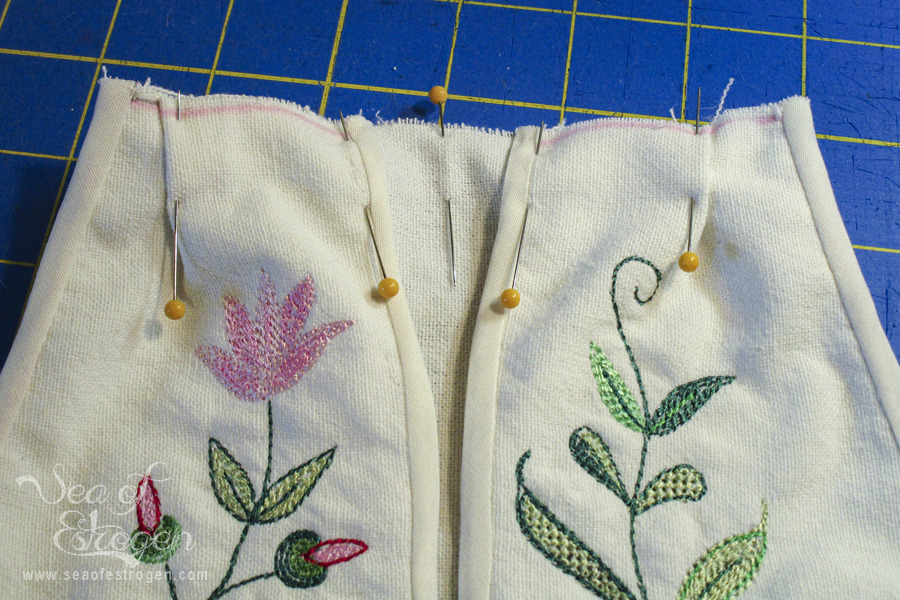
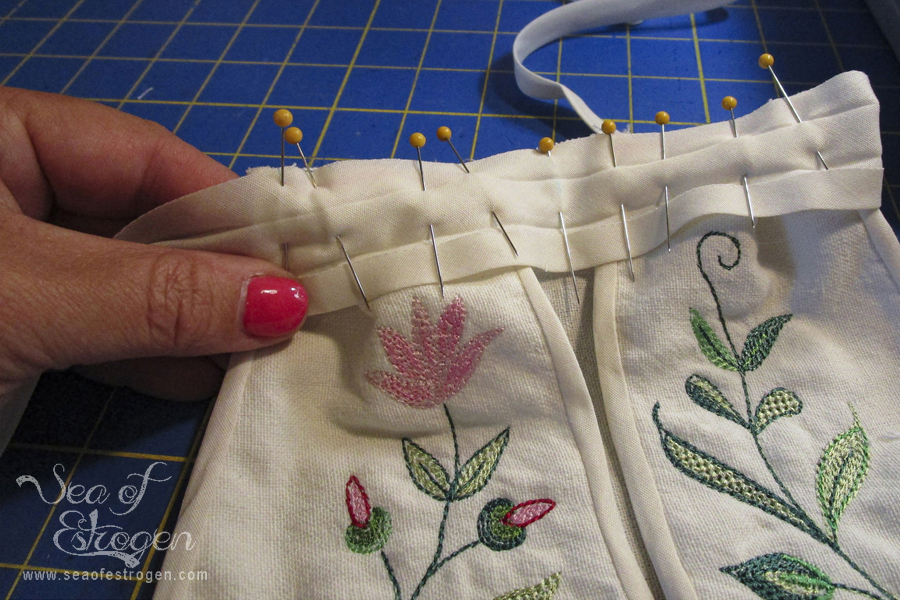
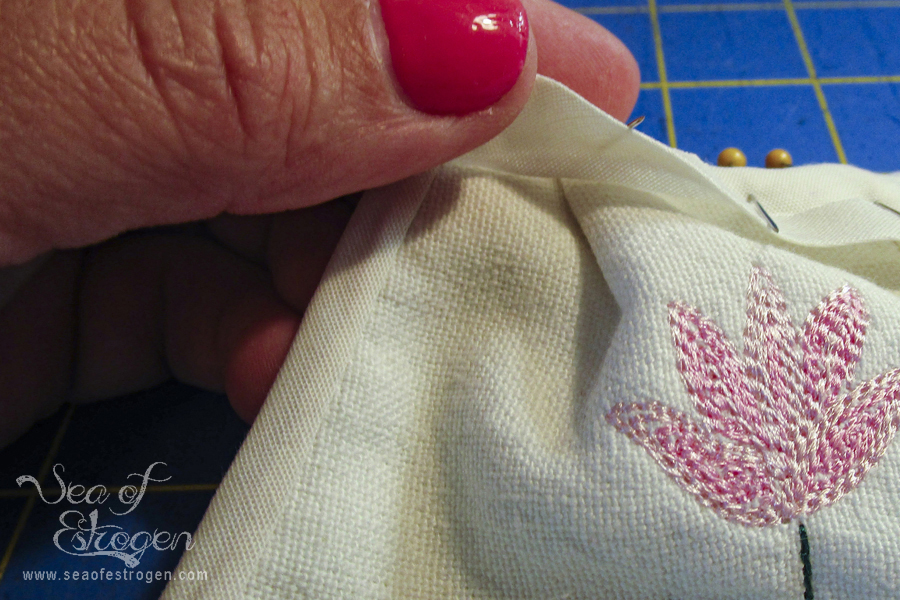
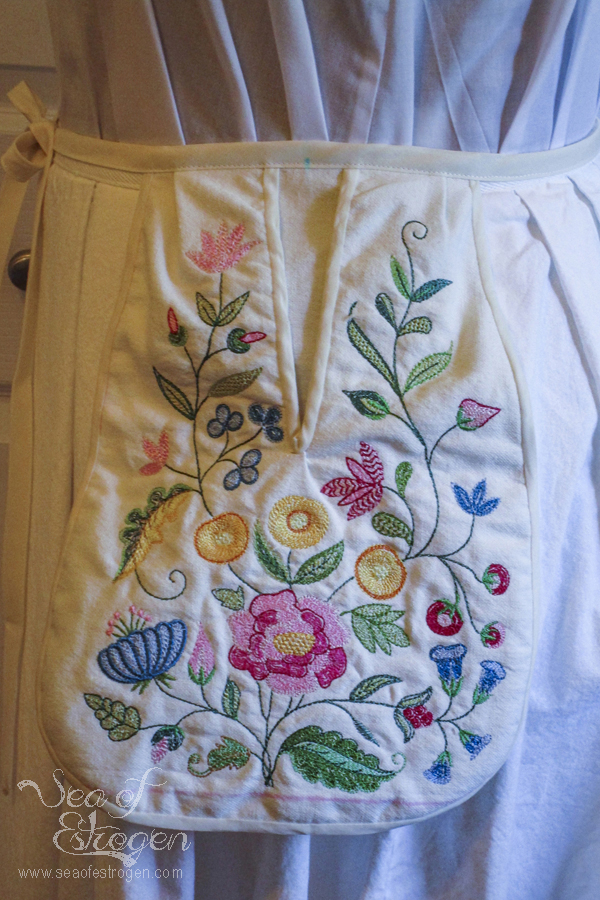
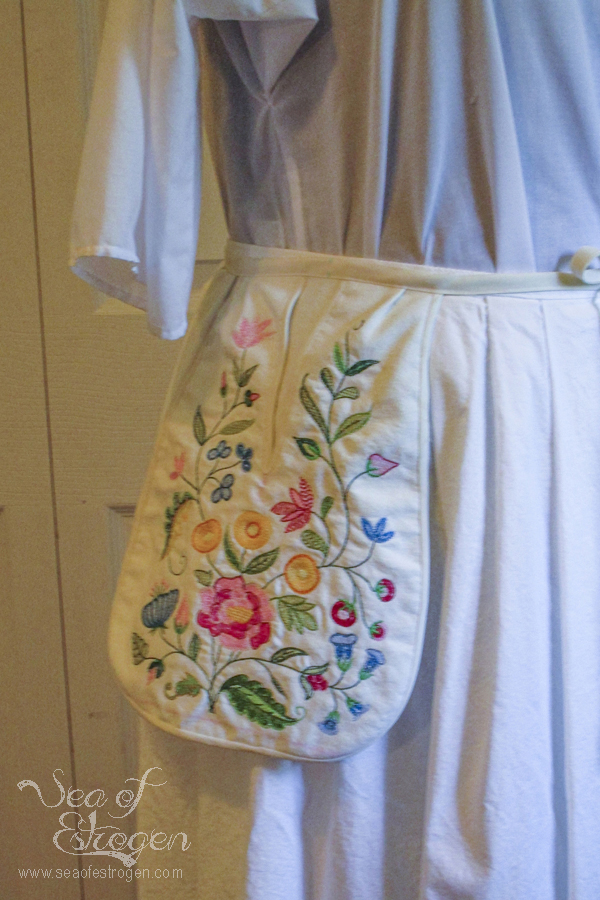
This is the point when I first tried to put my hand inside the pocket. I am so glad I made this trial pair. I could get my hand in, but not easily, and I doubt the pockets would have been easy to use when trying to get to them through several other layers of clothing. Consequently, I altered the actual pocket pattern I will use on the hand-embroidered set of pockets, and I had to add a couple of pleats to the front of these pockets.
The pleats opened up the pockets a little and made them more functional for me.
Waist Tie
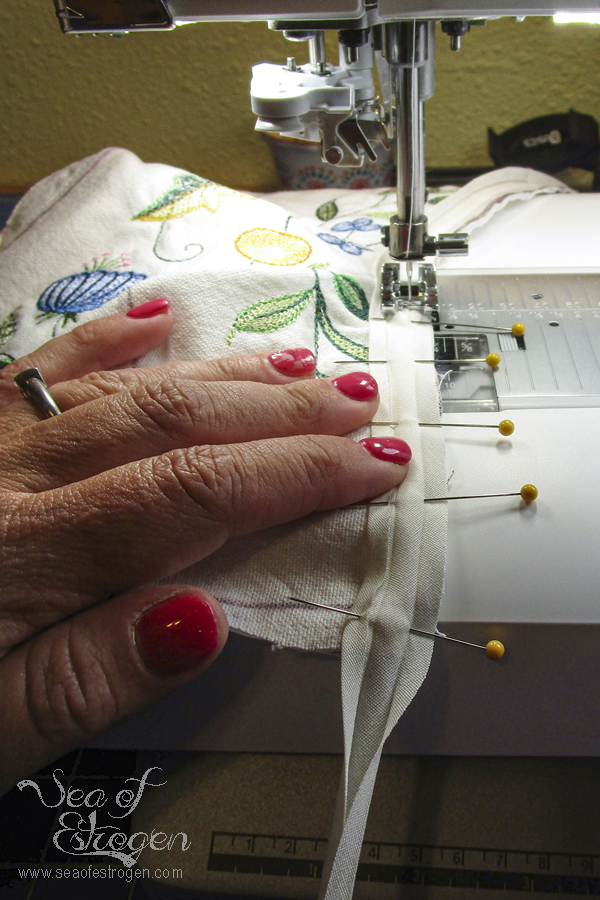
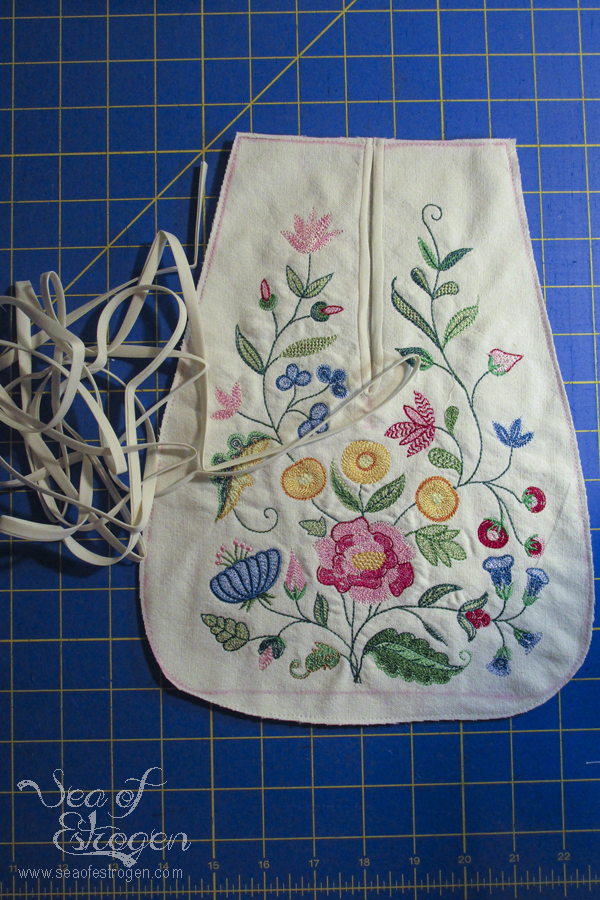
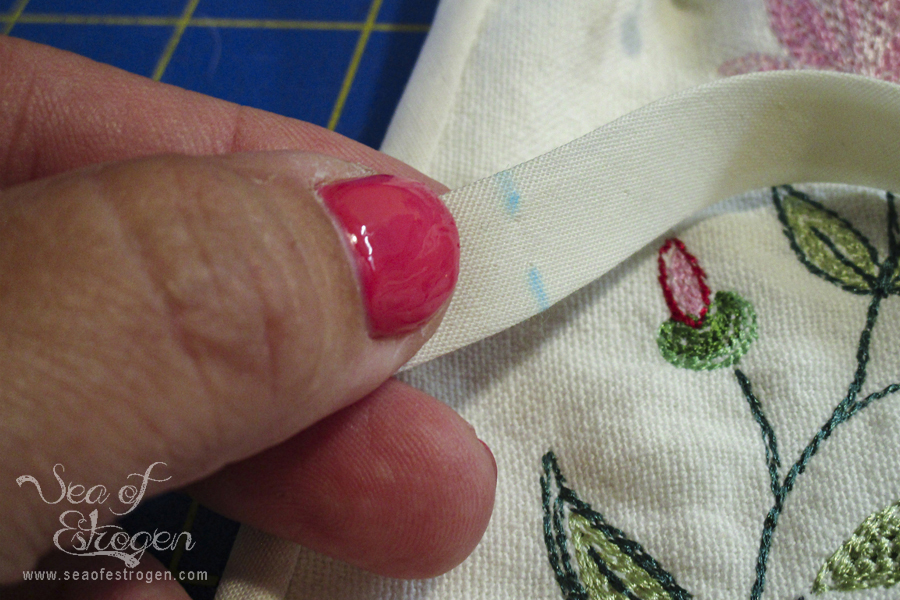
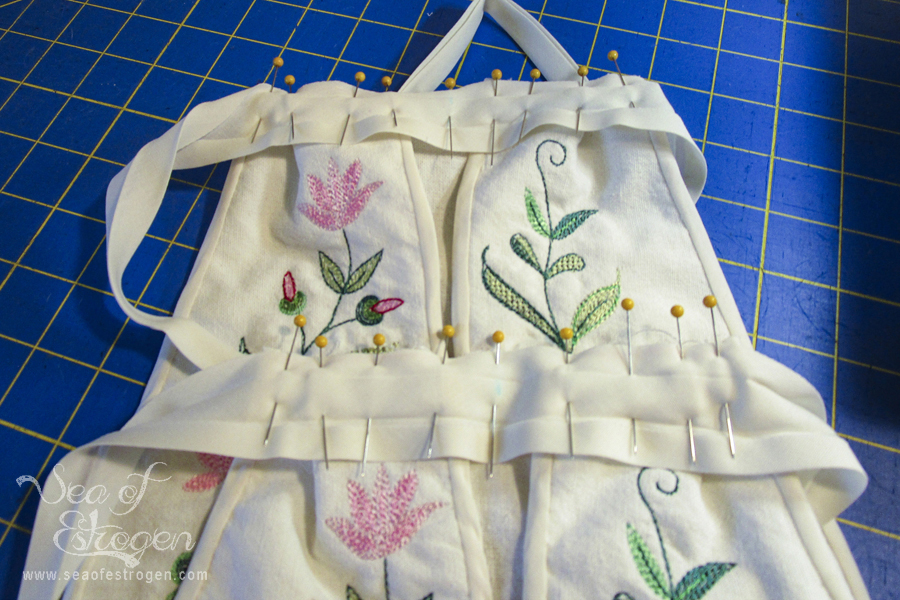
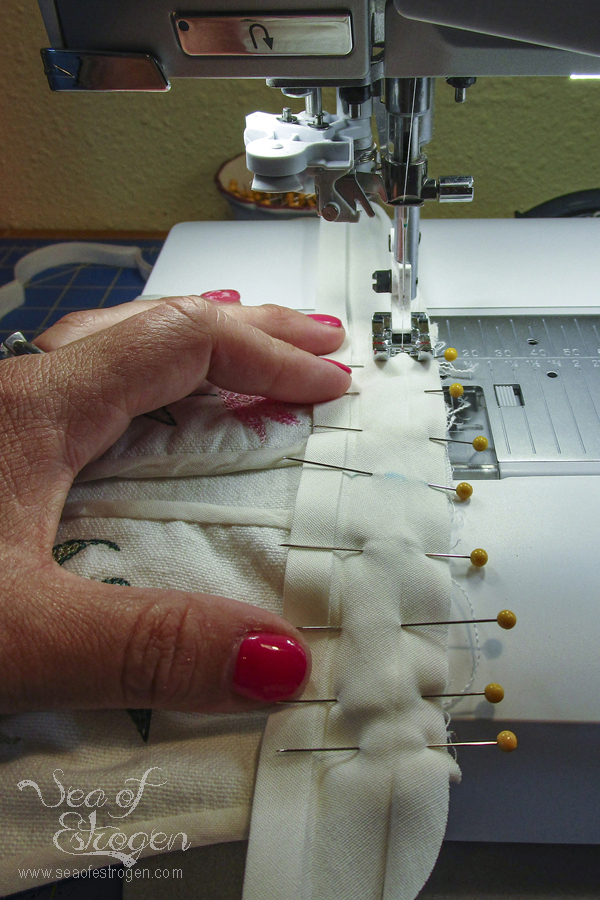
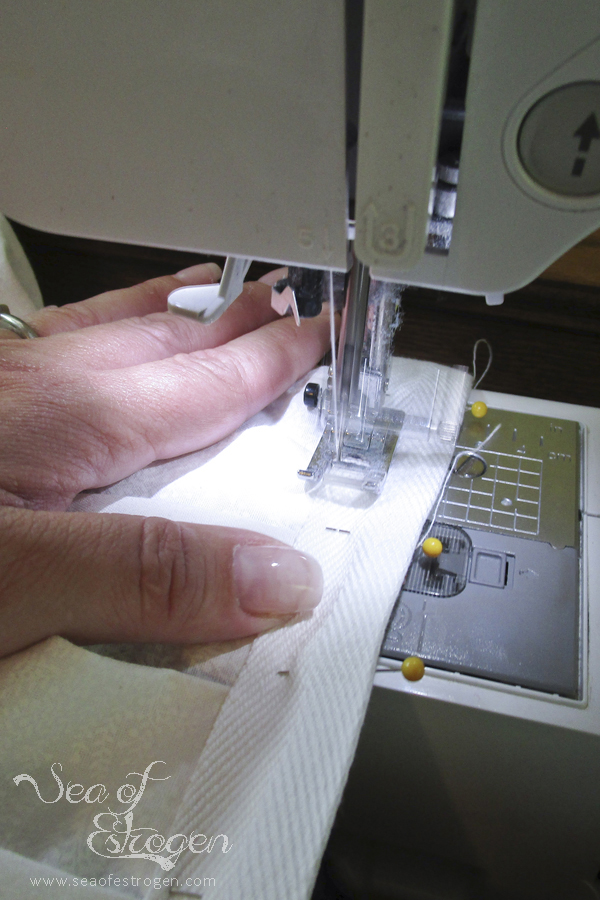
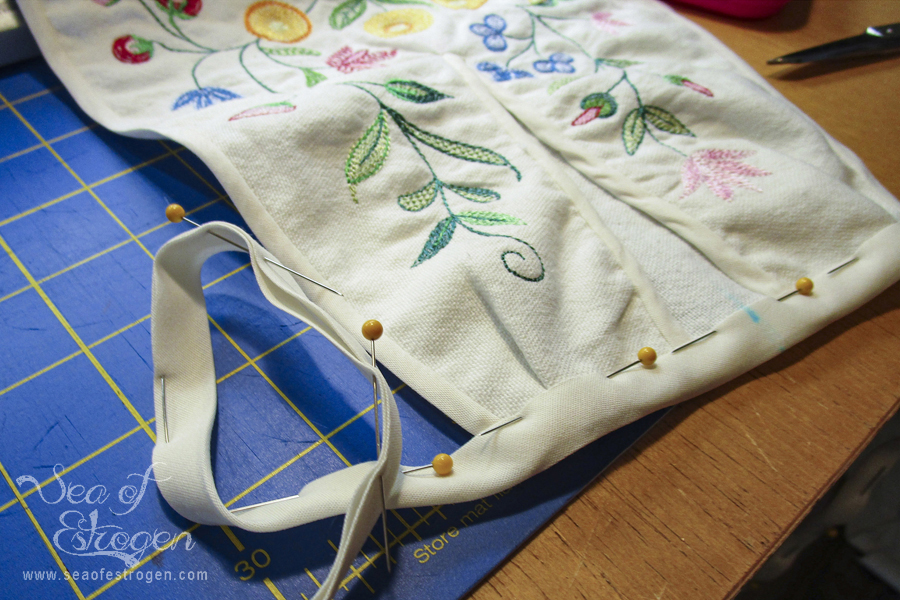
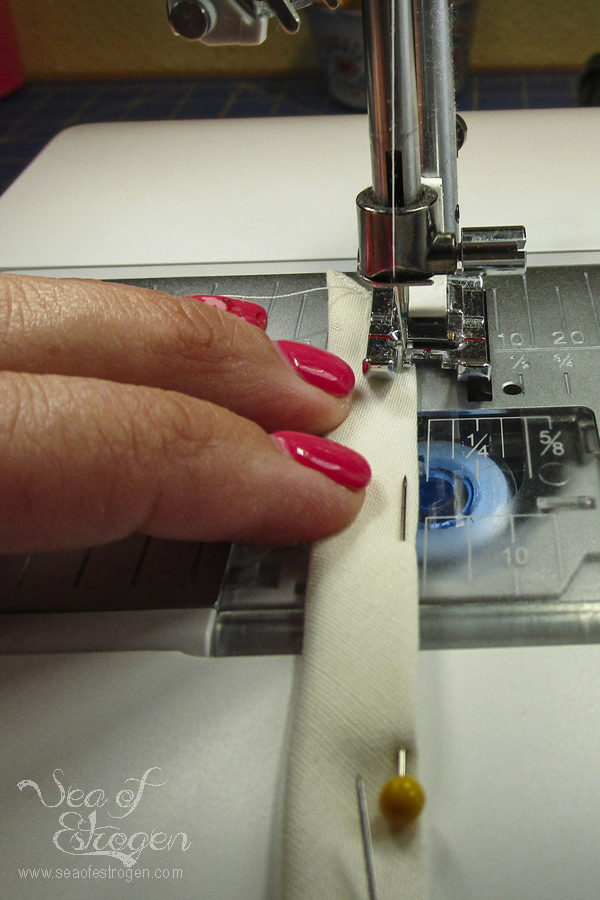
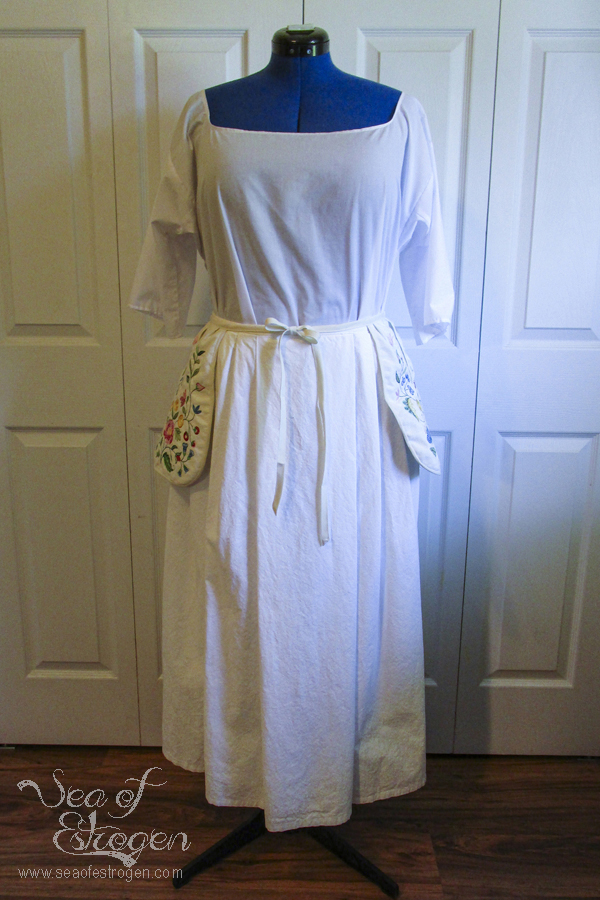
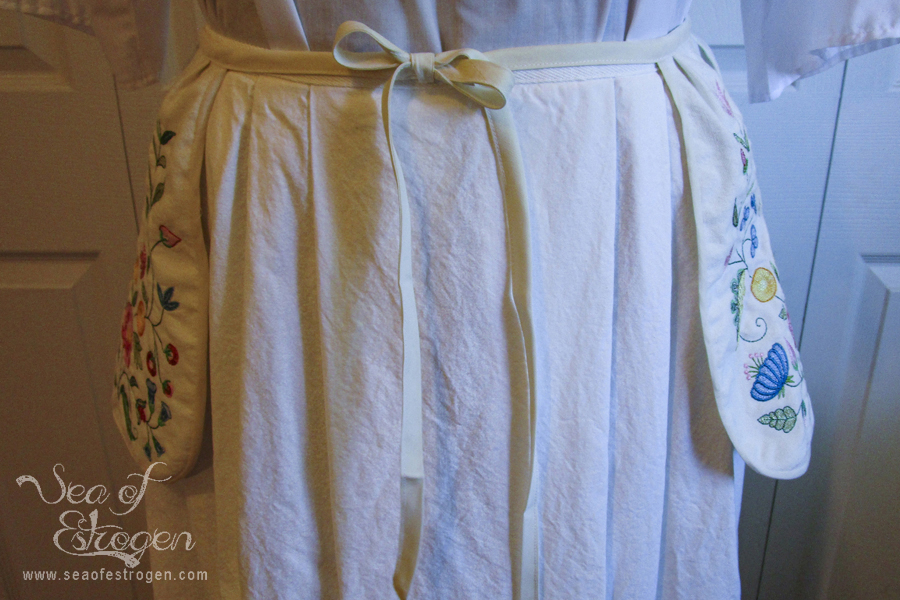
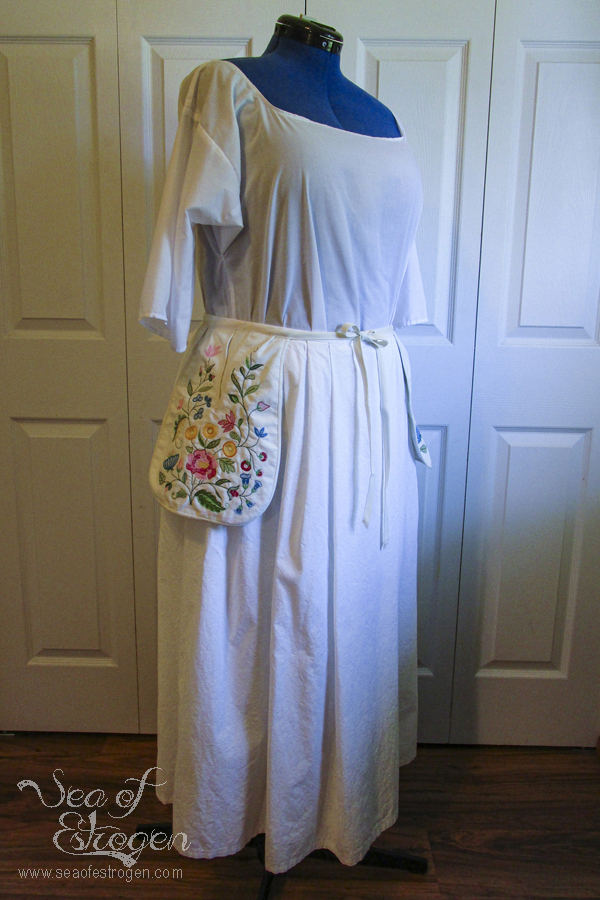
The final step of the process is adding the waist tie. The waist tie was made using a package of 1/2″ double-fold bias tape. I pinned the pockets to the top of my jeans approximately where I wanted them to sit, and then I pinned the waistband to them, marking the center point of each pocket on the tie. Once I had everything marked, I pinned the waist tie to the front of the pockets at the pocket center-point marking, and I stitched across the top of each pocket in the fold.
To finish the waist tie, fold the bias tape back over to the back of the pockets, pinning in place along the entire length of the tie, including the portion not attached to a pocket. I created a diagonal fold at each end of the bias tape and then stitched very close to the edge along the entire length of the tape.
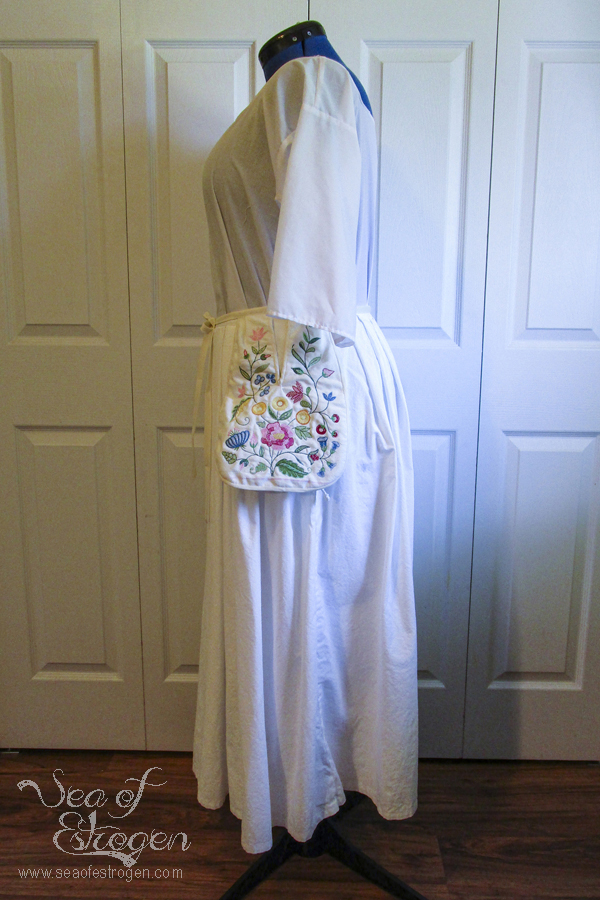
Done!
Final Thoughts
These pockets are amazing, and I absolutely cannot wait to make the pair my sister is embroidering! Next project to finish . . . the dreaded stays!
Series Posts
- To-Do Tuesday Intro
- Meet My New Friend
- Supplies and Fabric
- 18th Century Shift
- Underpetticoat
- 18th Century Pockets
- Stays for Days
- Panniers
- Underpinnings

Nature Girl. Mom. Wife. Friend. Photographer. Sewer. Crafter. Artist.
To borrow a phrase – “Yeet Ye Riche”
4 thoughts on “18th Century Pockets V1”
Comments are closed.