I ran across Stephanie’s and Rebecca’s co-hosted project, Try Something New Every Month (TSNEM) for 2016, in December, and I decided to participate because there are a lot of sewing techniques I have never tried and would like to. You can read my original post talking about the project HERE, and the post that lists what projects I’m going to try each month HERE.
Last month my TSNEM project was French Seams, and I used a pattern I was testing to teach myself the technique.
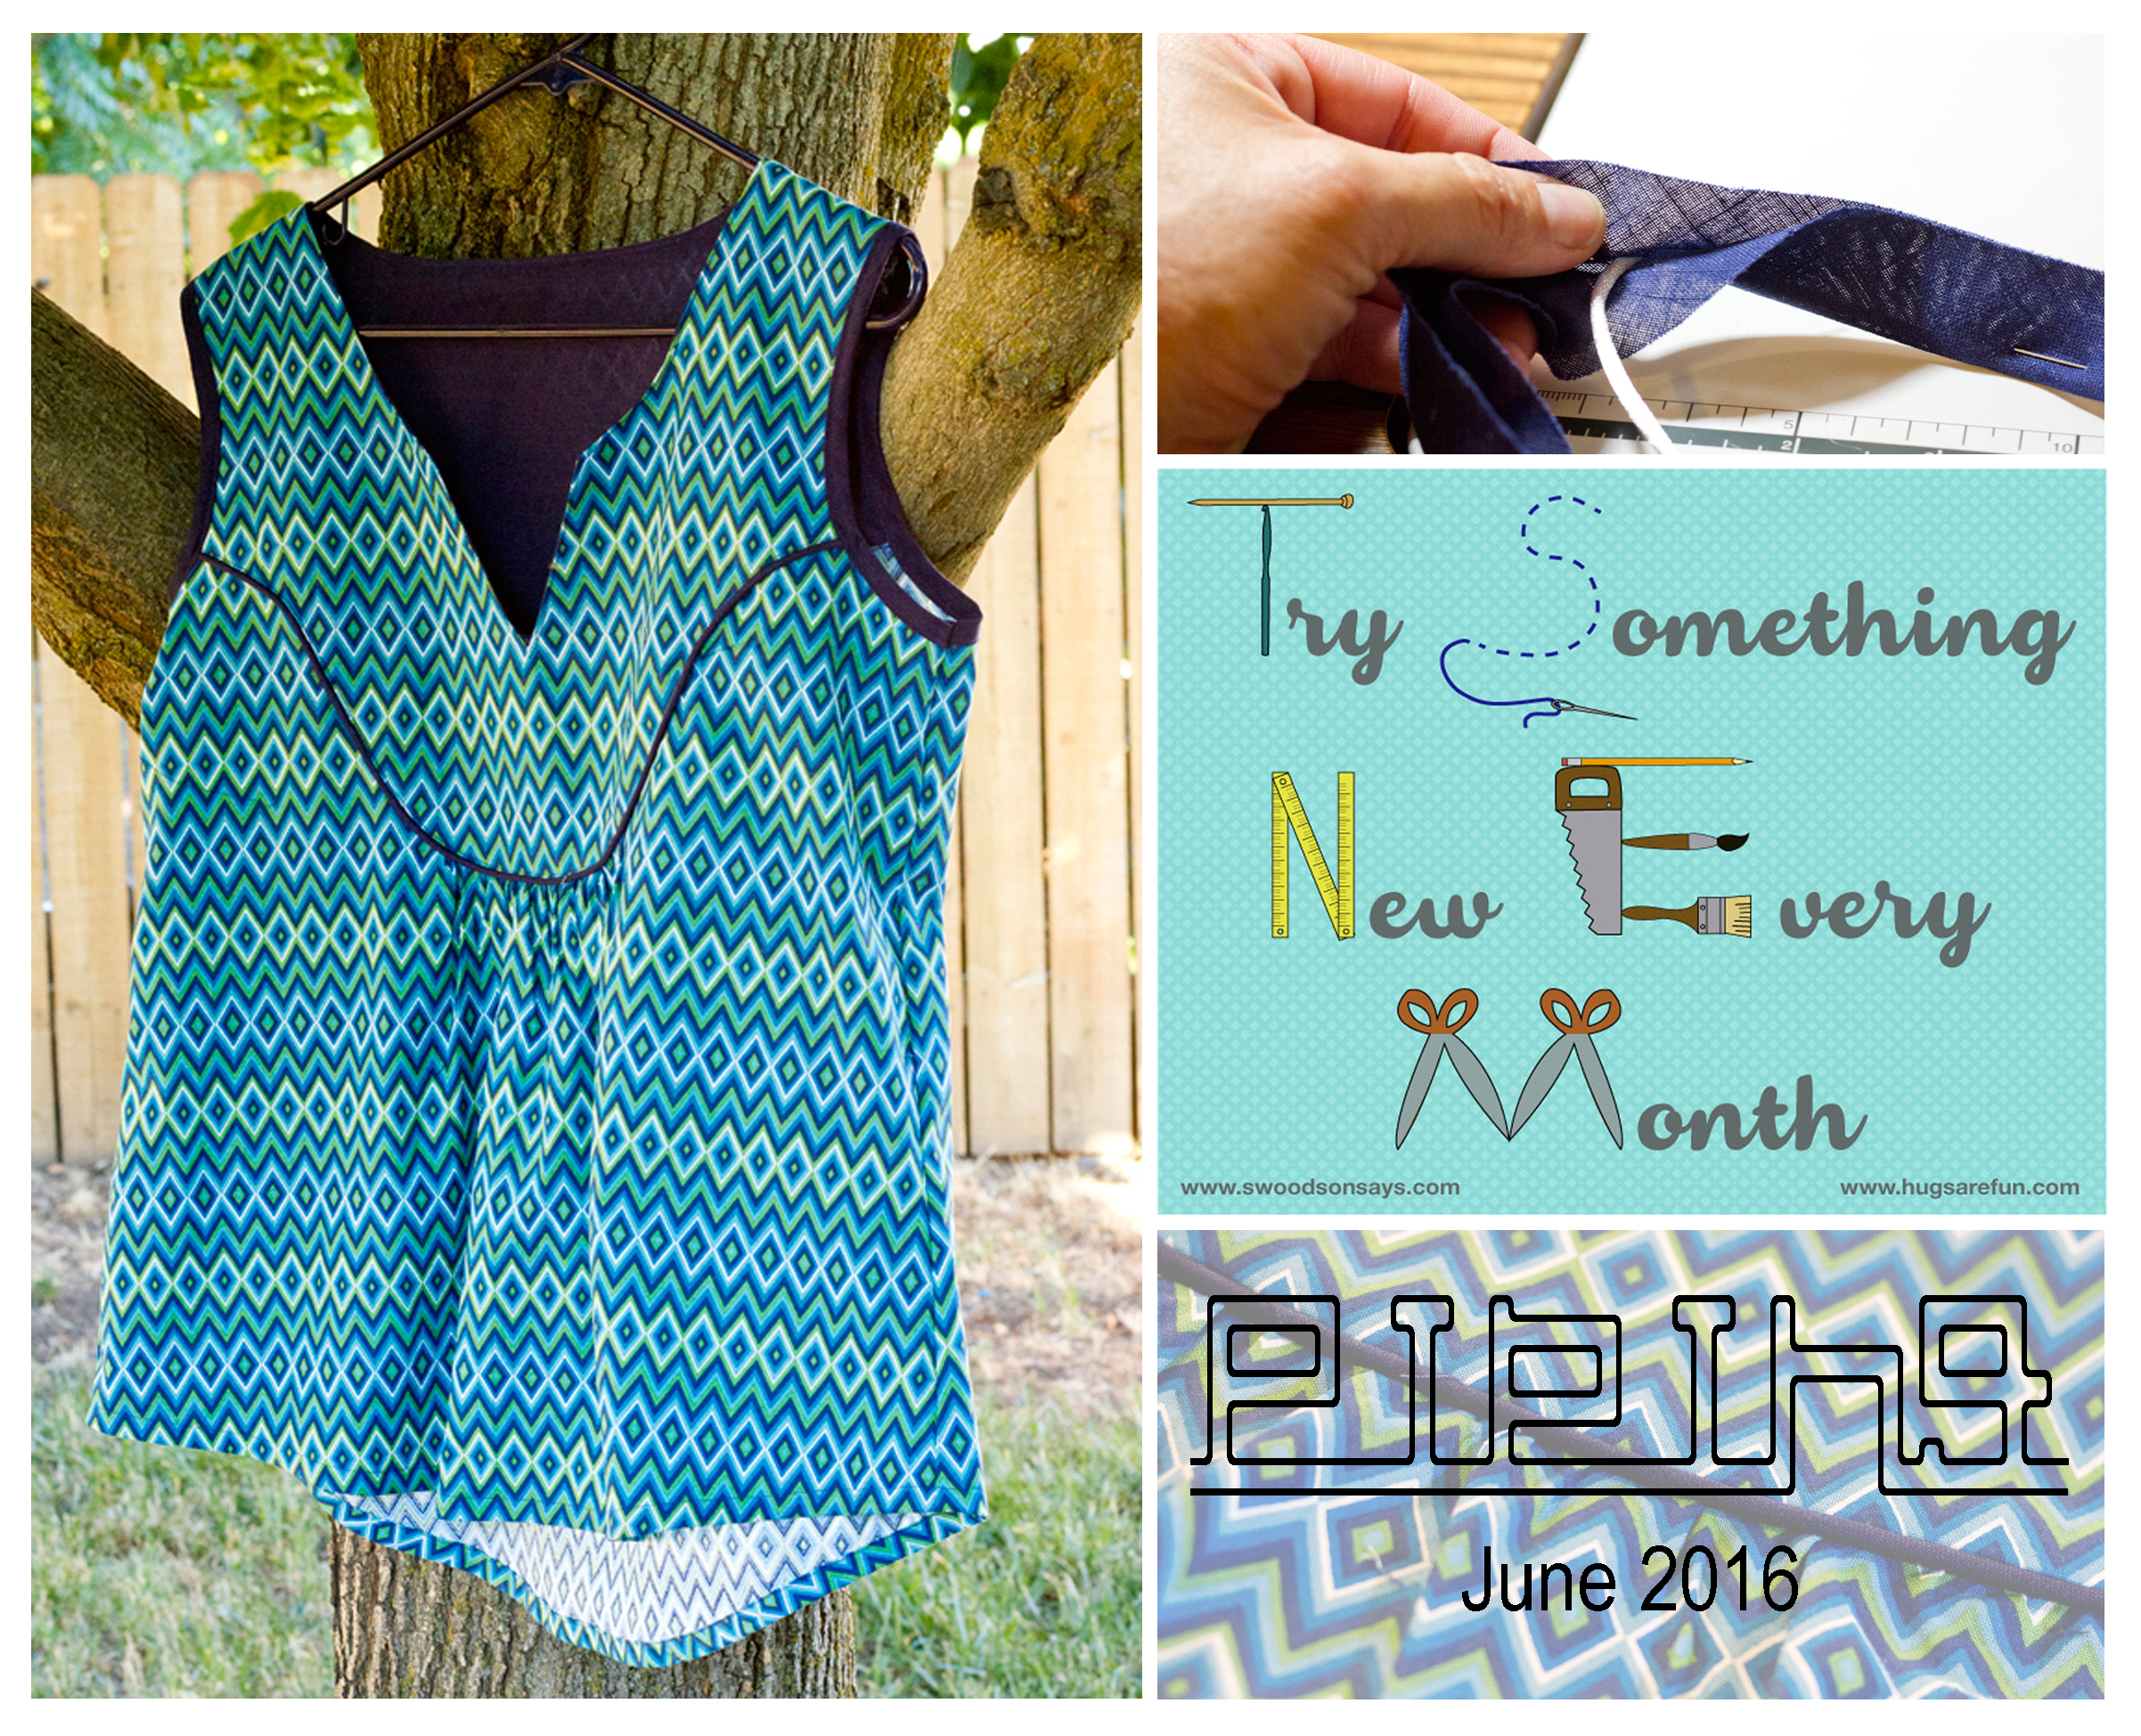
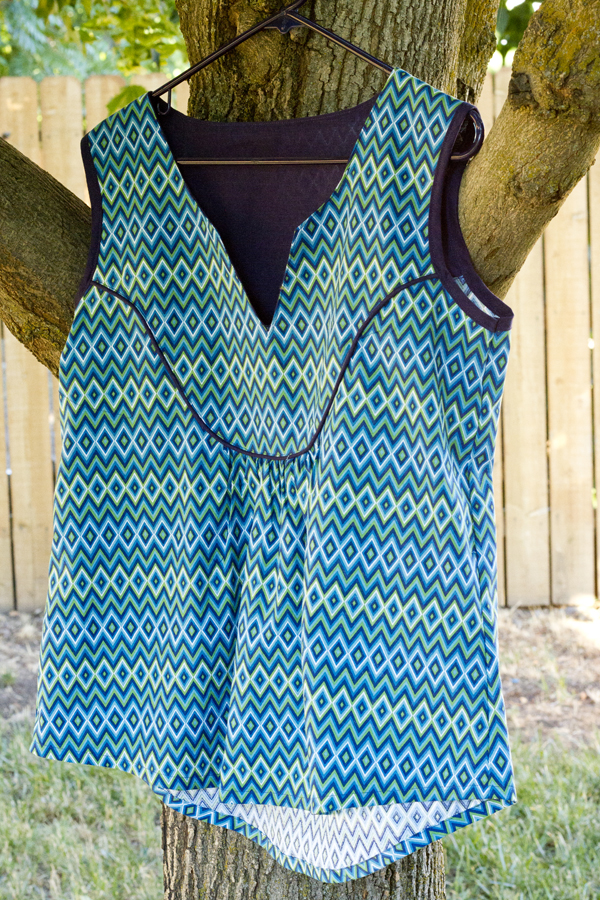
This month’s project was to make and use my own piping, and I didn’t have a specific item I was going to use to try it, so I used a top pattern I have been testing because I thought the seam between the top and bottom of the bodice would be a perfect place for piping.
So, I feel like kind of a dork/cop-out because the techniques I have been trying have all ended up being a lot easier than I ever expected, and they have not been nearly the challenge I was expecting; however, I do appreciate that I have learned new techniques, easy or not.
In order to make the piping, I spent a lot of time on Pinterest, and I read several tutorials. I have created separate Pinterest Boards for each of my TSNEM Projects. The entire process was new to me because I have never made my own bias tape before, either, so this month is actually kind of a two-for-one deal!
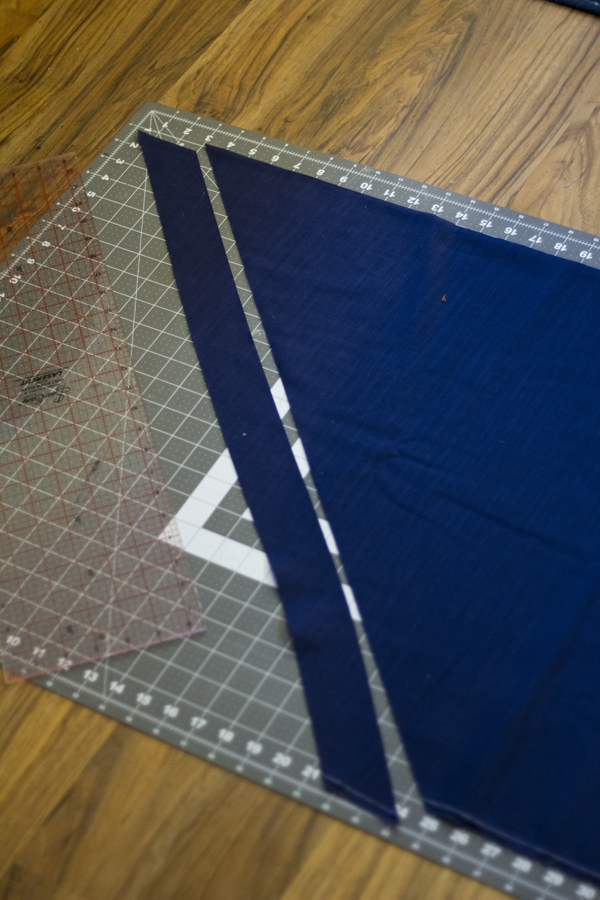
The first thing I did was to cut several 2″ strips of fabric on a 45 degree angle. I knew I was cutting them weigh wider than the instructions indicated, but having never made piping before, I wanted to make sure I had plenty of “wiggle” room. I joined the strips on the diagonal, much like I would strips for quilt biding, and then after pressing the seams I ironed it in half length-wise.
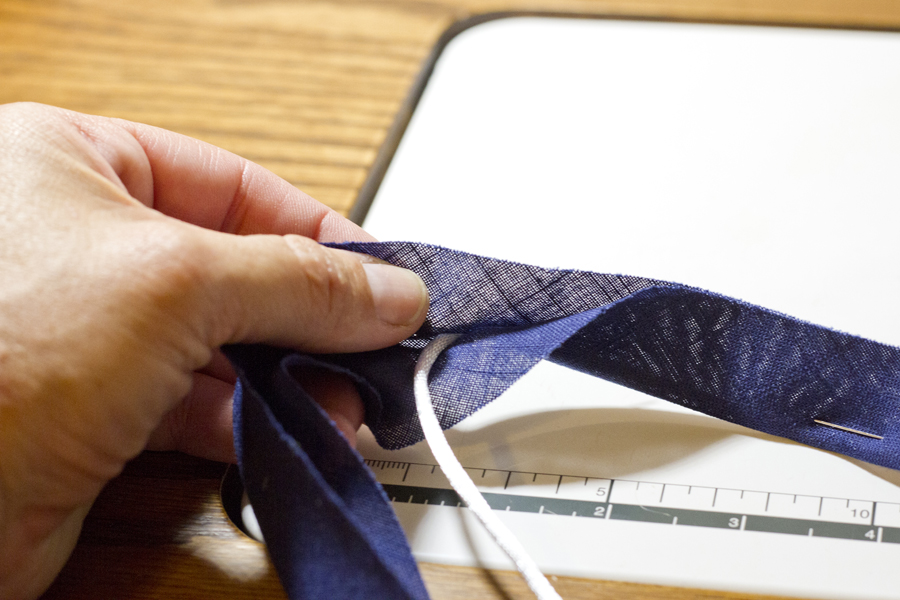
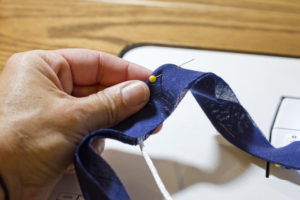
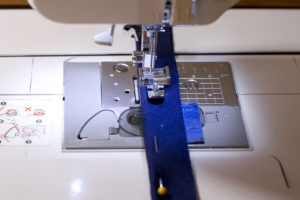
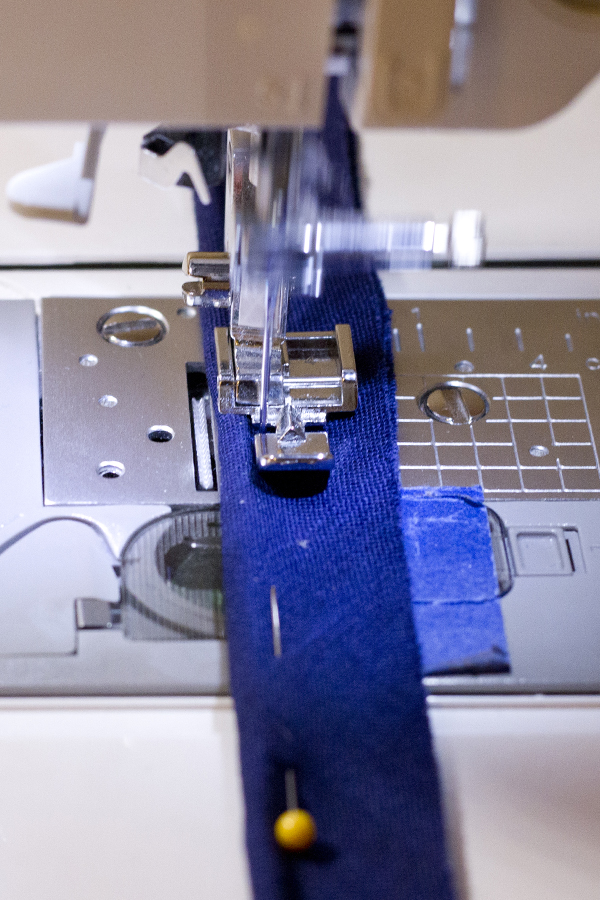
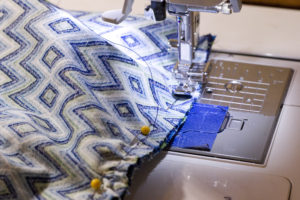
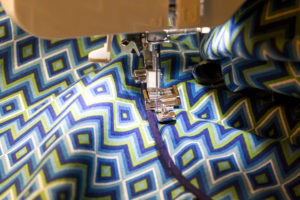
I couldn’t find any actual cording at my local chain store (I call it Hell, but it rhymes with Ball Cart), but I did find some decorative cord-type stuff in the ribbon section that I though would work well. It was only $1 for 3 yards, so I figured the expense was worth the experiment, and used it, and it ended up working really well. I fed the cord into the fold of the bias tape I made, and then pinned next to it to hold the cord in place. I also sewed across the end of the piping to make sure it didn’t slip out of the fabric. Then I used my zipper foot to sew as closely as I could to the cord to hold it in place, which was a lot easier than I expected. I did zig-zag the edge of the fabric just to prevent it from fraying too much before I had my top made.
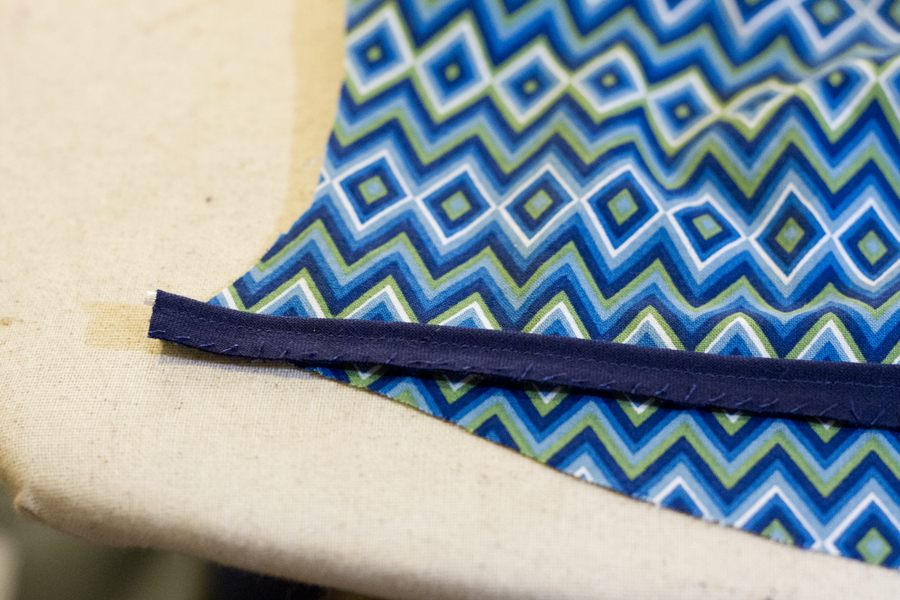
I already had my blouse cut out, so I was able to start inserting the piping right away. I basted it in place on both the front and back lower bodice pieces, and then pinned the bodice top pieces over top of the piping, and I pinned next to the piping as a sewing guide.
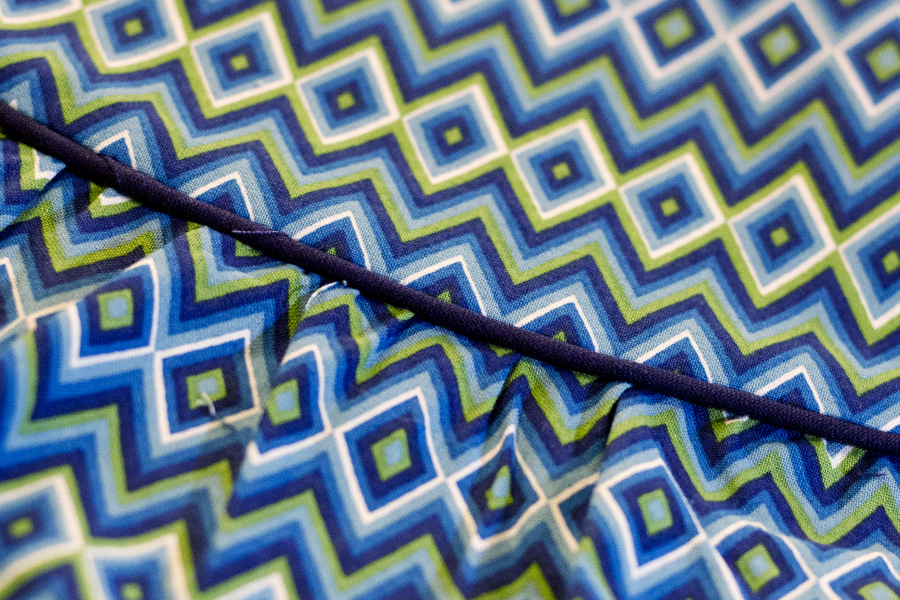
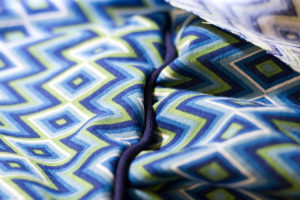
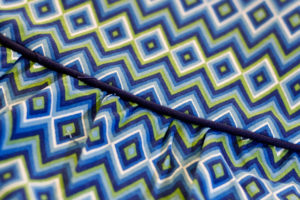
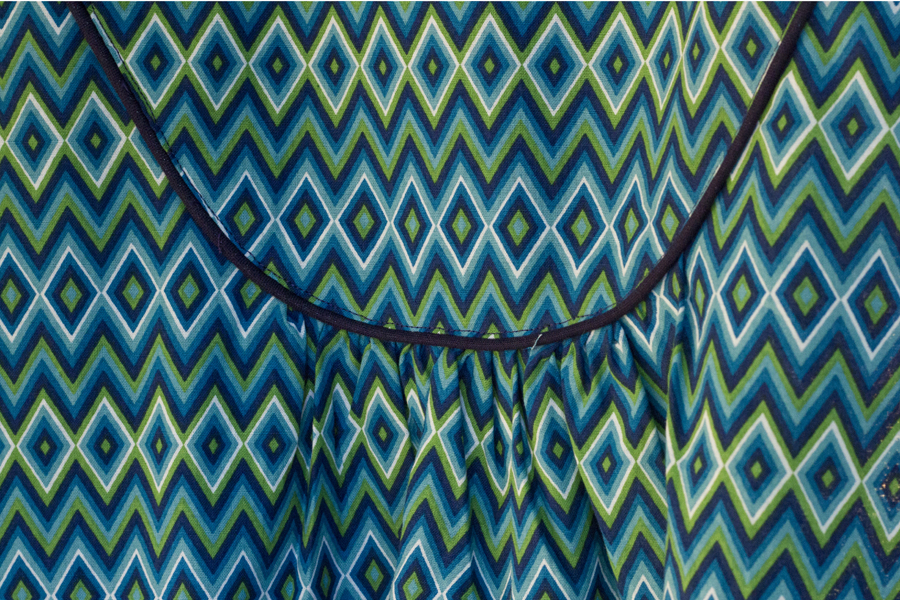
After attaching the top and bottom pieces, I pressed the seams up towards the shoulders and top stitched about 1/16″ away from the piping, and I think it added a nice finishing touch.
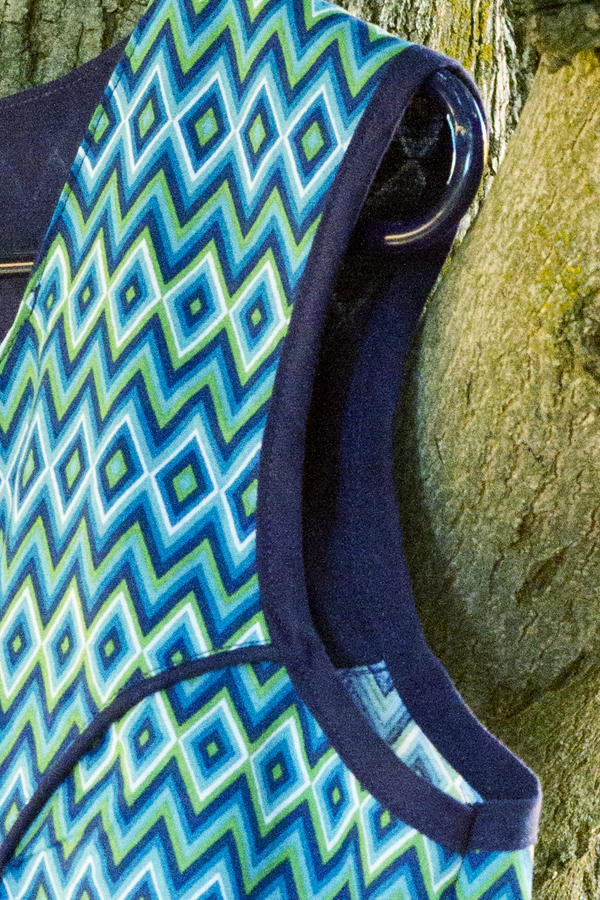
The blouse pattern actually called for the use of bias tape on the sleeveless version; however, the pattern instructions would have left the bias tape hidden, and I liked the little bit of contrast leaving it exposed gave the blouse, especially since it was made from the same fabric I used for the lining.
I’m really happy with how easy both the piping and bias tape were to make, and I definitely see me using both in future projects to add my own little spin of customization!
Next month my project will be much more challenging – I will be creating and sewing a bodice sloper. I am really excited to try it because I have a difficult time finding RTW tops that fit my chest and don’t end up looking like I’m wearing a tent. Being able to create custom-sized tops for myself will be amazing!
This piping project is my fifteenth finish out of many I have on My Finish-A-Long Quarter 2 Project List.

Nature Girl. Mom. Wife. Friend. Photographer. Sewer. Crafter. Artist.
To borrow a phrase – “Yeet Ye Riche”
It has great impact, doesn’t it? Love using piping on my niece’s little hand made dresses 🙂 On behalf of the global 2016 FAL hosts, thanks for playing along!
I was surprised at just how easy it was! Thank you!
Your top looks fantastic! How funny, shopping at Ball Mart. Now I’m going to call it that every time I go there from now on. I am bummed that I’m only now finding out about the TSNEM project, with the year half over! I’m no good with challenges that require you to FINISH something every month, but I can totally try something new every month as long as I’m under no obligation to finish!
Thank you! You should totally join three group! Some are doing different types of crafts each month, but I kept mine strictly to sewing because there were a lot of techniques I hadn’t tried!