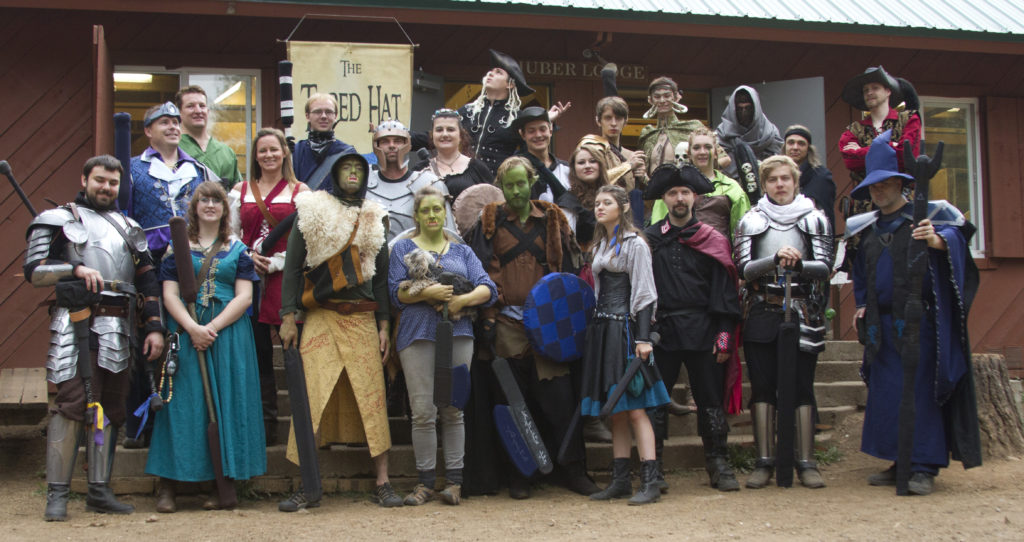
Todd and I participate in a LARP Group, Sojourn, that holds two events each year, and I have written about it several times (use the LARP tag in the right-hand sidebar to view all the posts). Our events are immersive story-line based, involve sub-plots, quests, fighting – lots of fighting, and social settings (meals, pub games, etc.).
We have never had a portion of the event that is classified as “formal” – until this year. At the beginning of March, one of the Game Masters announced in our Facebook Group that there may be an opportunity to wear in-game formal clothing during the first camp of the year.
I think I may have squealed out loud!
I mean, who doesn’t want the opportunity to wear an amazing formal costume that you wouldn’t get to wear any other time of the year?
Then I panicked
I had fabric that would be perfect for formal wear, but I didn’t have enough, and I was terrified to cut into it (microsuede) because I had never sewn with it before. In addition, between the announcement and actual camp, I would have tons of stuff to do for Emma’s wedding. I was worried about not getting it finished, let alone started!
Pattern Selection
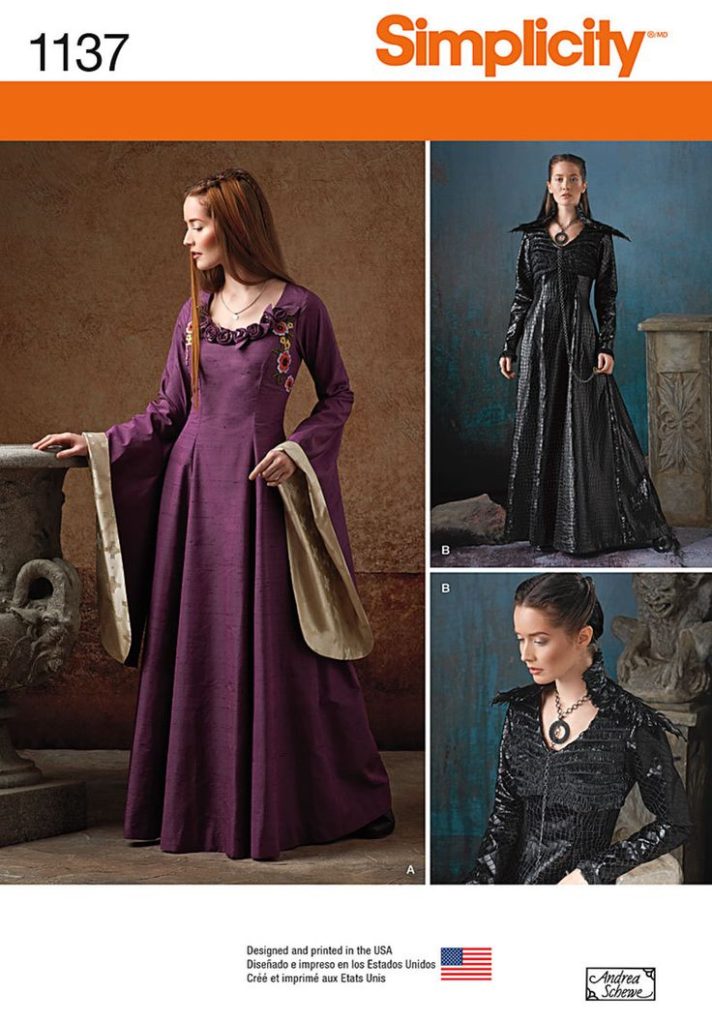
After a brief moment of terror, I decided to find a pattern and at least see how much more fabric I may need to purchase. I browsed hundreds of patterns including self-drafting instructions, PDF downloads, and commercial patterns, I finally settled on Simplicity Pattern 1137.
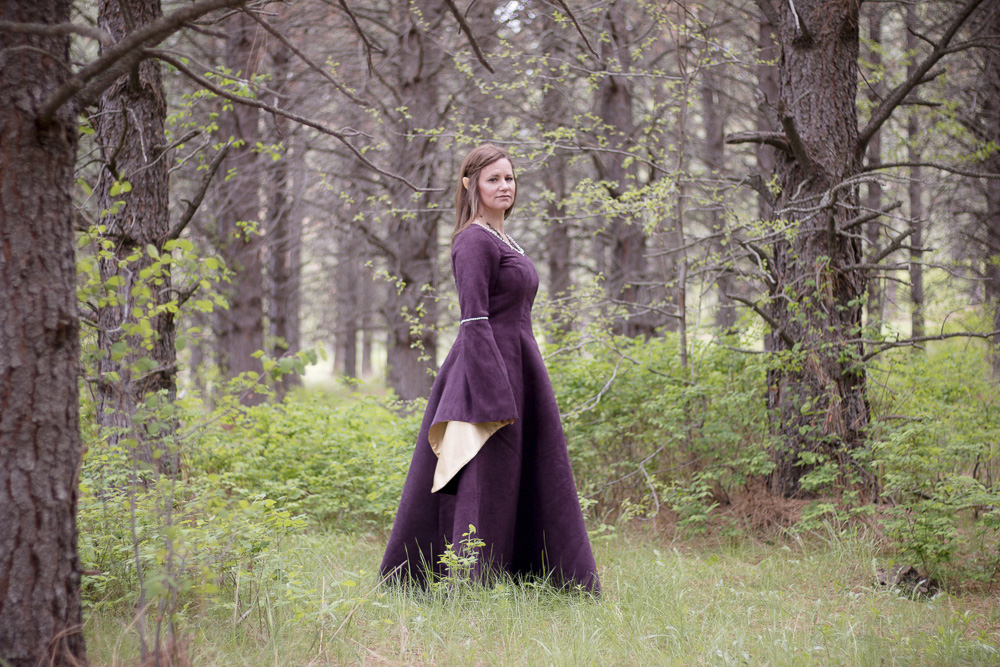
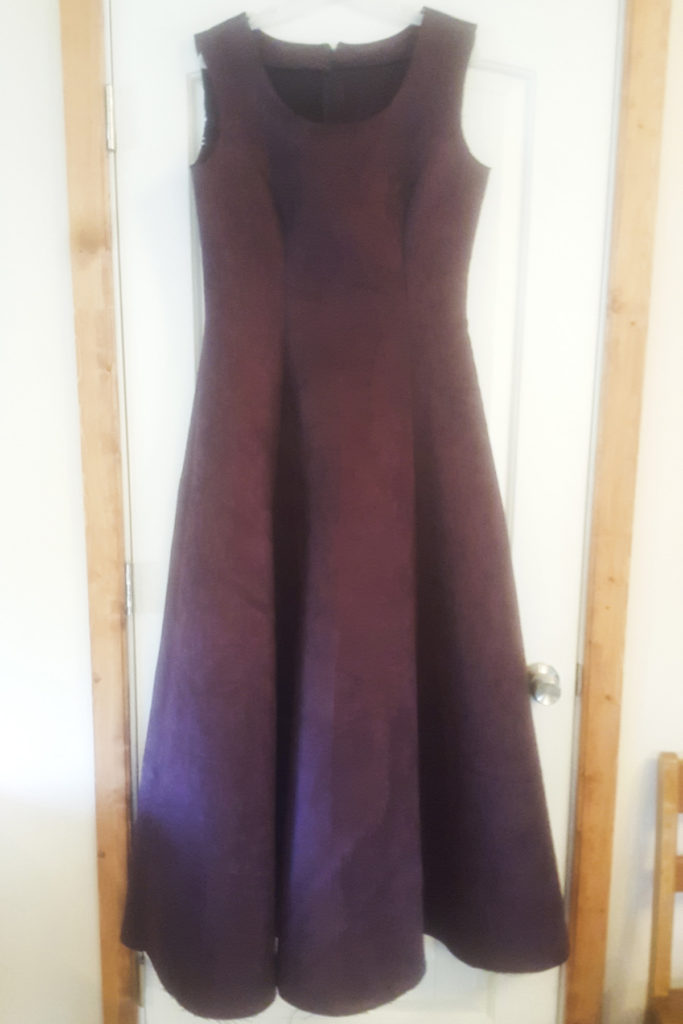
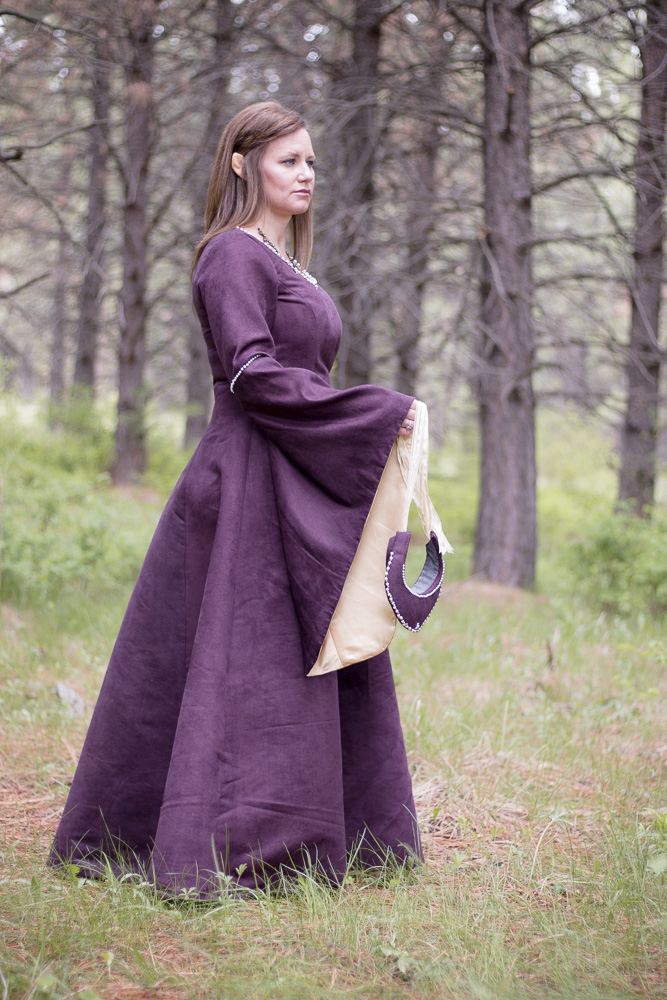
The product description says View A is a medieval fantasy costume features gown with contrast lower bell sleeves and flower details, and View B is a full sleeveless dress with short, long sleeve jacket and unattached feather collar. I chose to make View A, and the fabric I already had was purple and gold, just like the picture. The best part was that I only needed to purchase 2 extra yards to make the dress. Bingo!
Getting to Work
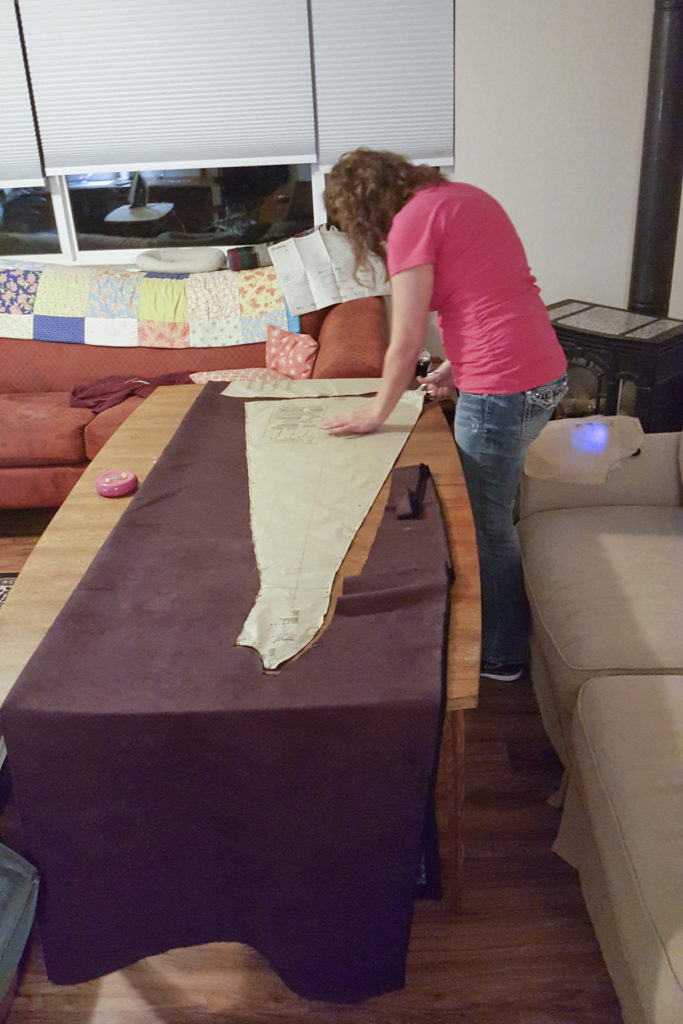
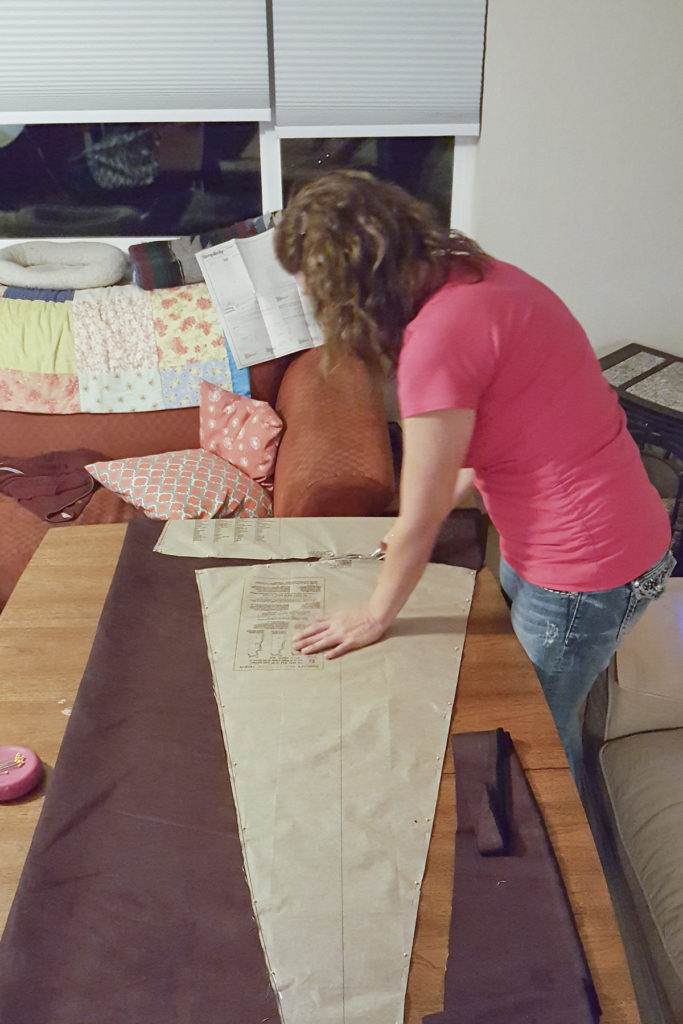
After I had all the fabric, it still took me nearly two weeks just to get up enough courage to cut into it. The pattern was really straight forward, but I was terribly worried about ruining the fabric.
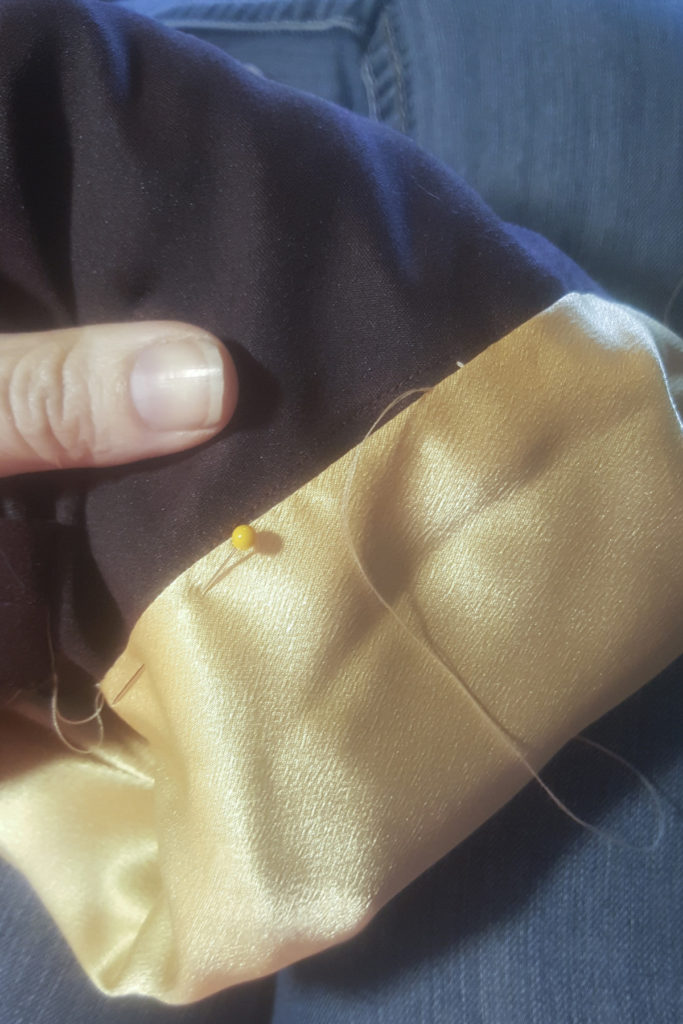
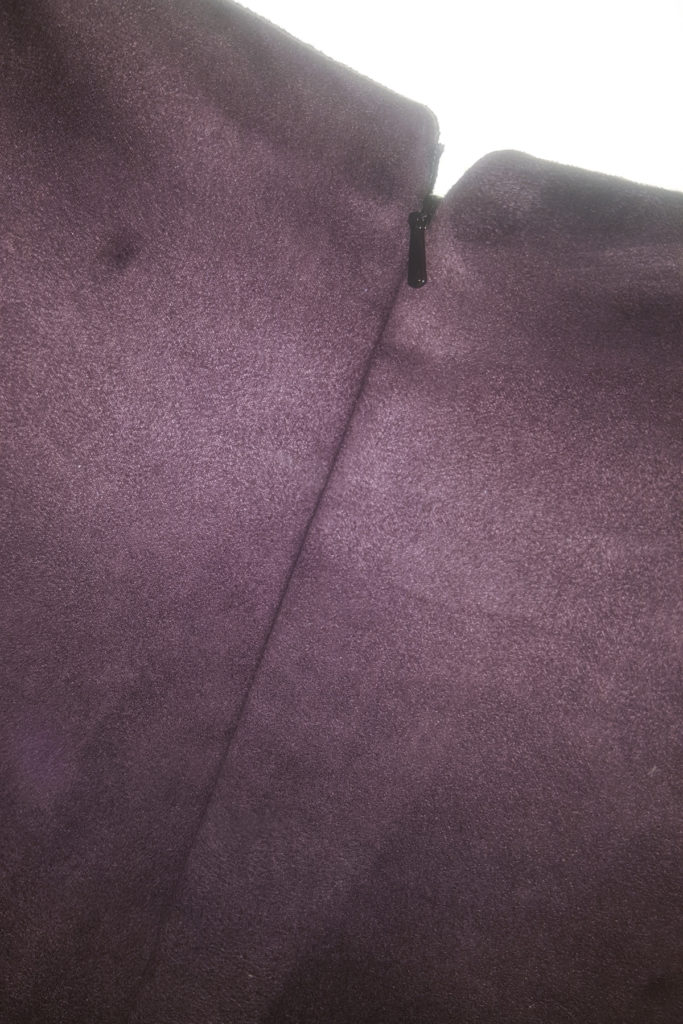
There was absolutely no need for me to worry, the dress was simple to fit and even easier to sew. The two most difficult parts were hand stitching the bell sleeve lining to the elbow seam and the invisible zipper. The hand stitching was a breeze, and I think I was so worried about the fabric that in the process of being super careful, I actually sewed the best invisible zipper I have ever inserted!
Combining Projects
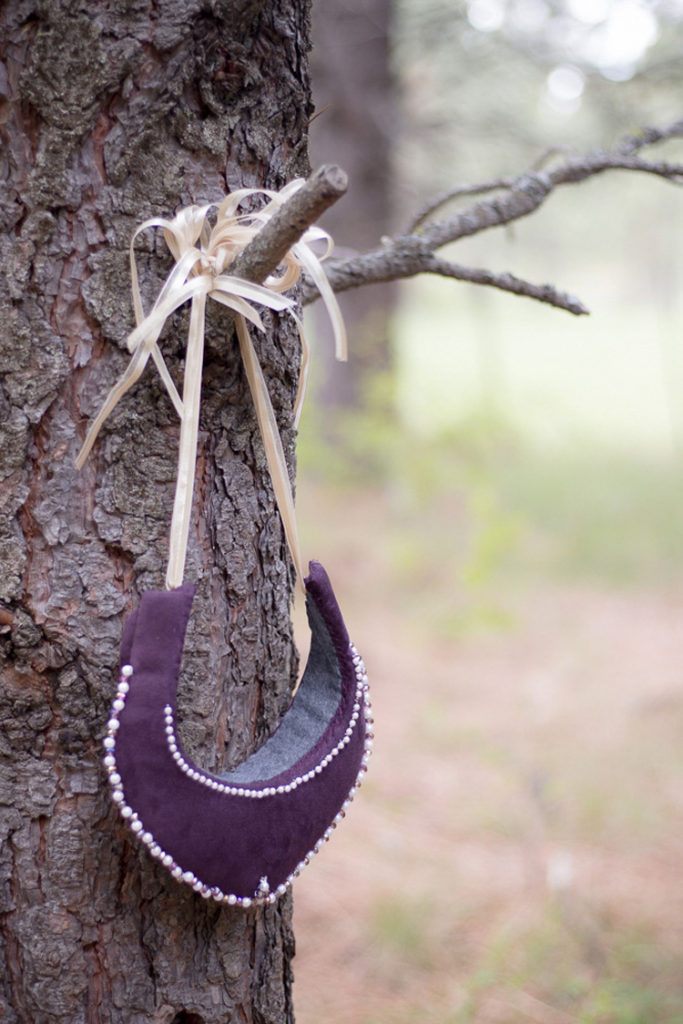
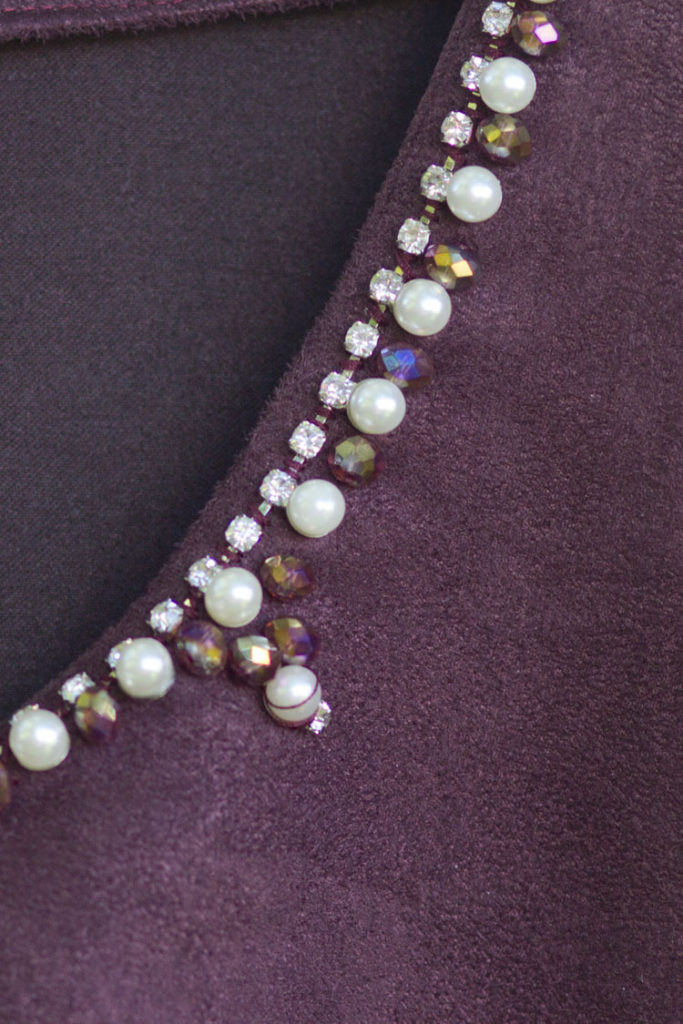
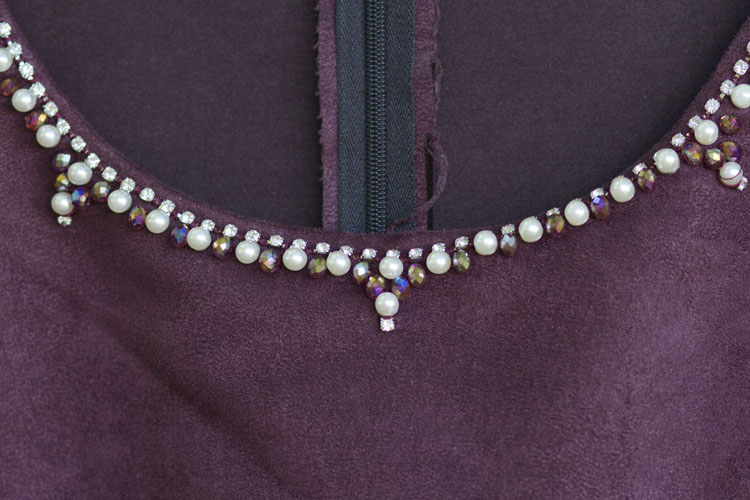
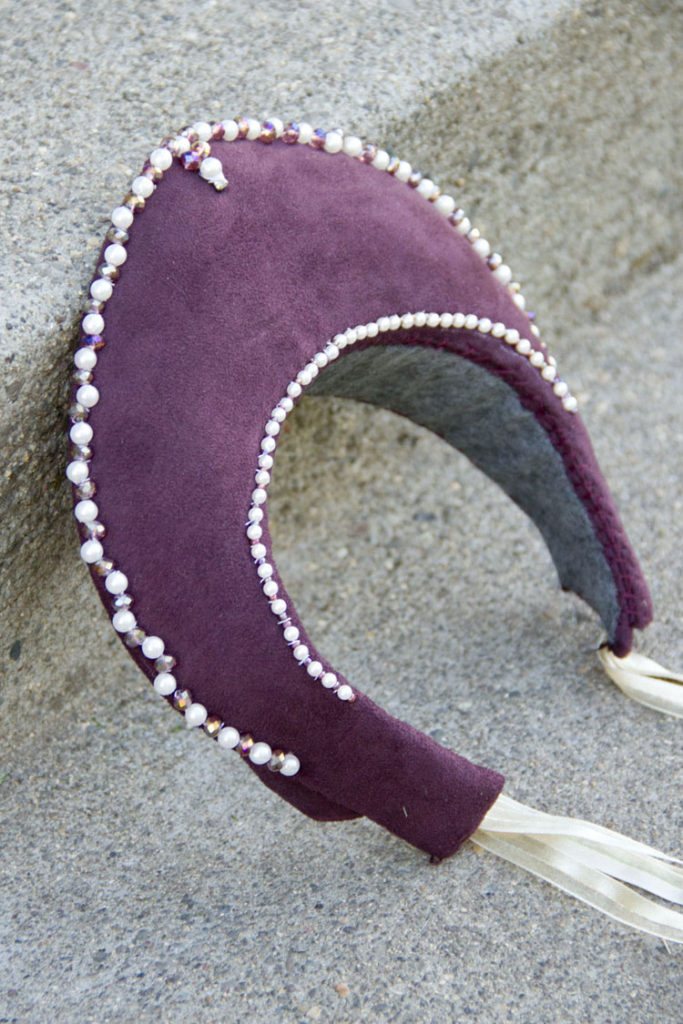
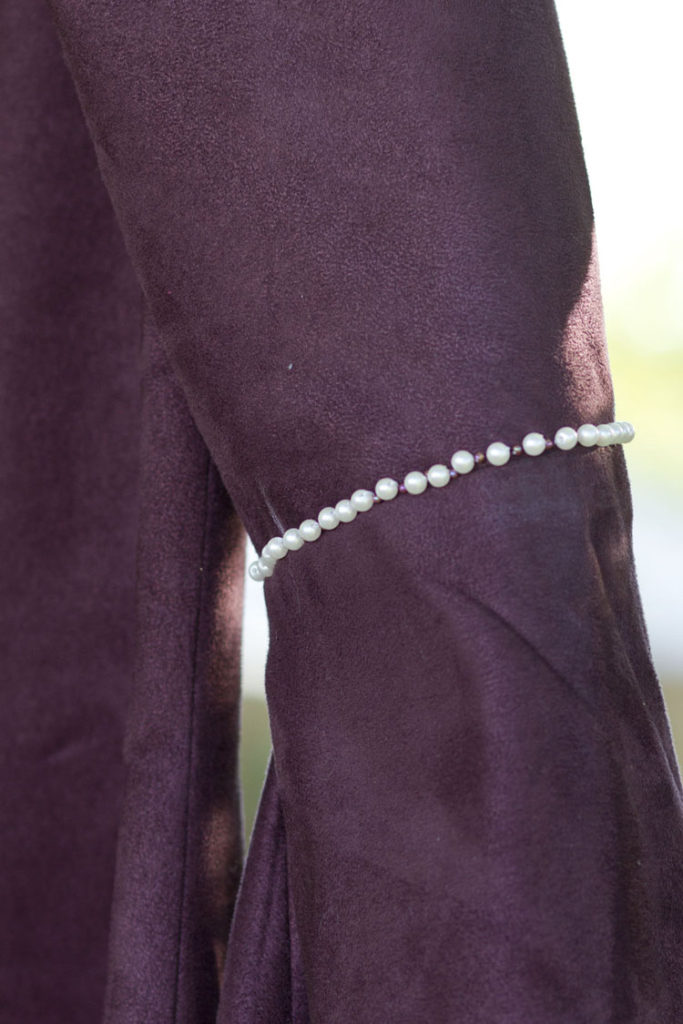
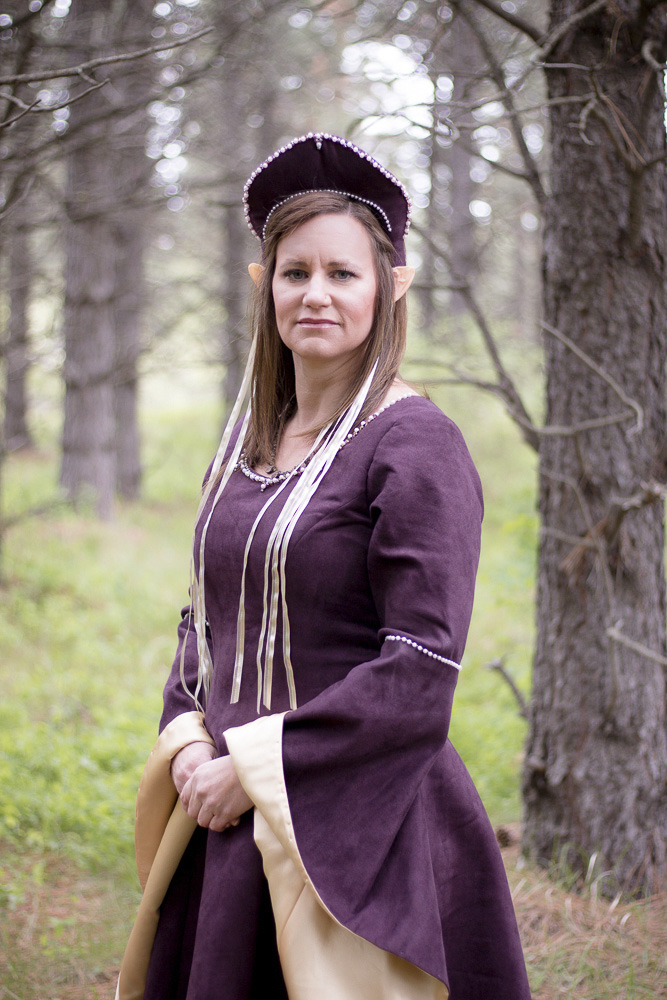
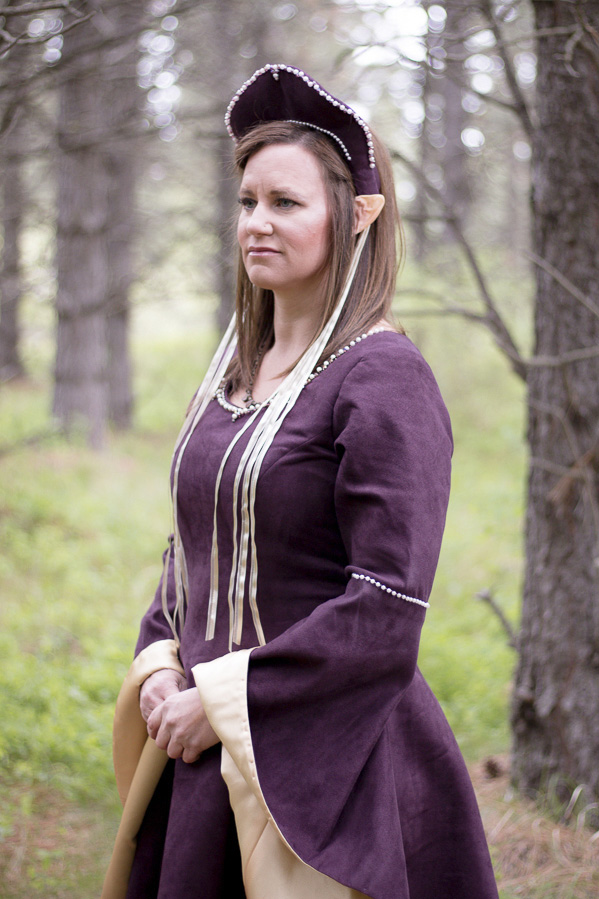
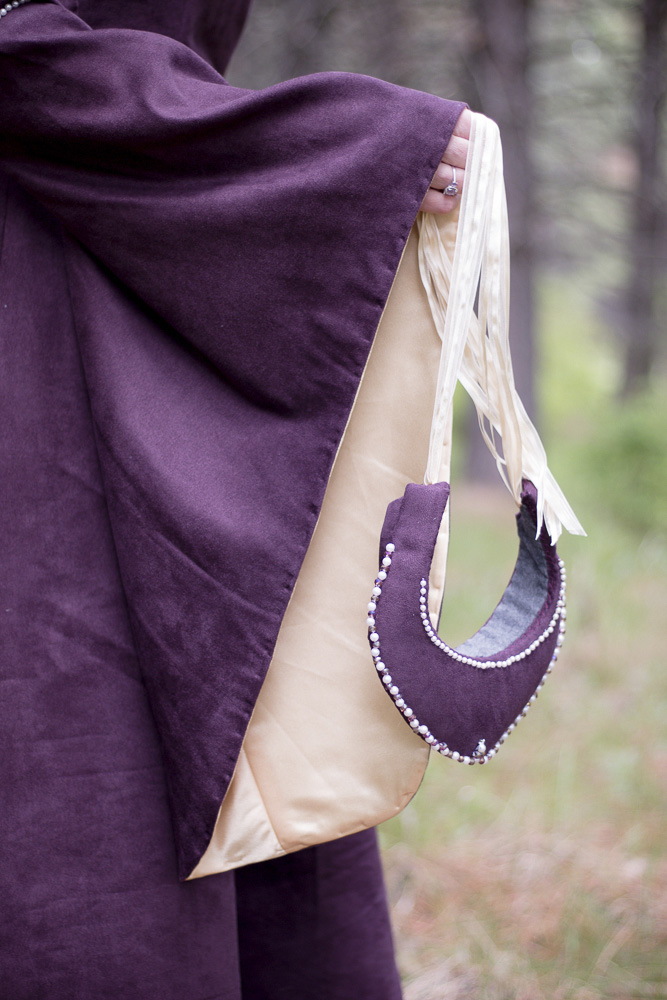
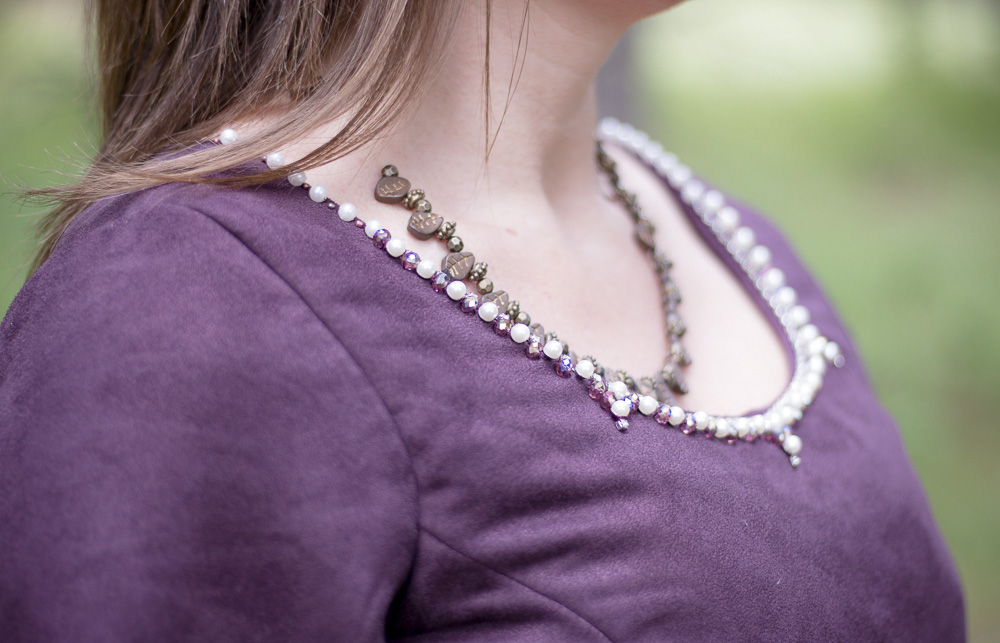
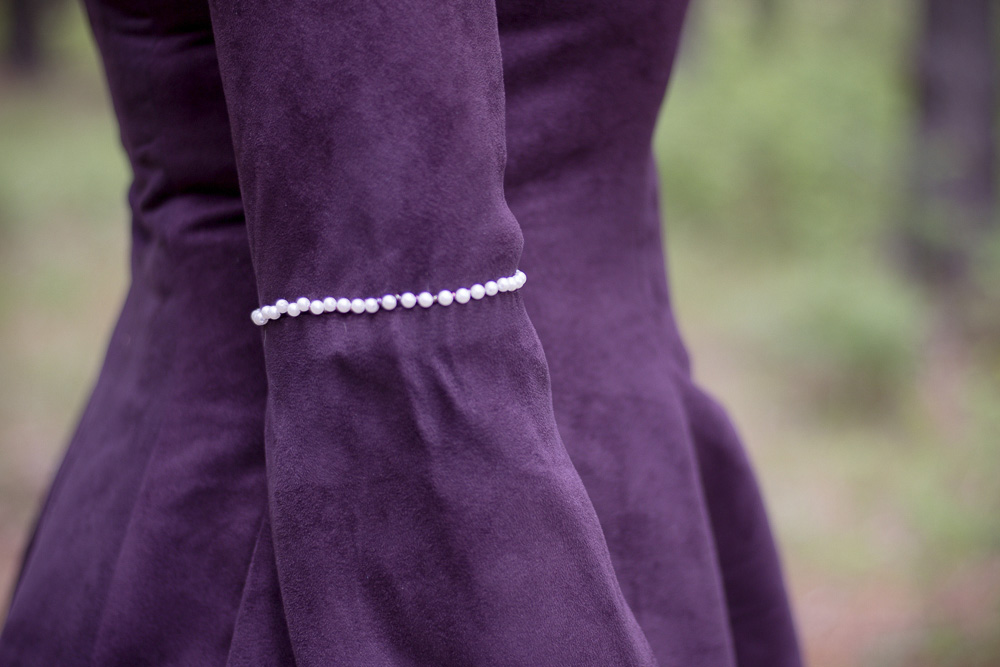
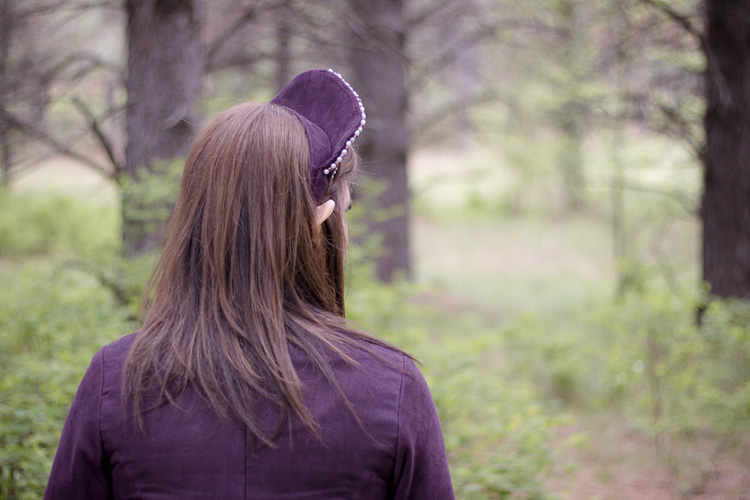
My Try Something New Every Month project for April was beading embellishment. I felt like this is the perfect piece to start on. I follow a blogger named Angela Clayton, and she does the most beautiful hand beading on the costumes she creates. Through Angela’s blog, I was inspired by her to try some beading. It is very simple, but enough to add that extra oomph to the dress. I finished April’s Try Something New Every Month Hand Beading Project by adding the hand beading and by Making a Russian Kokoshnik to go with it.
Professional Photographs
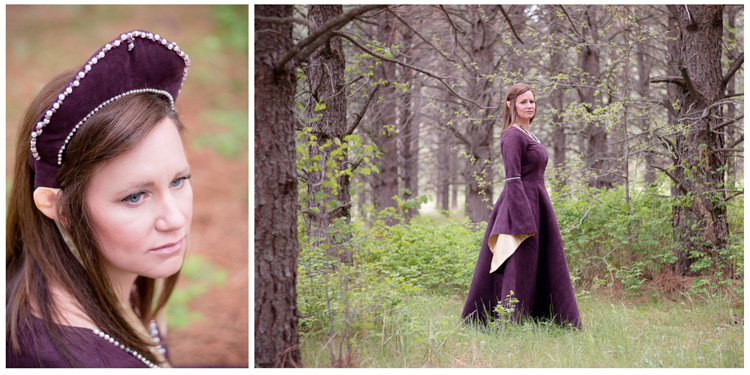
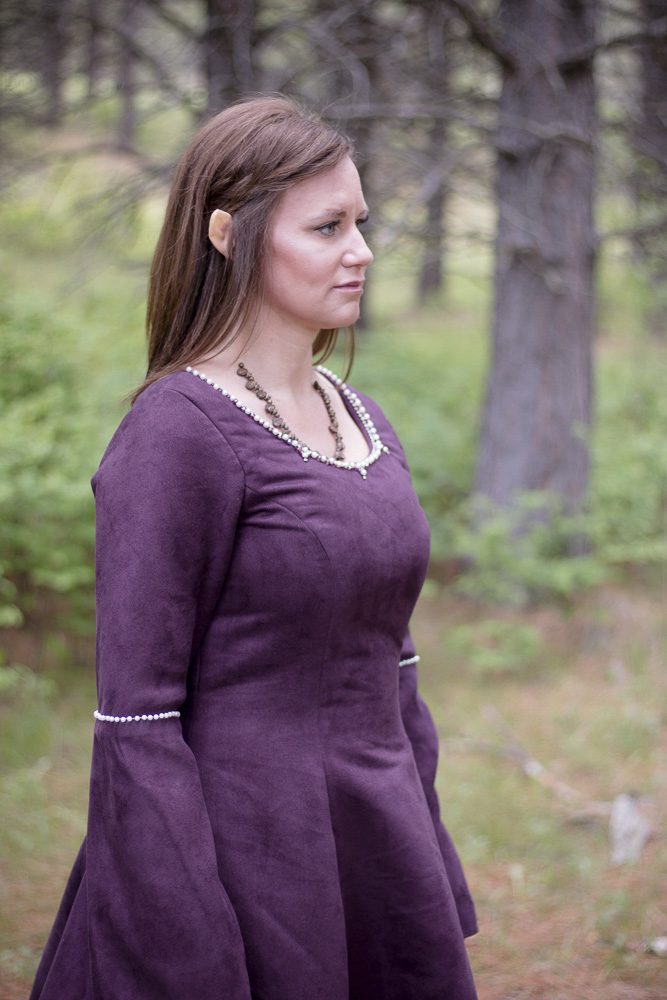
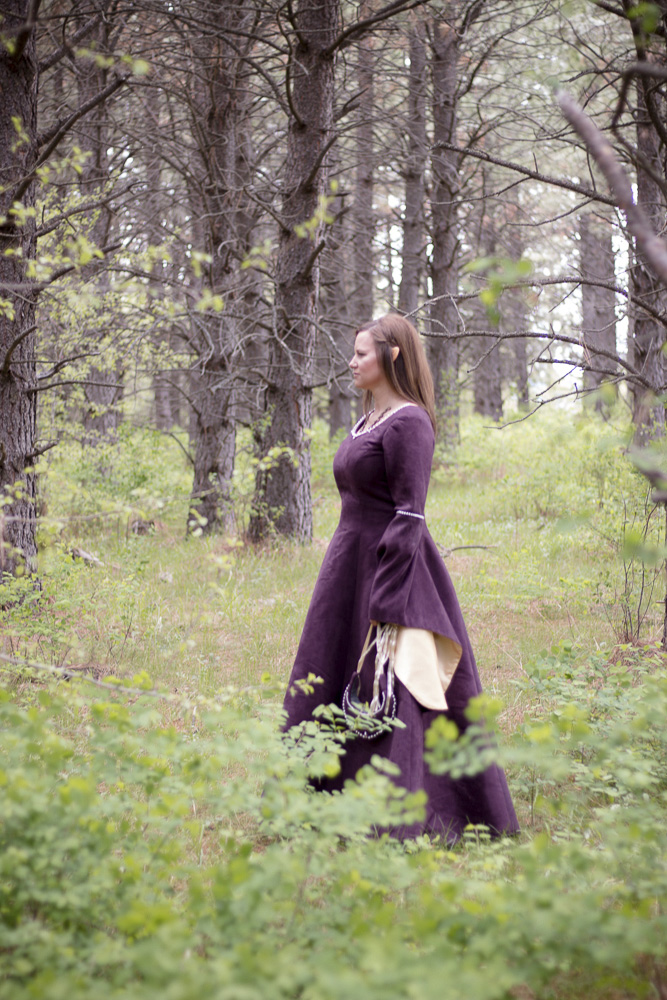
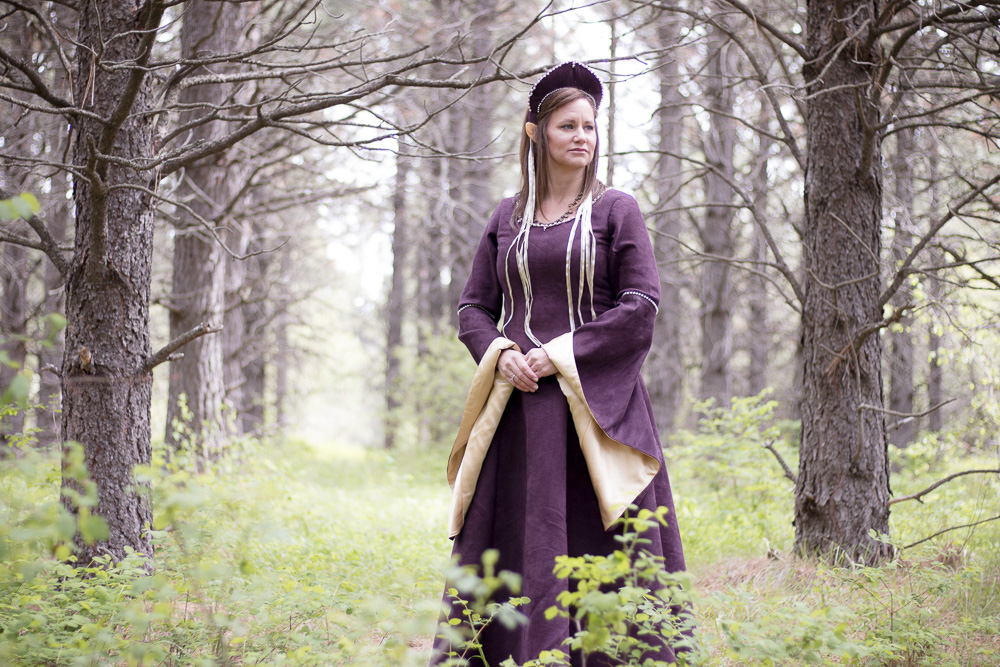
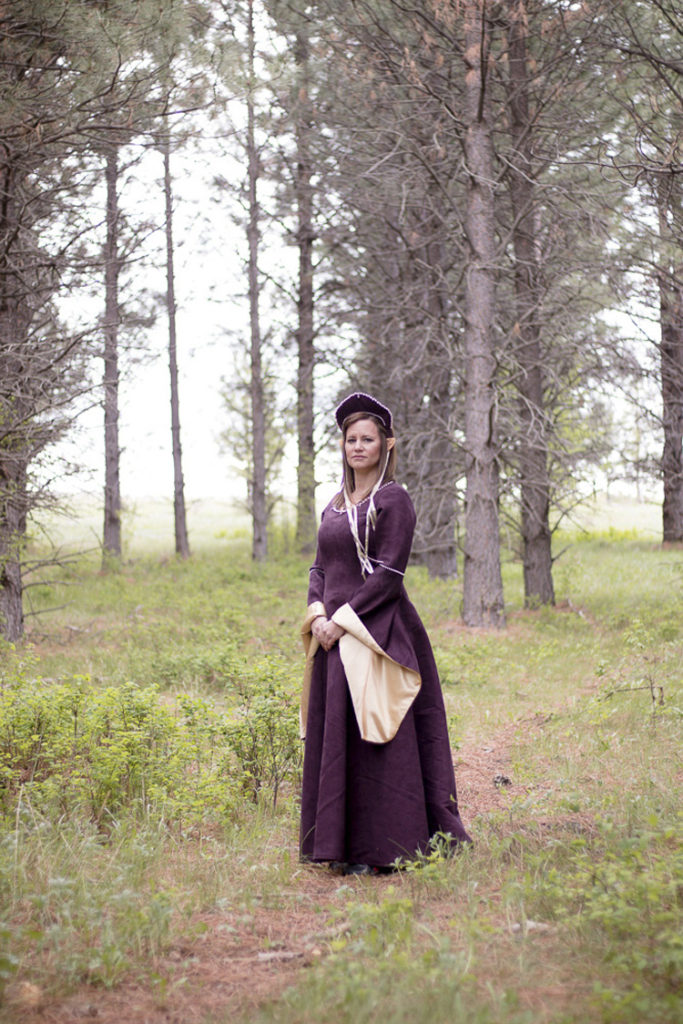
One of the hardest things about sewing for myself is that I am not able to get very good pictures. I put so much work into this project I wanted it to be different. Nice pictures of me in full costume in the woods (Elenetessé is a Wood Elf, after all) fit the bill perfectly. I contacted my friend Rachel from River Wynn Photography to see if she would be interested in taking my pictures. She is an amazing photographer to start with, and I knew something like this would be right up her alley.
I am happy to say she agreed, and we met up at our local hiking trails to take pictures. As someone who is usually behind the camera, it was very daunting to be in front of it; however, Rachel quickly put me at ease and make the experience fun and entertaining! The images turned out beautifully, and I could not be more happy with them! Be warned: there are a lot, and this is a picture-heavy post!
Rachel also did a great job getting some detail shots that highlight the beading and kokoshnik really well. I am so glad I contacted her!
Finished!
One of the things I like the most about our events is getting to see everyone’s costumes. Some add-on to/alter a costume from a previous event or they show up with a brand new costume. I love seeing the skill and workmanship that goes into each piece! I cannot wait for our first event this year to see everyone’s new creations! In addition, I cannot wait to show off the hard work I put into making this dress and headpiece!
This is the fourth finished project from my Finish-A-Long Quarter 2 Project List. Apparently the FAL was just what I needed to motivate me to get stuff finished!
Linking up at Made by You Monday, Show & Tell Link Party, Wow Me Wednesday, Whoop Whoop Fridays, Finish it up Friday, Friday Finds Link Party, and Show off Saturday.

Nature Girl. Mom. Wife. Friend. Photographer. Sewer. Crafter. Artist.
To borrow a phrase – “Yeet Ye Riche”
I came over from Crazy Mom Quilts. Your dress is beautiful! And the Russian headdress is just the right accessory. I love the beading you did on both. The pattern you used is really flattering. I love how it fits ! I know I would feel like a princess wearing it 🙂 Anyway, I know it must have been quite a lot of work and it was definitely worth it! I wish I could swish around in it, haha! Enjoy your wonderful creation!
You did a beautiful job on the dress and headpiece! You will turn a few heads! The beading is beautiful. Have fun at your event!
Thank you very much, Dawn!
It’s a lovely dress! Congratulations on the finish and thank you for participating in the 2016FAL, on behalf of all the hosts!
Thank you so very much! It was definitely fun to make and even more fun to wear!