I am excited to be participating in the 12 Days of Christmas in July Blog Tour again this year. The blog tour is hosted by Sarah at Confessions of a Fabric Addict Blog. Two years ago, and I wrote a post detailing how I make Bowl Cozies. I love the ideas I get for cute Christmas crafts from the other bloggers, especially since many of them make great gifts!
This post is going to be VERY LONG detailing the process of making a Christmas Gnome. I am warning you ahead of time. Be sure you look at the Blog Tour lineup to see the amazing posts included in this blog tour. In addition, the details about a give-away sponsored by Figo Fabrics are at the end of the post.
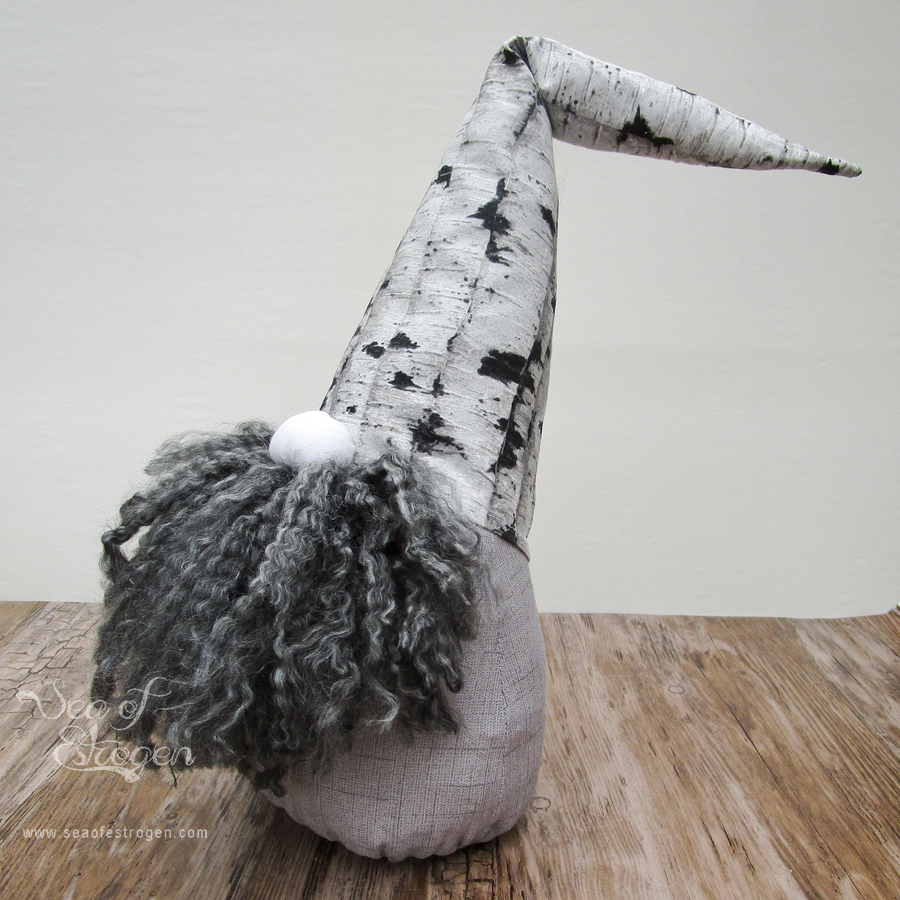
Christmas Gnomes have been all over the crafting and sewing world the past couple years, and I’ve really wanted to try one. Consequently, I decided this Christmas in July Blog Hop was the perfect opportunity jump in.
I read at least ten different tutorials and blog posts to get familiar with the process. The pattern I finally settled on is the Christmas Gnome Free Sewing Pattern from Sew Can She.
Most of the tutorials I read were sufficient and would have worked well. However, the Sew Can She tutorial included an actual downloadable pattern which is a huge convenience. The pattern is very easy to follow, and it would work for an ambitious beginner.
Materials Required
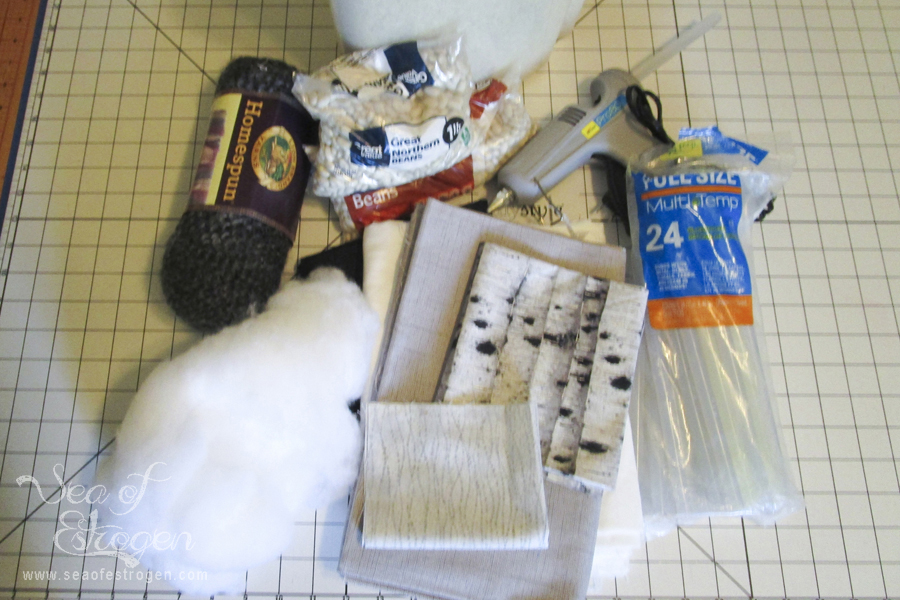
The supplies needed for the gnome are items most crafters have on hand, which is great. I do not have any pipe cleaners or faux fur in my stash, so I improvised. I will explain the changes I made at each step.
- fabric
- faux fur (I used yarn)
- fiberfill stuffing
- hot glue gun and glue
- pipe cleaner
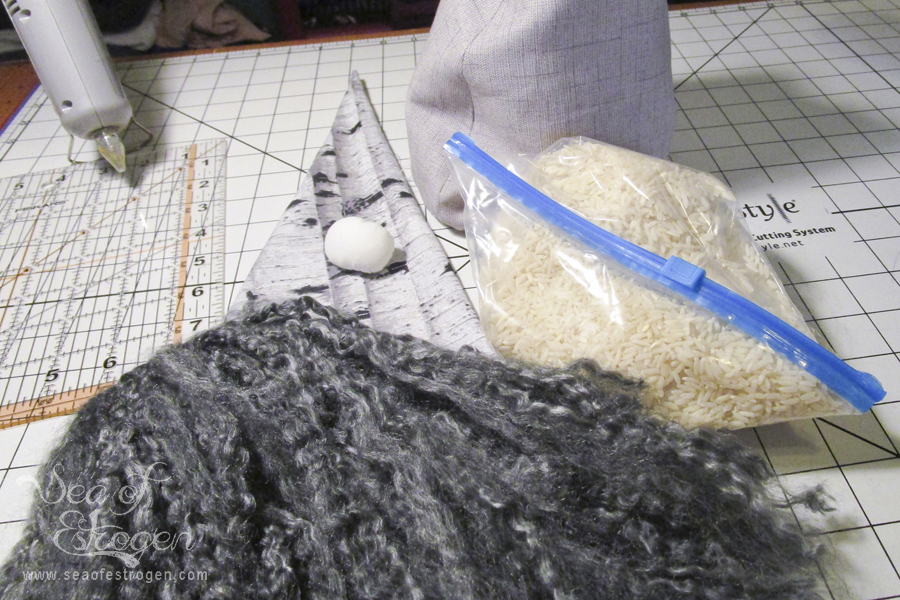
- pellets or small rocks for weight (I used dry rice)
- heavy-duty thread
- sewing machine
- quilting ruler and mat or scissors
- pins
- chopstick or bodkin for pushing out corners
Prepping Materials
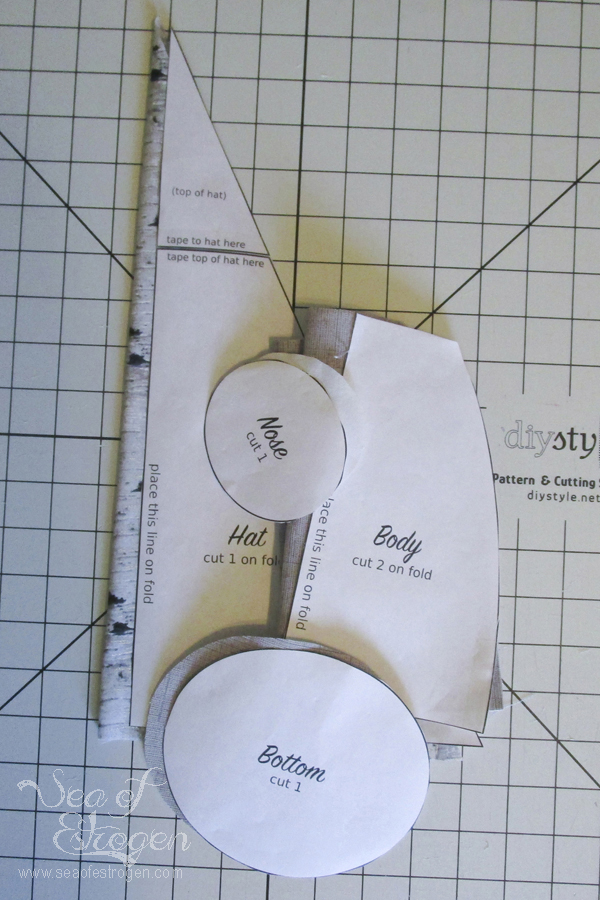
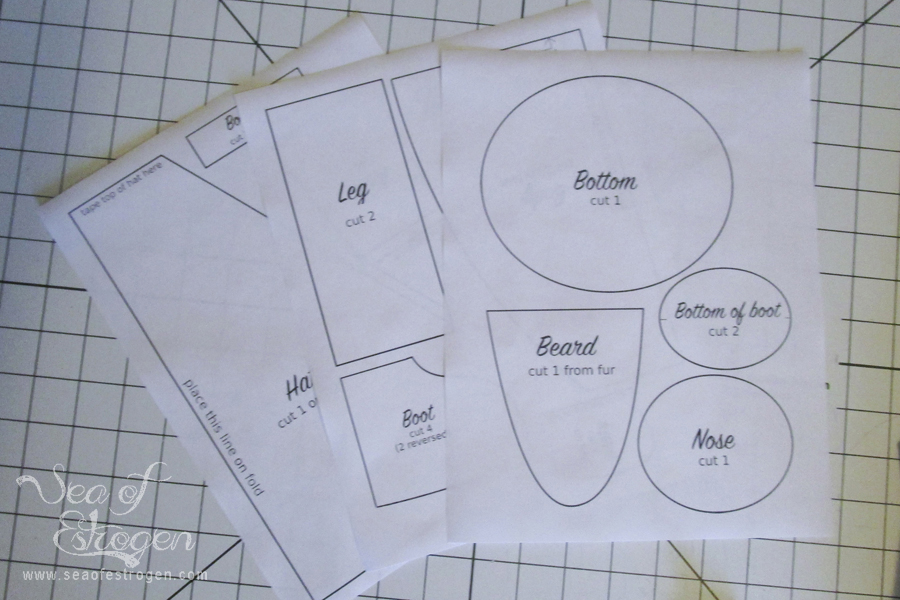
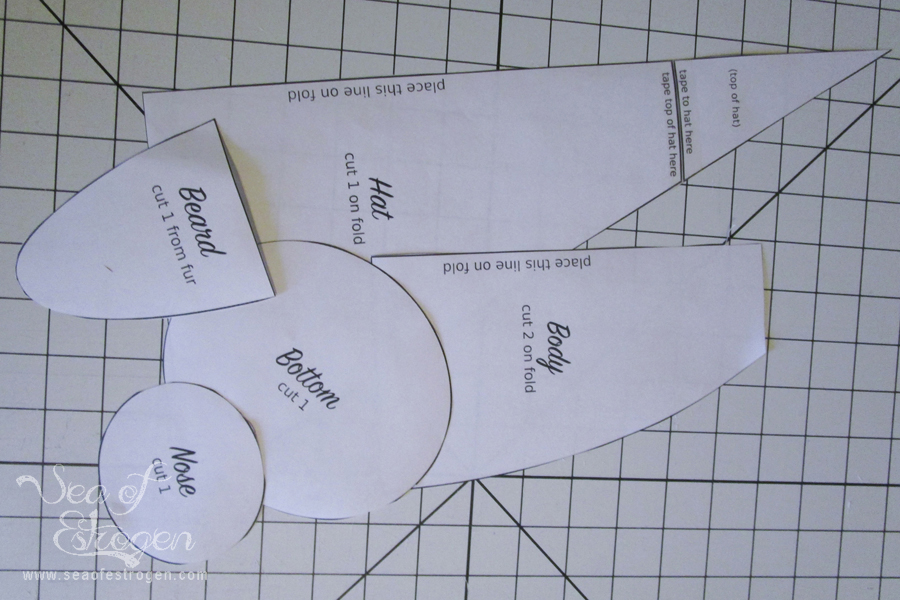
To begin, print the Sew Can She downloadable pattern. Cut out the paper pattern pieces, and then tape the hat pieces together.
Next, use the pattern to cut out the fabric pieces. I used coordinating quilting cotton scraps for my gnome in a black and gray color scheme. In addition, I used white fabric to cut the nose piece. I chose not to add the legs and arms to my gnome, so I set those pieces aside and did not use them.
Construct the Body
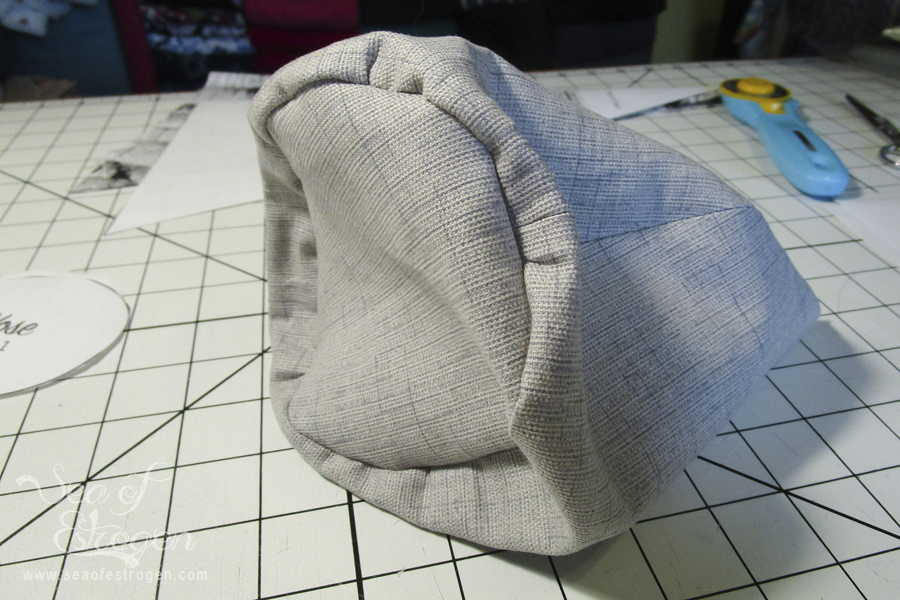
Pin the front and back body pieces together at the side seams and stitch using 1/4″ seam allowance. Press the seam open.
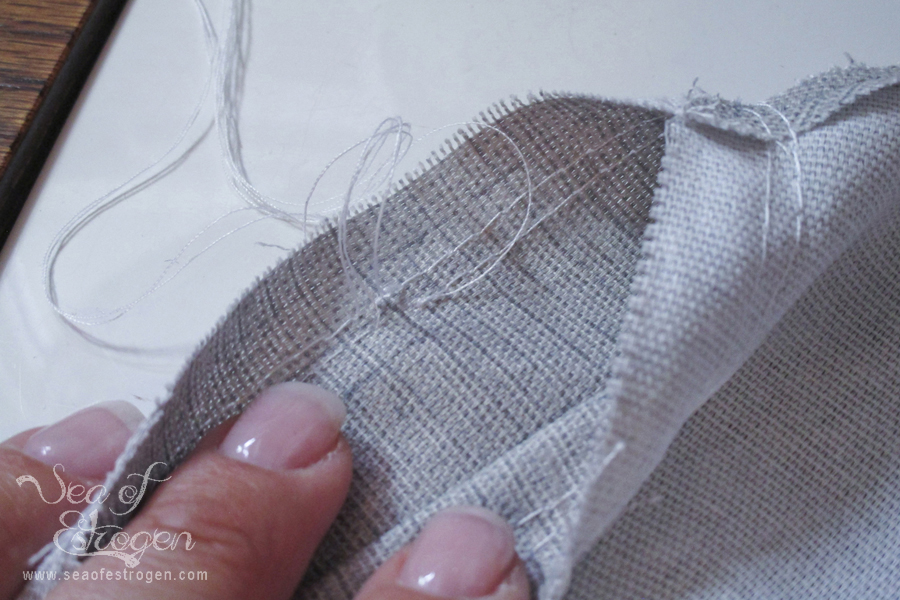
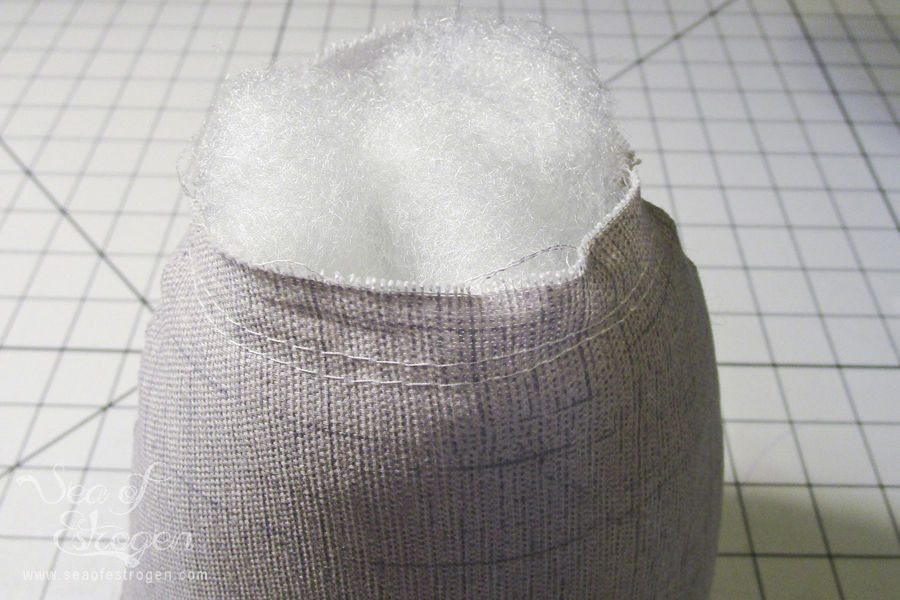
Stitch two rows of gathering stitches around the top opening of the body. Tip: Use heavy-weight thread for this step. I used normal sewing thread, and it was not strong enough to gather the neck down completely without breaking.
Body Bottom
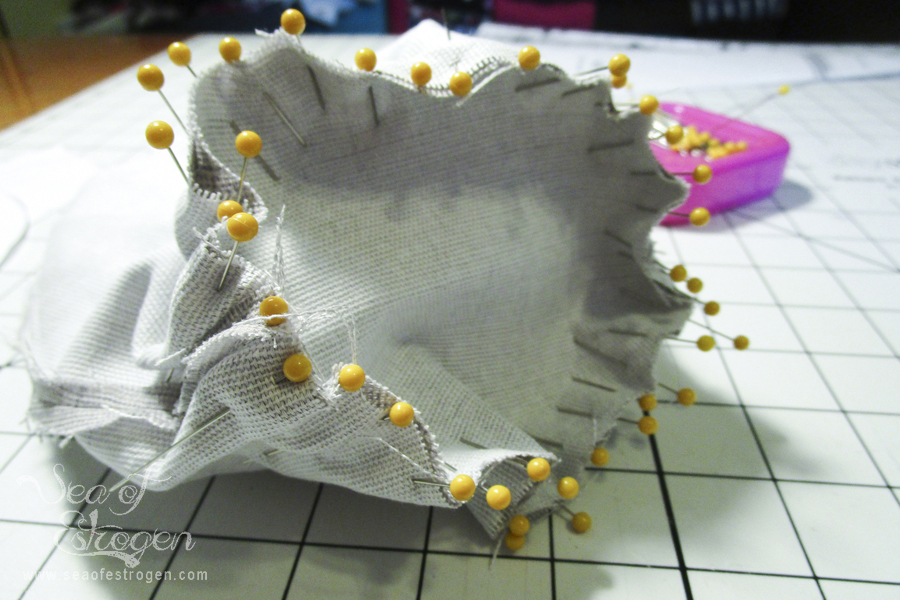
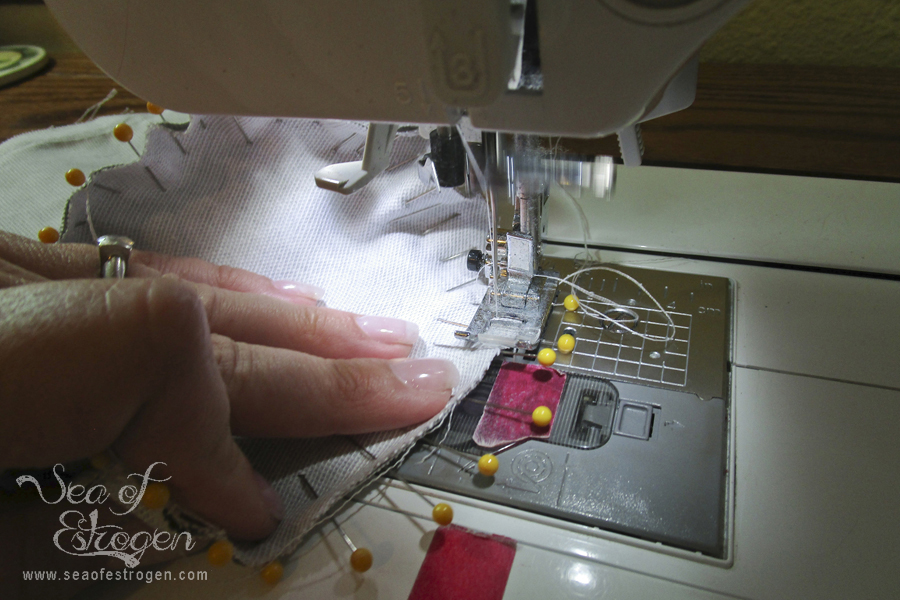
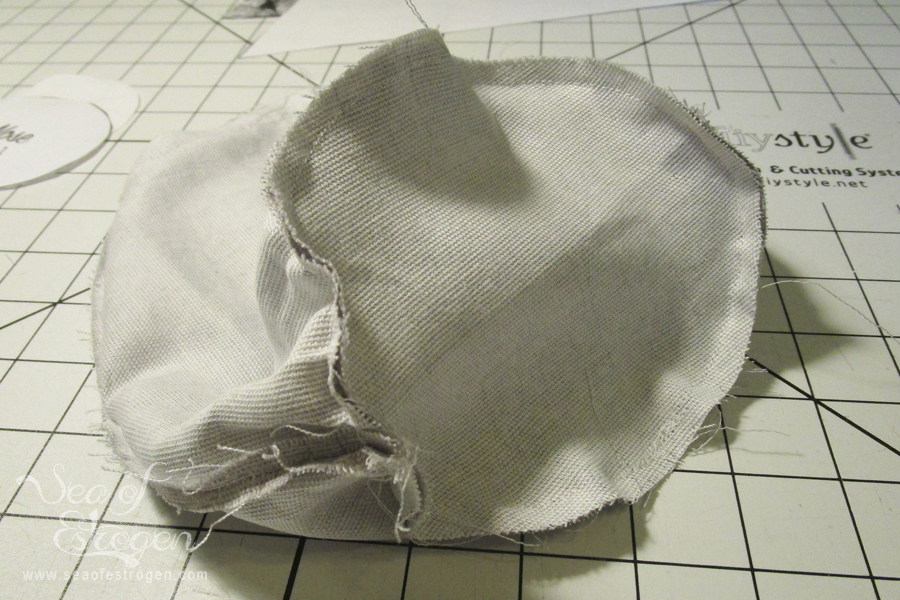
The body bottom is the only piece that was a bit fiddly for me to add to the main body pieces. Attaching a round piece of fabric to flat pieces tends to be a little difficult.
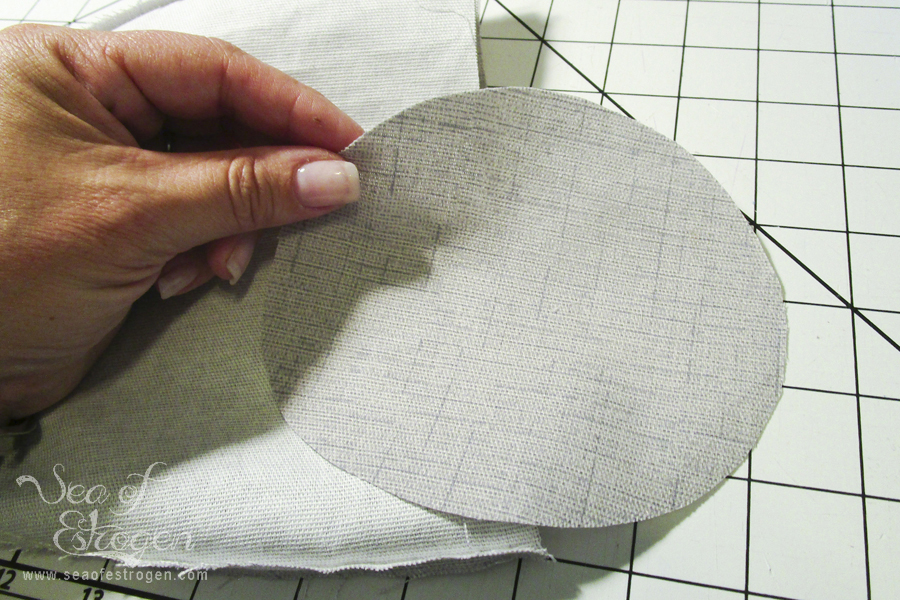
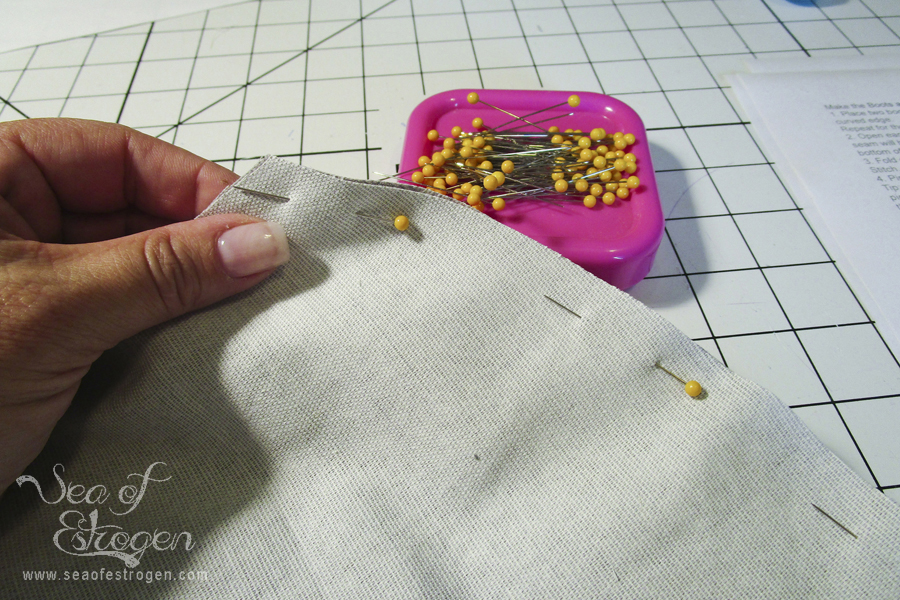
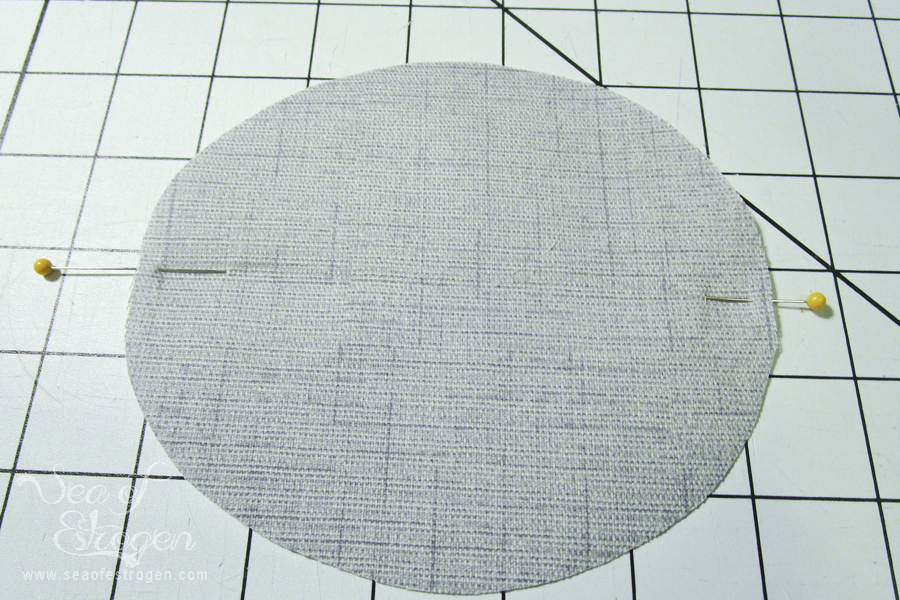
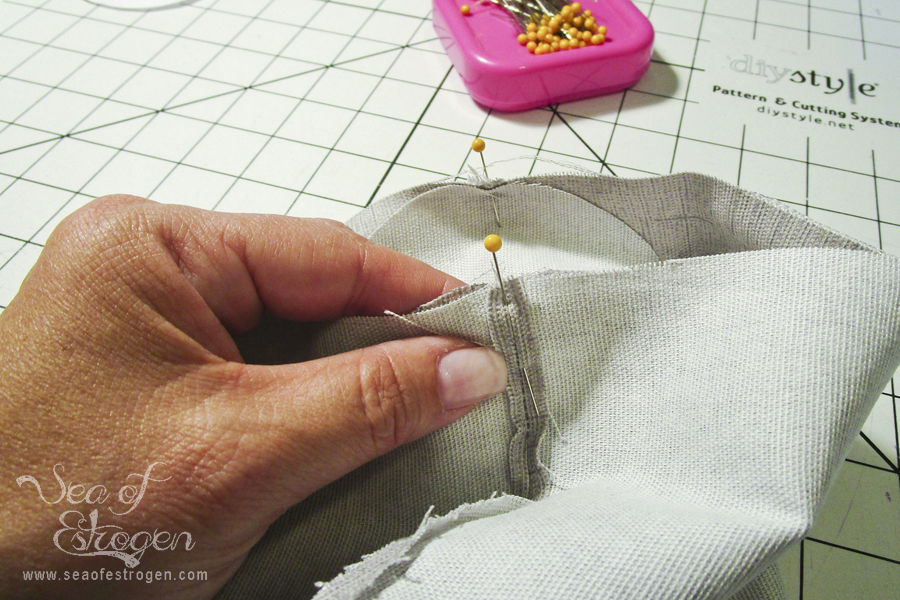
To make the process a bit easier, I folded the nose piece in half length wise and placed pins at each fold. Match the pins with the side seams on the main body piece.
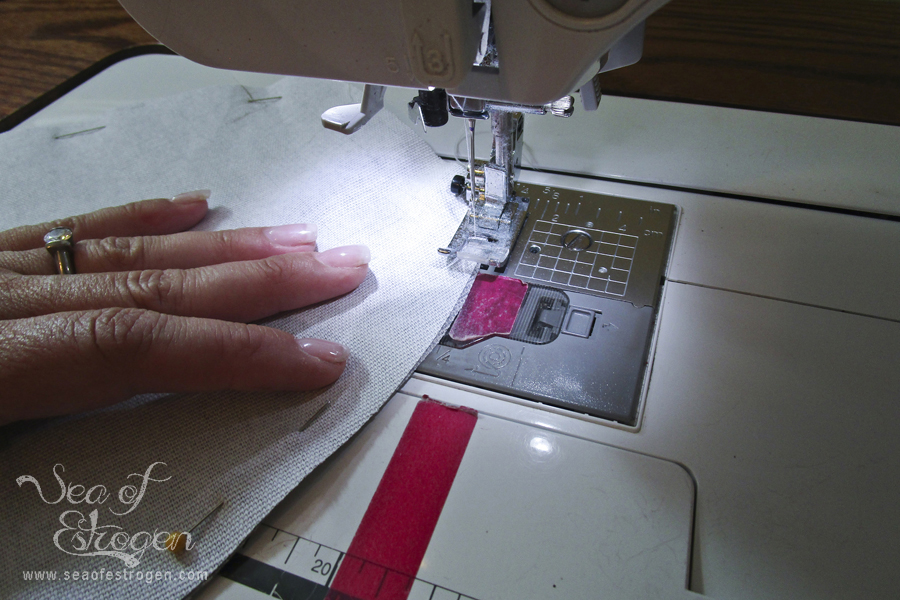
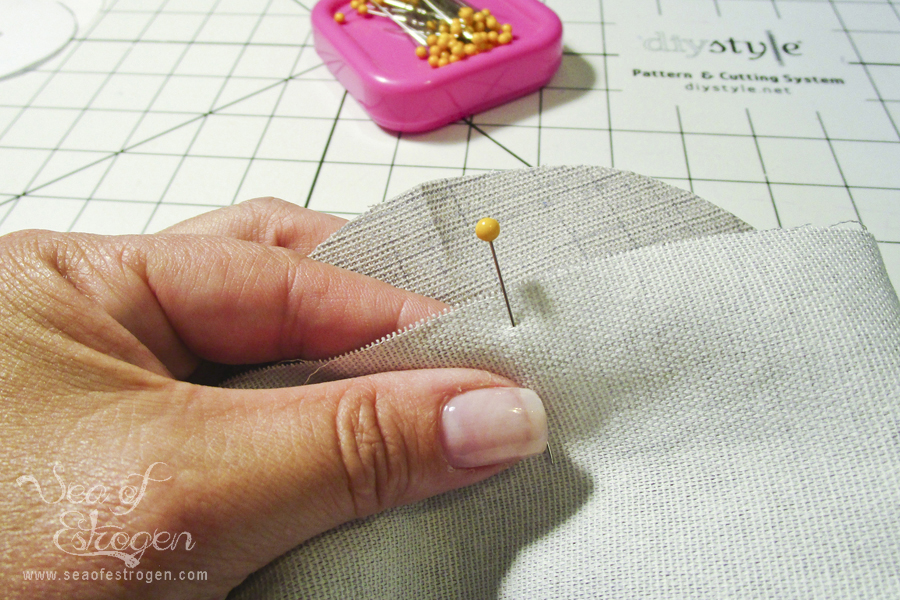
Next, mark the other two quarter points of the body bottom and the main body front and back. Pin the bottom to the body. Continue easing the bottom piece into the main body, pinning generously as you go. Sew the pieces together using a 1/4″ seam allowance. Set the body aside.
Make Hat and Nose
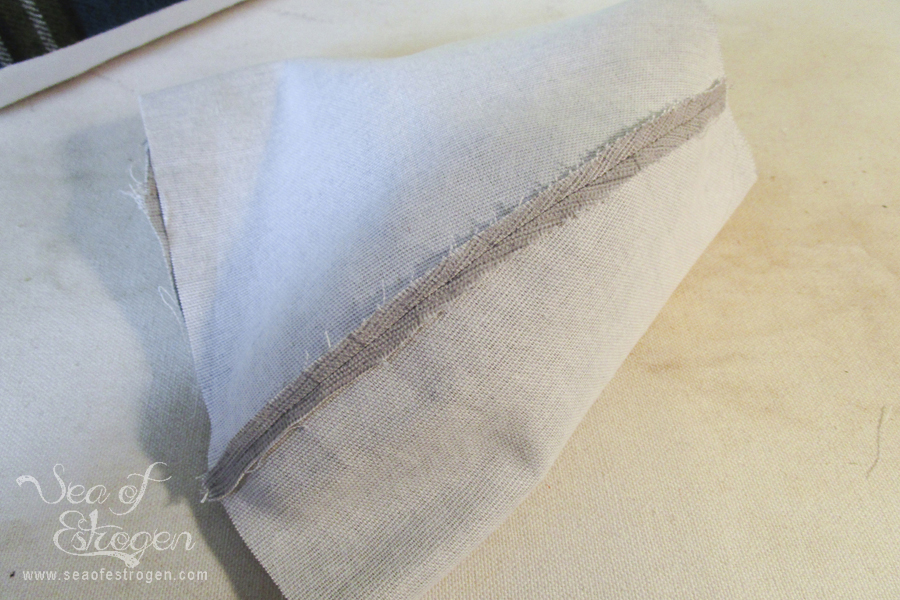
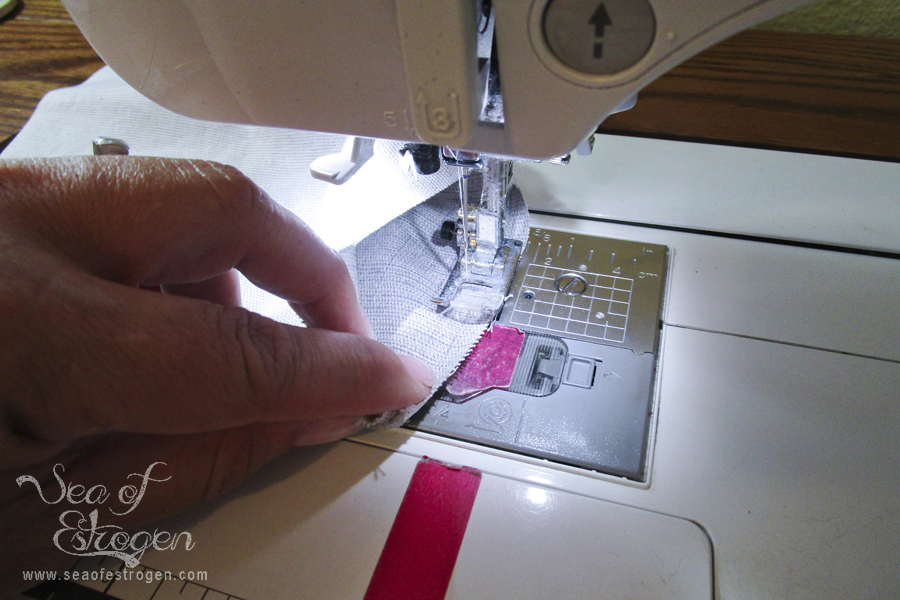
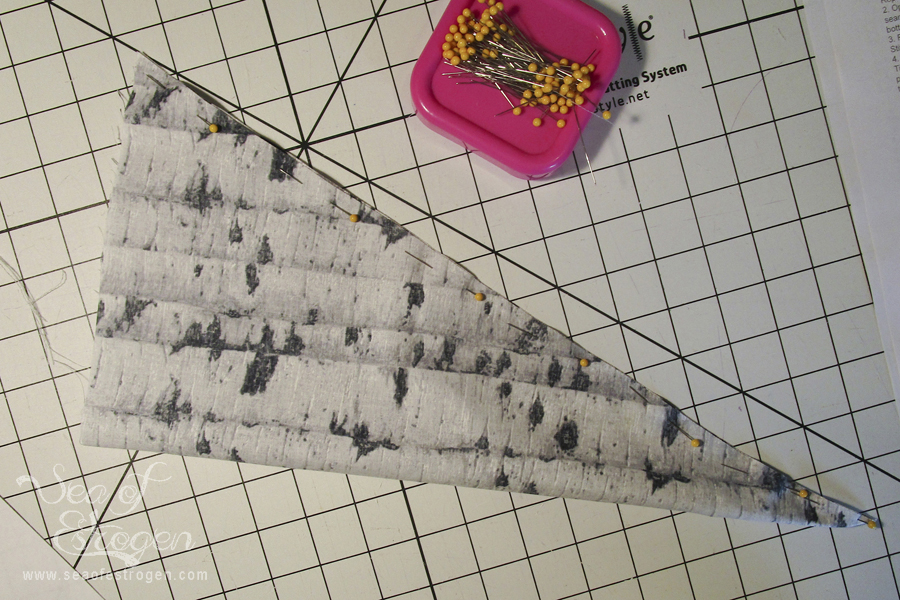
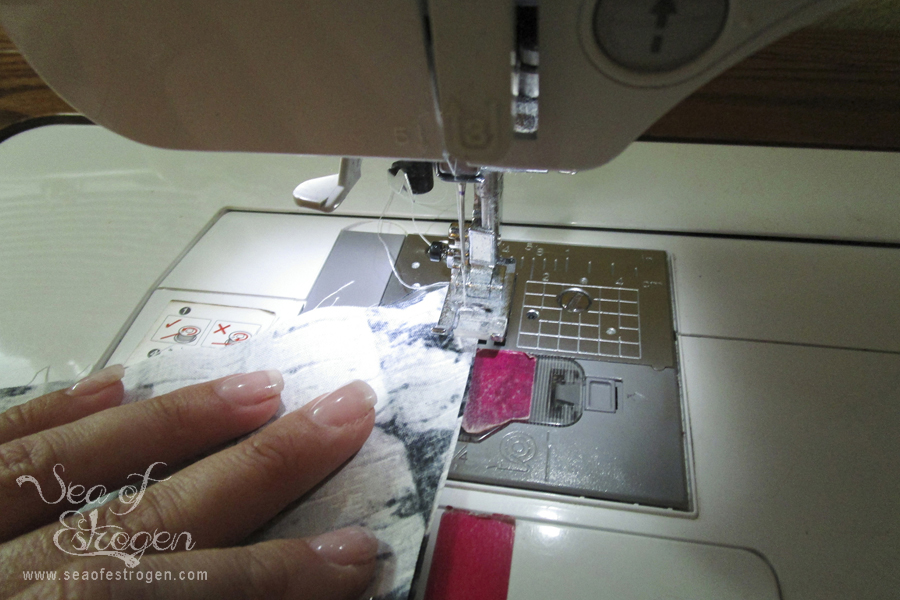
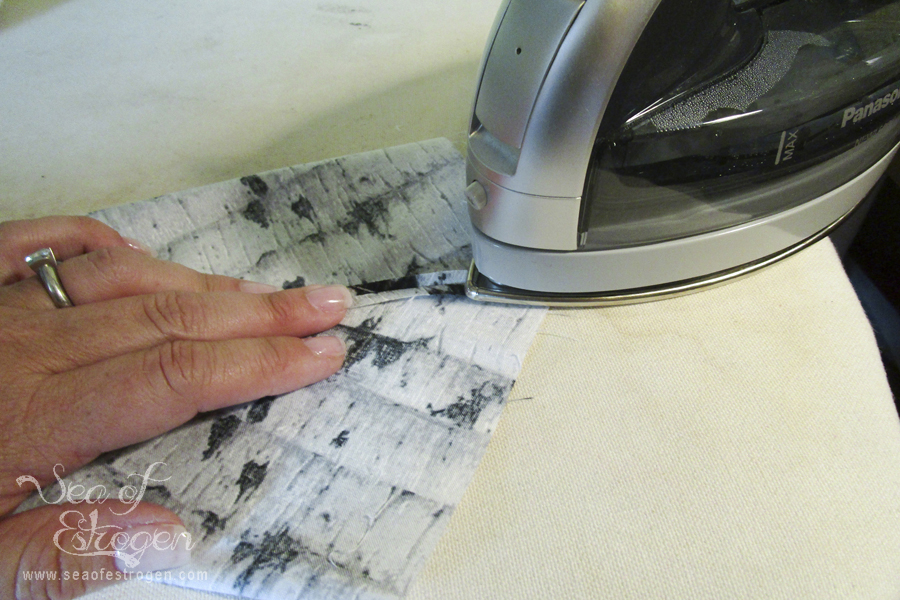
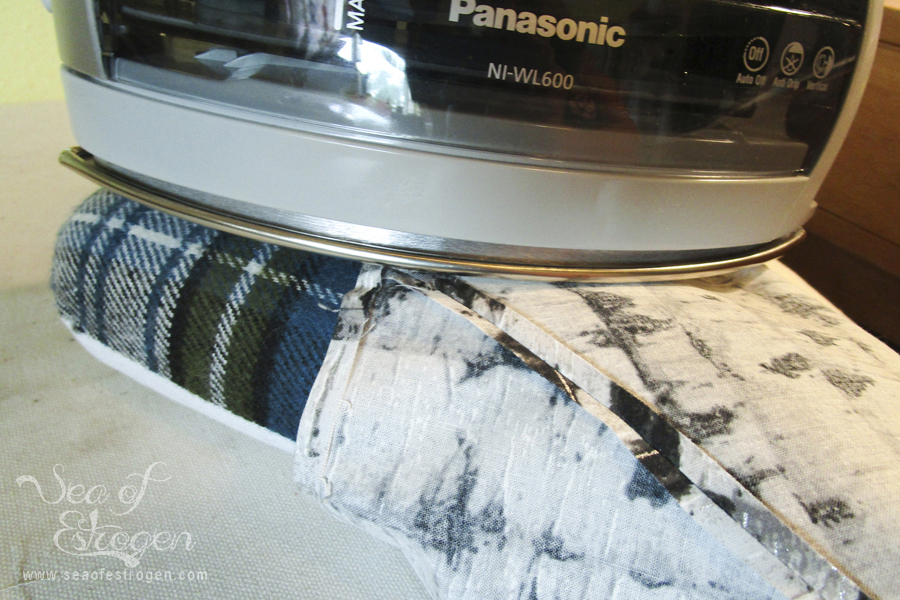
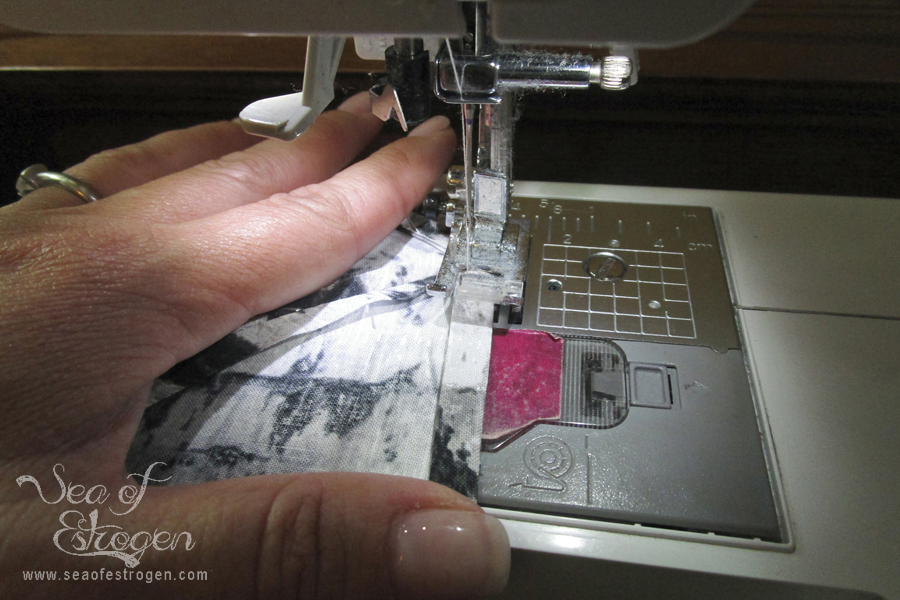
Pin the long edges of the hat piece together and stitch using a 1/4″ seam allowance. I found it easier to stitch from the hat opening towards the hat point. Press the seam open.
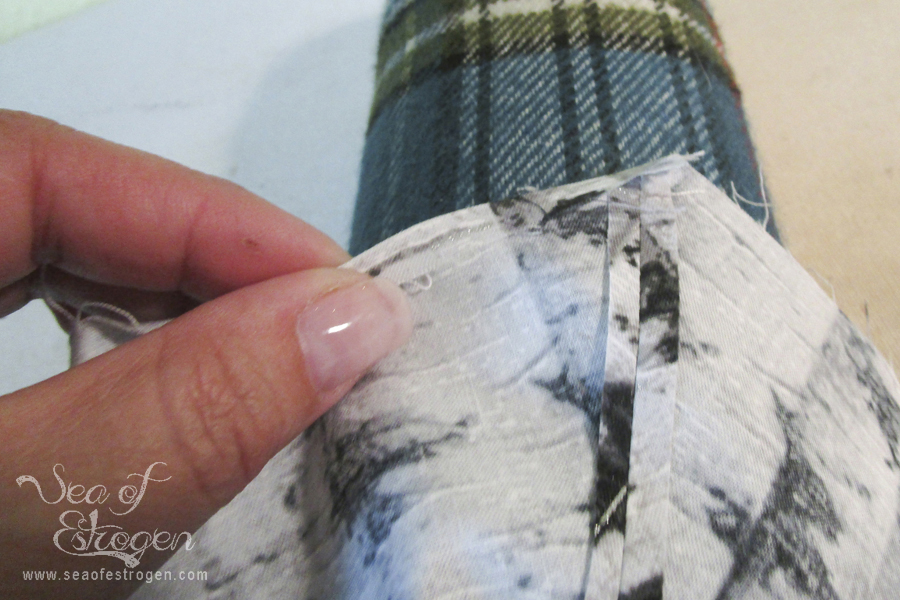
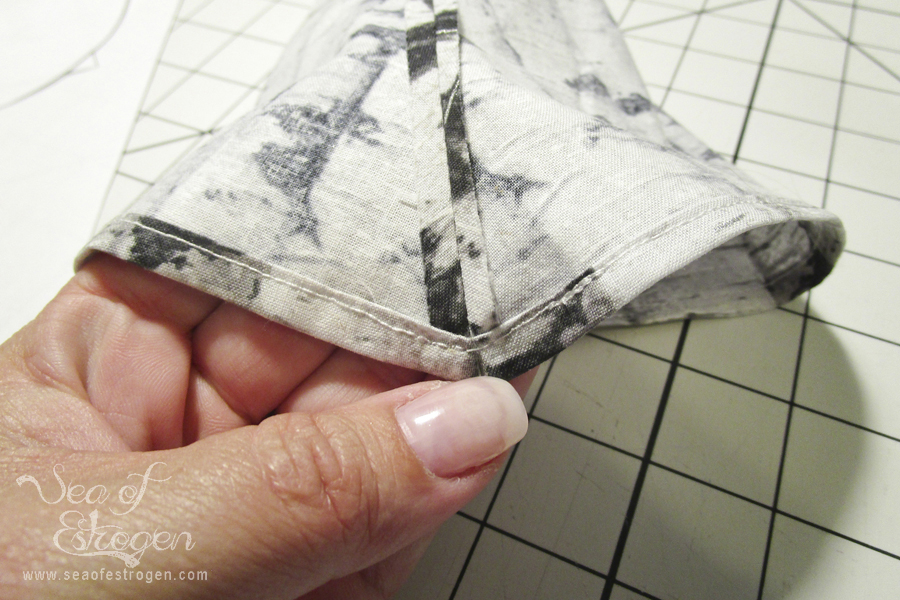
The pattern suggest folding the hat hem under 1/4″ once and stitching. I chose to fold it over at 1/4″ twice to prevent the raw edges being exposed.
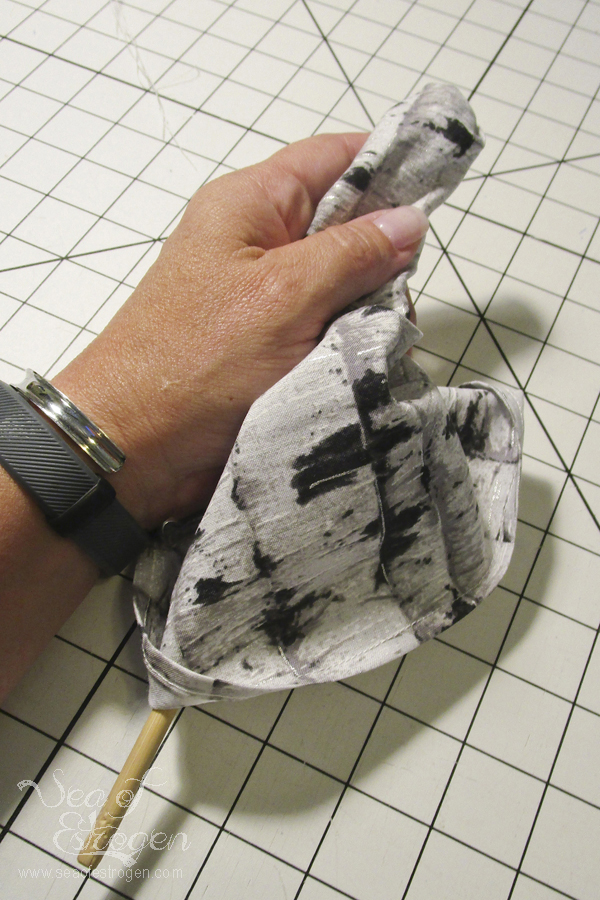
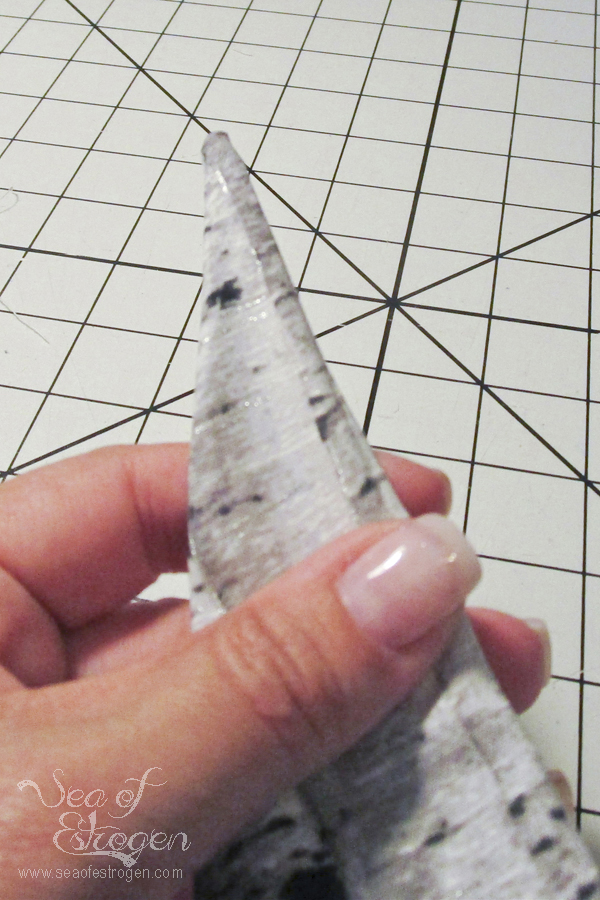
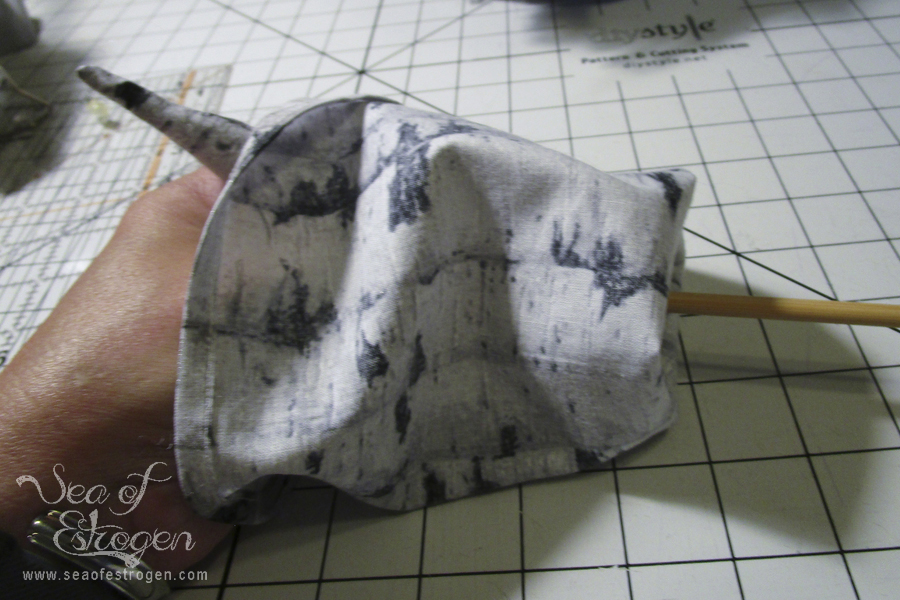
Finally, turn the hat right side out using a chopstick or turning tool to push the point of the hat out.
Make the Nose
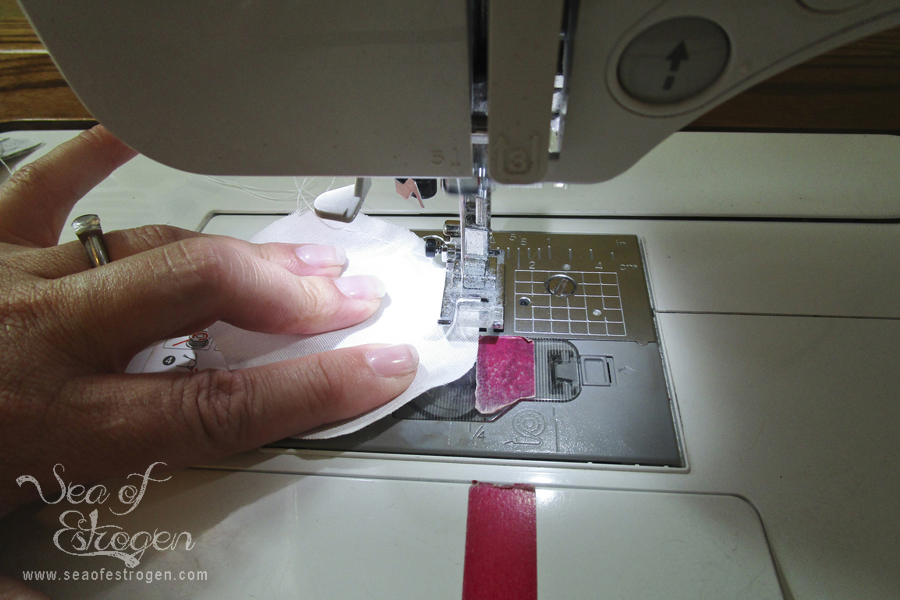
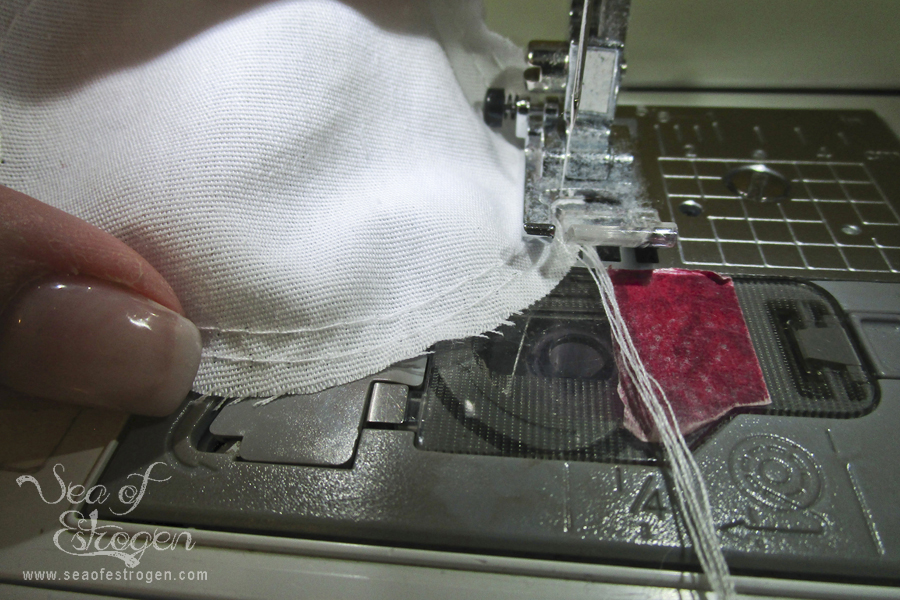
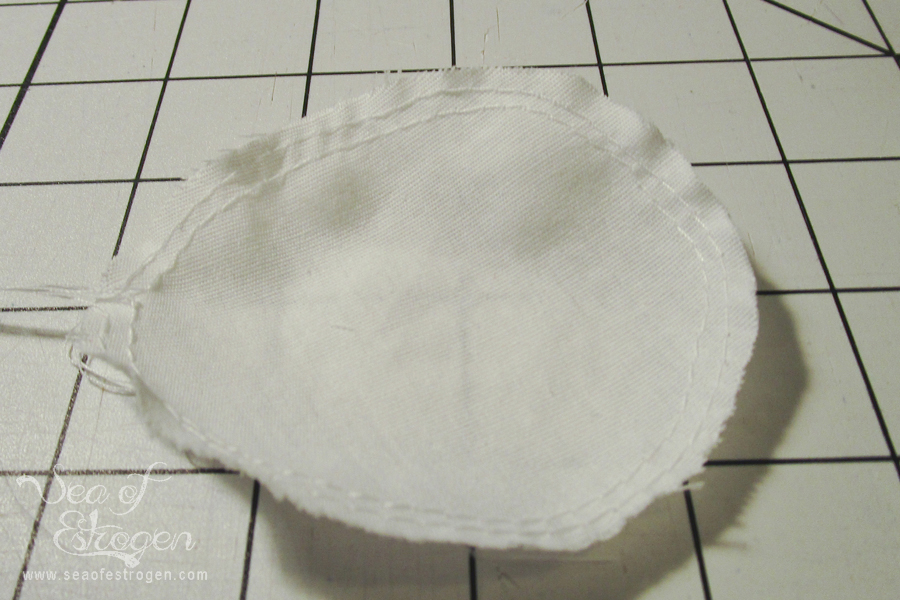
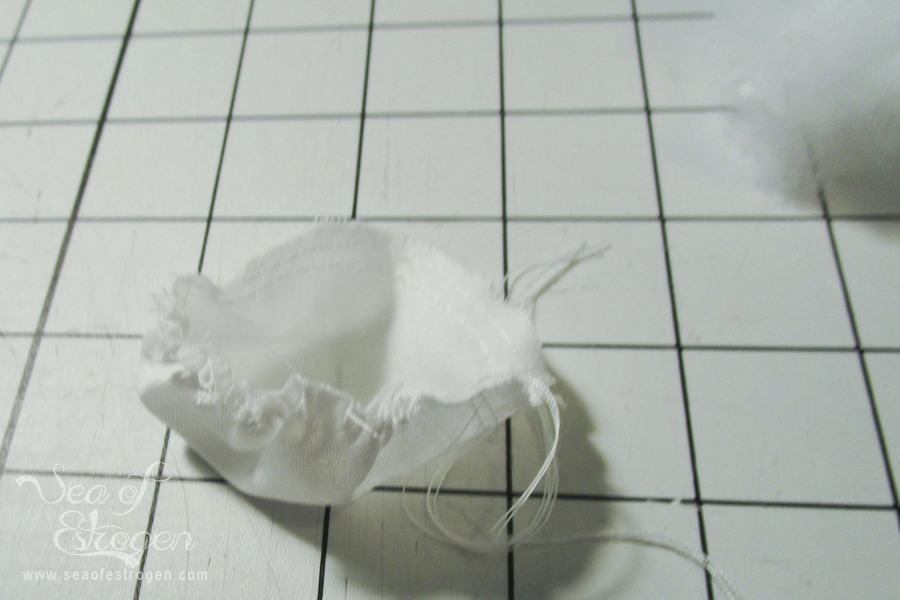
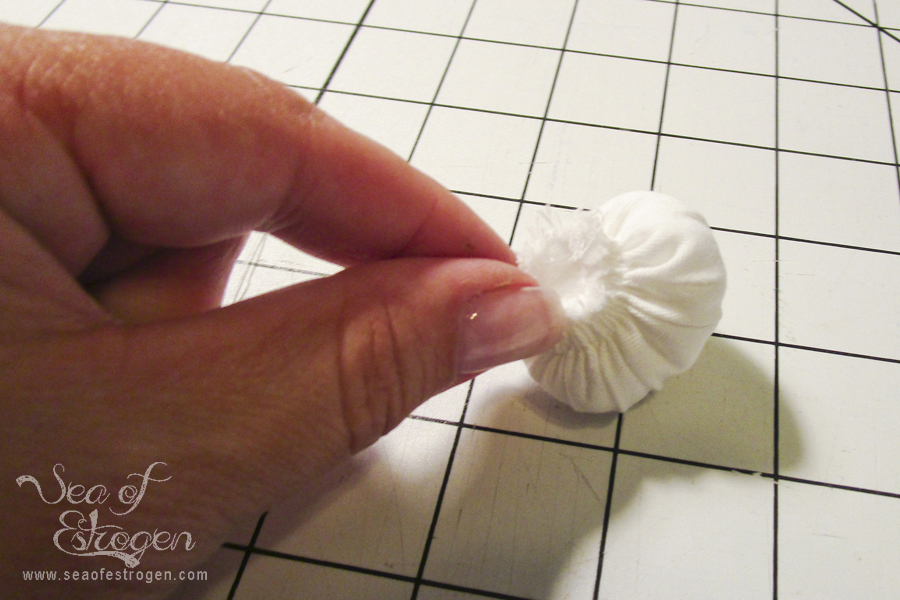
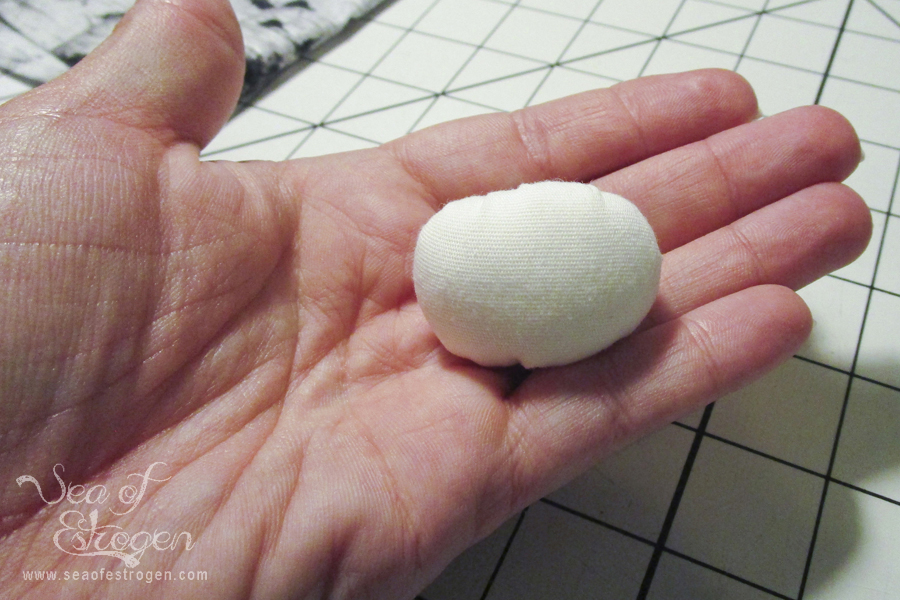
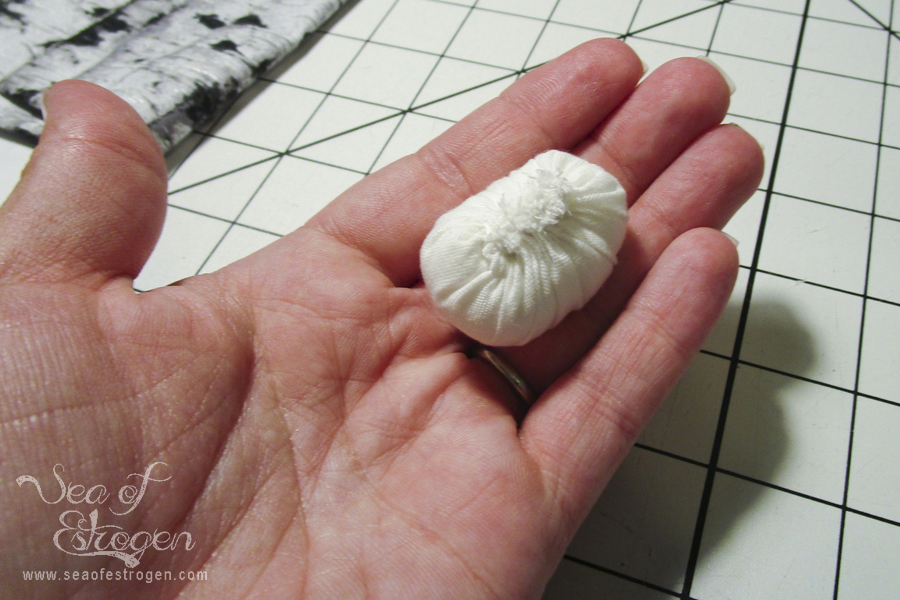
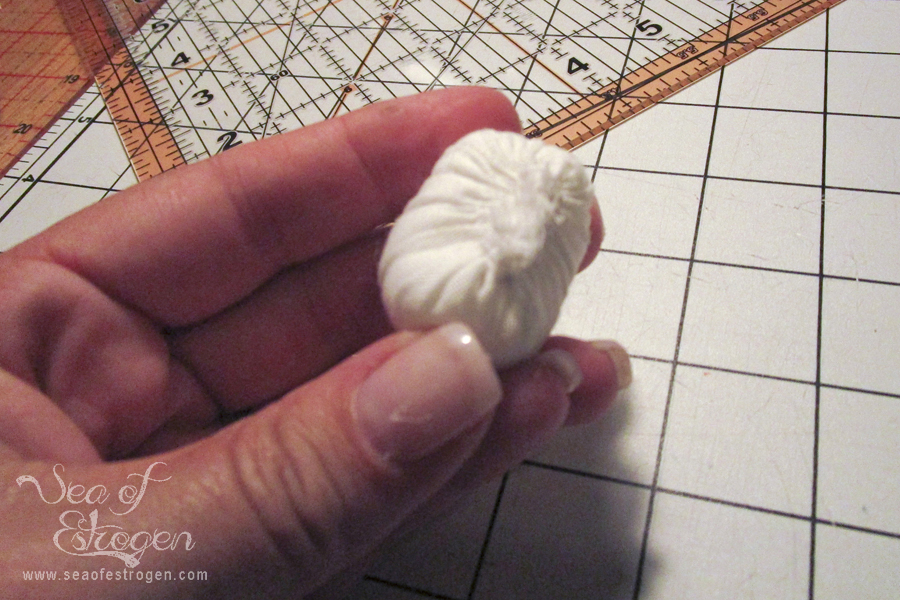
Sew two rows of gathering stitches around the nose piece. Start pulling the gathering stitches to create the nose shape.
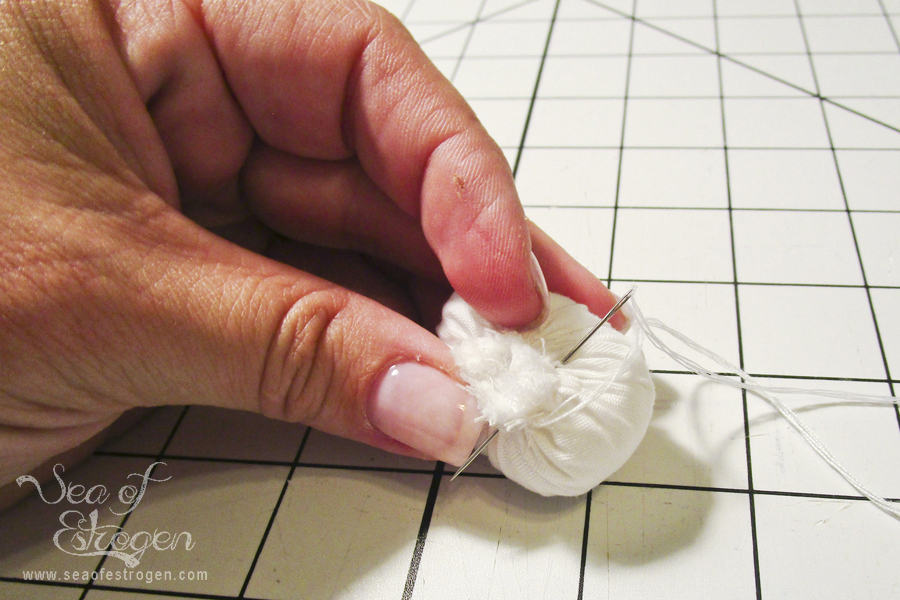
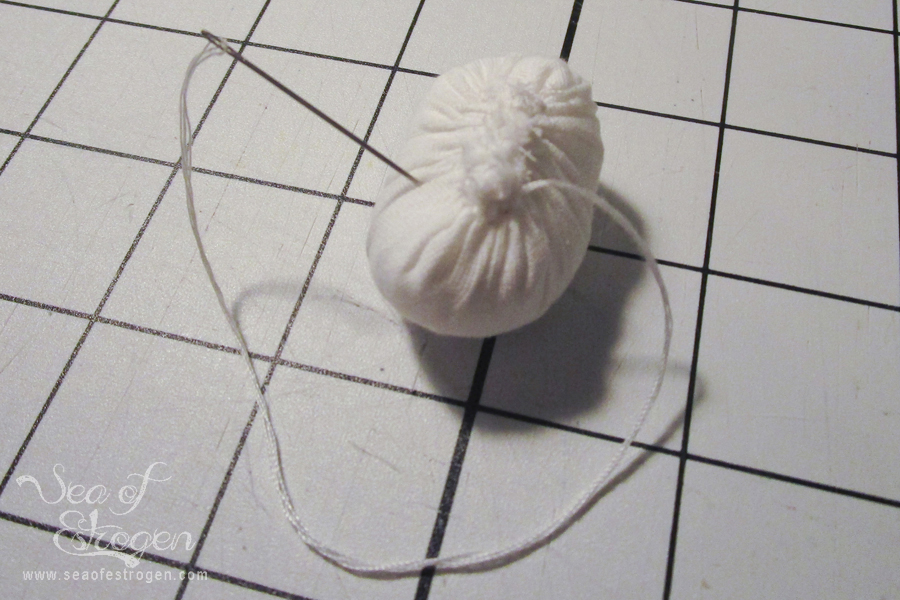
Once the nose is gathered and mostly closed, start filling it with fiberfill stuffing. Continue filling and gathering the nose until it is sufficiently filled and shaped. Tie off the gathering stitches. I was not able to gather my nose down completely, so I added some whip stitches across the gathered opening to make sure it was closed well.
Create the Beard
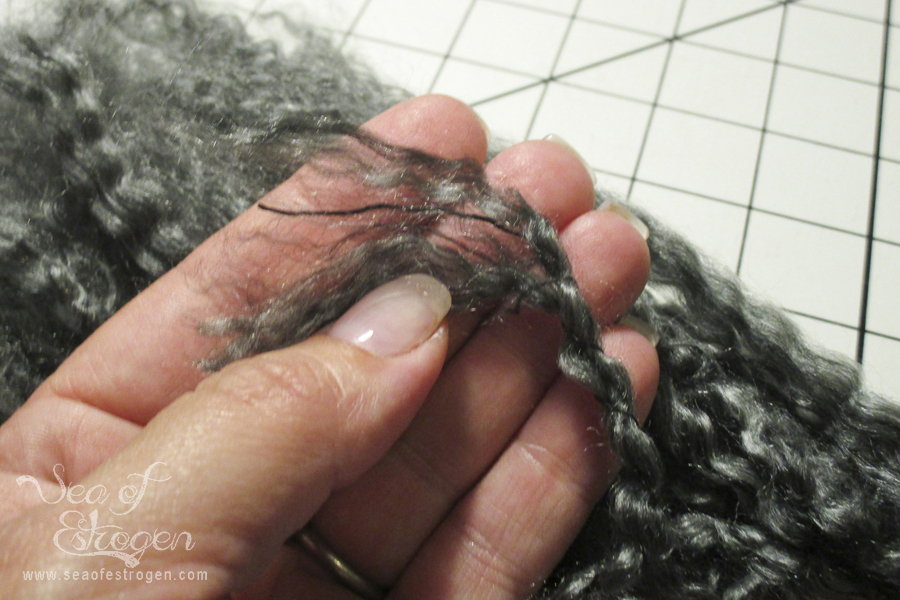
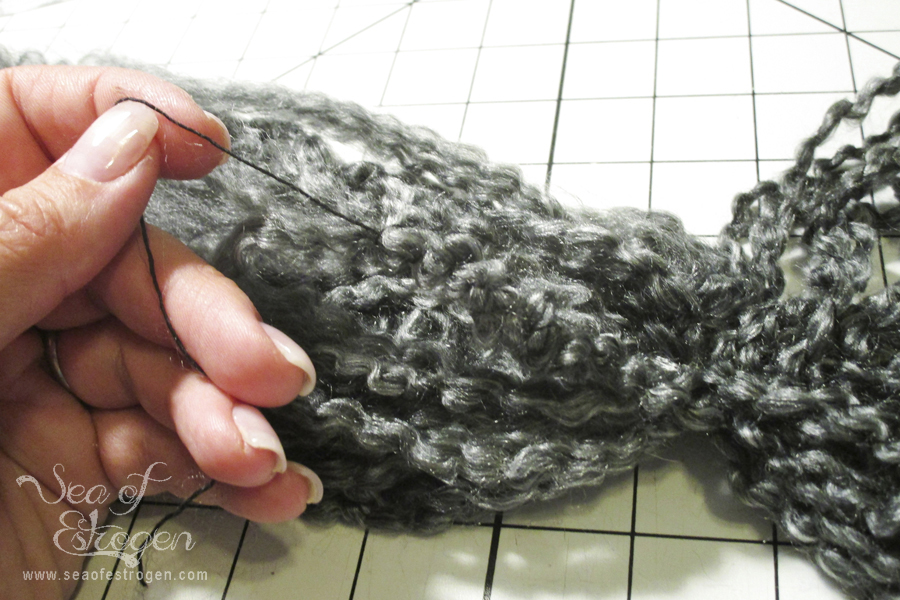
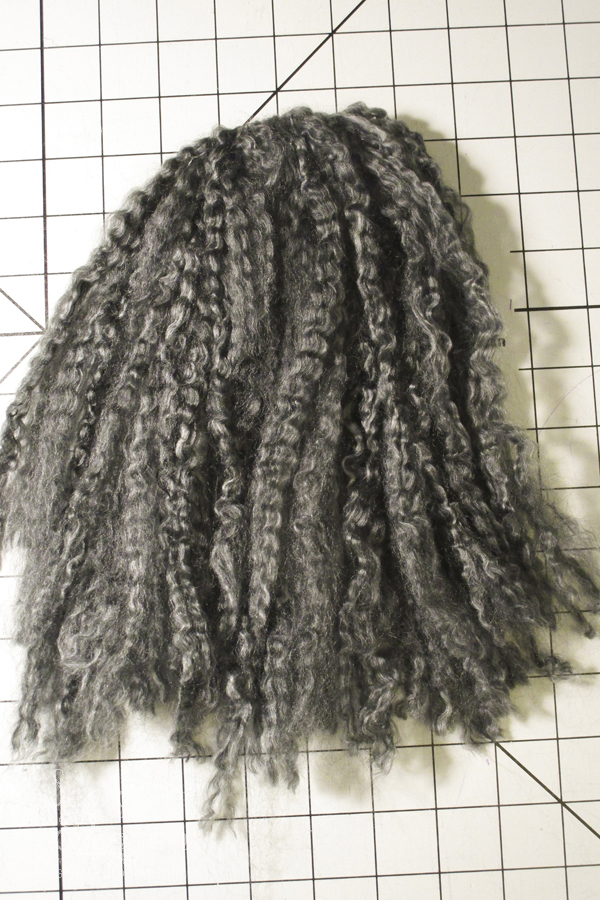
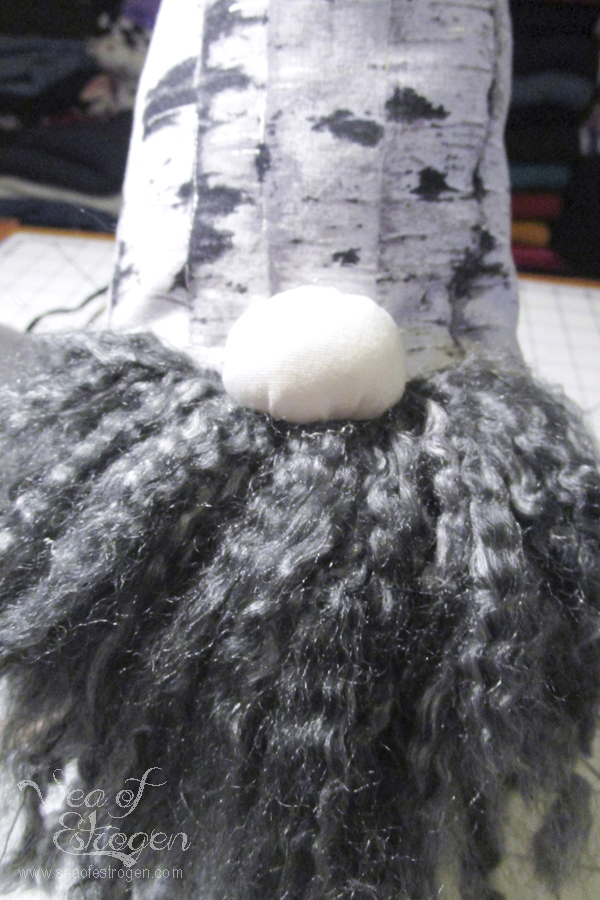
The pattern uses faux fur to create the beard. I do not have any in my stash, and I didn’t want to try to find some for this project. Instead, I used Lion Brand Homespun yarn from my crocheting stash. I also cut a piece of the body fabric about 1″ tall and the width of the beard pattern piece.
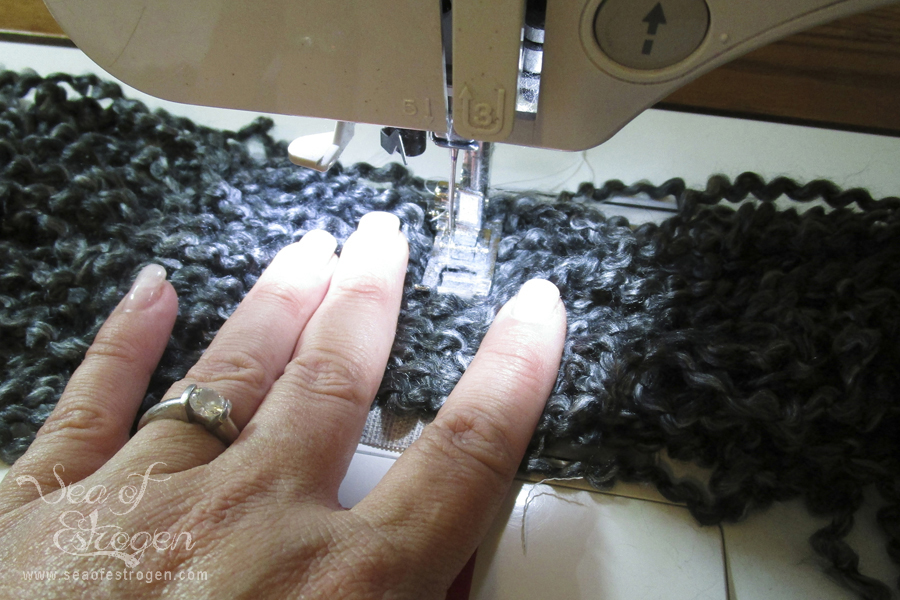
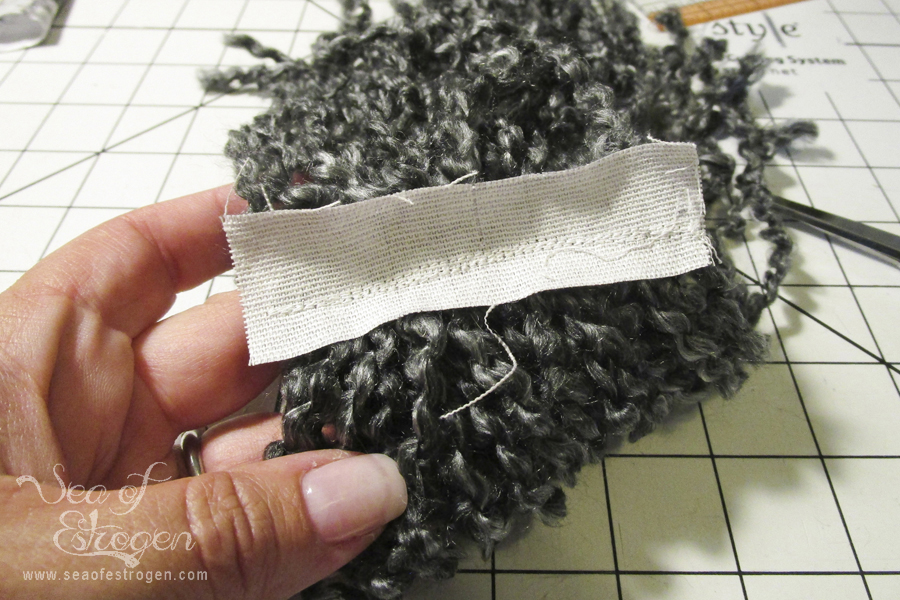
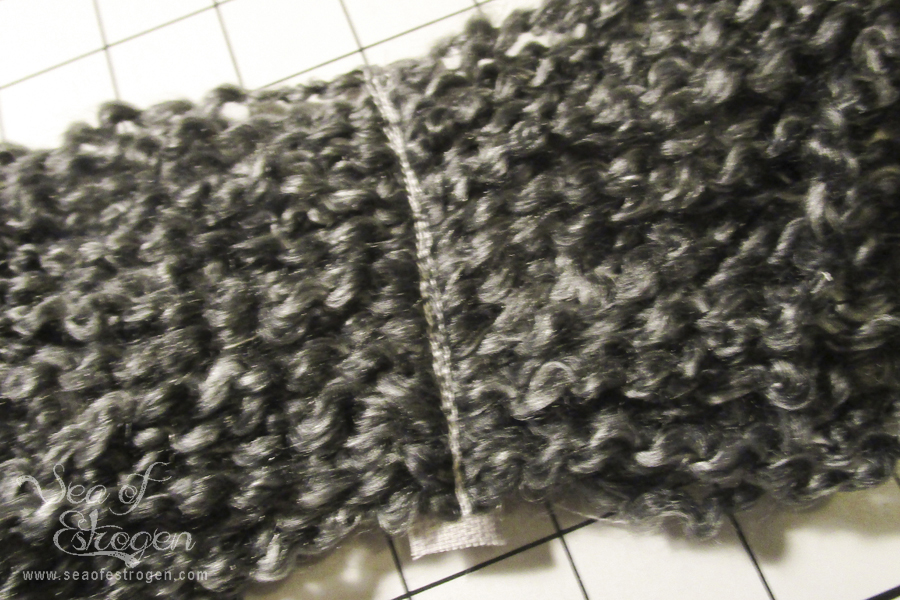
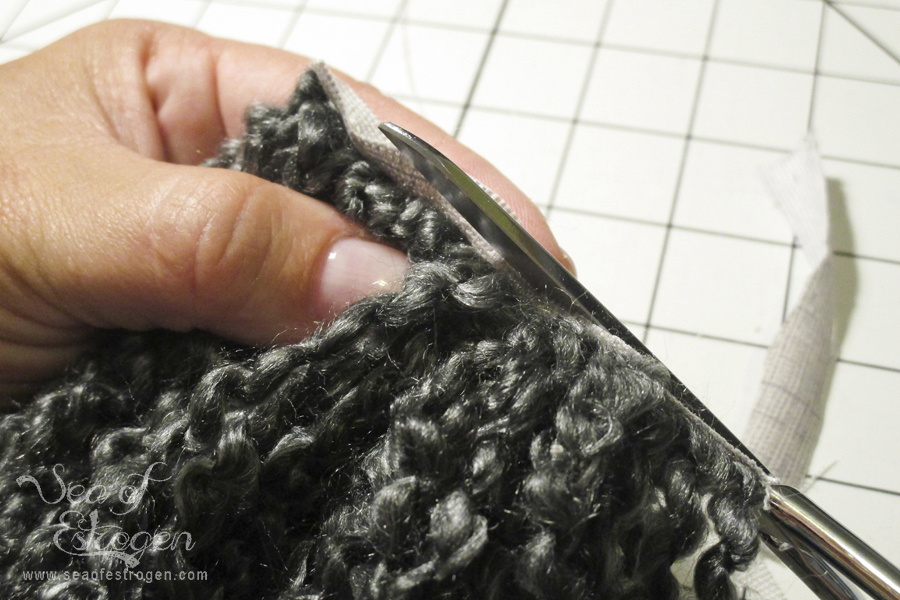
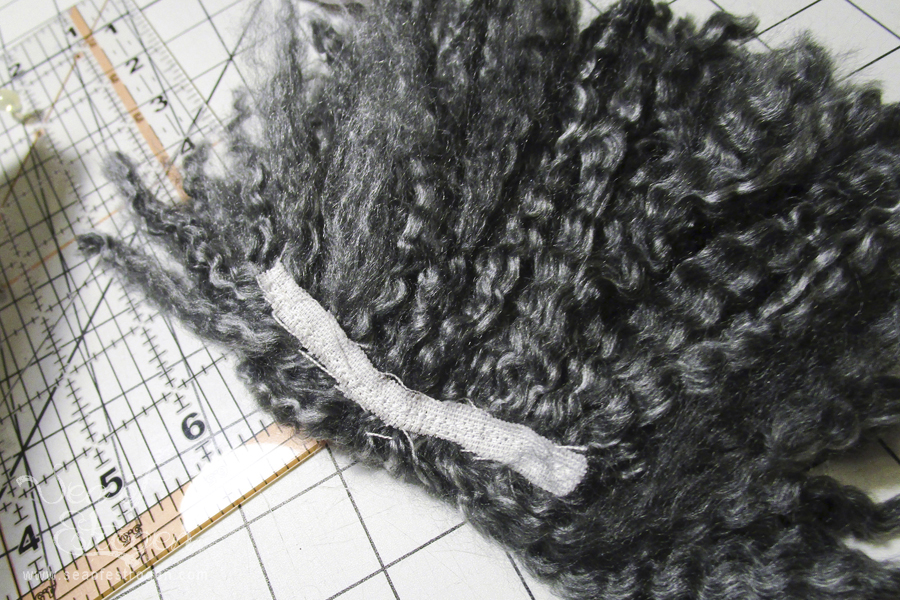
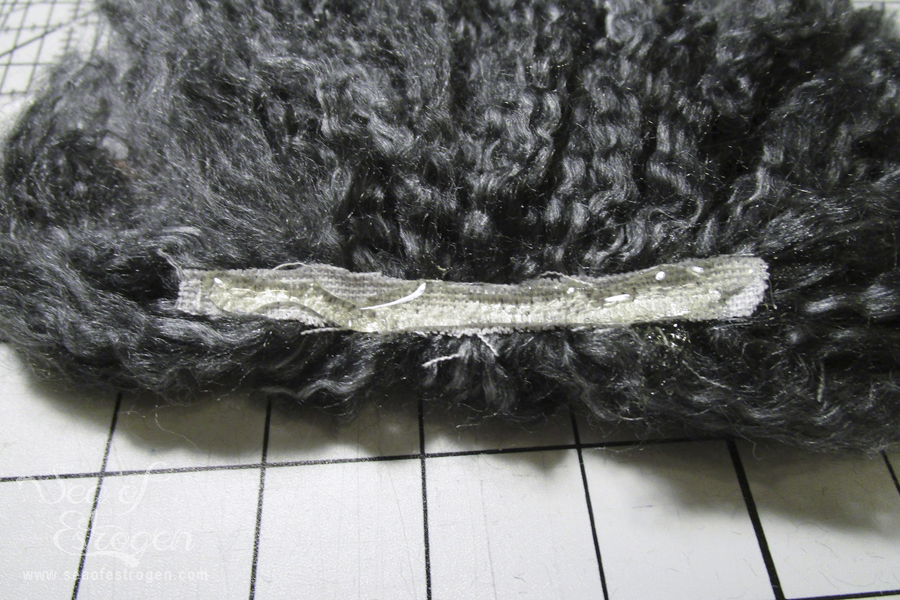
The first step I followed was to wrap the yarn around my 7.5″ square ruler until I felt there was enough to make a fluffy beard. I marked the center of the yarn and then removed it from the ruler. Pin the center of the beard to the piece of fabric. Stitch across the yarn multiple times to secure it to the fabric. Trim the fabric piece close to the stitches. This piece of fabric will provide a great surface for glue when it’s time to assemble the gnome.
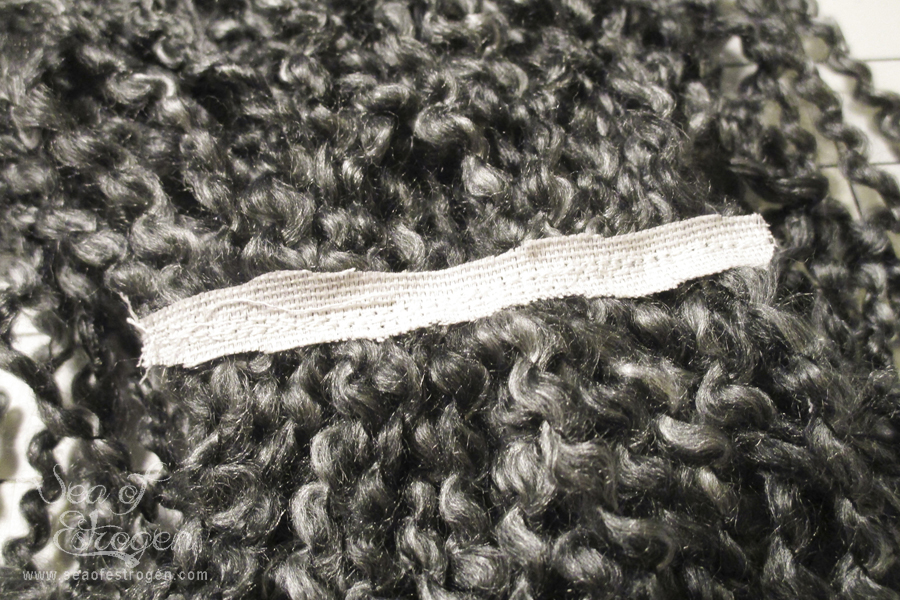
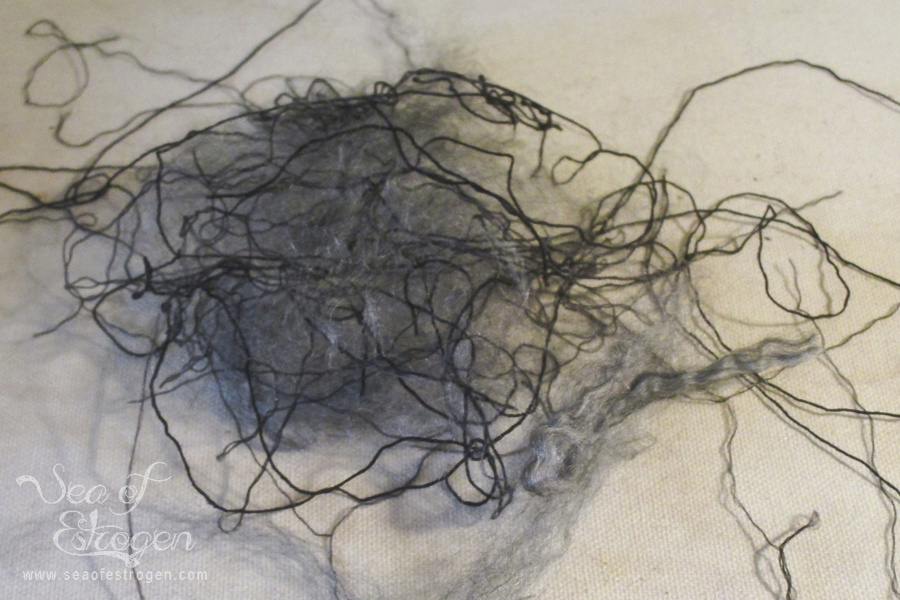
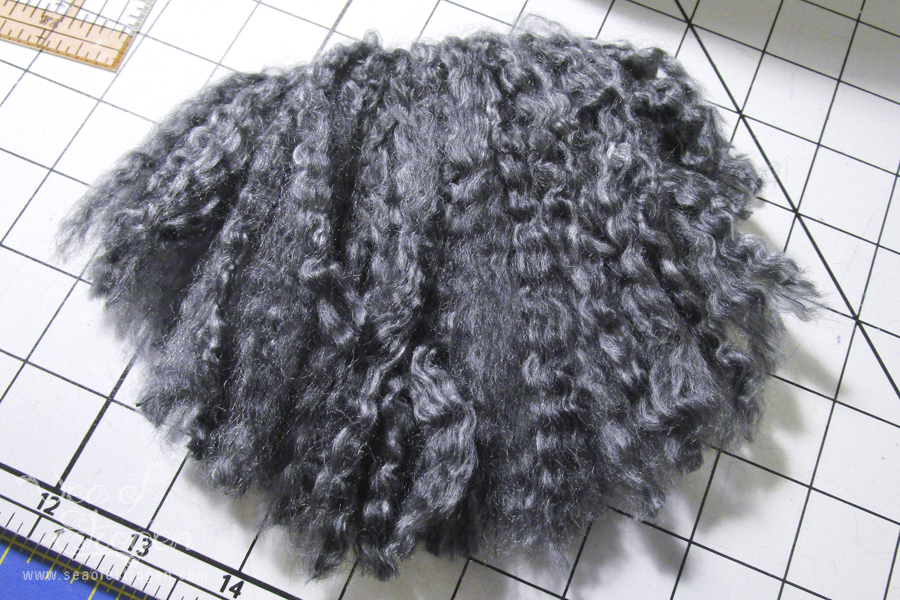
This yarn contains thick threads that hold it together. In order to make the beard super fluffy, each thread had to be removed.
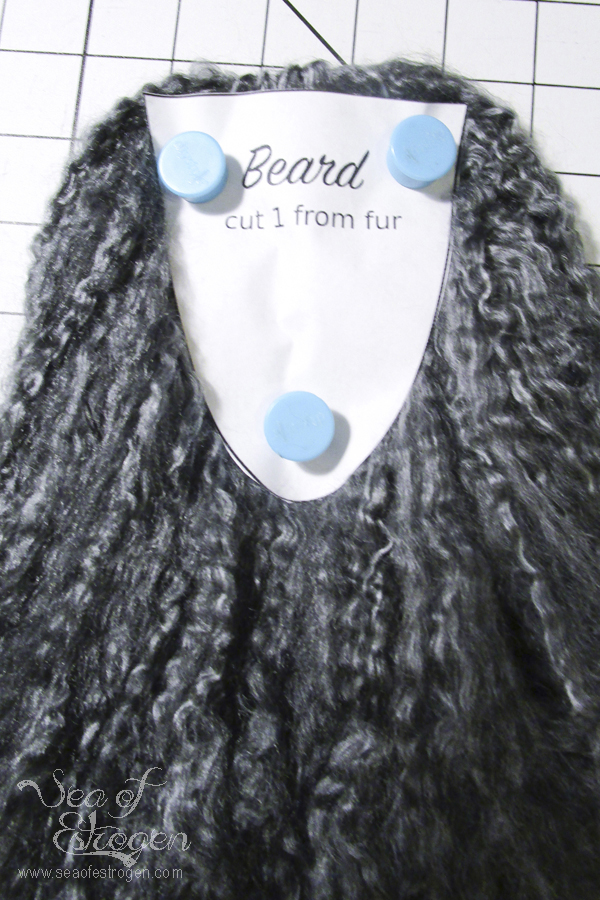
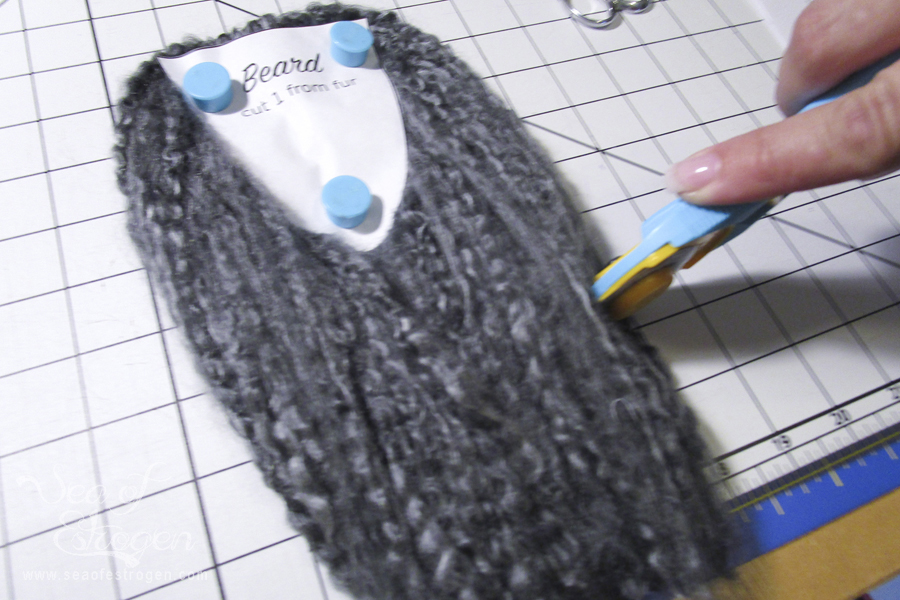
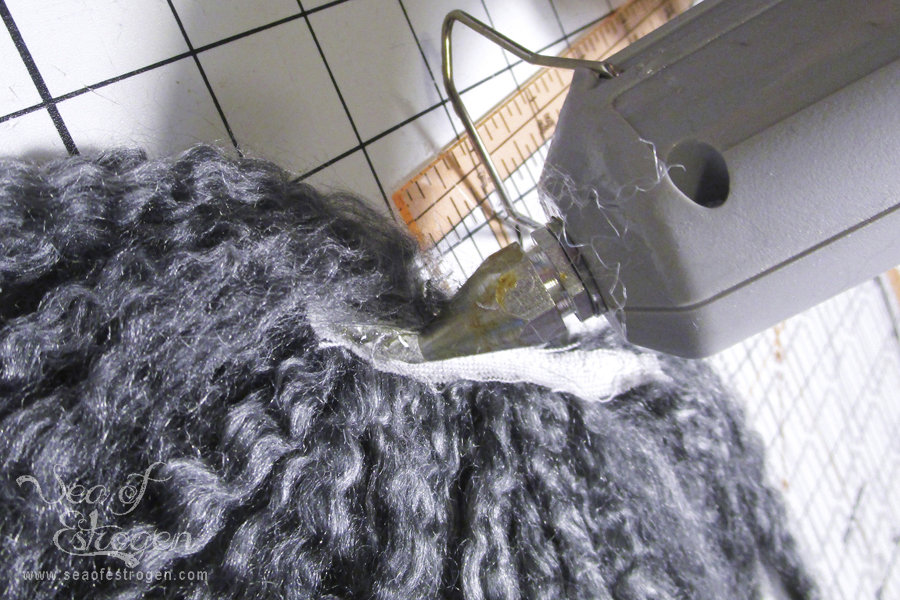
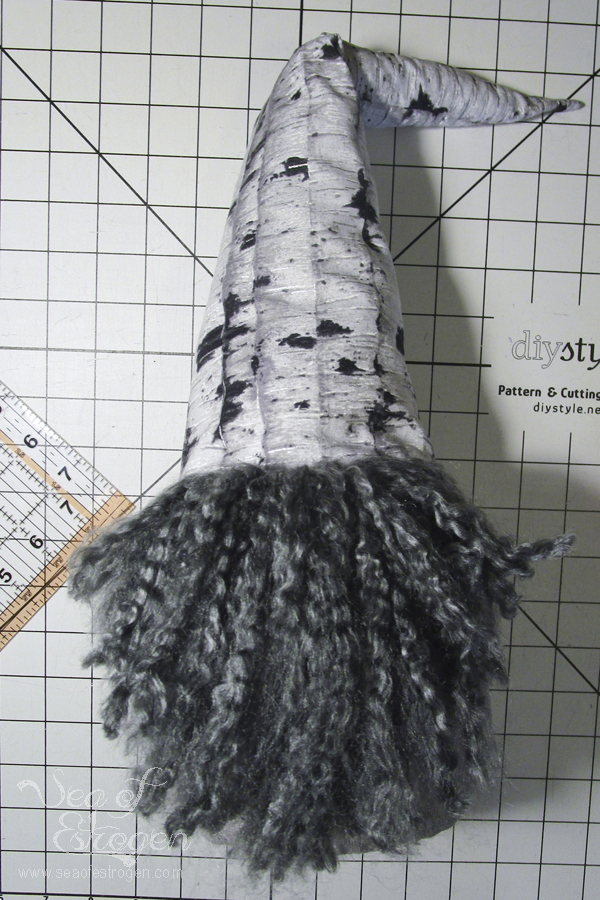
I have a magnetic cutting mat, and it was perfect for trimming the beard. After combing the beard all to one side and gathering it close together, I used the magnets to hold the pattern piece to the yarn. Then, I used my rotary cutter and thread snips to trim the beard to a similar shape as the pattern piece.
Add the Stuffing
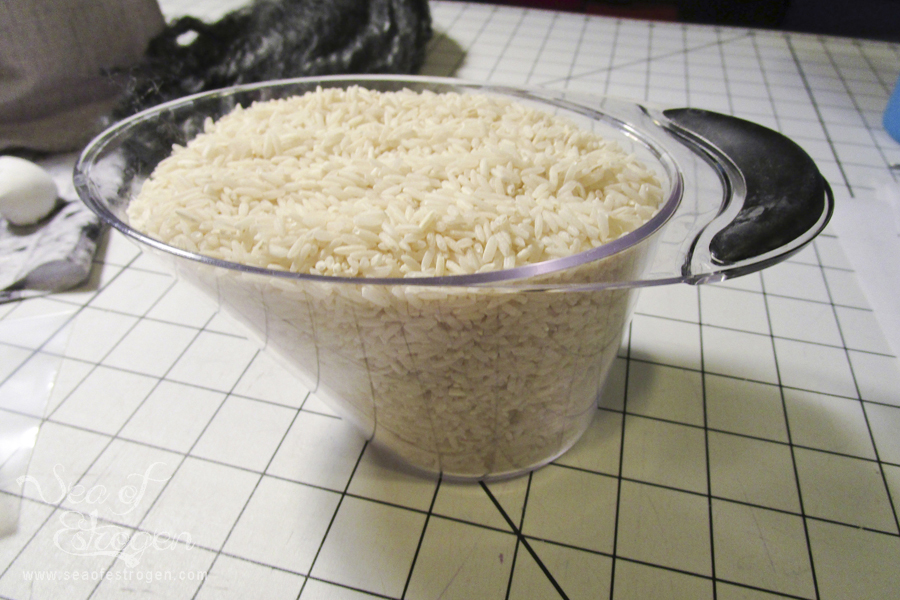
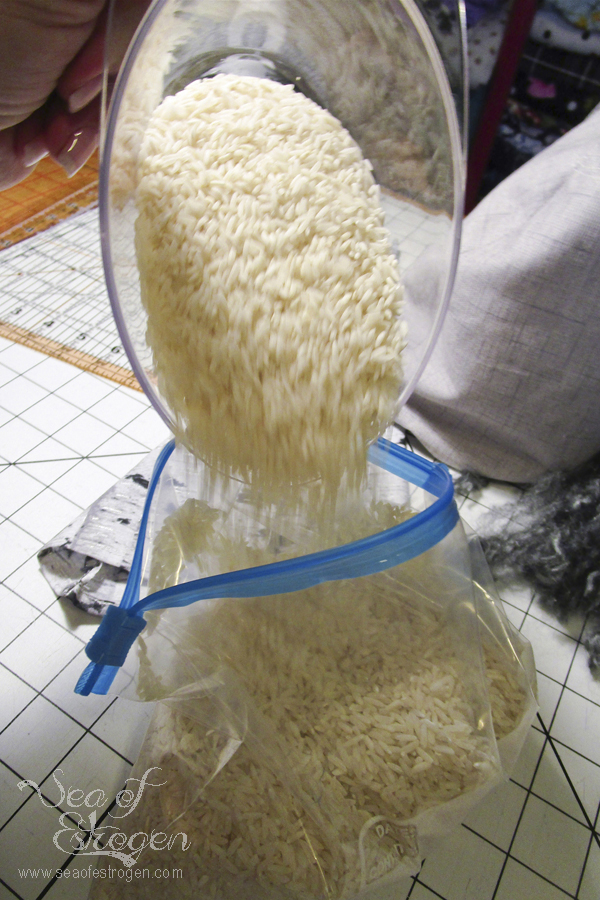
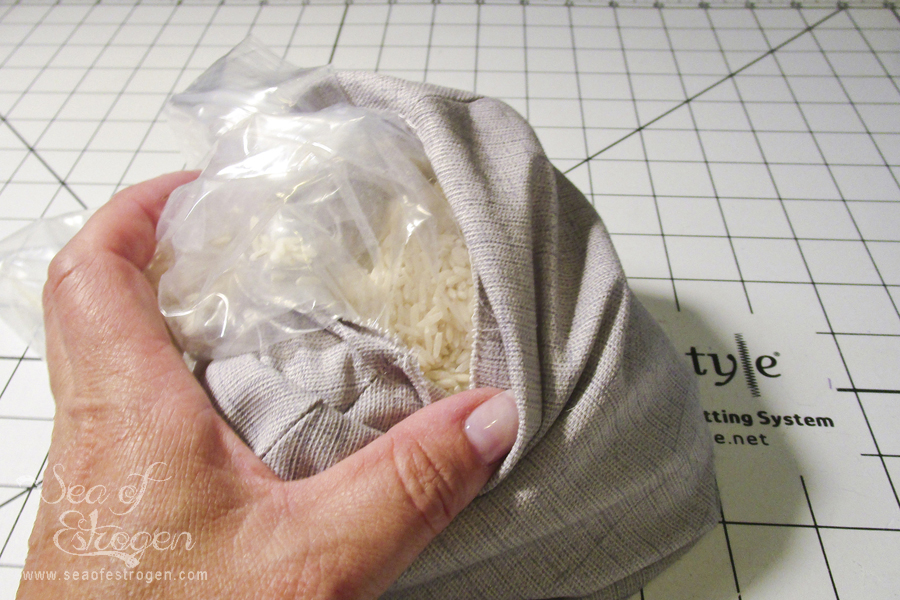
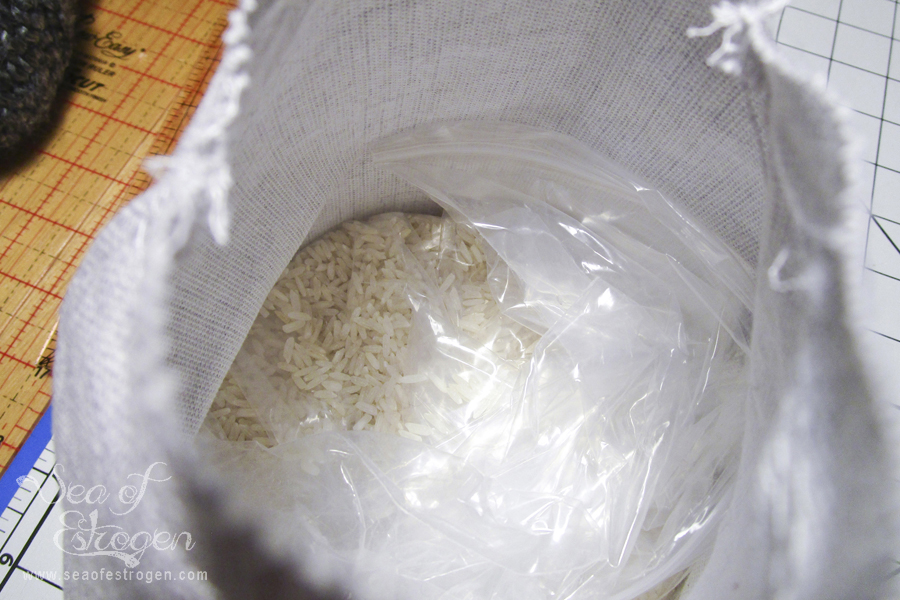
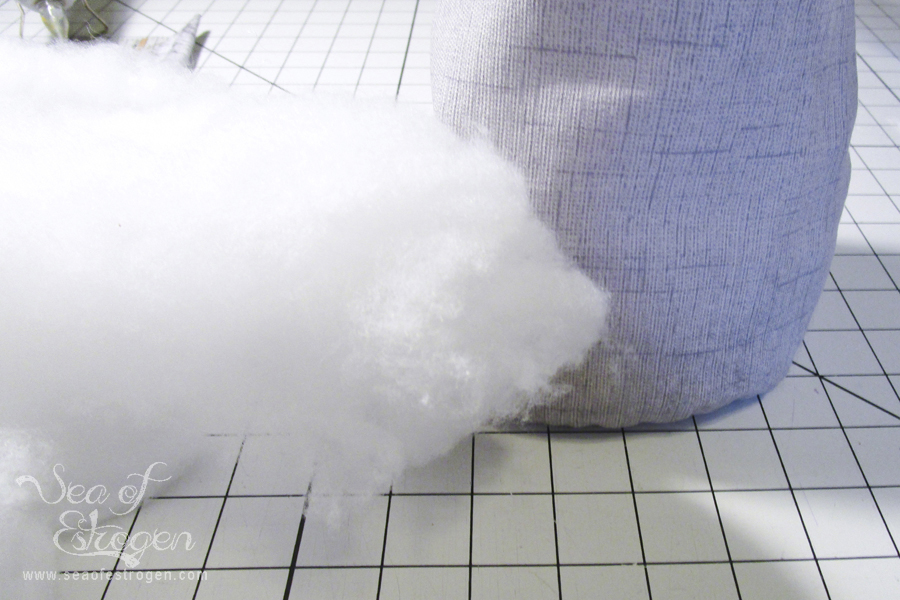
Before adding the fiber fill, we need to add weight to the bottom of our gnome. Initially, I was going to use dried beans, but we have an excess of white rice so I used it instead. I used about 2 cups of rice and put it in a quart-sized Ziploc bag. Place the Ziploc bag in the bottom of the body and squish it around to achieve an even layer.
Now, fill the remaining cavity of the body with fiberfill. Don’t overfill the body, but it needs to be full enough to maintain its shape.
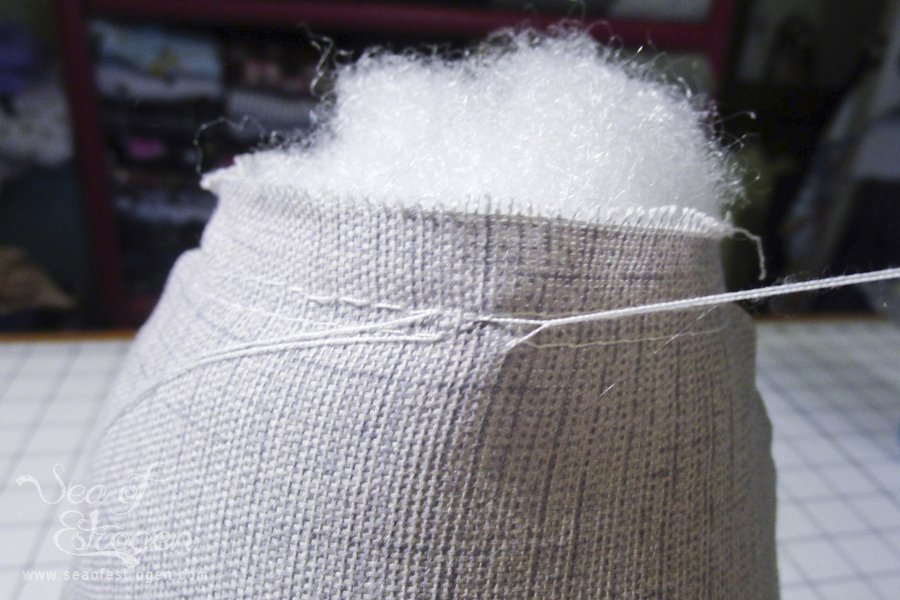
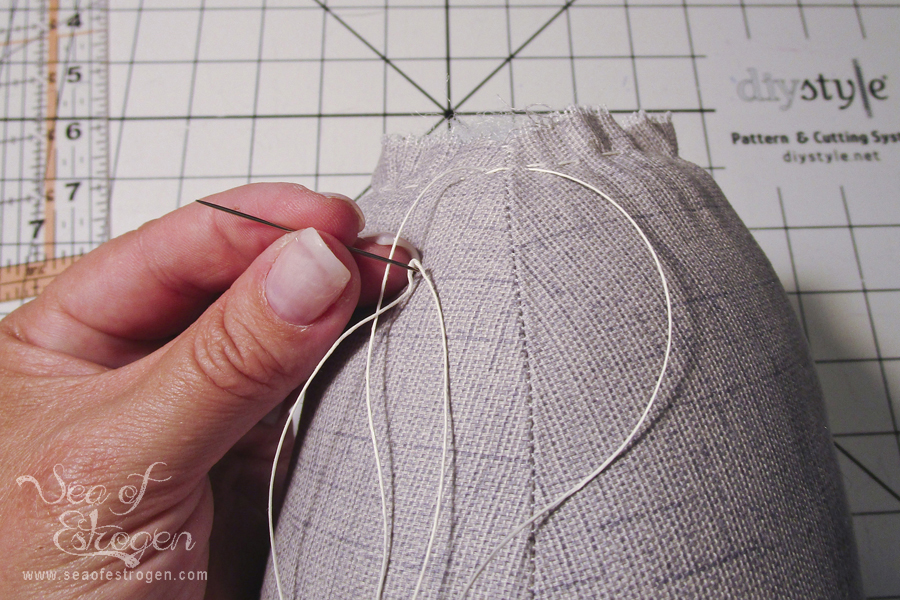
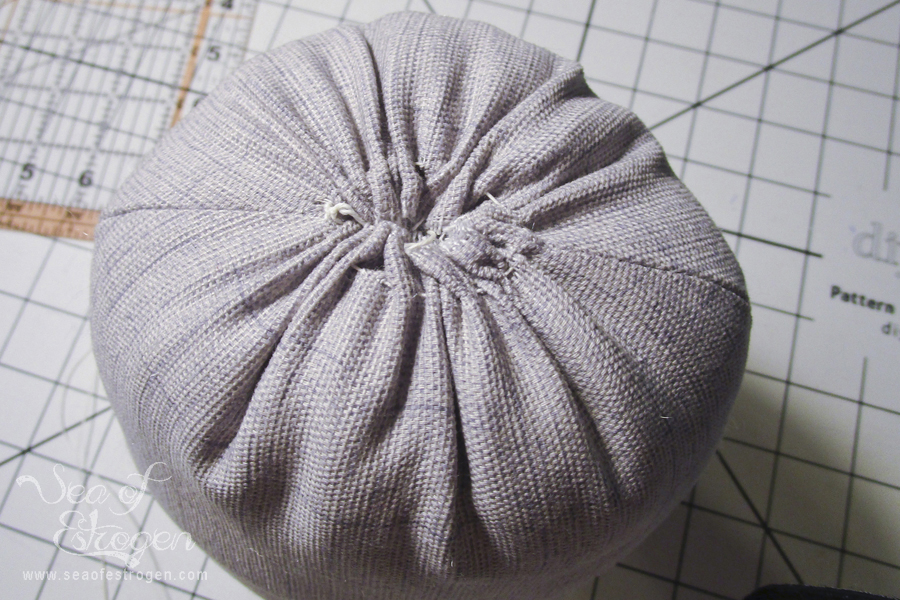
Once the body is sufficiently stuffed, pull the gathering stitches to close the top of the body. This is where I had some issues. My gathering stitches broke twice. I ended up hand-stitching gathering stitches using a heavy-duty upholstery thread, pulling the gathering stitches down as I went. Once the top is completely gathered, tie off the gathering stitches. Once the gathering was finished, I also added a couple whip stitches and a knot just for good measure.
Stuff the Hat
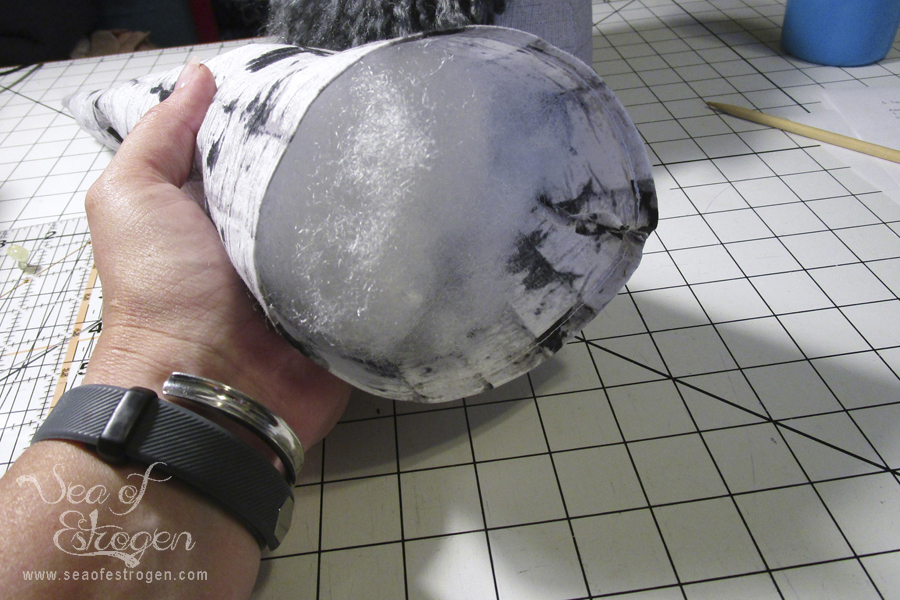
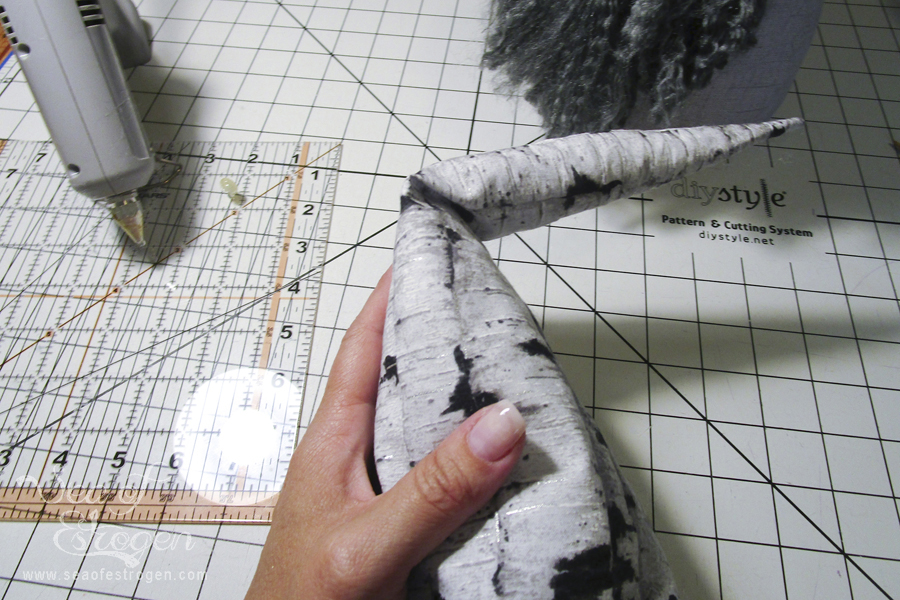
This is the step where the pipe cleaners are suggested; however, I didn’t use them. They are used to help provide shaping to the hat. Instead, I used a strategically-placed gap in the fiberfill to shape my gnome’s hat. Use a chopstick or turning tool to fill the pointed end of the hat with fiberfill. Once the tip is filled about 1/4-1/3 of the way down, leave a little gap in the fiberfill and fill the remainder of the hat.
Assemble the Gnome
The pattern indicates the individual pieces of the gnome can be sewn together; however, it details steps of hot-gluing it together, which is the option I chose. I hate hand-stitching.
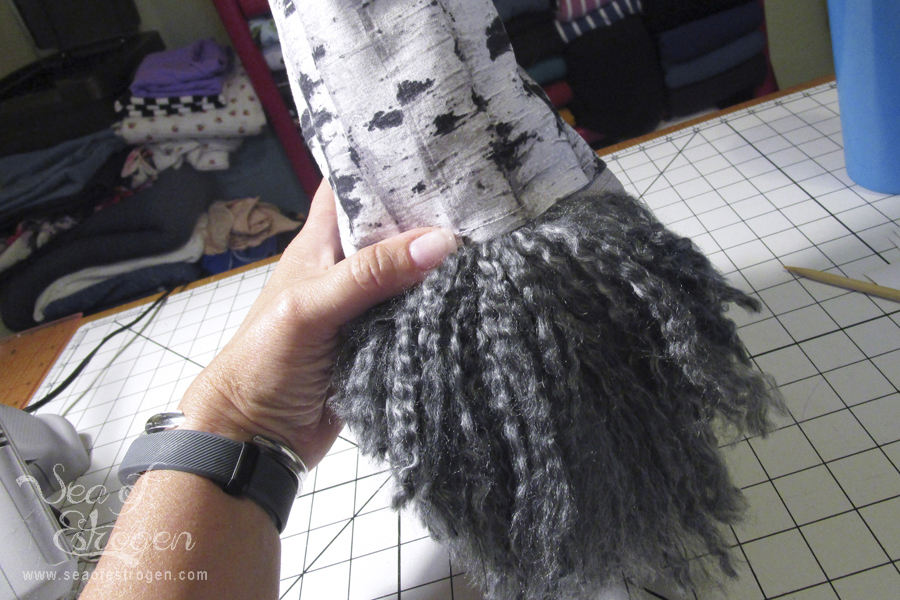
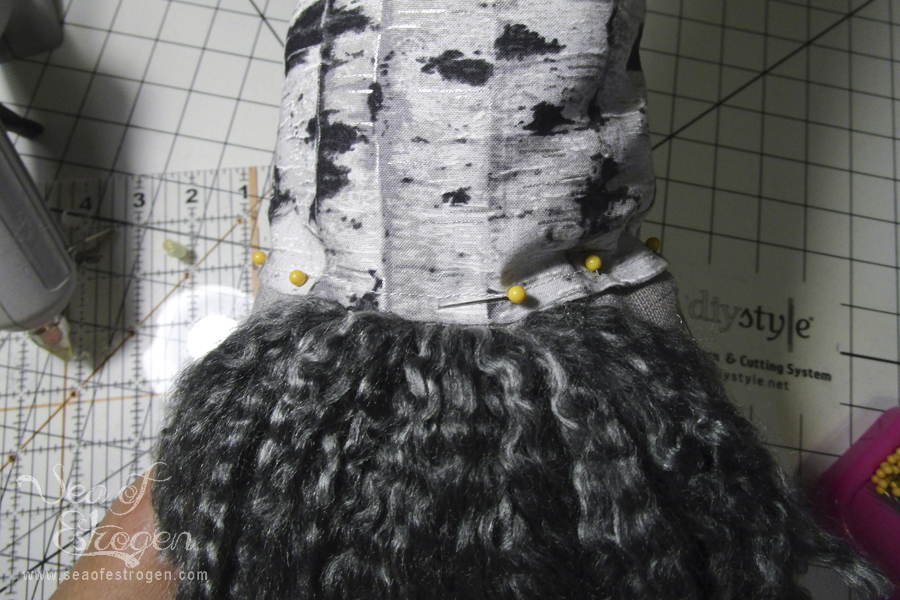
The first step to assembling the gnome is to glue the beard to the body. Add a line of hot glue to the small strip of fabric used to stitch the beard together. Place the beard near the top edge of the body approximately 2″-3″ away from the closed top.
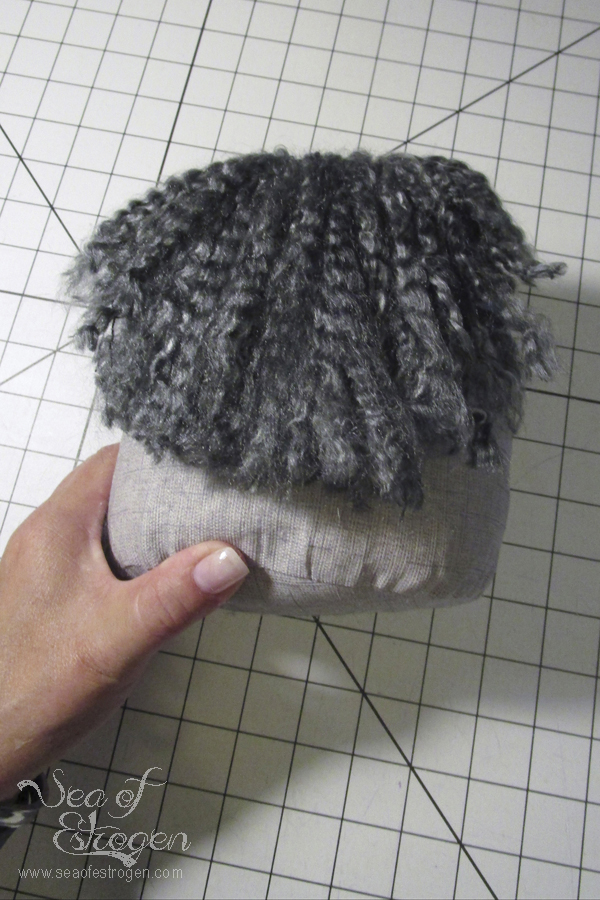
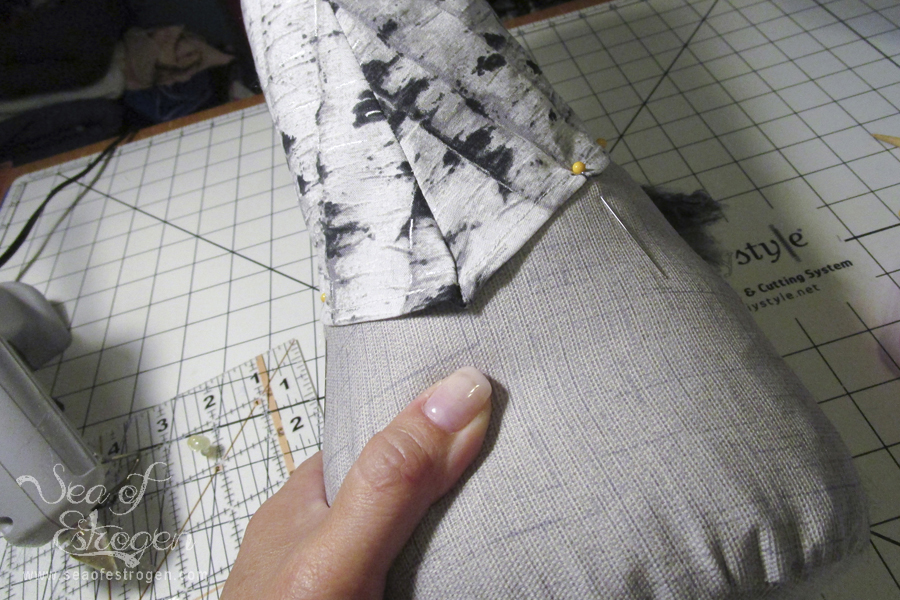
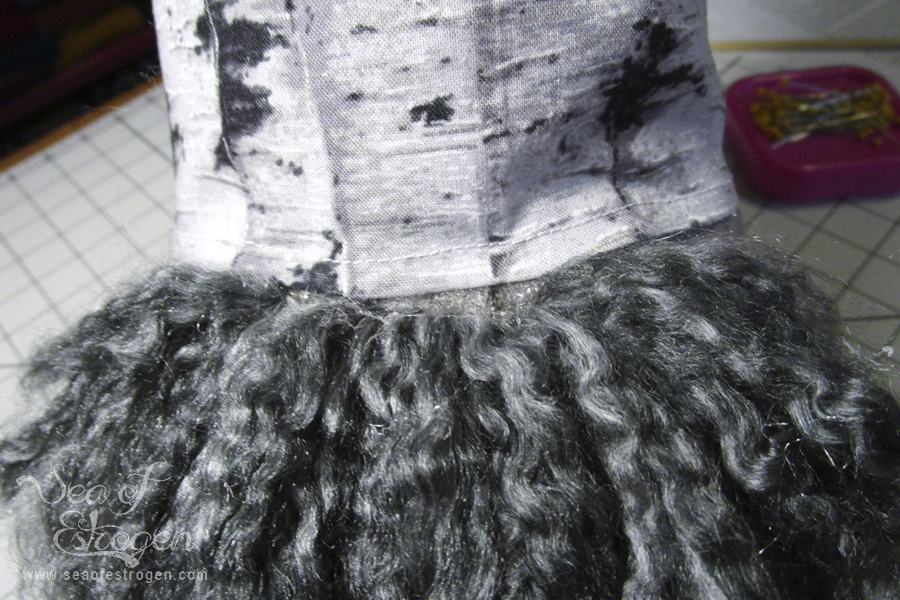
Next, place the hat on the body with the seam at the center back and the front, hemmed edge at the top of the beard. Pin in place.
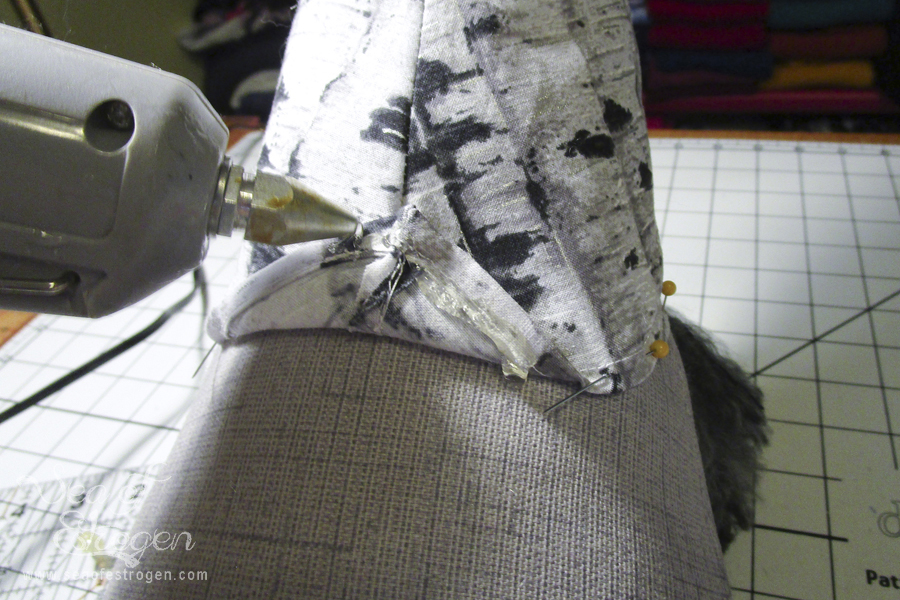
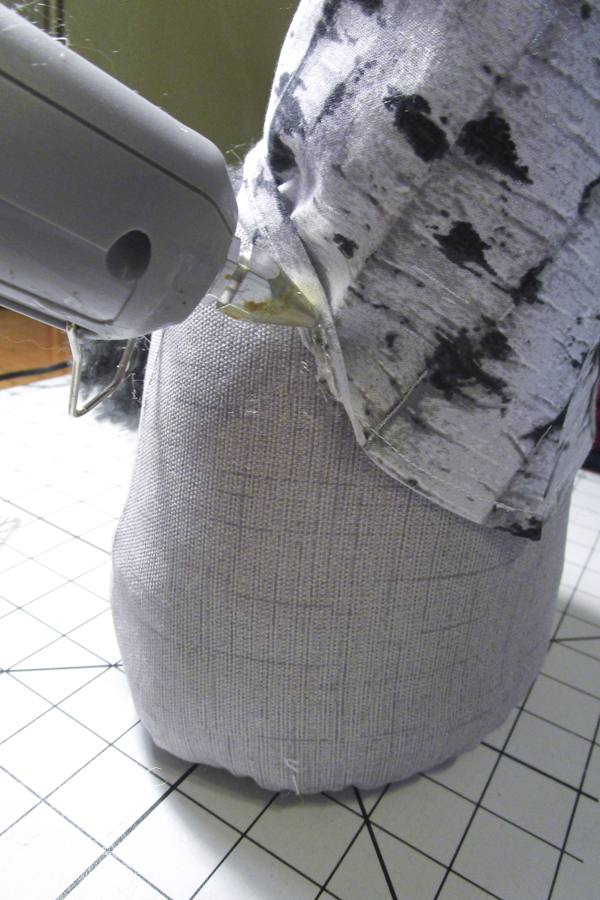
Starting at the back seam, place small lengths of hot glue on the underside of the hemmed hat working your way from back to front until the entire hat is glued in place.
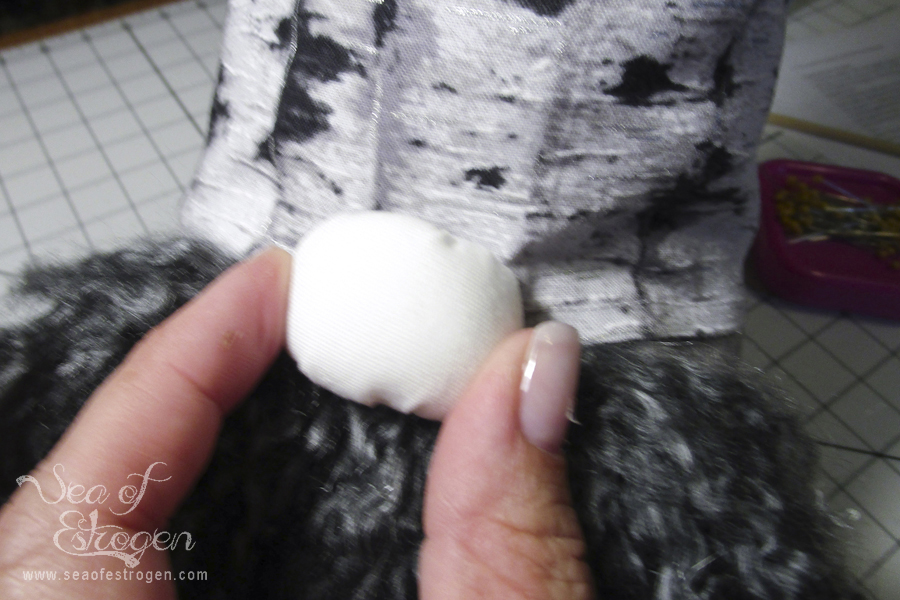
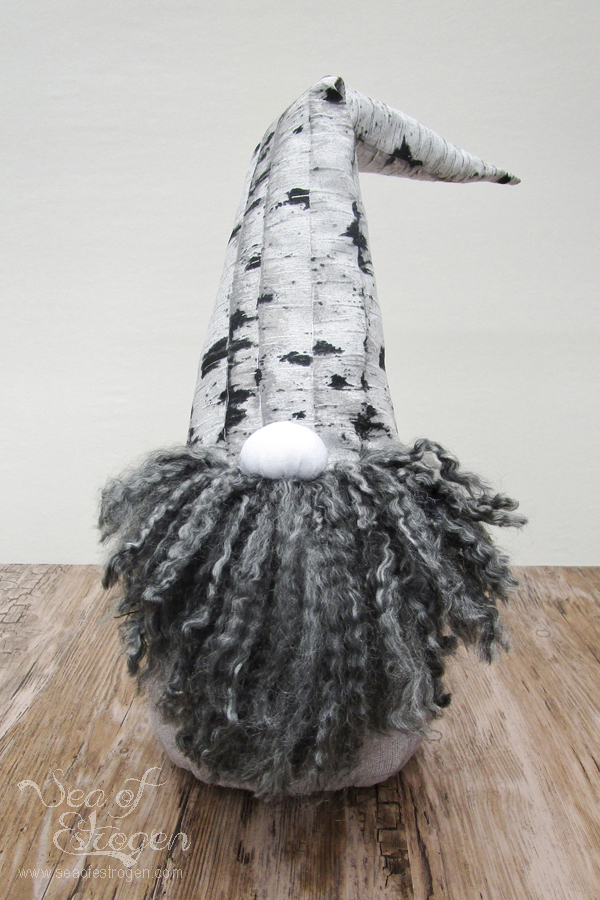
Finally, add a generous amount of hot glue to the gathered side of the nose piece. Place the nose on the center front of the body at the point where the beard and hat meet.
Voilá!
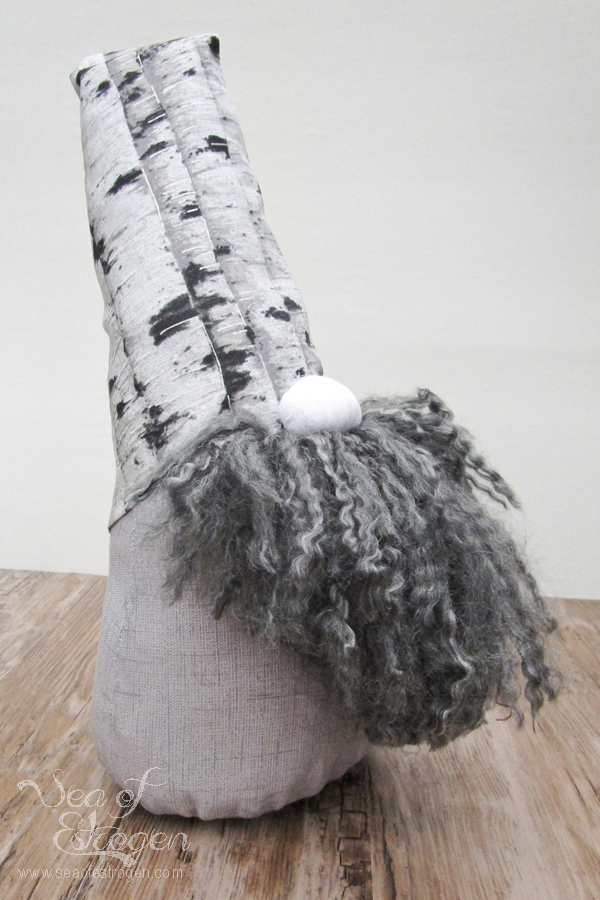
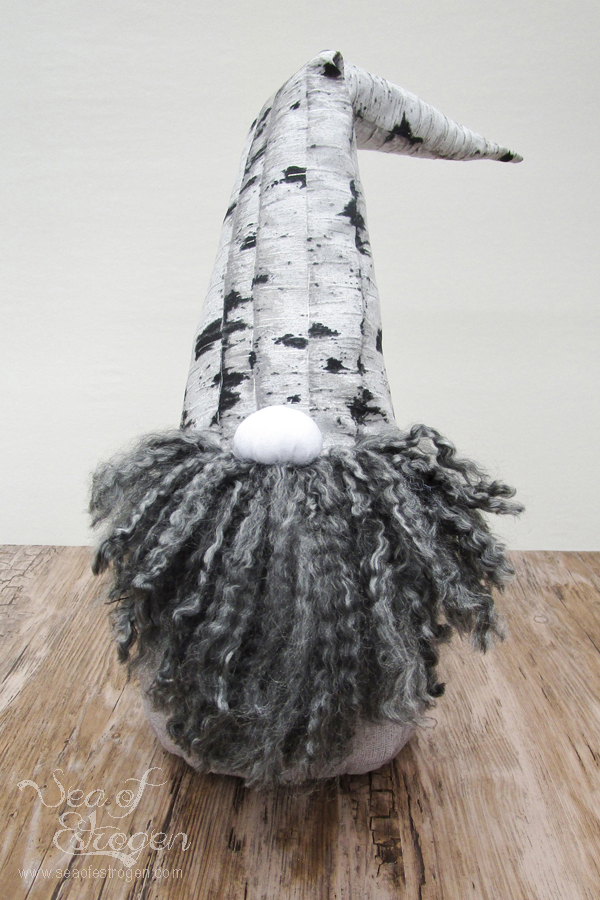
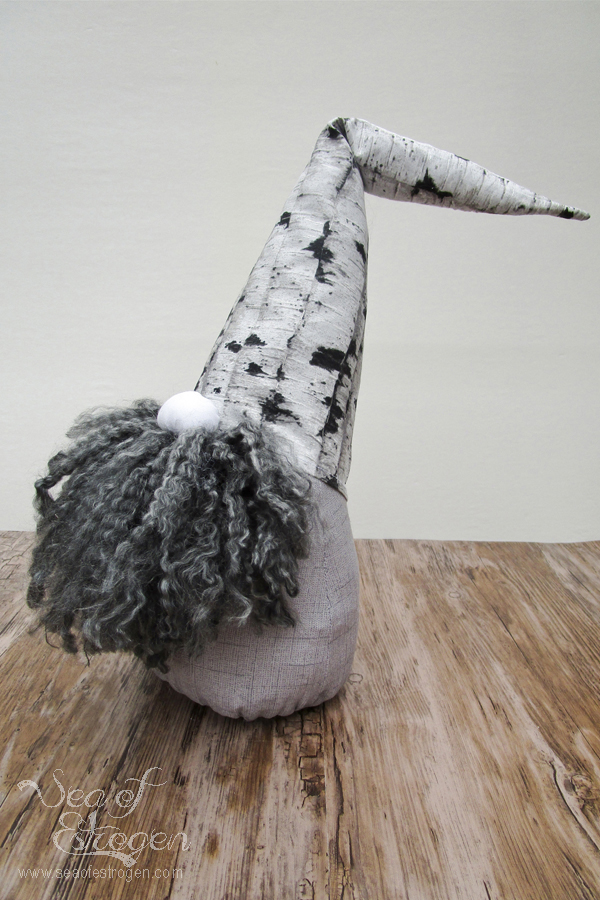
You now have a complete gnome – one of many more to come, I hope!
Feel free to ask any questions in the comments below, and I will try to answer them as quickly as possible.
Blog Tour Round-Up
For more Christmas in July fun, be sure to check out the amazing projects and tutorials that are part of this Christmas in July Blog Tour:
SUNDAY, JULY 14TH
MONDAY, JULY 15TH
TUESDAY, JULY 16TH
WEDNESDAY, JULY 17TH
THURSDAY, JULY 18TH
FRIDAY, JULY 19TH
SATURDAY, JULY 20TH
SUNDAY, JULY 21ST
MONDAY, JULY 22ND
TUESDAY, JULY 23RD
WEDNESDAY, JULY 24TH
THURSDAY, JULY 25TH
Figo Fabrics Give-Away
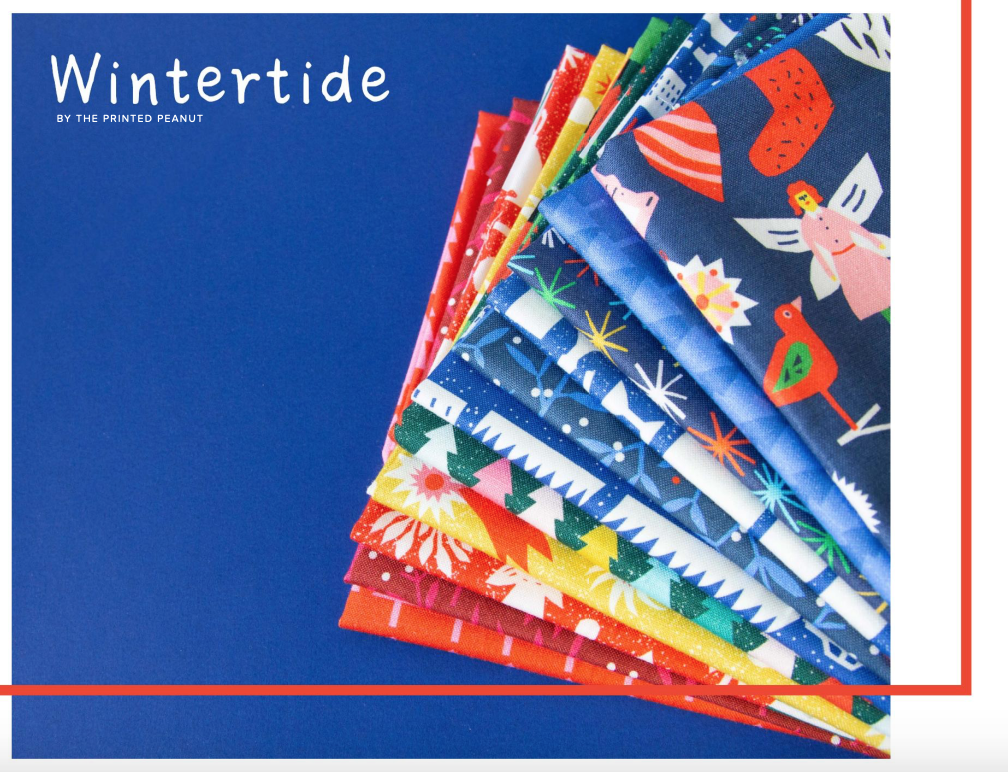
How about a GIVEAWAY??!?!? FIGO Fabrics is offering a fat quarter bundle of their fun new Christmas line, Wintertide.
Entering is simple: On each blog post (listed above), there will be an entry form for you to fill out with your name and email address (so we can contact you if you win!). Be sure to scroll down and hit SUBMIT when you’ve entered your info!
As you visit each blog, fill out the form and you’re entered. How easy is that? You can enter once on each new blogpost of the hop (on the day they post), so that will be twelve times on the Confessions of a Fabric Addict blog, and twenty-four more times if you visit all the bloggers who are participating.
Entries will close on Tuesday, July 30th, and the winner will be announced on Wednesday, July 31st – New Year’s Eve in July!
Here’s the entry form:

Nature Girl. Mom. Wife. Friend. Photographer. Sewer. Crafter. Artist.
To borrow a phrase – “Yeet Ye Riche”

Sew cute!!! I love how you handled the yarn. And your fabric choices are perfect!
Thank you!
I love Gnomes. This pattern does not look to hard . The beard you made, I adore. Much better than fake fur. Thanks for sharing this gnome.
.
Thank you! I like the yarn beard better, as well.
Cute! Love his beard.
Thank you so much! He reminds me of a fluffy grandpa with a big beard.
Very cute pattern. Thank you for the tutorial.
Thank you, and you are welcome!
Cute project. I’m thinking I have all the materials already. It would be fun to make with holiday fabric for the hat.
Right? All our kiddos are just venturing out on their own. I thought making a few of these gnomes in Christmas fabric could start their Christmas decoration collections.
What an adorable project.
Thank you for sharing.
You’re welcome!
What a fun lil Gnome!! Have an Aunt that collects gnomes..this would be a great gift! Thank you for such a detailed Tutorial too 🙂
You are welcome! My mom loves gnomes, so I suspect this one will end up living at my parent’s house.
I really like the birch bark fabric you used for his hat!!!!
Isn’t it cute? I love that fabric, and this was my last scrap.
He’s so cute! Thanks for the detailed post on making him!
Thank you! It was such a fun project.
Wow, so appreciate the efforts you made to document the process. Great guest for all year round not just the holidays.
Thank you, Selina! I agree, great for year-round enjoyment.
I love gnomes and have several different ones on my list to make. This is one of them, thanks!
Great to hear!
Cute beard on the gnome!!
Thank you!
It’s adorable, Amy! I’ve wanted to make one of these for so long, and now I have no excuse! Thanks for all your hard work and a very informative post!
Thank you, Sarah! I can’t wait to see what you make!
I love gnomes and all gnome patterns. Yours is very cute and I may give it a go!
Thank you!
Great project, thanks for linking the download. Great tutorial too!
Thank you very much!
Great project and tutorial….Thank you for so many detailed photos
Thank you, and you’re welcome!
That is really cute, thank you for sharing the tutorial.
Thank you!
Great Idea! Thanks for the tutorial. The pictures help a lot. Janice.snell@gmail.com
I’m so glad the pictures are helpful. I felt like I was overloading it a bit. 😀
Thanks for the tutorial and alternatives for the cute gnome.
You’re very welcome!
sew… so cute??
Thank you!
Cuteness overload! Your gnome is SEW darling.
Thank you SEW much!
Amy, I am also a Gnome Nerd! What a cutie, and the birch like fabric on his hat is the best.
Awe, thanks!
Super cute!
Thank you!
How cute! And great tutorial!! xx
Thank you! It was tons of fun to make.
This is the cutest gnome, my grand kids will love him
Oh, how fun!
I absolutely love this Gnome and will make it for my brother. Your instructions are wonderful; thanks for the step by step pictures.
Thank you so much! I enjoyed the process!
Hi Amy! OMG – could this get any cuter? Could it?? NO. No way. I just love every.single.thing.about.it. The fabric – the color – the face or almost face – the hair. OMG. I do NOT need another thing to make right now, out of the blue . . . but this needs to be made before the end of the month. This could be enjoyed all year – okay, I will enjoy it all year long, not just on/near/after Thanksgiving. Thank you so much! PINing for sure, and making for sure, and I’ll share the details with you when I do. Now – can I possibly make it anywhere near as cute as this one?? Small whine – will you make it for me? HAHA! ~smile~ Roseanne
I laughed so hard reading your comment. You definitely need to make it, and I can’t wait to see it!
To cute tyty for sharing this little guy…. happyness04431@yahoo.com
You’re welcome!
Thank you for sharing. It looks like a fun project.
It’s so fun, and way easier than I expected!
These are a adorable! Thanks for the tutorial. These will make such cute decorations for winter.
Thank you so much!
Gnomes have been on my project list for a while now and yours is absolutely perfect. Thank you!
Thank you! You’ll love it!
What an adorable little gnome! Thank you for the inspiration (and btw, i LOVE your blog name – I was in a sea of testosterone in my house with a DH and two sons…and even our pets were male!).
Thank you! Yeah, the hormones were definitely scary some times! We only have our youngest daughter and son home now, so it’s not as bad. 😀
How adorable is that gnome! Thanks for the tutorial. I think I need to make a bunch to add to my gnome collection!
Do, you won’t regret it!
What a sweet gnome. Thank you for sharing such a detailed tutorial.
Thank you, and you’re welcome!
I was finally able to access your blog today! For days, it hasn’t let me on, scrolling a red bar for the first few, and then never completely downloading for the last several, so yay, because it was definitely worth a read! Your gnome is so cute, and I love his detailed photographs of creation.
Oh, good to know – I am having some issues with it on my end, as well. I’m glad you like the gnome!
OMG – this is just so cute! Thank you for sharing the patten and tutorial.
Thank you!
Great project! I can see a whole family of gnomes for Christmas!
Oh, that’s a good idea!
So neat that you showed all the steps to complete your Christmas gnome. And he is a cutey!
Thank you!
wonderful instructions. love your fabric/yarn choices too!
Thank you!
What a darling gnome, something else to add to the list to make. Thanks for sharing, and I love the substitution of yarn for the beard, we all have that on hand as crafters 🙂