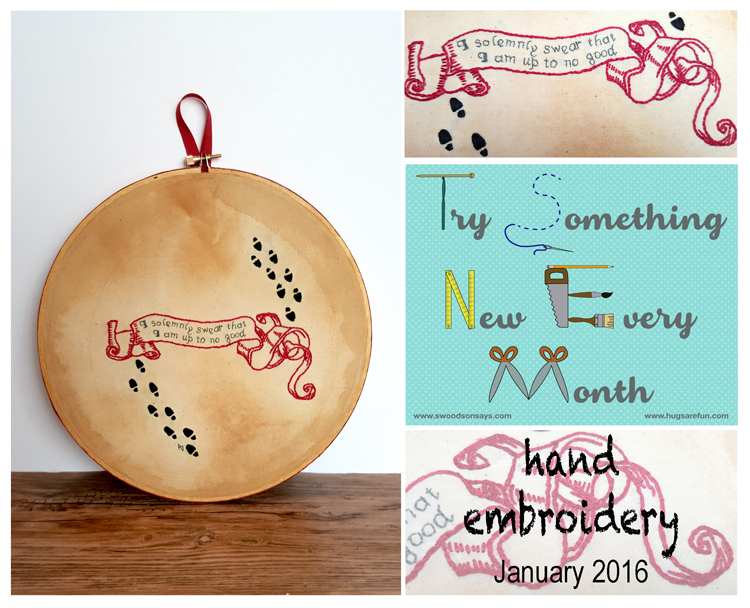
I ran across Stephanie’s and Rebecca’s co-hosted project, Try Something New Every Month (TSNEM) for 2016, last month, and I decided to participate because there are a lot of sewing techniques I have never tried and would like to. You can read my original post talking about the project HERE, and the post that lists what projects I’m going to try each month HERE.
I don’t hand sew – as a matter of fact, I really hate it. Any type of sewing that involves hand needle and thread is the bane of my existence I avoid it at all costs, if possible. Now that I am sewing so much again, I think it is because I am not practiced at it and don’t have any experience.
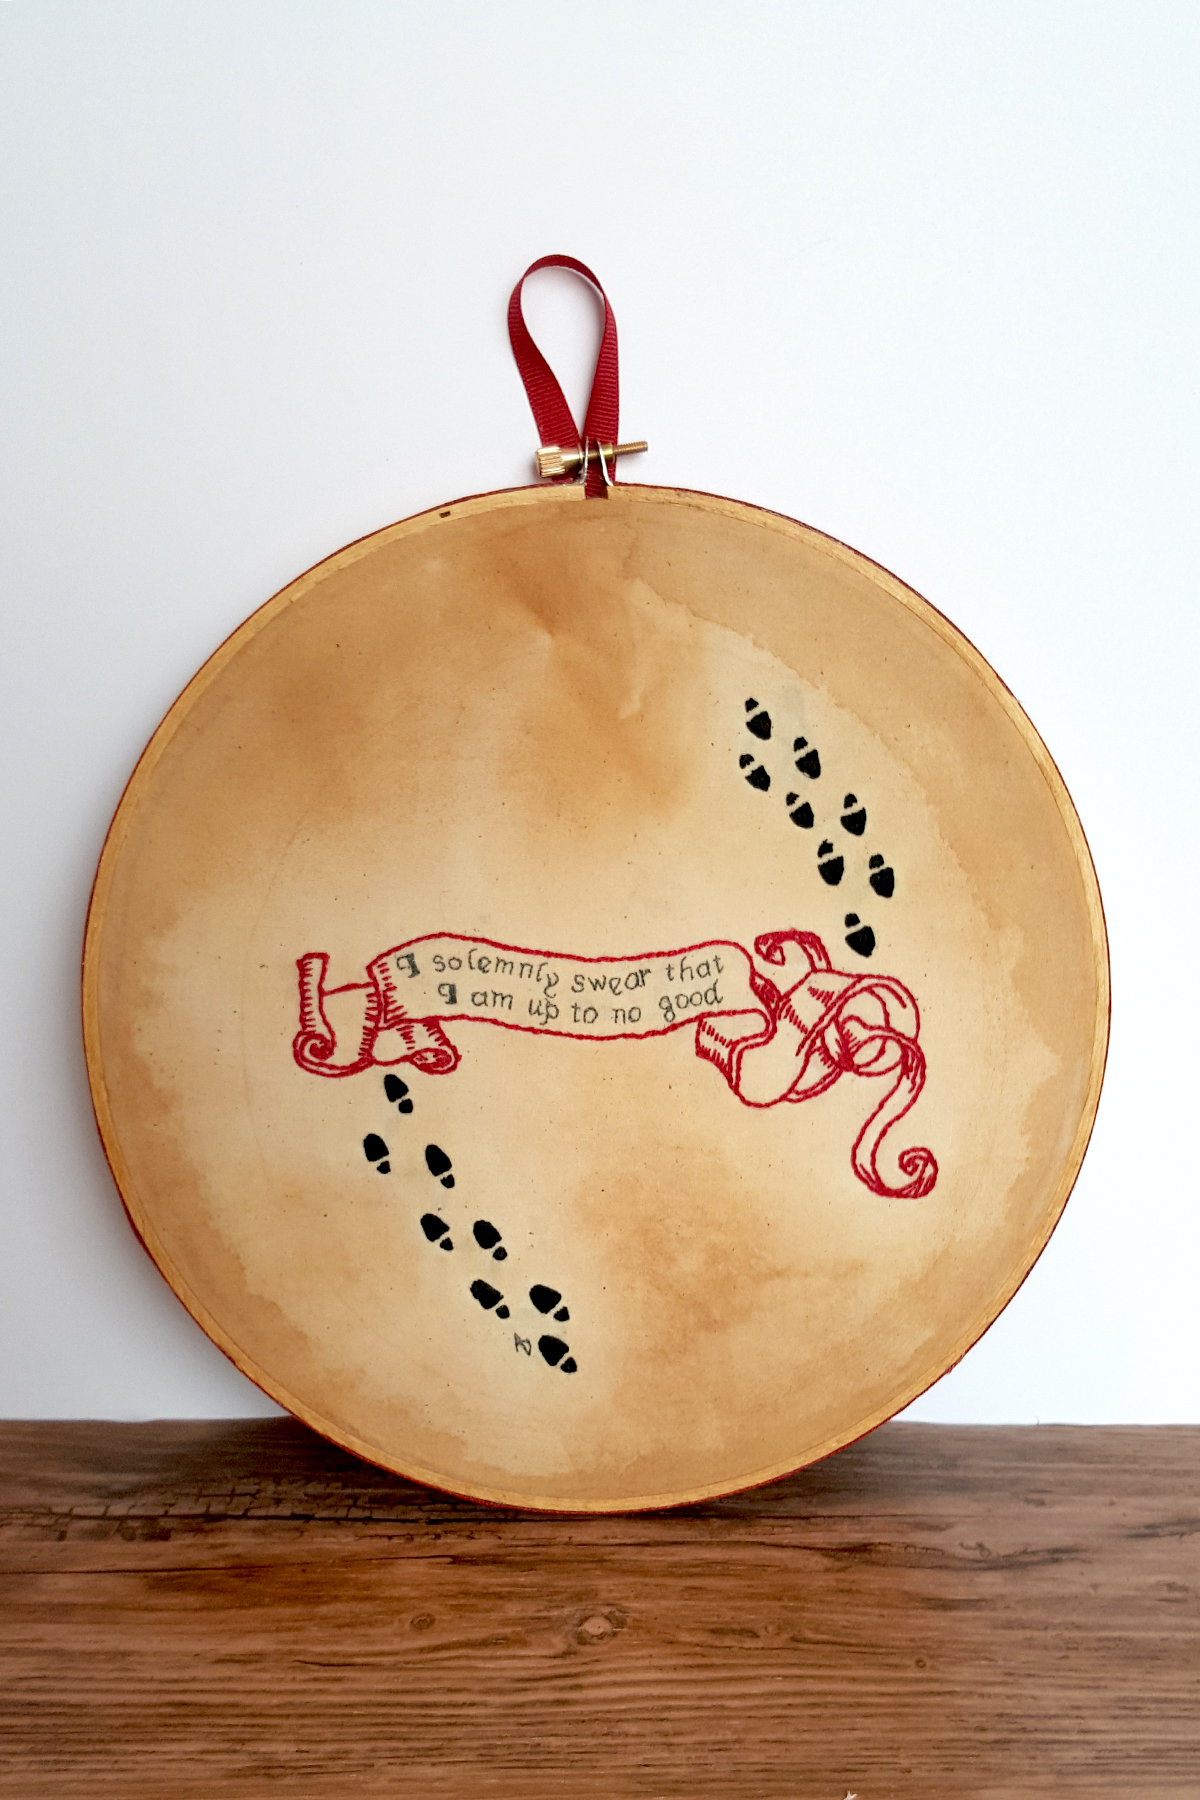
When I started thinking about projects I wanted to try, hand embroidery was the furthest thing from my mind. One day, however, I was browsing Pinterest, and I ran across a Pin for Marauder’s Map Hoop Art which immediately caught my eye – first because it was beautiful, and second because Harley is a huge Potterhead and I thought it would be a cute project for her room. So, just by chance, I had my first month’s project – HAND EMBROIDERY. At it turns out, the Pin led to a blogger I already follow, Bev from Flamingo Toes, and her original post, I Solemnly Swear – Harry Potter Hoop Art.
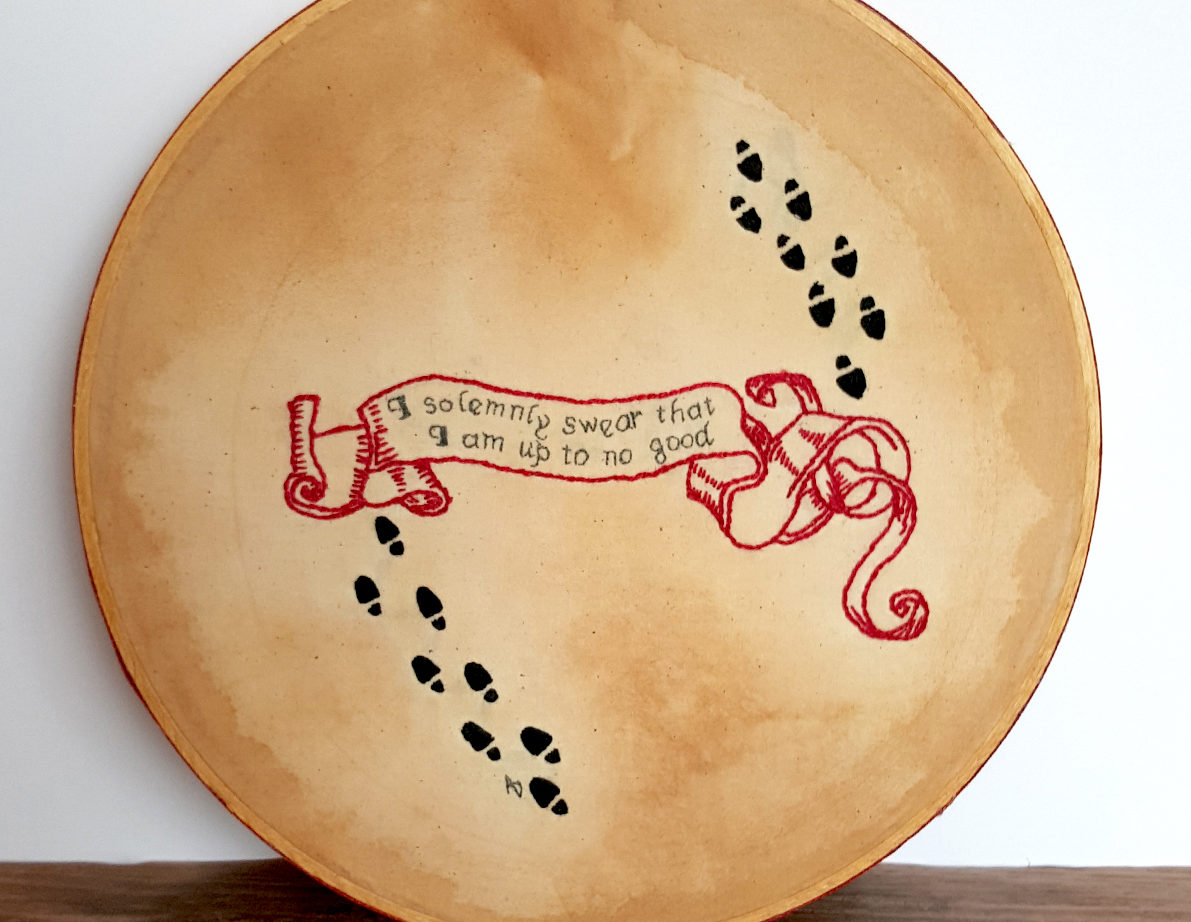
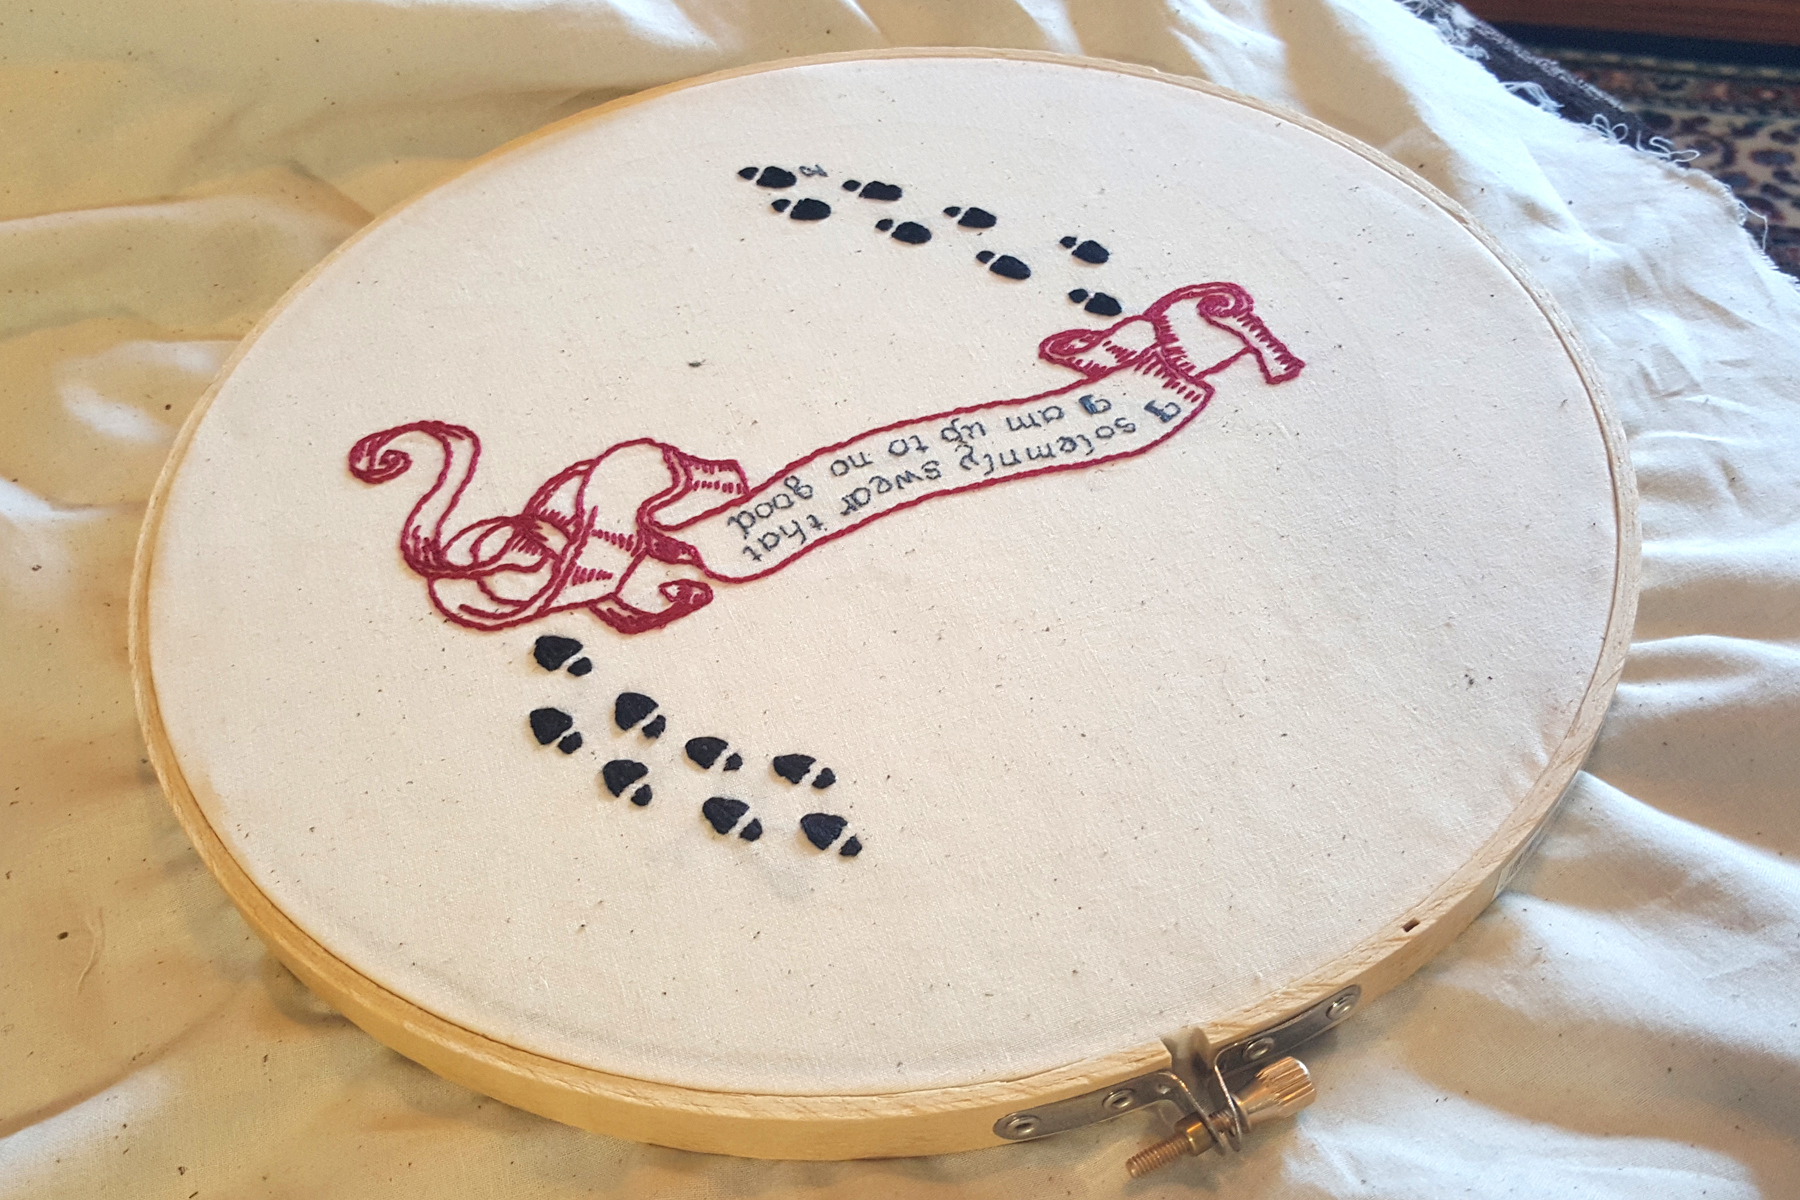
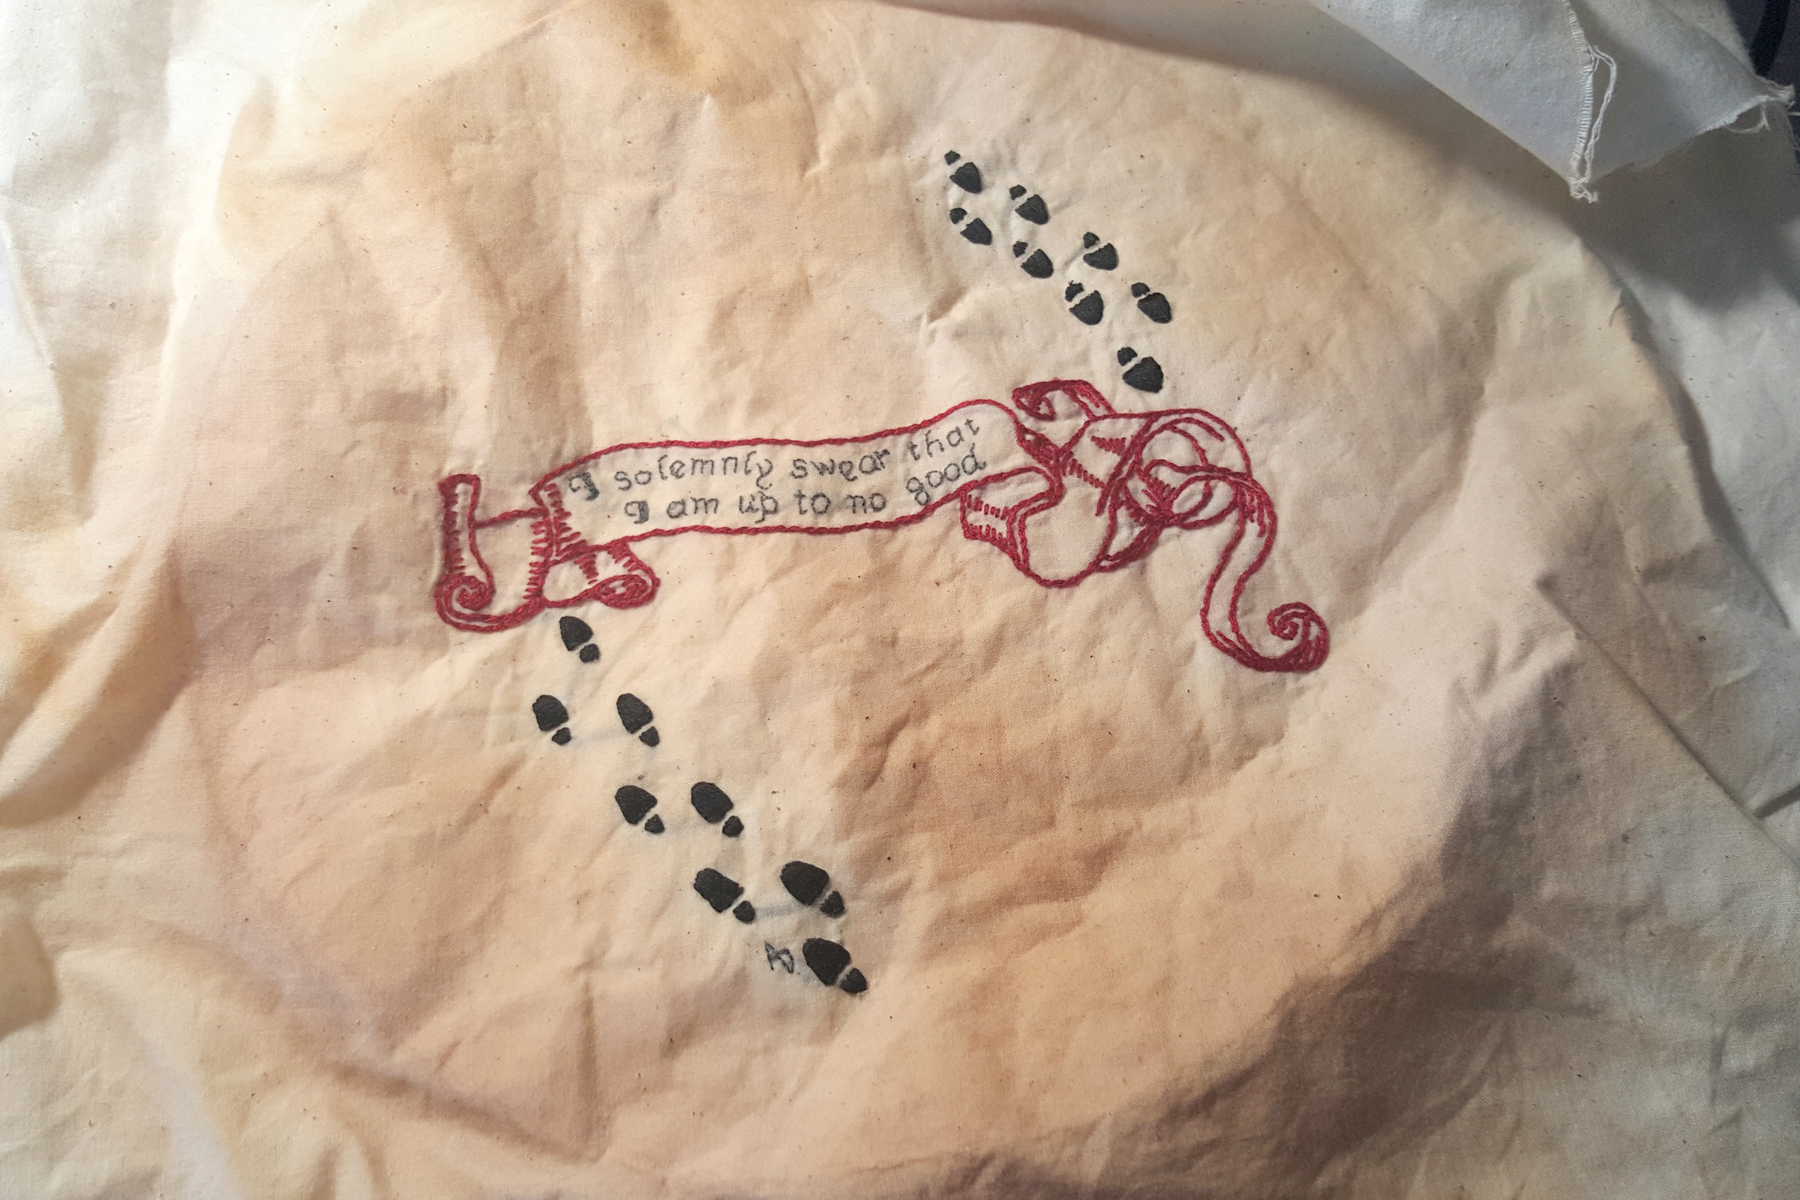
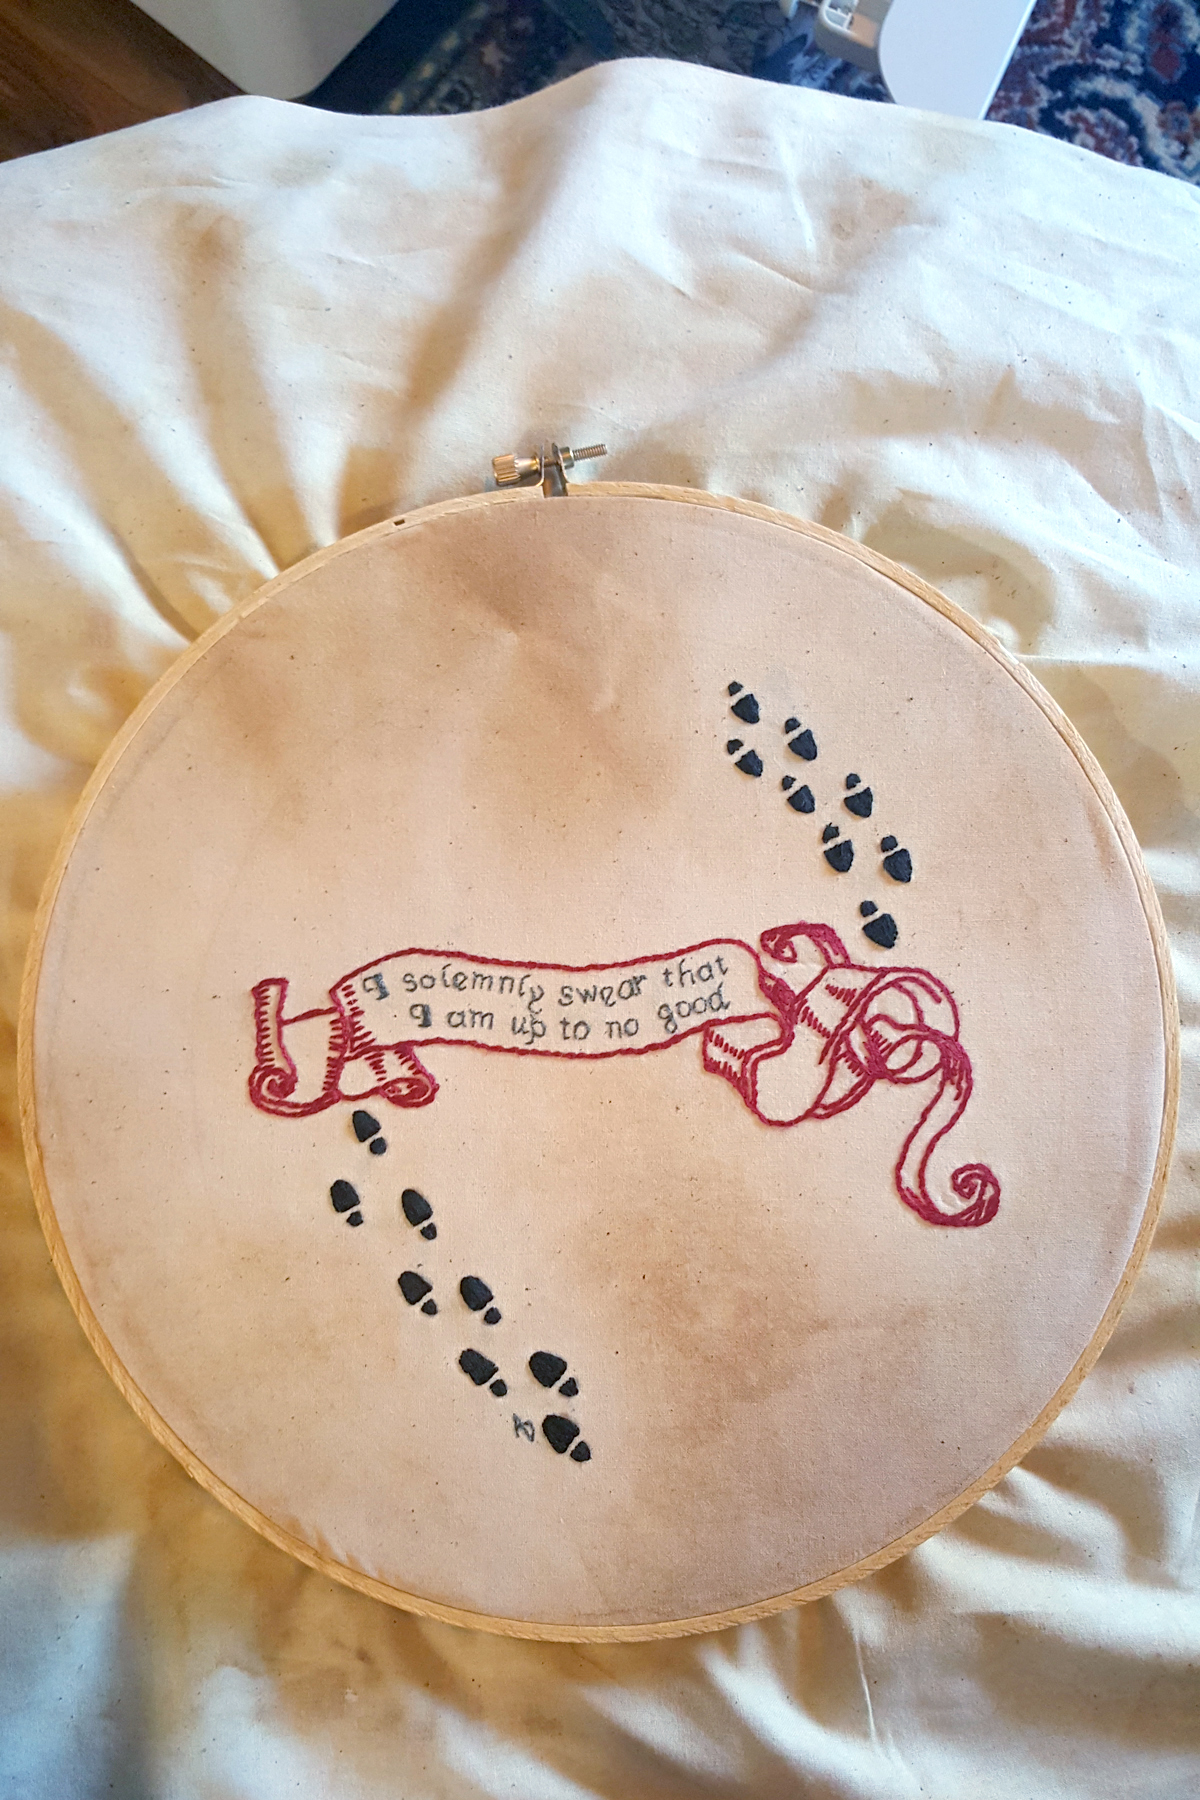
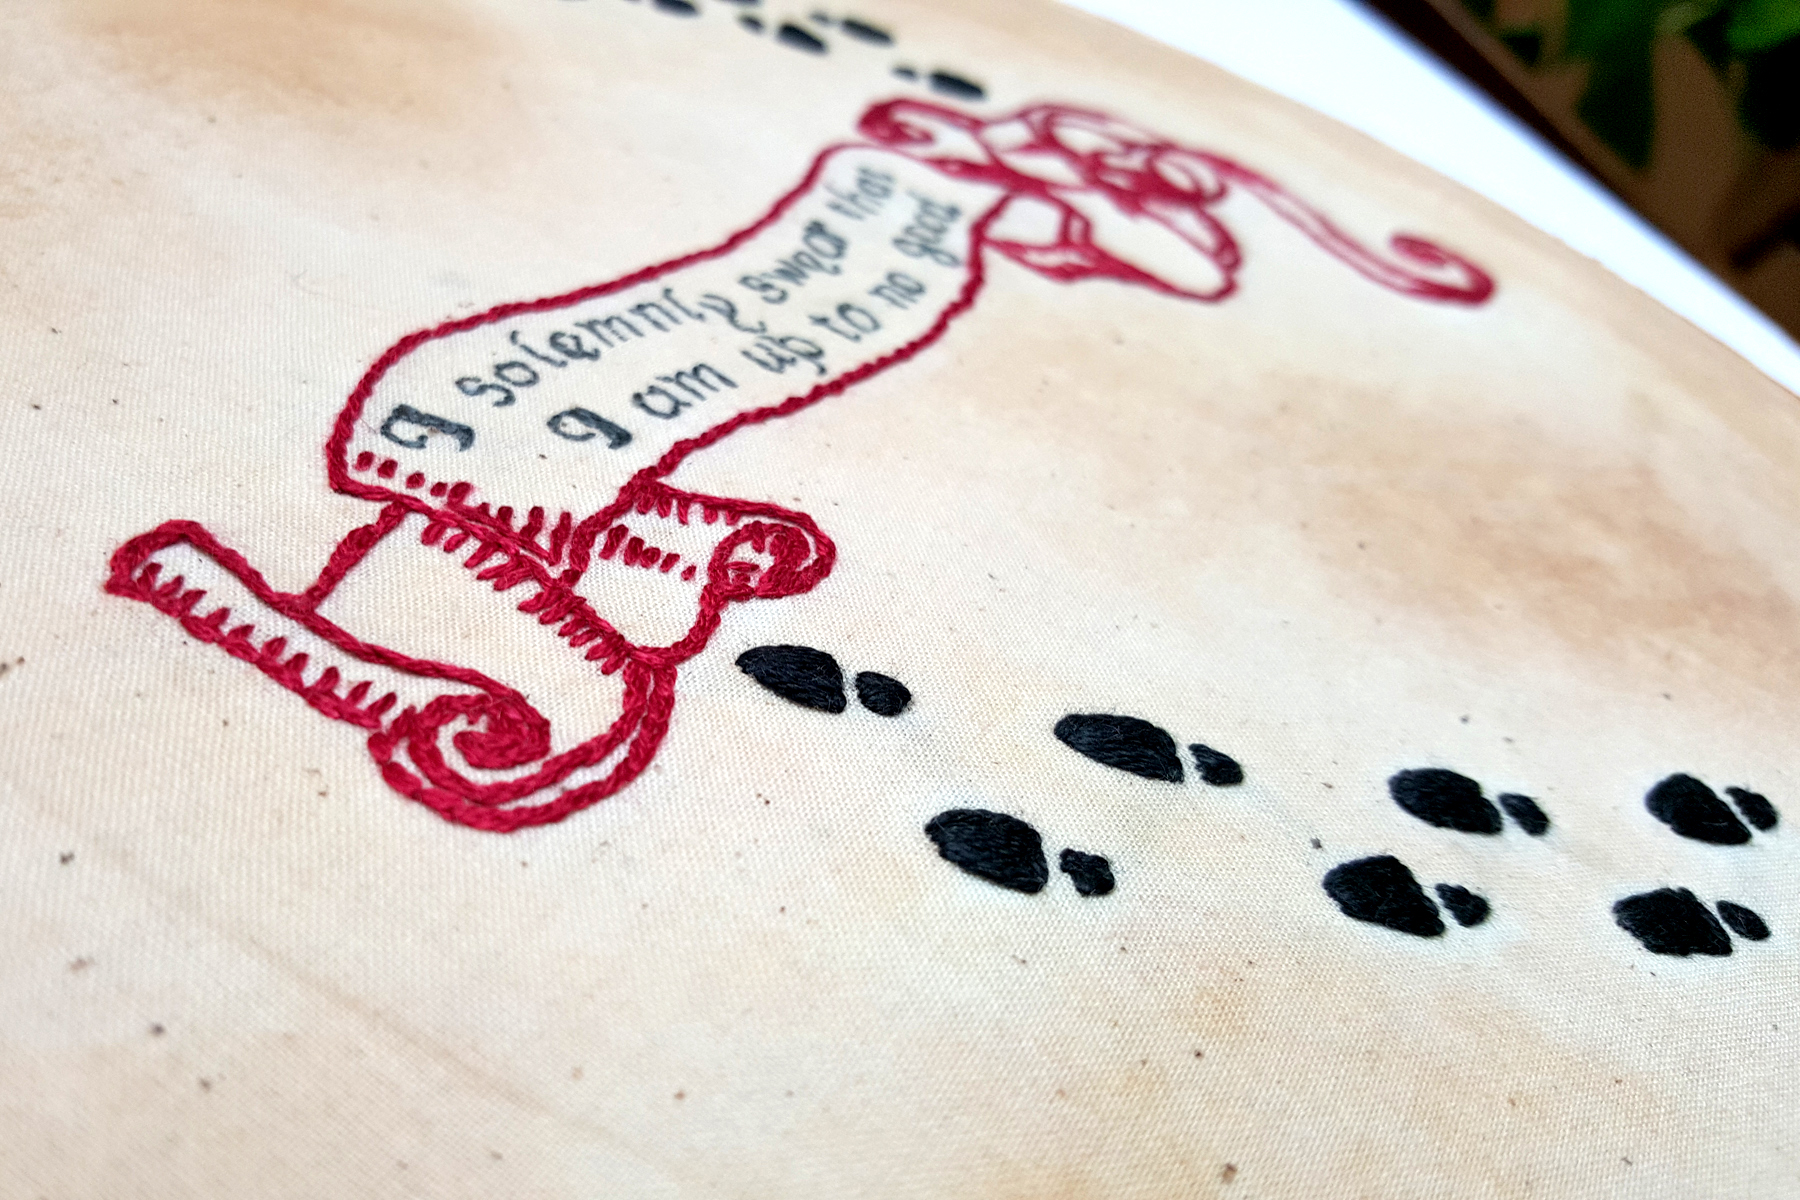
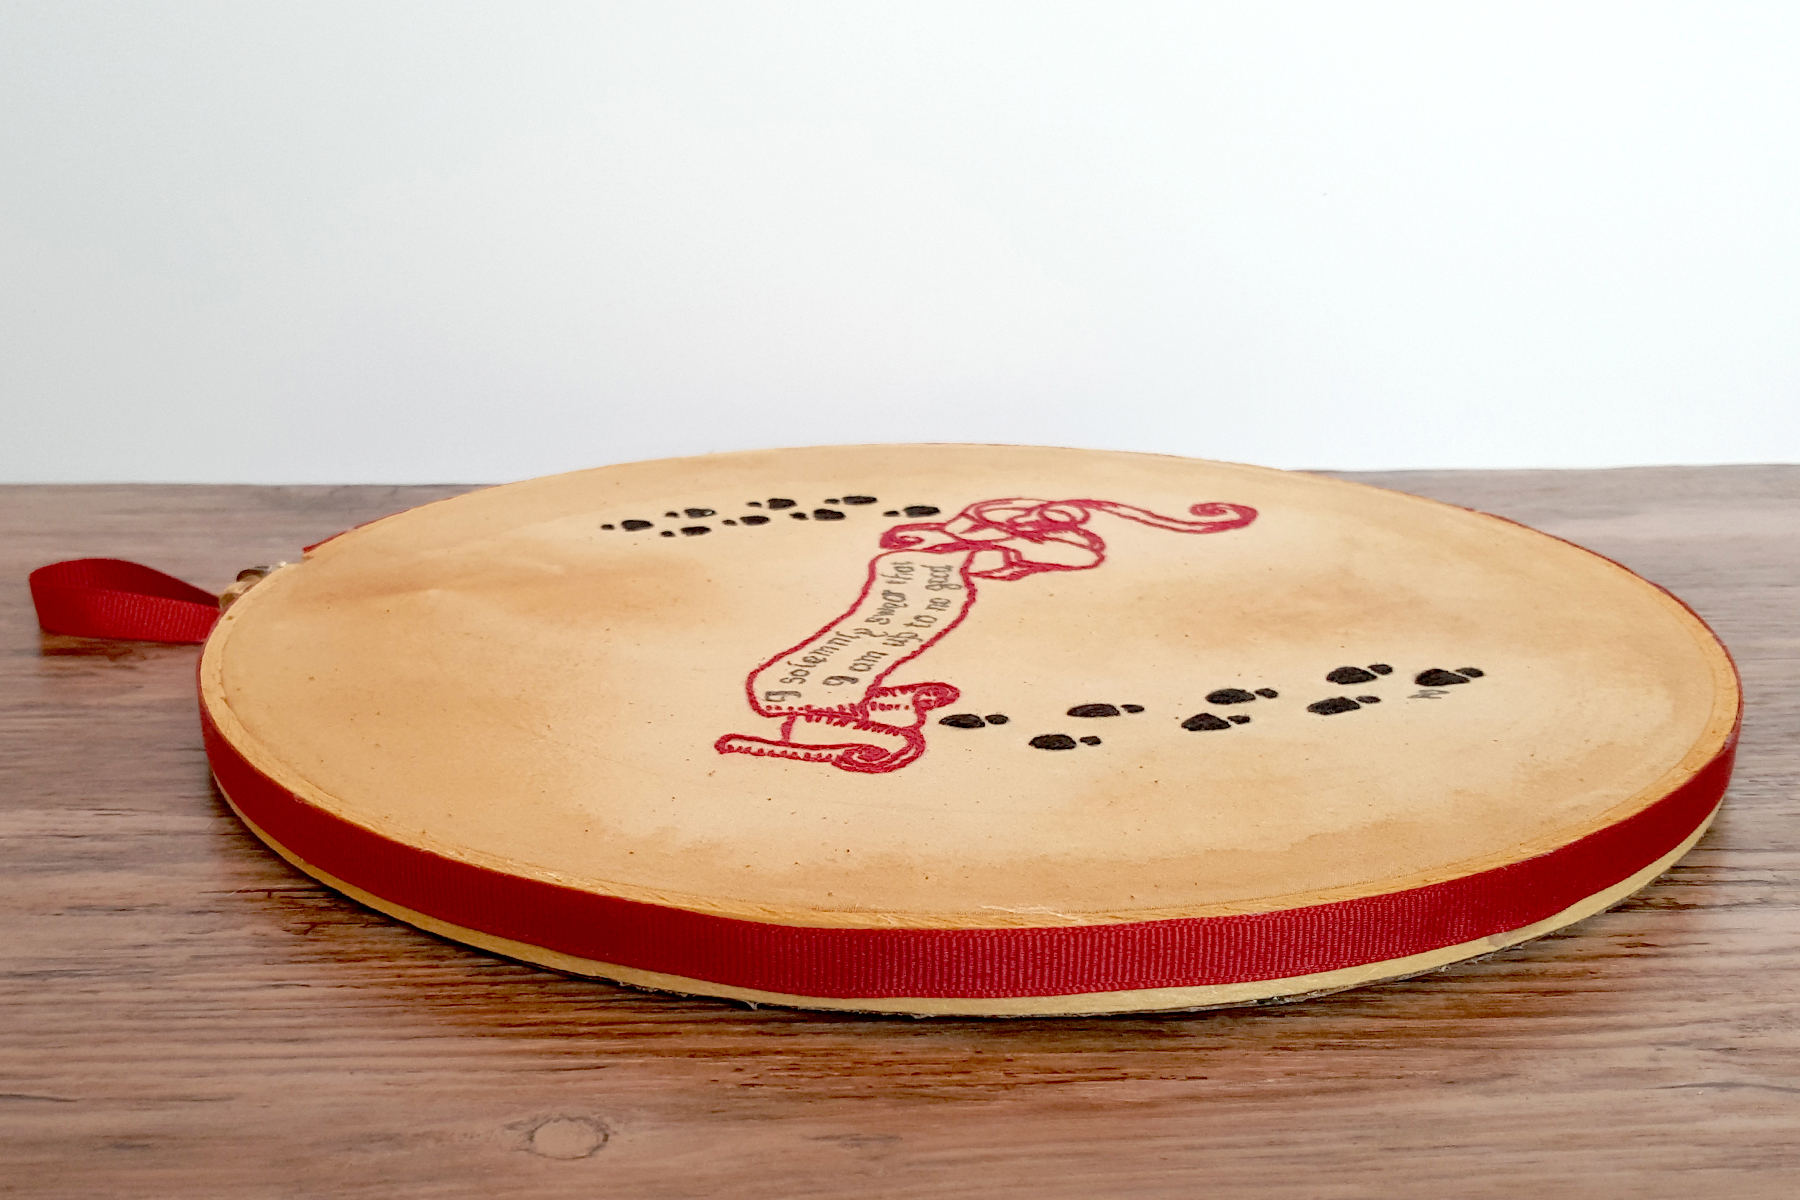
I followed Bev’s directions for making the hoop art, and I am really happy with how it turned out – especially since it really is my first attempt at embroidery. I only deviated from her tutorial in two places: I used a 10″ wooden hoop instead of an 8″ because that is all our local store had in stock, and instead of brushing on my tea dye, I blotted it on with wet teabags and kept blotting until it achieved the color consistency I liked.
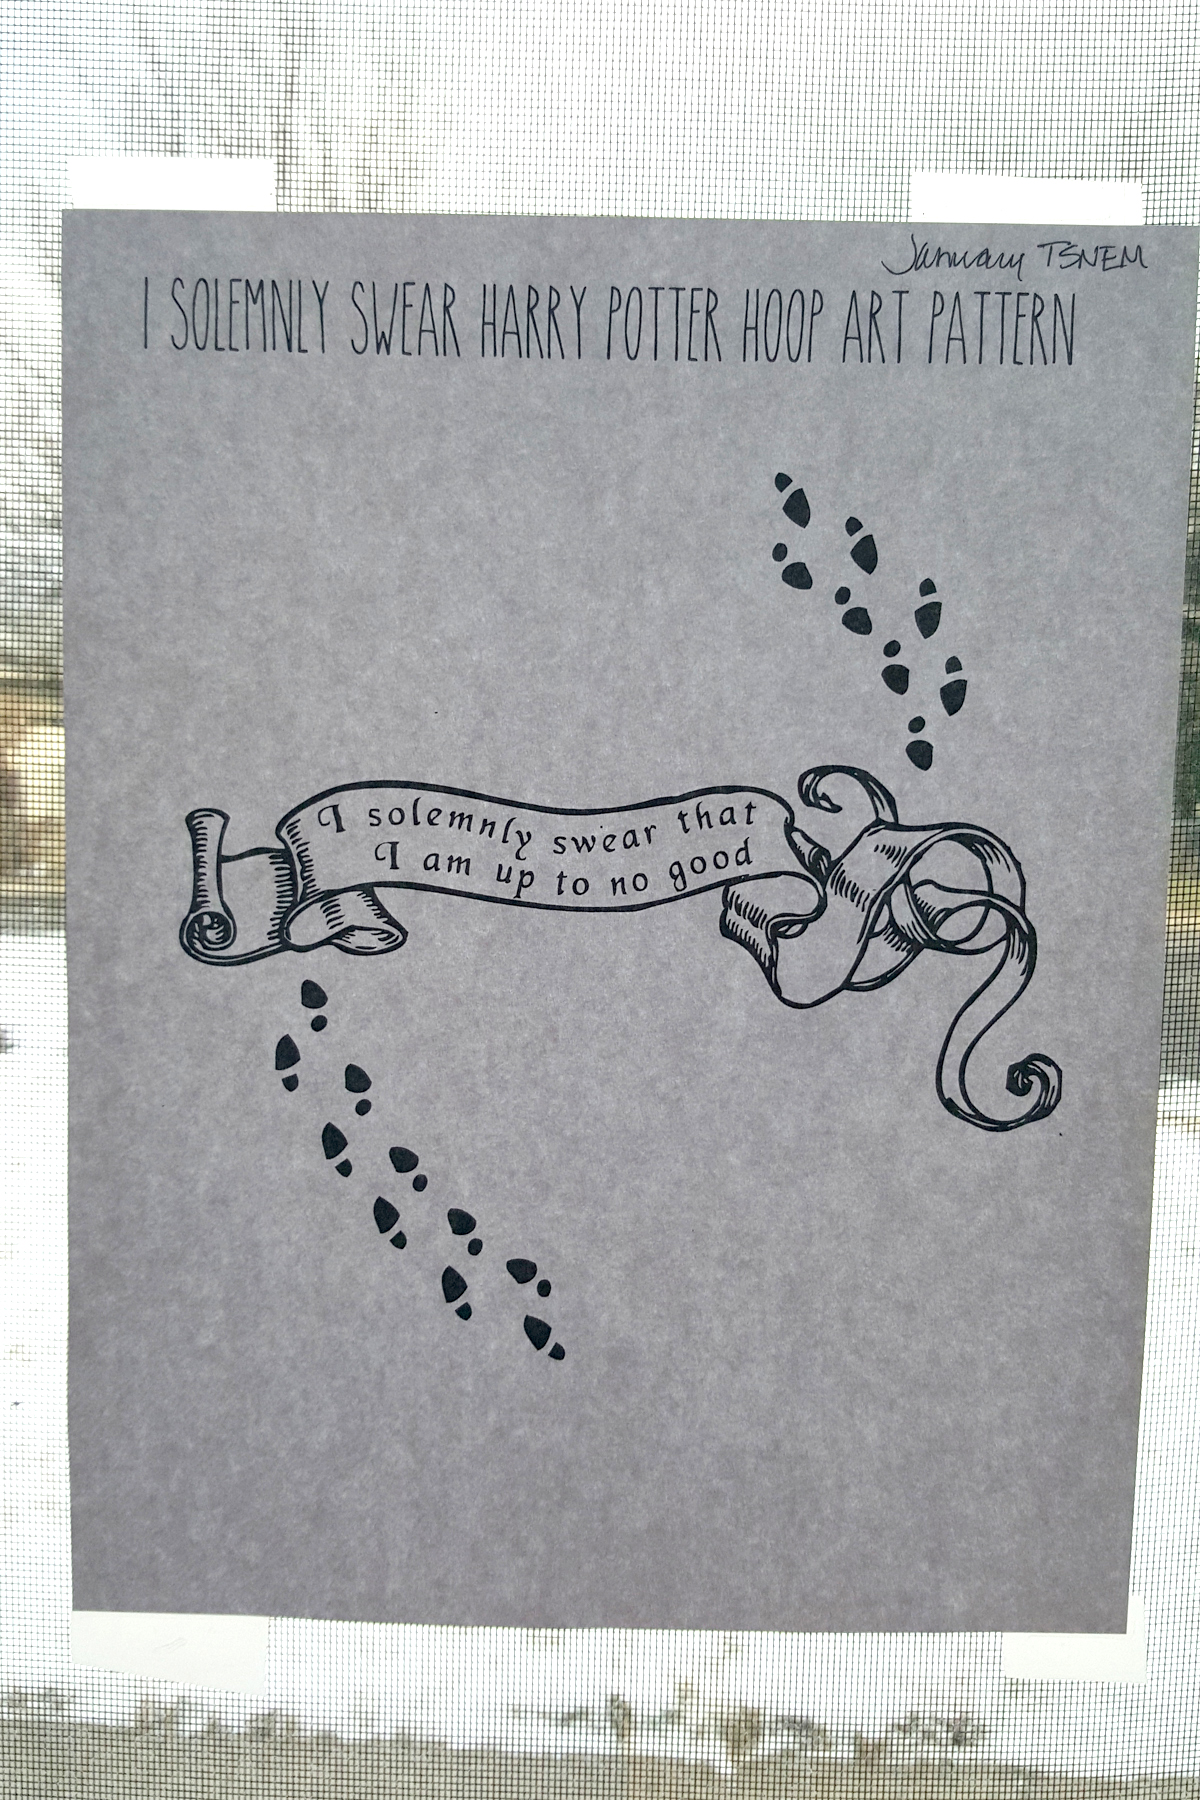
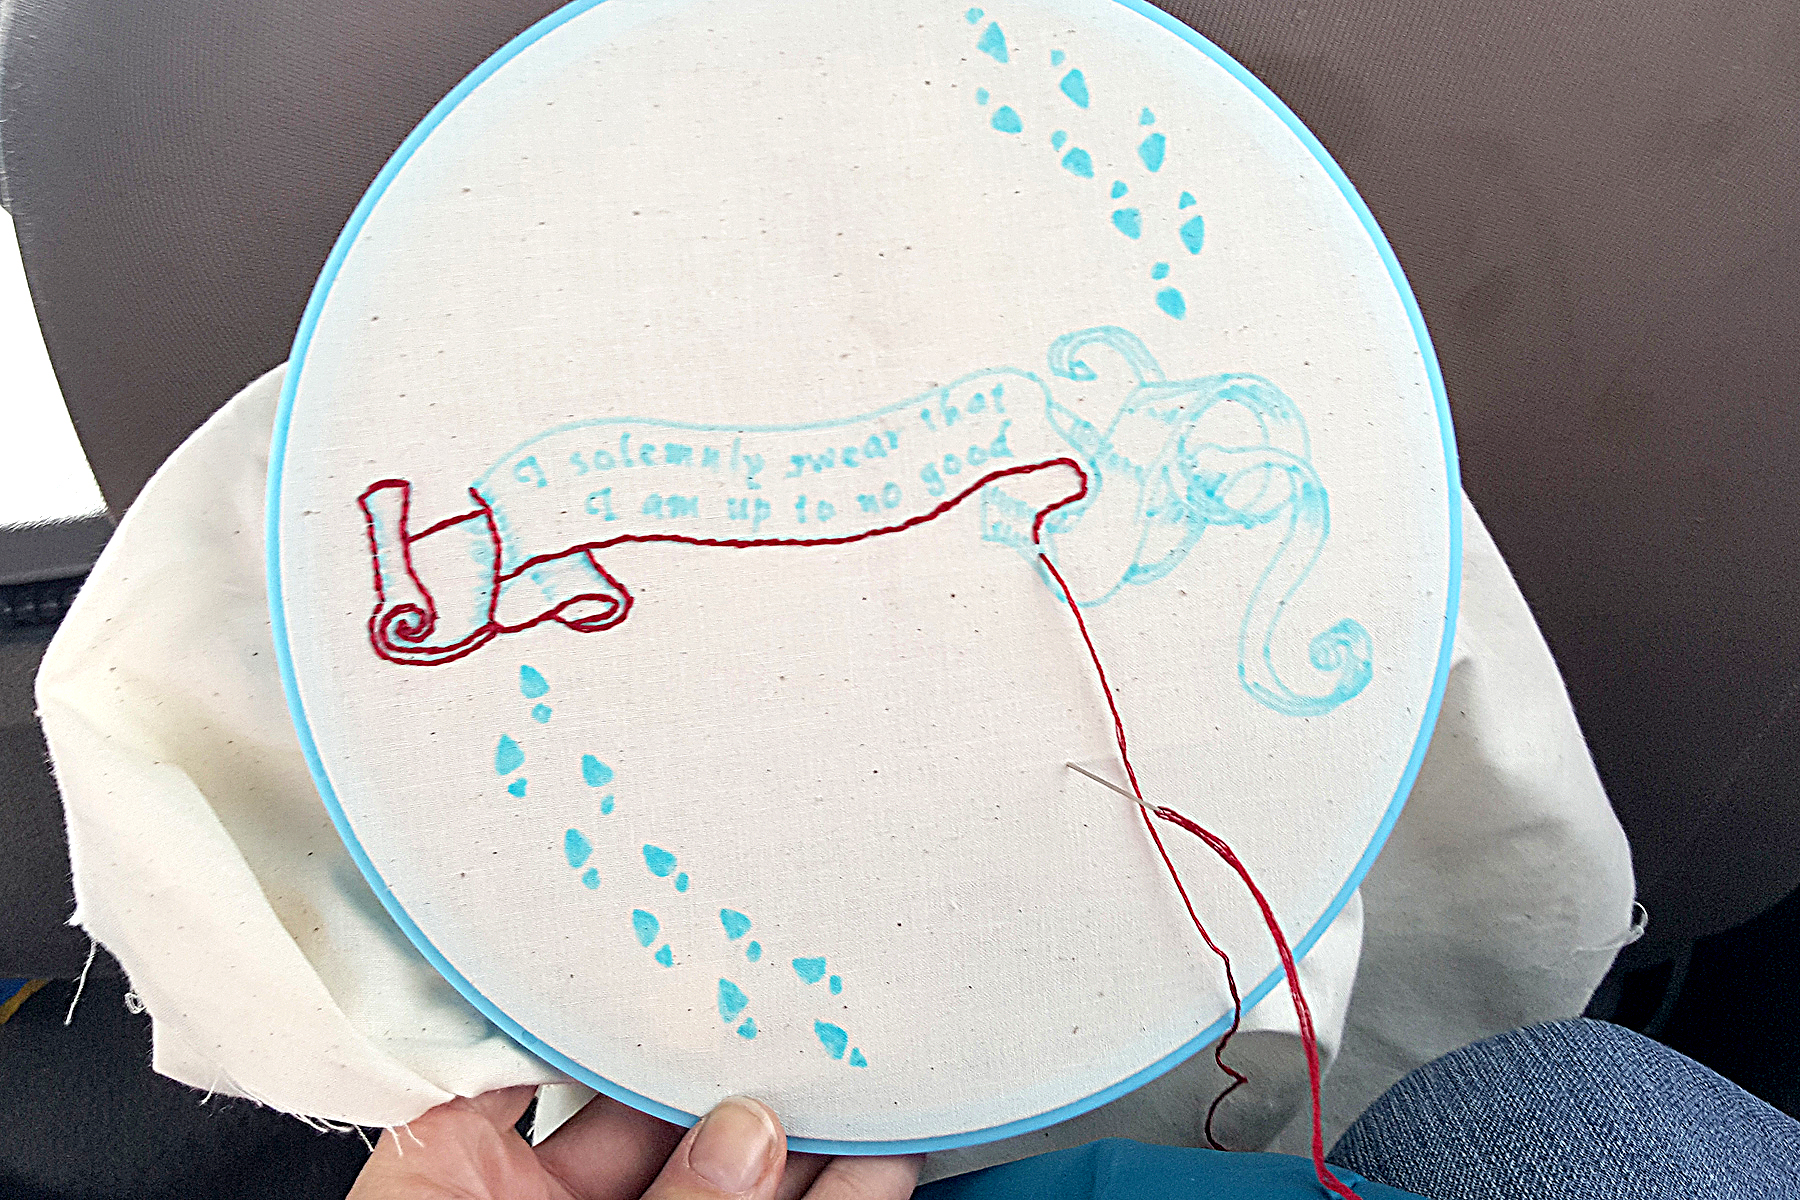
I don’t have a lightbox of any sort, so I used the next best thing – our living room window and the reflecting snow. 😉 After taping the pattern up, I taped the fabric panel to the window and traced it with a fabric marking pen.
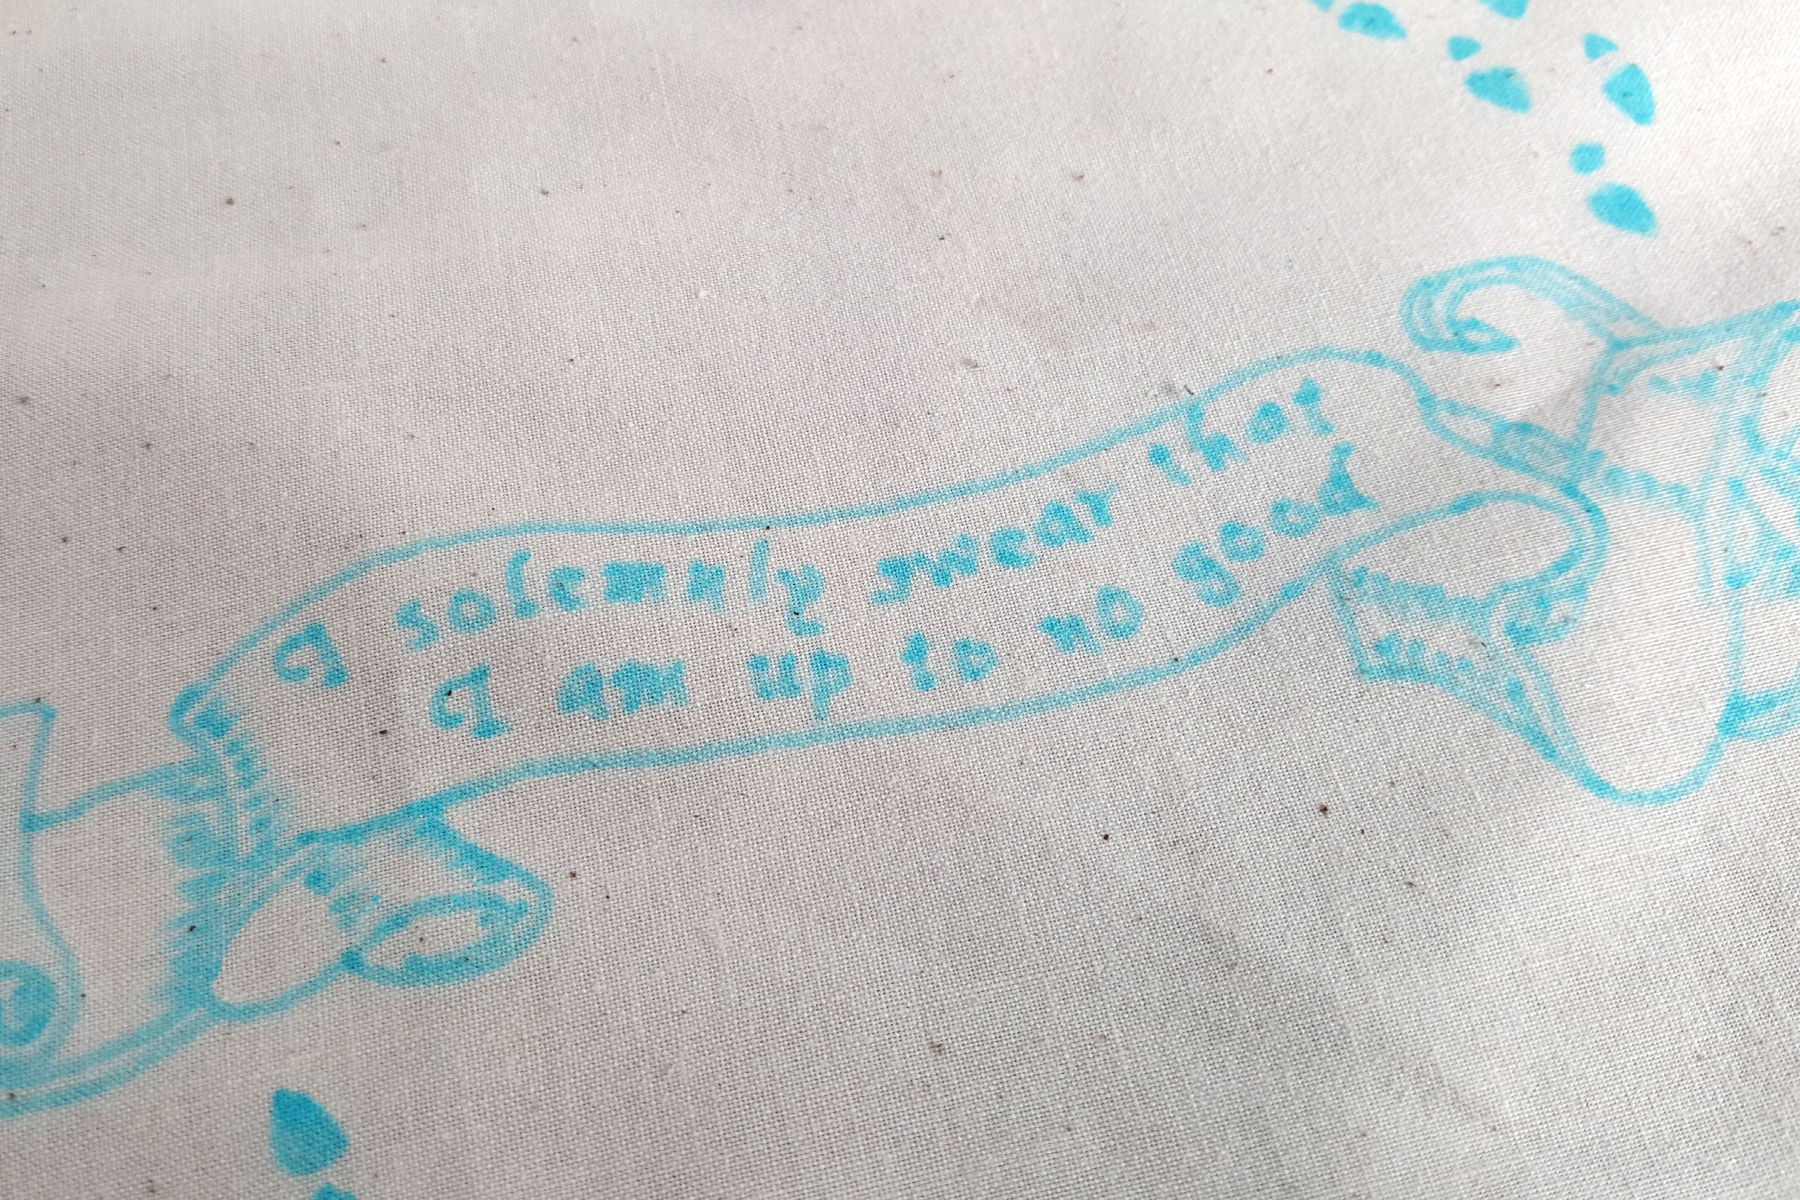
After the fact, I wish I would have used something with a more fine line – like a graphite pencil or something similar because some of the details were hard to make out with the thicker tip of my pen.
I started this project on New Year’s Eve, and worked on it through Sunday when I finished it up; however, I did discover that the back seat of a pick up on a bumpy road is not the ideal place to try to stitch!
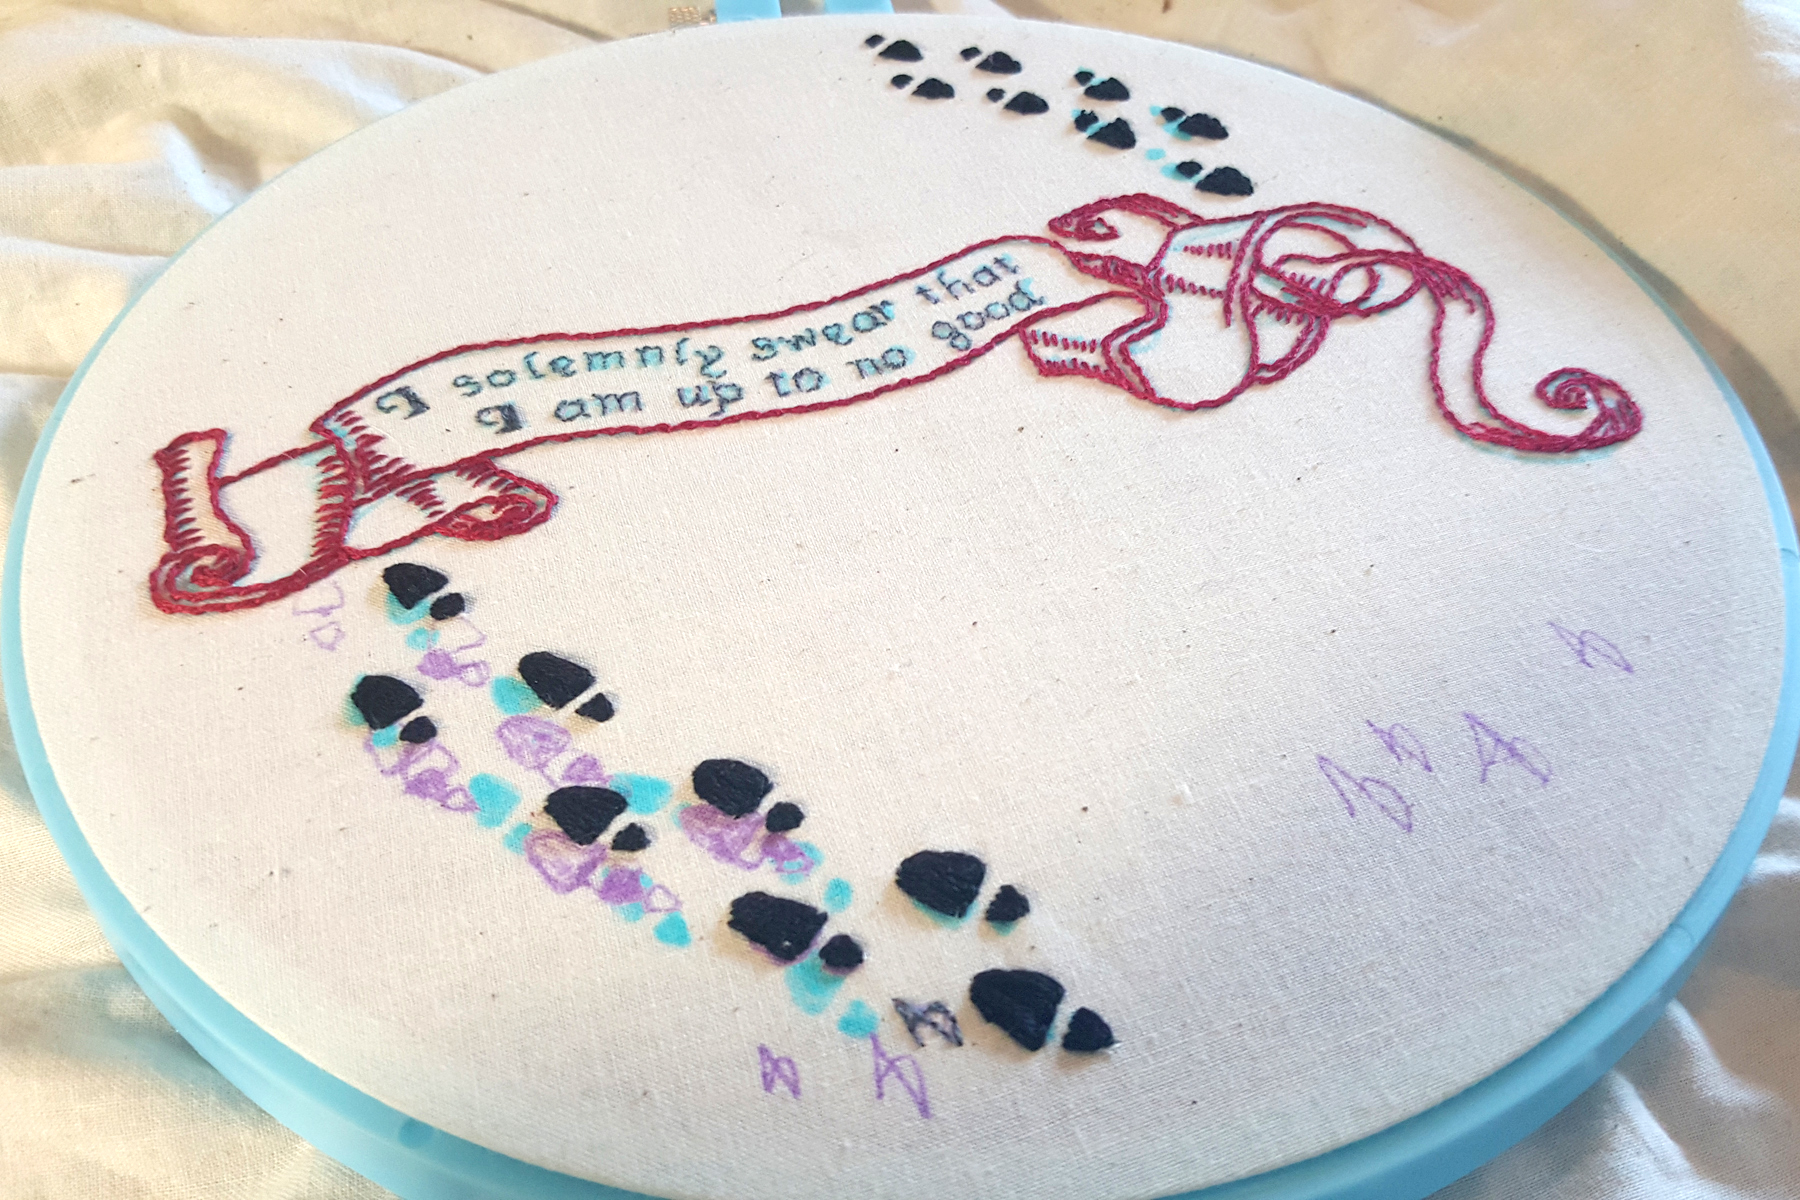
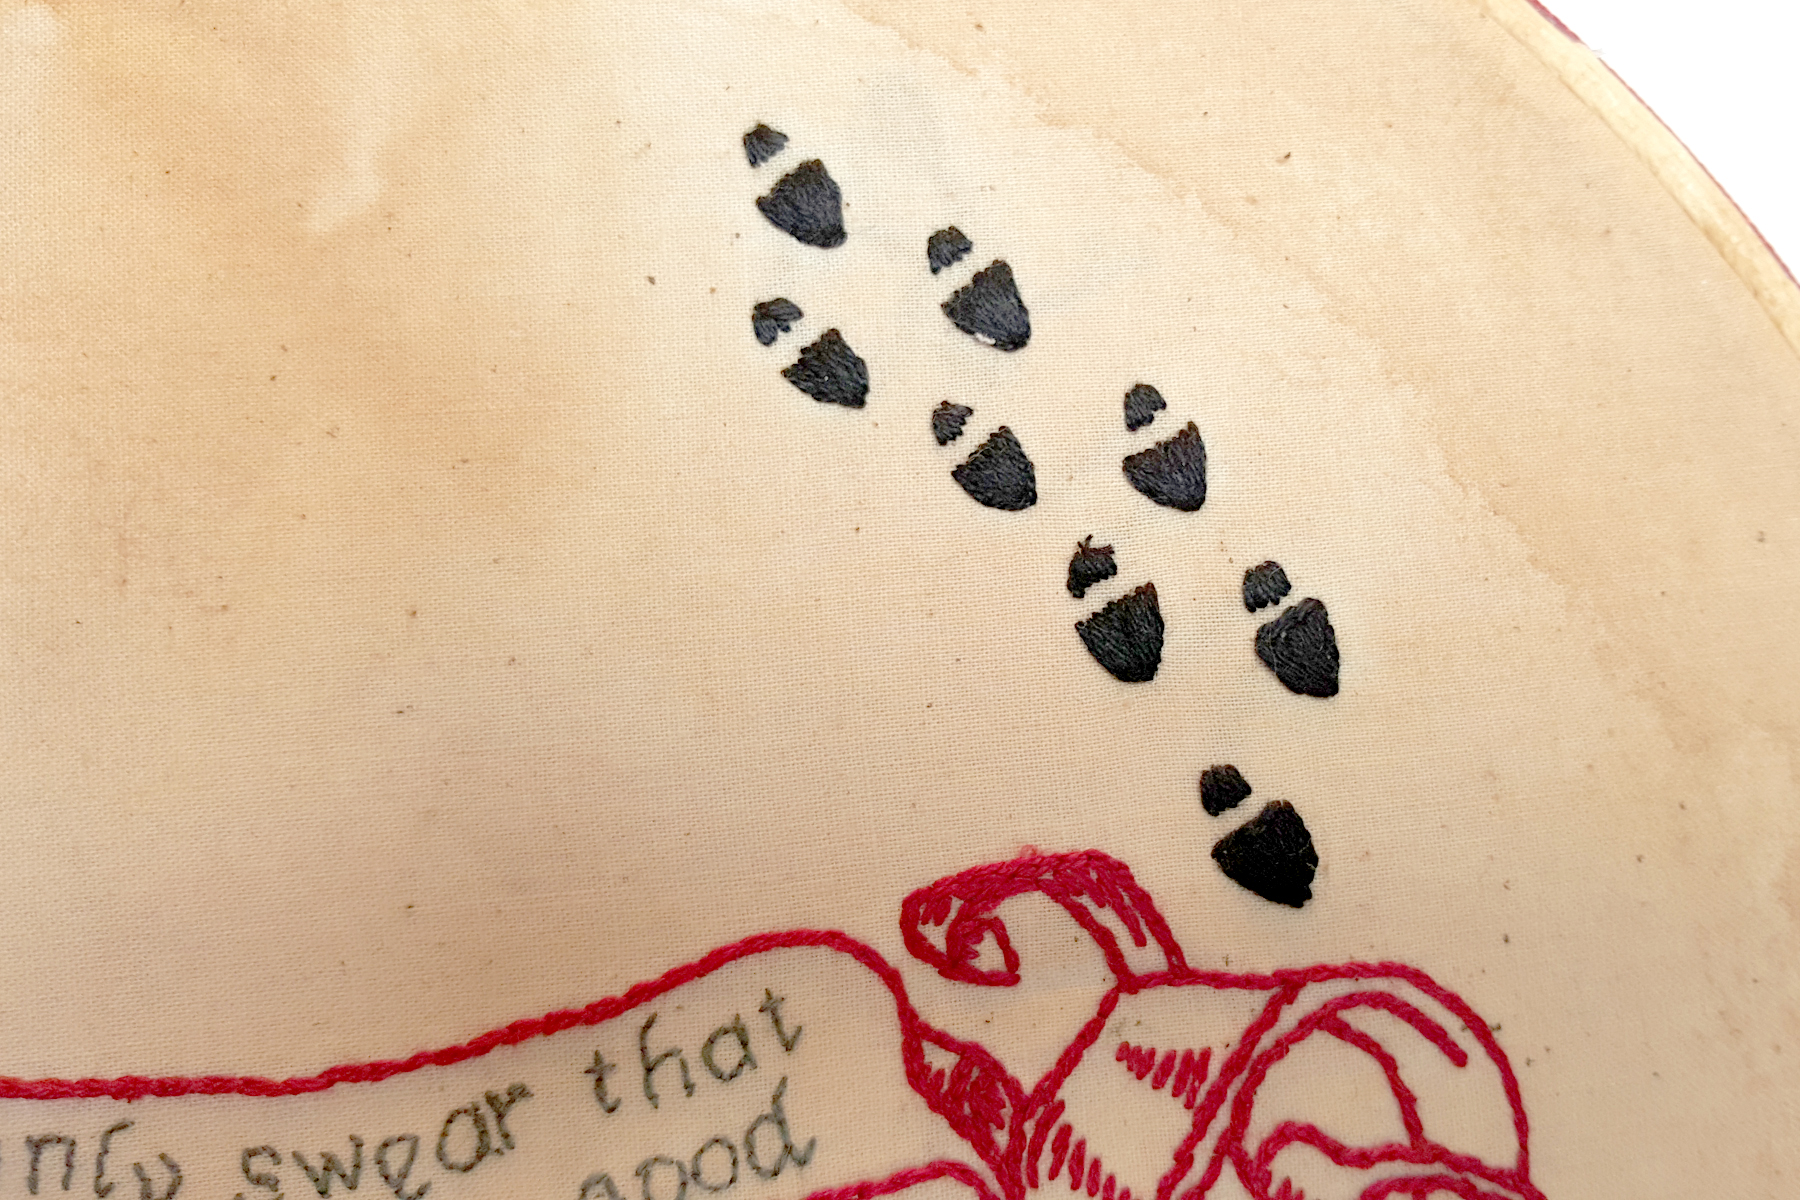
Because I really had not idea what I was doing, my footprints got “off”, and I had to redraw them in purple. Then they ended up even further off than they were to start with. Whenever I have made artwork, I always sign it with an intertwined “AB”, and the doodles below are me trying to get it right before I stitched it.
The fabric I used was pretty thin, and I was worried about the final look, so I used fusible web to attach a thin piece of battingI had cut to the correct circle size to the back of the piece.
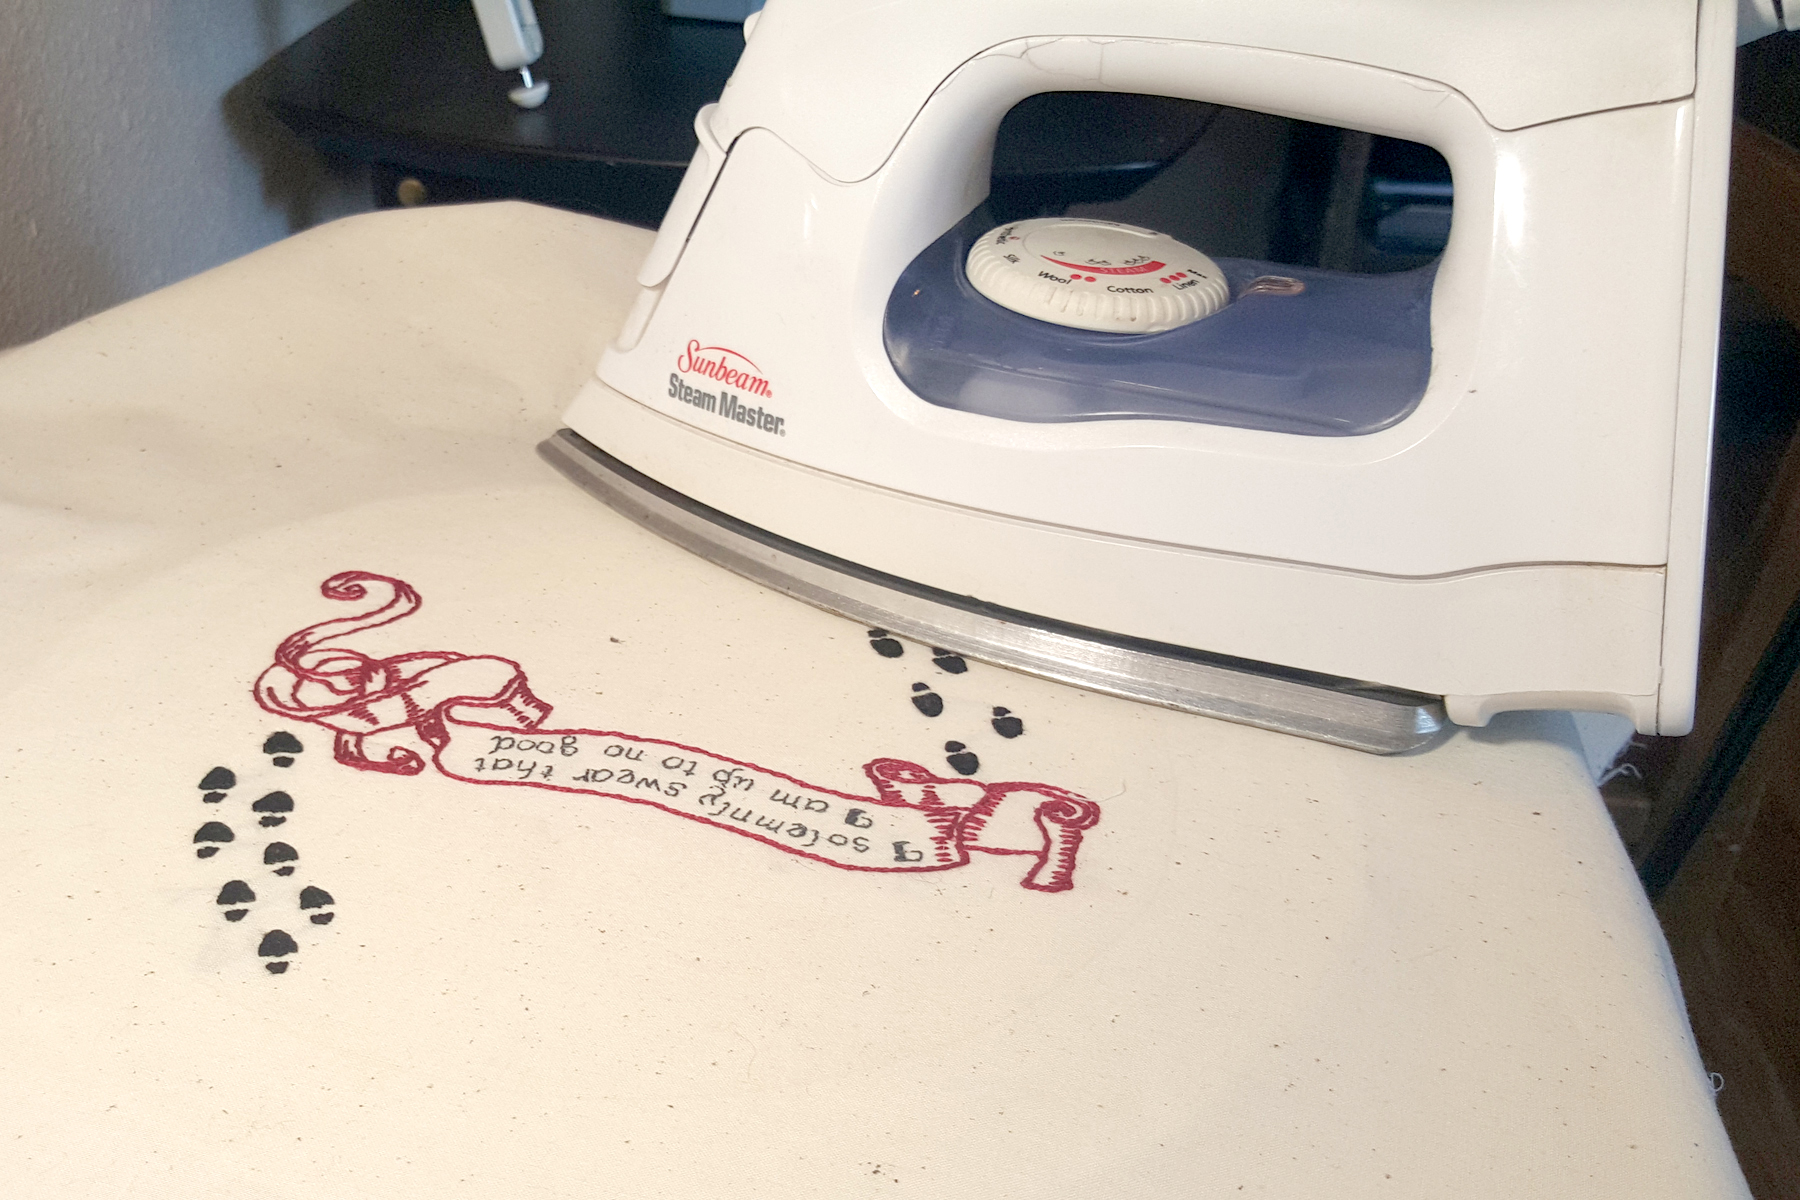
After washing and ironing, I put it in the wooden hoop to dye it, but for some reason, I didn’t take any pictures of that part of the process.
After the initial dying and then drying in the clothes dryer, the fabric looked more like parchment, but it wasn’t quite as dark as I wanted it to be for the final look.
I ironed the fabric one more time, and this time, I spot dyed with damp tea bags. In a couple places, I just let the bag sit for a minute, and in other places I just gently rubbed them on the fabric.
I took care to make sure the fabric near the lettering wasn’t too dark.
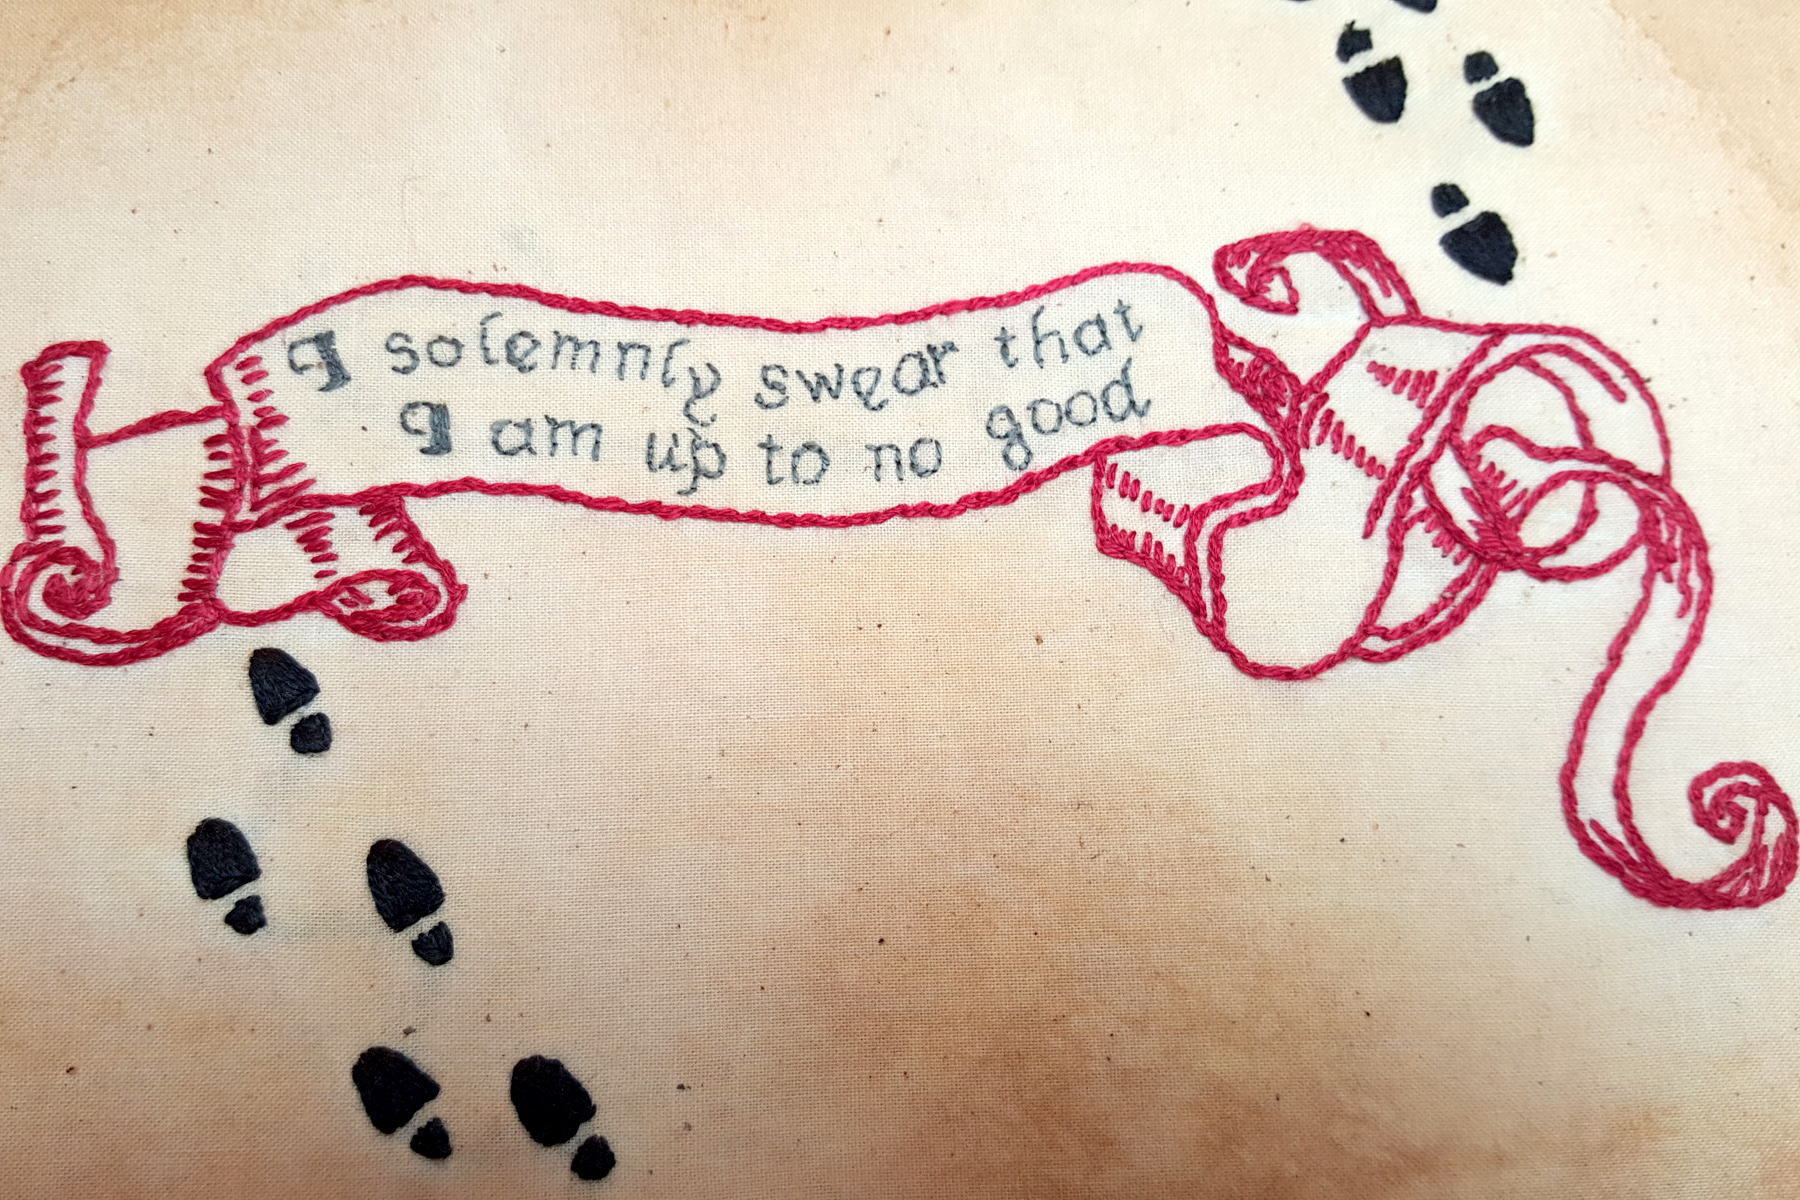
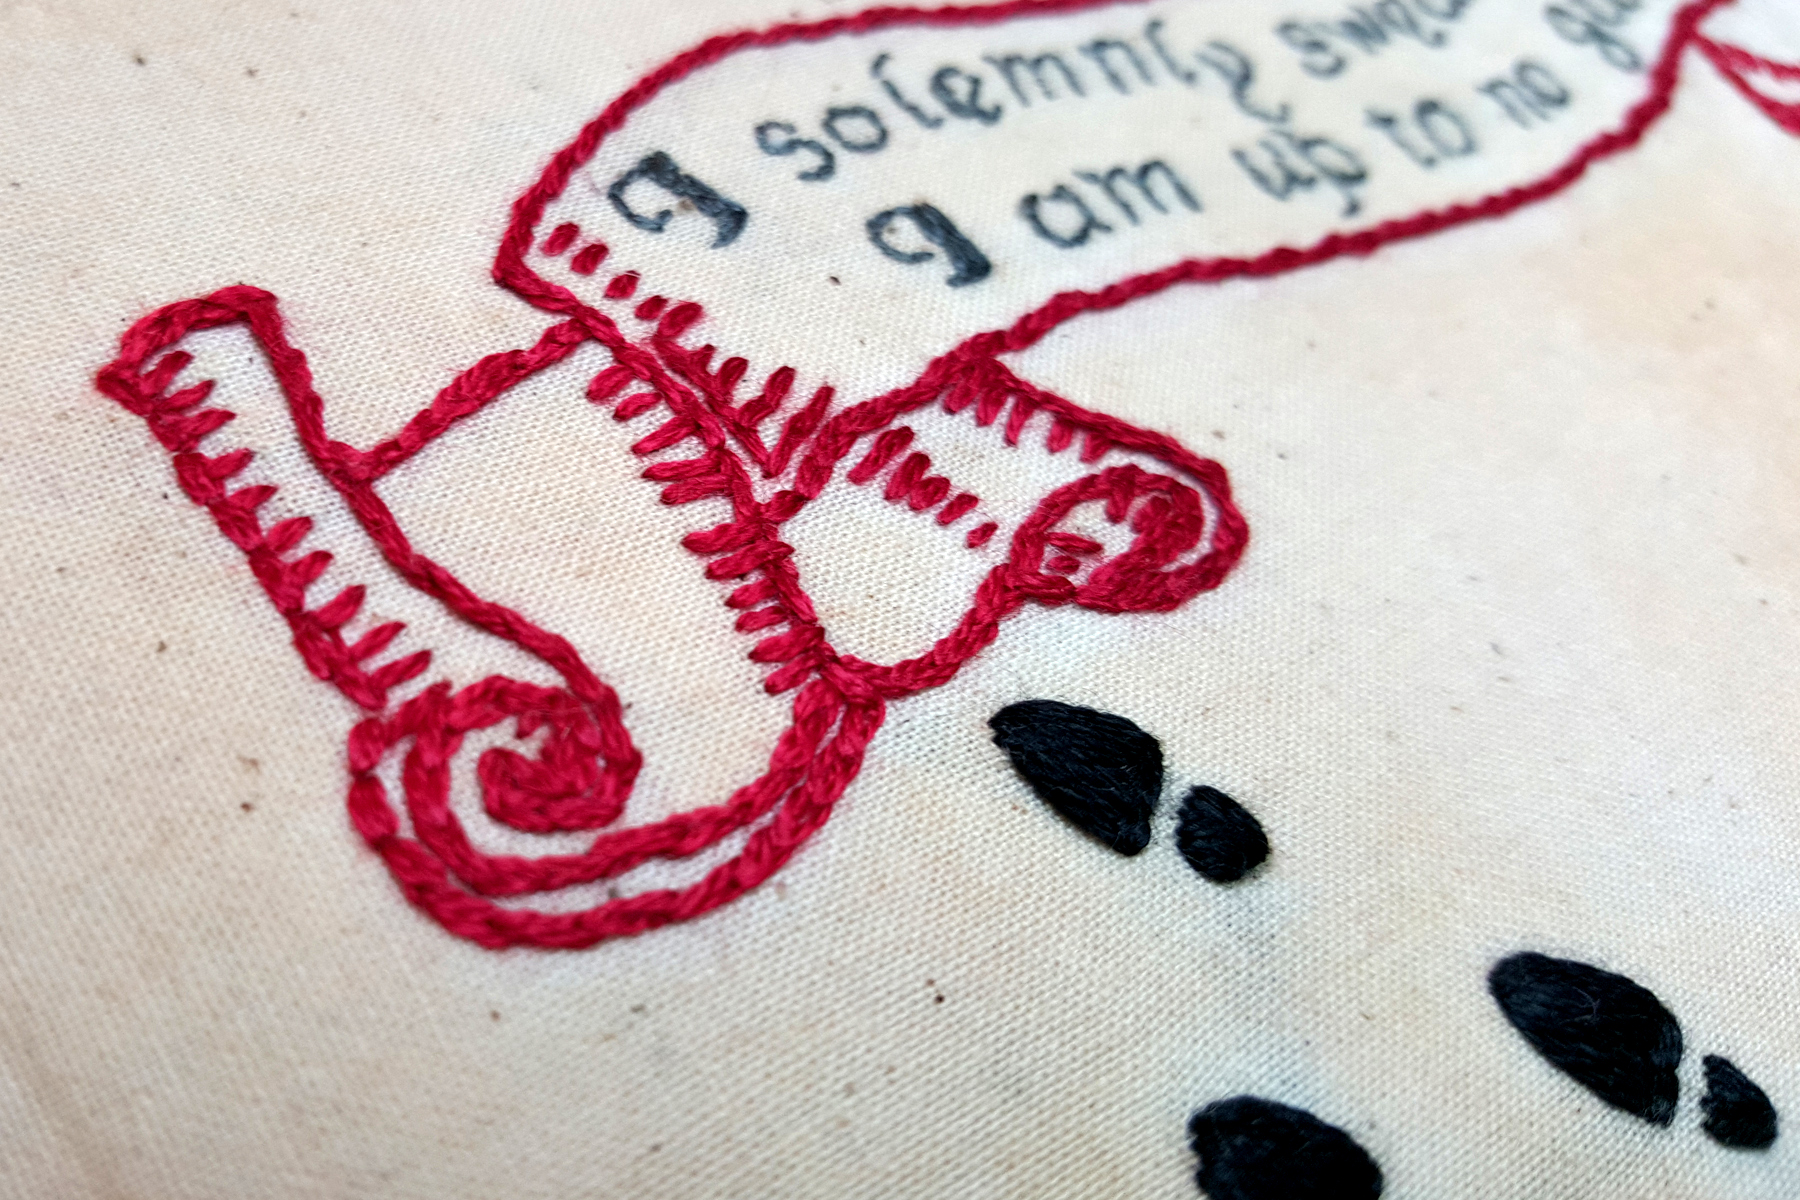
My stitching on the footprints is really inconsistent and irregular, but I have since found out why. I was using a satin stitch (I had no idea what it was called), but I was not backstitching to outline the footprints first. I am sure the outlines of the prints would be much better if I had done that.
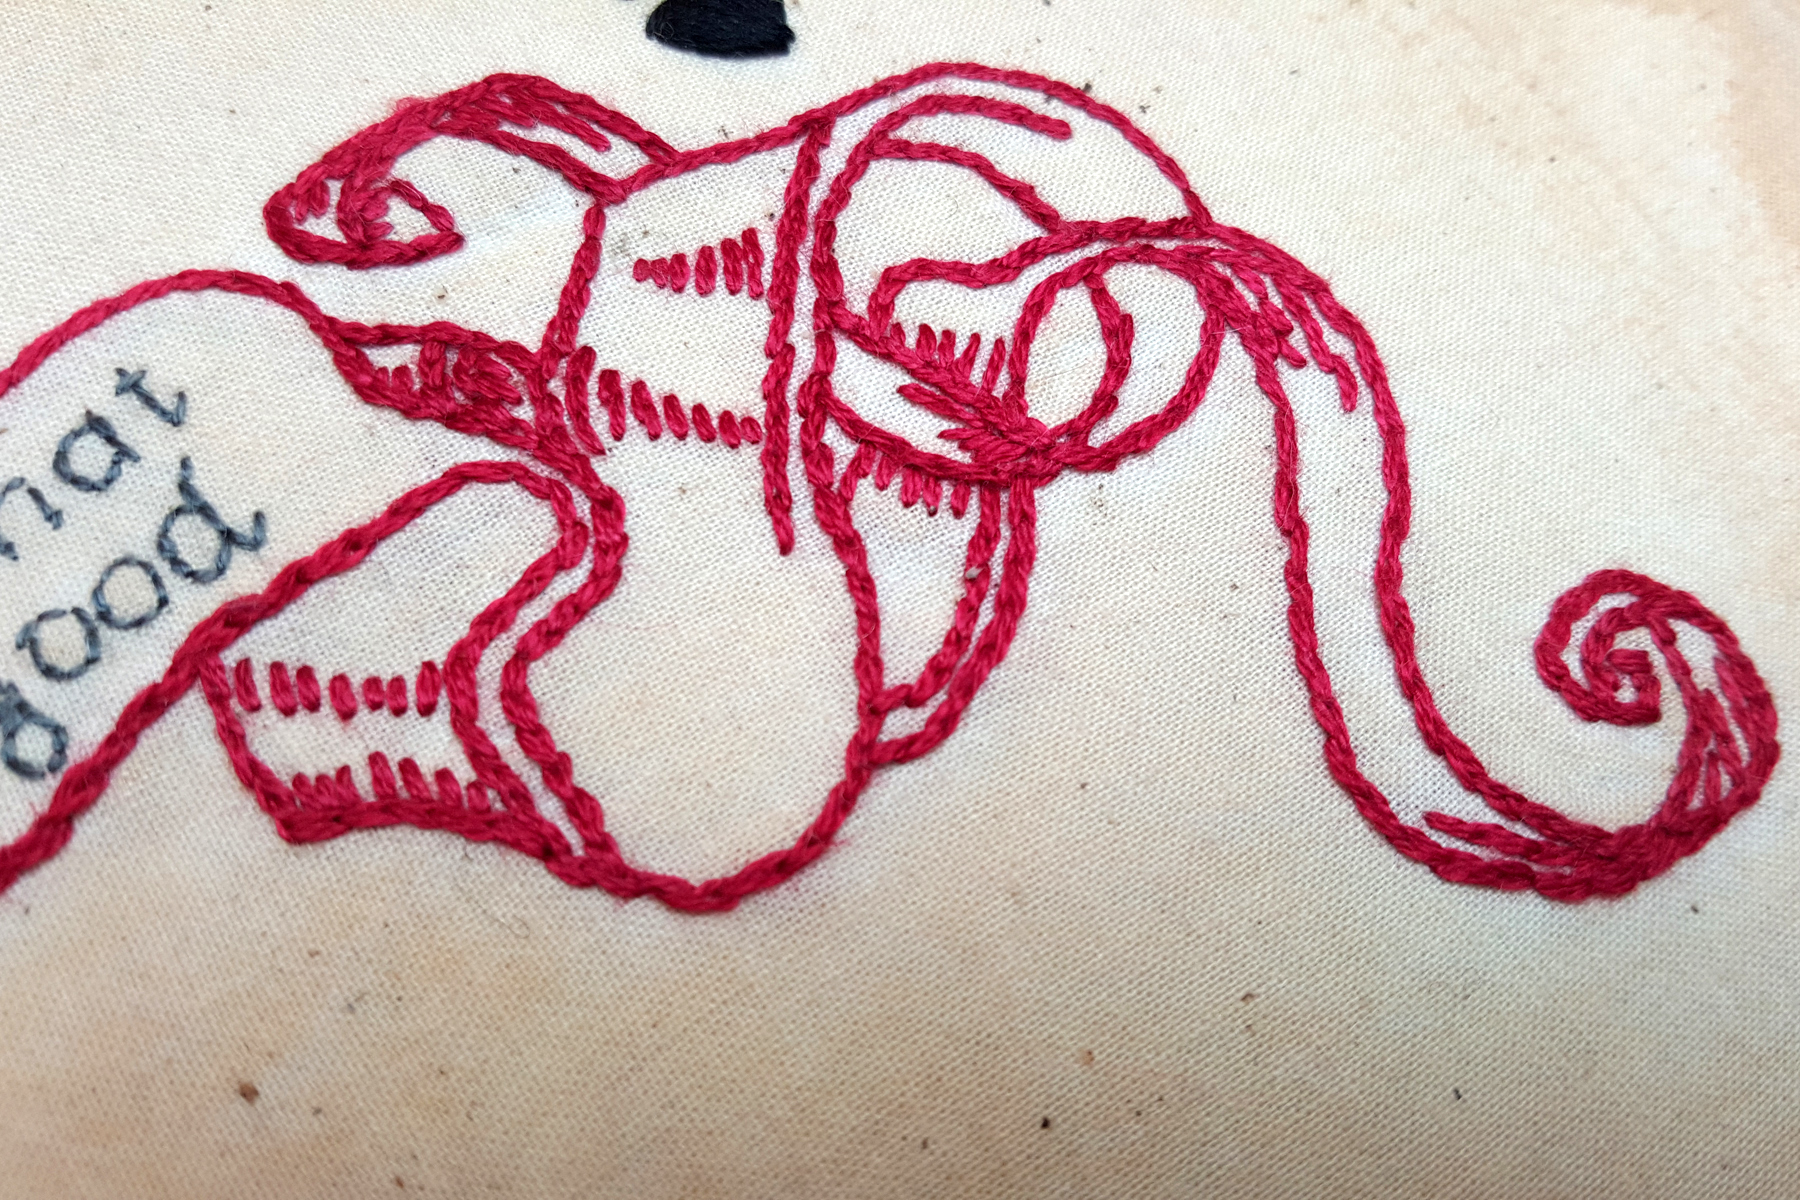
My backstitch is inconsistent, too, but I am not unhappy with it – I am actually pretty happy since this was my first time trying it.
I love the texture and dimension the tea gave the final look.
To finish off the hoop, I hot glued a brown paper circle to the back, ribbon to the outside edge of the hoop, and I made a hanging loop out of the same ribbon.
Voilá! I have a finished hand-embroidery project that I am really happy with, and my daughter is happy to have it in her room!
Mischief Managed!
To see all the linked projects from this month, check out Rebecca’s post at Hugs are Fun, or Stephanie’s post at Swoodson Says.
Shared on Made by You Monday – Skip to My Lou.

Nature Girl. Mom. Wife. Friend. Photographer. Sewer. Crafter. Artist.
To borrow a phrase – “Yeet Ye Riche”
This is awesome! I love the tea dye! And it looks amazing for your first try! 🙂 Great job!!
Thank you, Laura! The tea dye was fun, and I will definitely experiment with more of that in the future. I just don’t know if I have the patience to do a lot of embroidery.
It doesn’t look inconsistent to me! Great job, looking forward to future TSNEM attempts from you 🙂
Thank you, Stephanie!
I love it! I am going to try embroidering tea towels soon and didn’t have any idea how to get the pattern onto the fabric. Thanks for the tip about the graphite pencil probably working better. Visiting from the TSNEM link up.