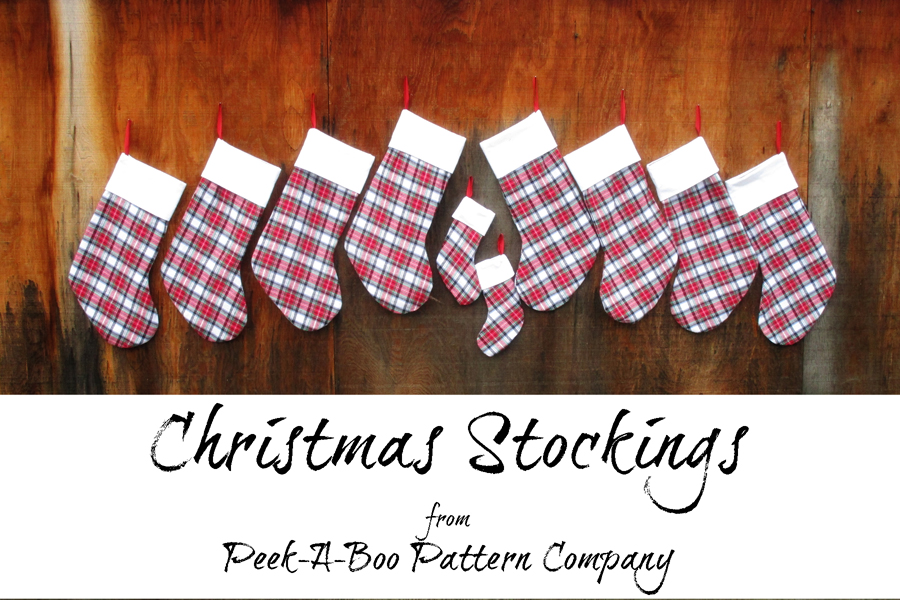
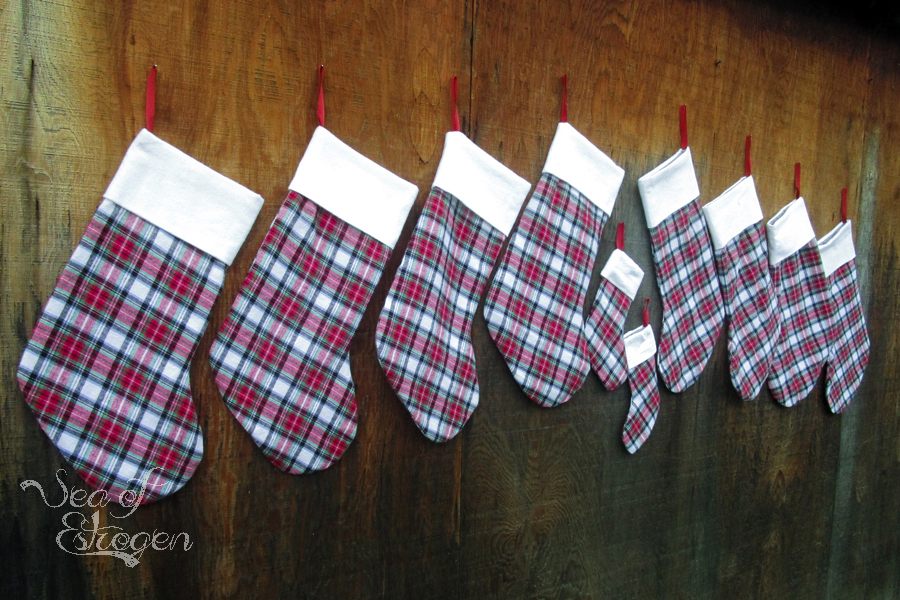
As a blended family, we have a mish-mash of household items, including holiday decorations. One thing I have really wanted to do is make stockings for all of us to hang in our home. I ran across the Free Christmas Stocking Pattern at Peek-A-Boo Pattern Shop early this summer and decided this would be the year for new stockings. I raved about Peek-A-Boo Pattern Shop the other day in the Pemberley Pullover post, and I am back to rave some more.
Peek-A-Boo Pattern Shop
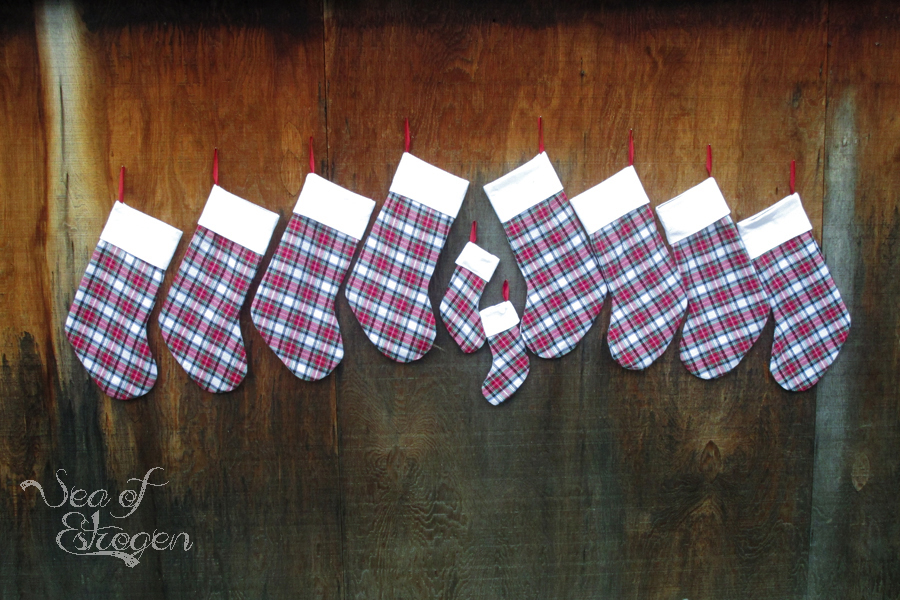
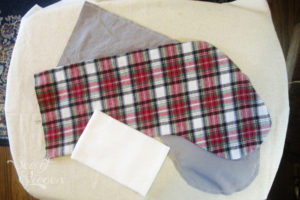
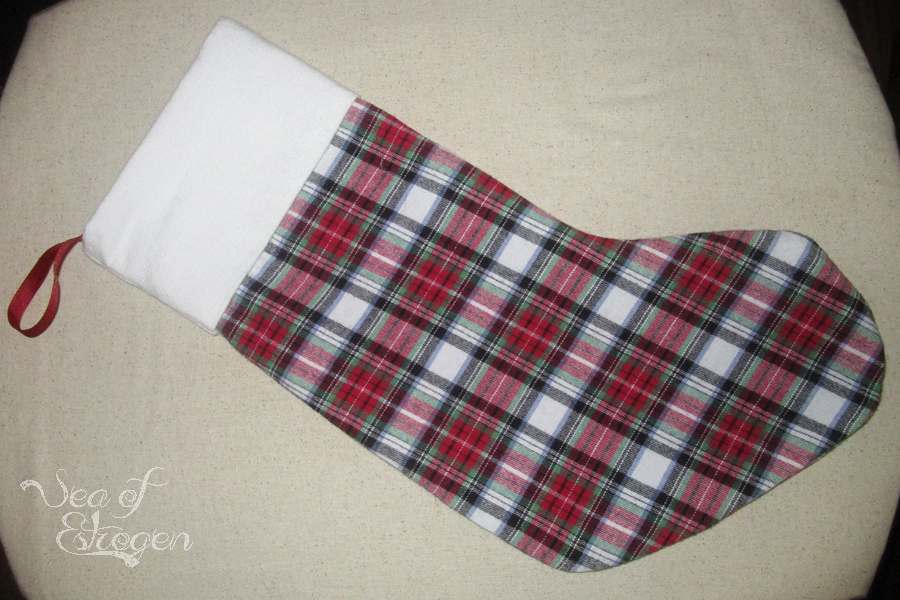
I used Amy’s Free Christmas Stocking Pattern to make our family new stockings over the Thanksgiving Holiday weekend. Below are the yardage requirements according to the PAB Tutorial:
- 2/3 yard in your main fabric (this will be enough for 2 stockings): I used Yarn Dyed Flannel Plaid Red White & Black
- 2/3 yard in your lining fabric (this will be enough for 2 stockings): I used Cotton Broadcloth Gray
- 1 Fat Quarter for the cuff fabrics (1 FQ will be enough for 2 stockings): I used Solid Flannel White
- Ribbon for Hanging: I used some 1/4″ red grosgrain ribbon I had in my stash
The fabric I used is some Todd and I found at fabric.com earlier this Fall.
Amy has written a tutorial with excellent instructions and pictures. The pictures and steps are clear, concise, and easy to follow. I treated the stockings much like an assembly line process and completed each step on each stocking before moving on. I feel like that helped speed up the assembly process.
Prep Work
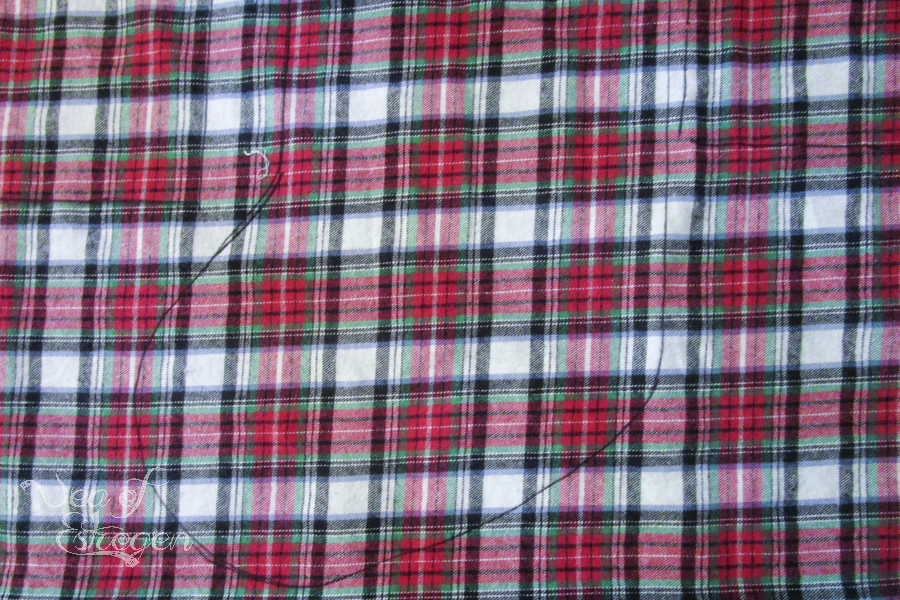
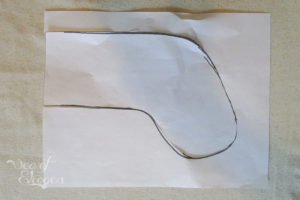
Before doing any cutting or sewing, I pre-washed all of the fabric I was using. Stockings don’t generally get very dirty, but I wanted to be able to wash them in the future (especially with the white cuffs) without worrying about them shrinking unevenly. After washing and drying the fabric, I folded the fabric right sides together. I matched the selvedge edges and lined the plaids up as best as I could. I used a standard Sharpie pen and traced around the pattern eight times. One stocking for each of us, including Emma’s husband, Jordan, with one extra. Normally I would never use Sharpie on a sewing project, but since the fabric already had some black lines and I marked the wrong side of the fabric I wasn’t too worried about it showing. I actually had a difficult time seeing the drawn lines to cut in a couple of places.
Sewing Individual Pieces
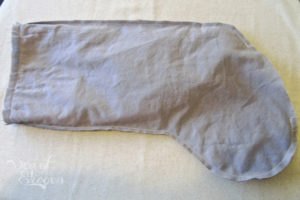
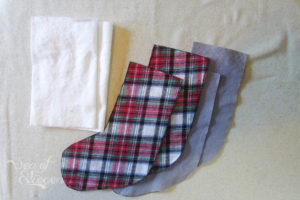
I didn’t take nearly as many pictures of these steps in the process as I should have. After cutting out all the pieces, I sewed around the entire edge of the mail fabric stocking, leaving the top open. I also sewed around the edge of the lining pieces leaving the top open, but also leaving a gap open in the toe for turning later. The cuffs were sewn along the short edges into a tube, and then folded wrong sides together and pressed.
Assembly
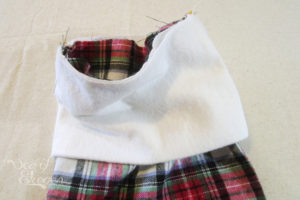
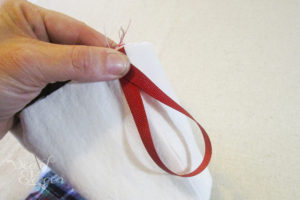
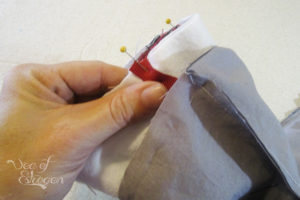
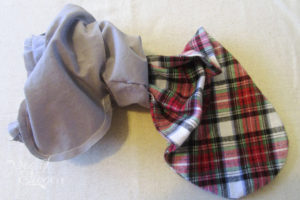
The first step in the assembly process is to slide the cuff down over the main fabric with right sides together. I aligned the seam in the cuff to the seam along the “back” portion of the stocking. After aligning the fabric, I pinned the ribbon hangers to the back seam, as well. I included a little half twist in the ribbon to add a minor, but fun detail. I secured the cuff and ribbon to the main fabric with four pins temporarily until I got the lining added.
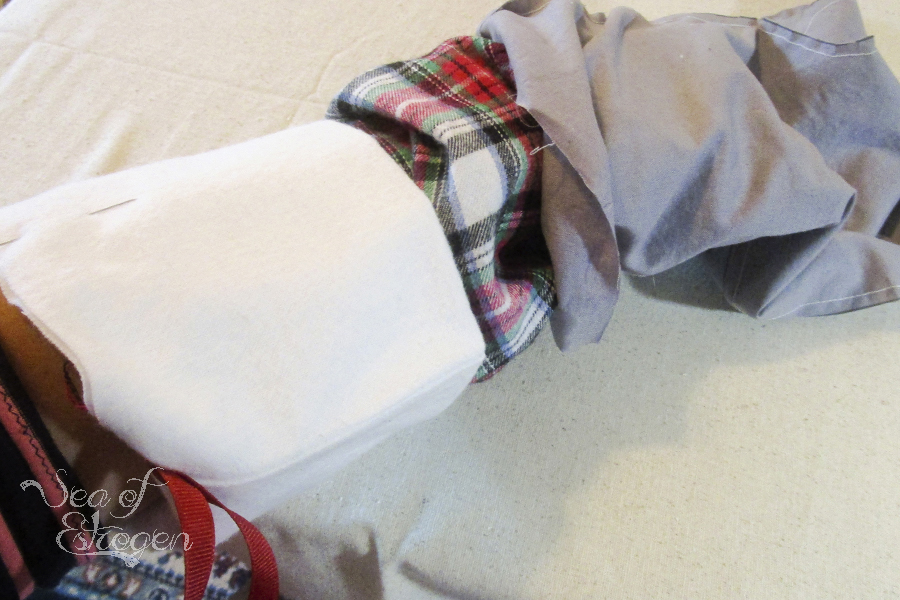
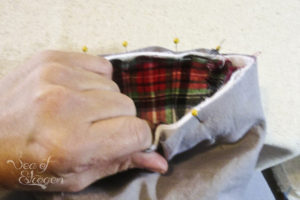
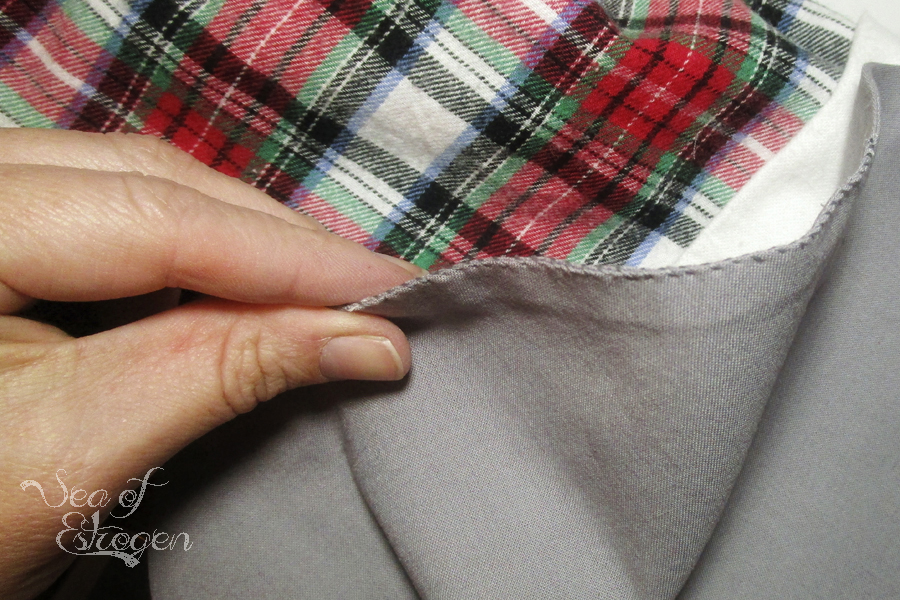
After the cuff and ribbon are in place, pull the lining fabric up over the main fabric. Make sure right sides are together, and align the two seams. Adding the lining was a tad more difficult than I was expecting, but mostly, I think, because the fuzziness of the flannel made it difficult to pull the broadcloth up the main fabric. Once the lining is in place, secure the tops together with pins. This part of the process took a little bit because I kept working the fabric in little bits to make sure it all lined up correctly. Excuse the ugly claw hand holding fabric tight so I can take a picture. LOL
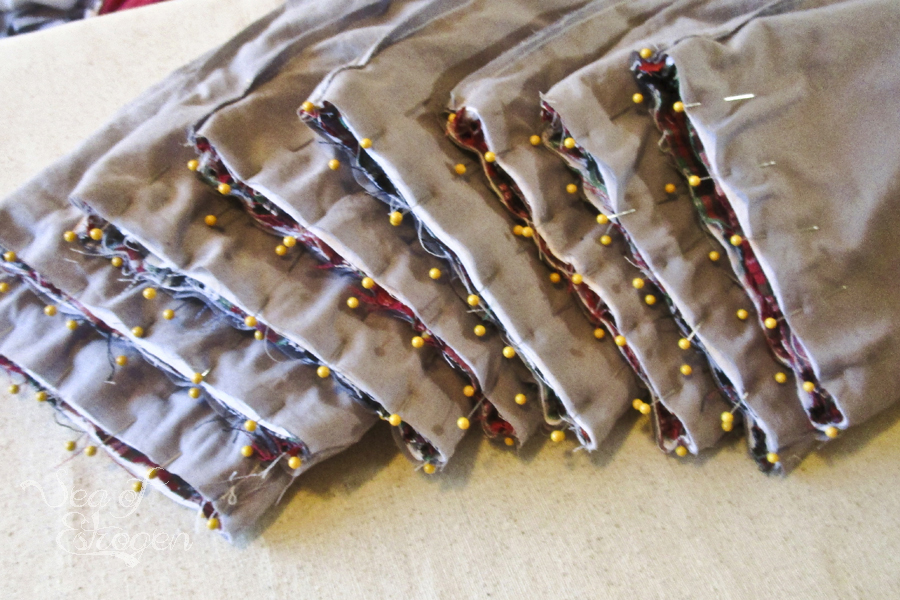
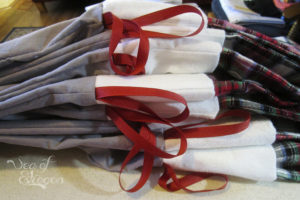
All eight stockings pinned and ready to sew!
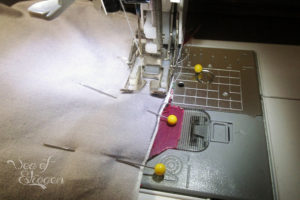
Stitch around the entire top of the stockings. Remove pins as you go, rather than sewing over them like I did; it’s a horrible habit. At this point, the broadcloth was wrinkled horribly, but since I was going to be manipulating it a bunch more I didn’t press it just yet.
Turning and Finishing
Turning the stockings was very easy. I just reached in through the gap I left open in the toe of the lining fabric and pulled the main fabric and cuff out through it. At this point, I pressed the lining to clean it up a bit and to help align the seam on the gap to be sewn closed. The stockings looked great at this point, even though they weren’t finished.
Either edge stitch or hand stitch the gap closed in the lining fabric. I hand stitched one and then decided that I wasn’t patient enough to finish all the stockings that way and edge stitched the rest.
Finish the stocking by pushing the lining down into the main fabric. This took a little manipulation and work – again, I think more because of the friction from the flannel more than anything else. Once the lining was in place, I turned the cuff over to the outside and pressed the whole thing. Voilá! Finished!
Fur Baby Stockings
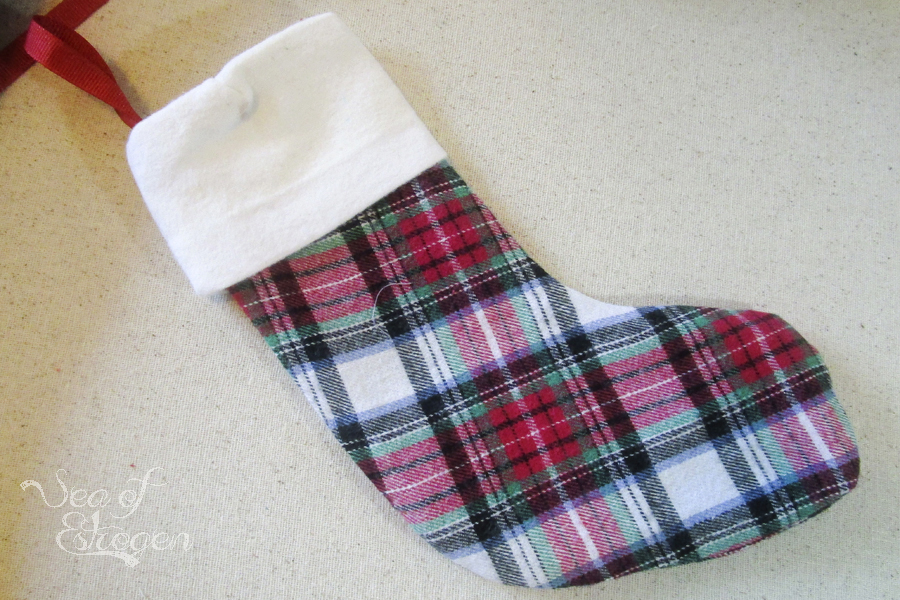
We have two fur babies – dogs named Lium and Pip. Lium is a Jack Russel and Pip is a Chihuahua, and we couldn’t possibly have new stockings without them. Luckily, I had enough fabric leftover that I was able to make each of them one, as well, albeit, smaller. I drew a stocking shape free-hand on scrap fabric and used it as my pattern. I followed the same steps as the full-size stockings. The only thing I wish I would have done is make the neck a little wider, it was difficult turning the stockings with my big hands in those tiny necks.
Our stockings are finished except for names. For the dogs’ stockings, I am going to make a string of lettered beads with their names that will hang down from the same spot the ribbon attaches. I haven’t quite figured out how to add our names yet. I thought of embroidering them, but I am not very good at it. Iron-on vinyl is another option I have considered, but I’m not sure that would look very good. As of right now, I’m leaning towards using stencils and fabric paint to put our initials on them instead of our full names. Do you have any suggestions?
Are you making any new Holiday items for your family this year?
This is the eighth project I have finished for the Quarter Four Finish-A-Long group.

Nature Girl. Mom. Wife. Friend. Photographer. Sewer. Crafter. Artist.
To borrow a phrase – “Yeet Ye Riche”
These turned out so good! Love the idea of making your own stockings!
Thank you! I liked the idea because our stockings were all a smorgasbord of whatever we had at one point in our lives.