My oldest daughter, Emma, is getting married, and as a bridal shower gift, I made her wedding garters. Her bridal shower was yesterday, so I can finally post the about the garters. I had never made garters before, so it was a lot of trial and error, but I finally managed it, and I think they turned out lovely!
Emma has a well-defined sense of style, which is very classic and simple. Because of that, I didn’t want to make anything too over the top, but it is her wedding, so I wanted to make something with a little more oomph than her normal, everyday style. I have spent a lot of time over the past three months or so looking at different materials and coming up with a plan. I think I spent so much time looking because I was so nervous about making sure I ended up creating something she would love.
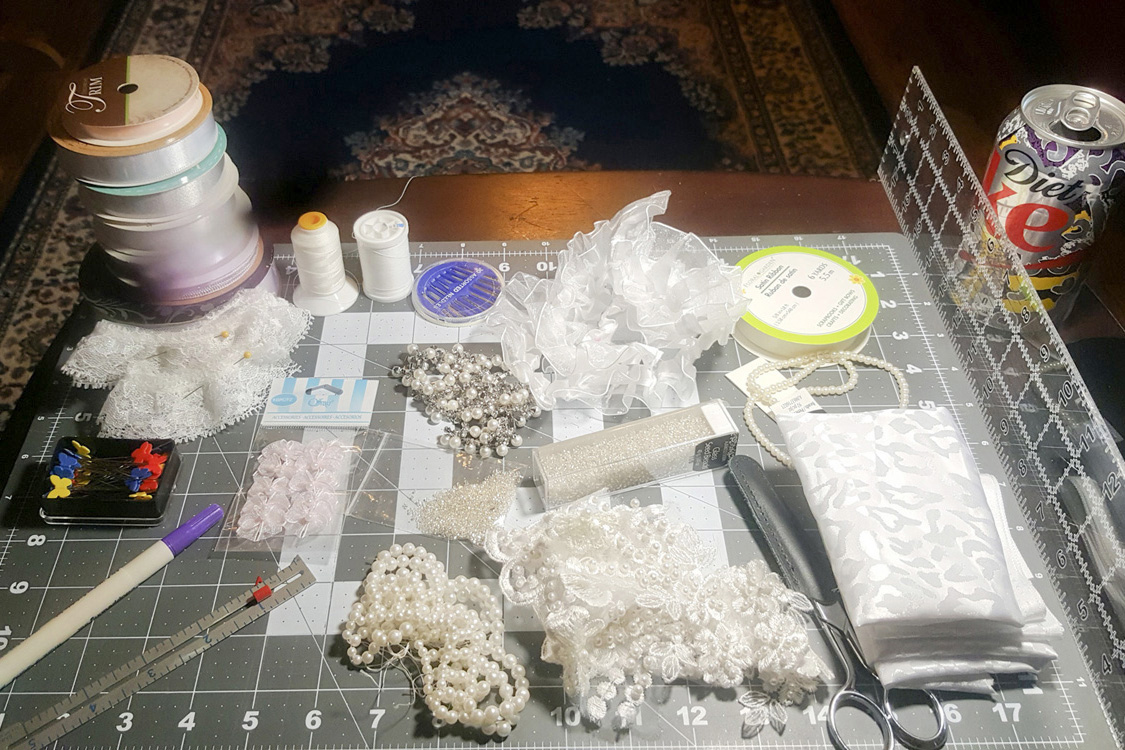
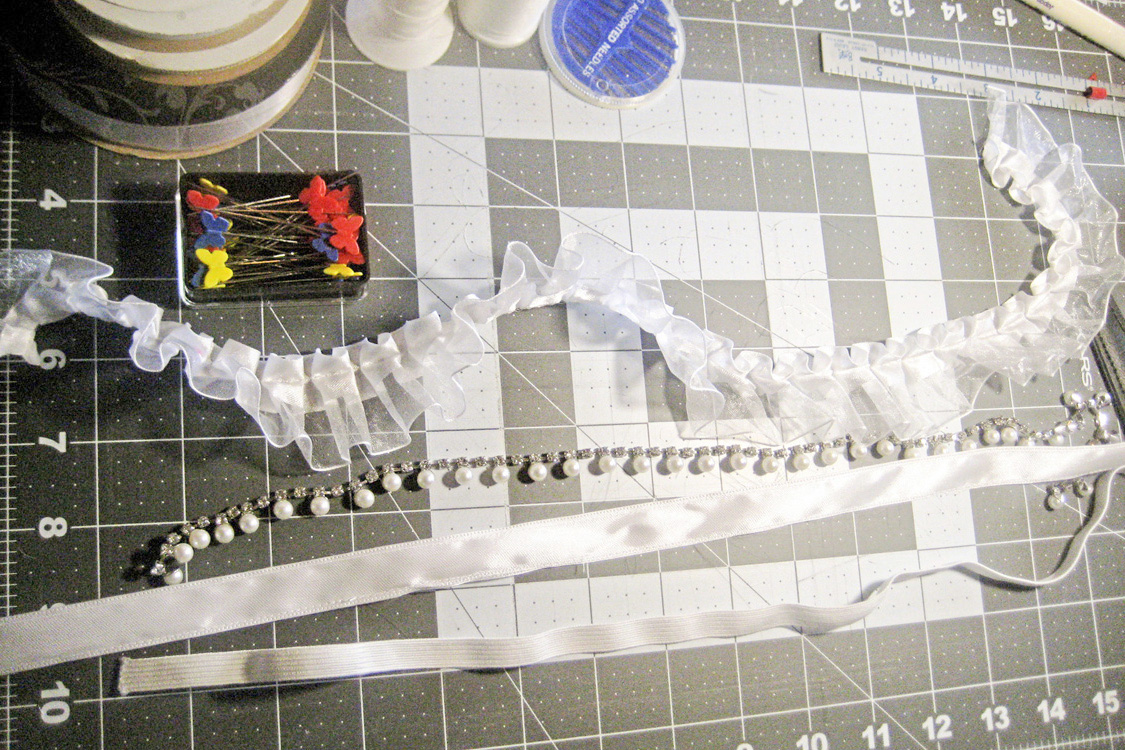
Finally last Sunday I decided to just bite the bullet and get started. I gathered everything I already on hand along with a couple of things I bought specifically for this project, turned on the TV and got started. I didn’t even end up using a quarter of the supplies i got out, but I feel like they each contributed to my final design in one way or another.
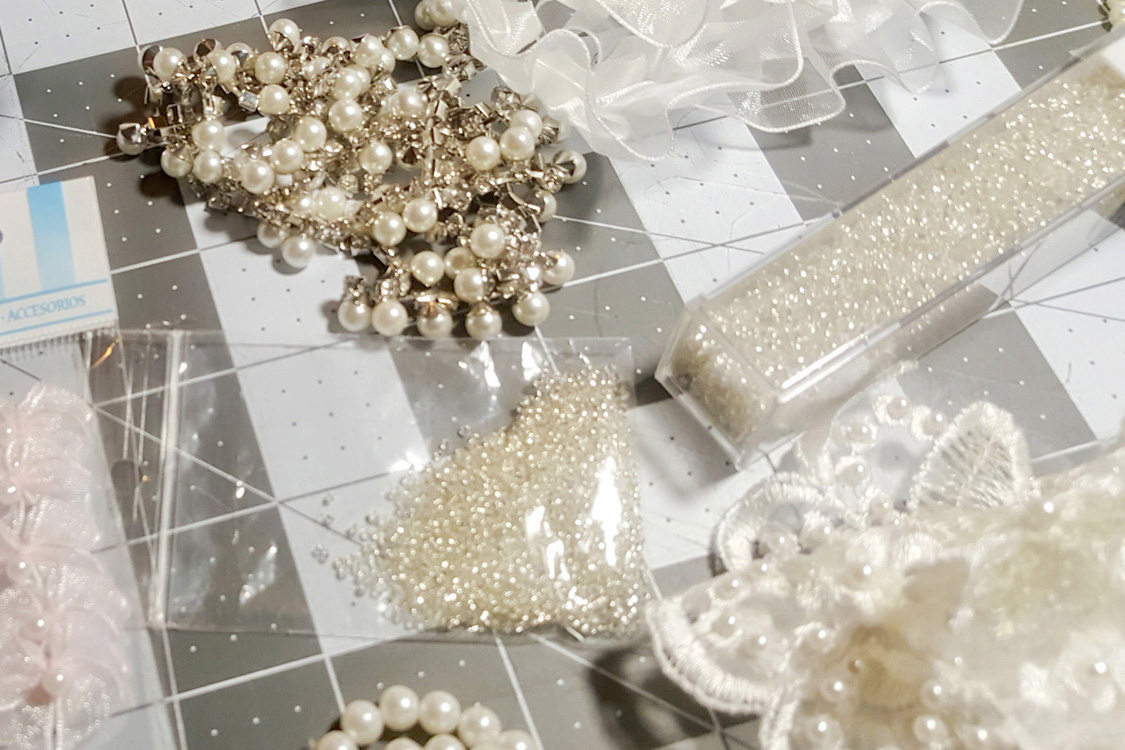
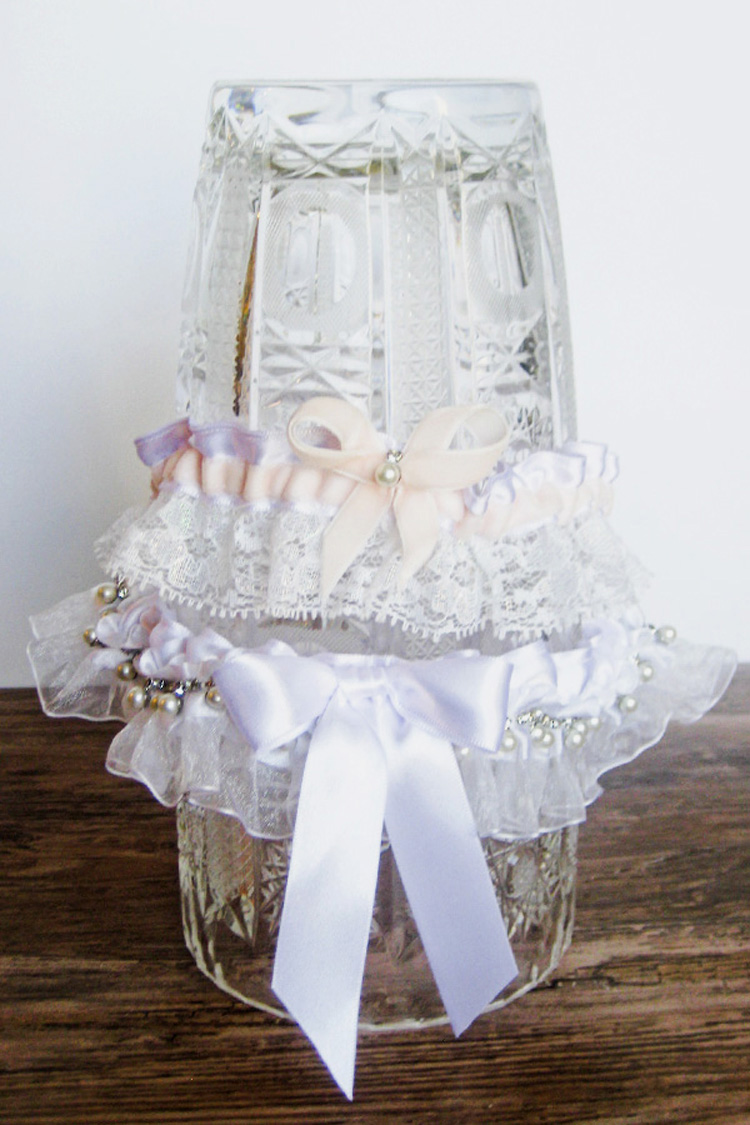
Once I came up with a design, I still struggled with the construction. I ended up unpicking the first garter several times until I got it right. For the first garter I used a piece of pre-assembled ribbon with ruffled chiffon trim. I sewed a larger (1″) ribbon to it following the same seam line as the ruffle to widen the overall piece. I then sewed another piece of 1″ ribbon to the back of it along the same line and at the upper edge to form the casing for the elastic.
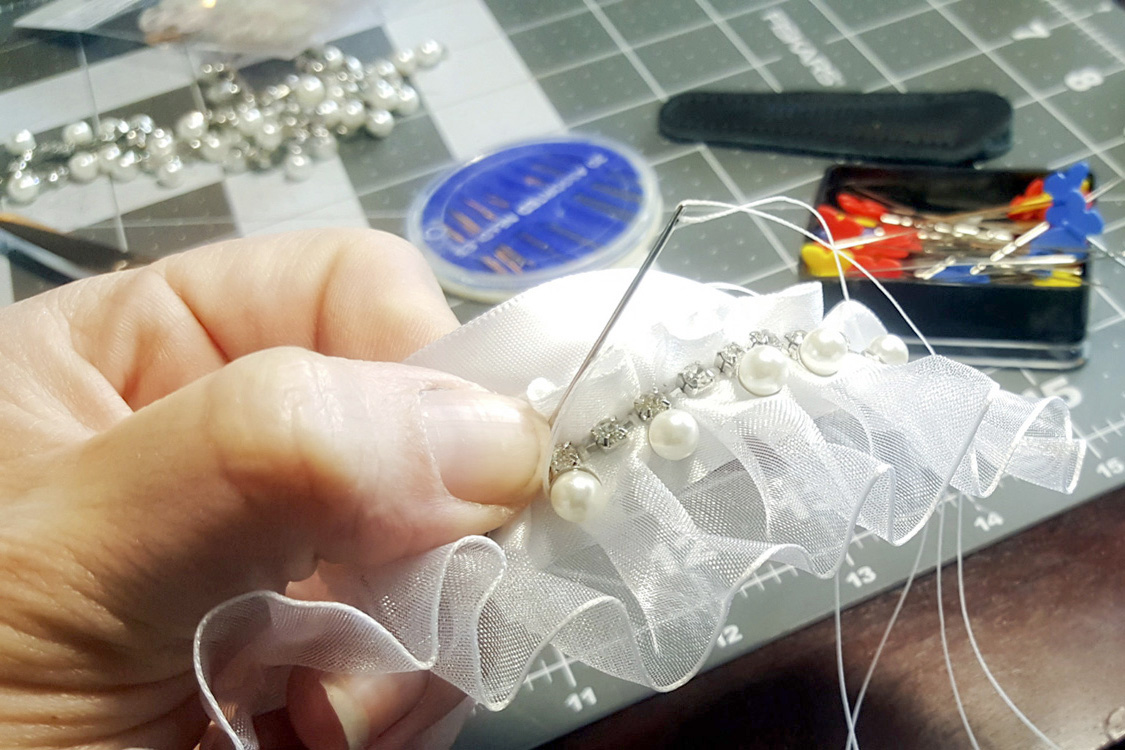
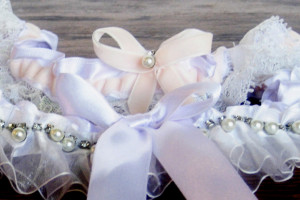
After sewing all the pieces together and joining the ends, I hand sewed this string of pearls and stones to the same stitching line I used to attach the 1″ ribbon. I was concerned that this part would take forever because I am really slow at hand sewing. It actually went surprisingly quickly because the way the strand is made it had perfect spots to stitch across.
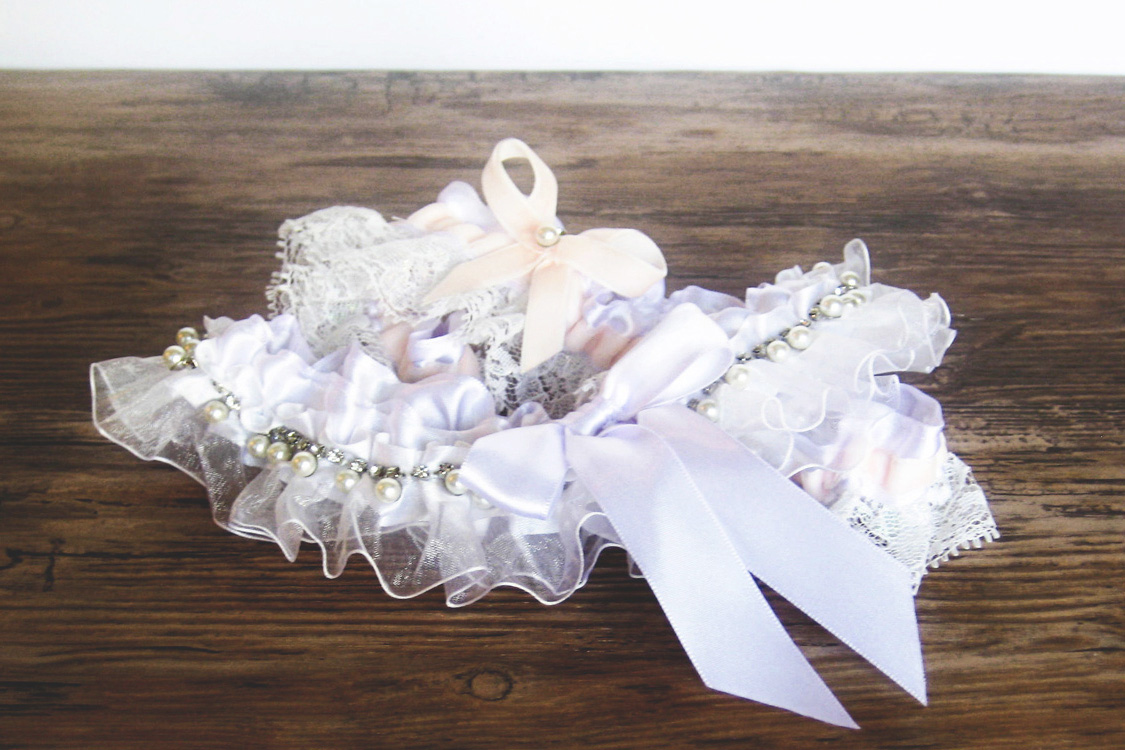
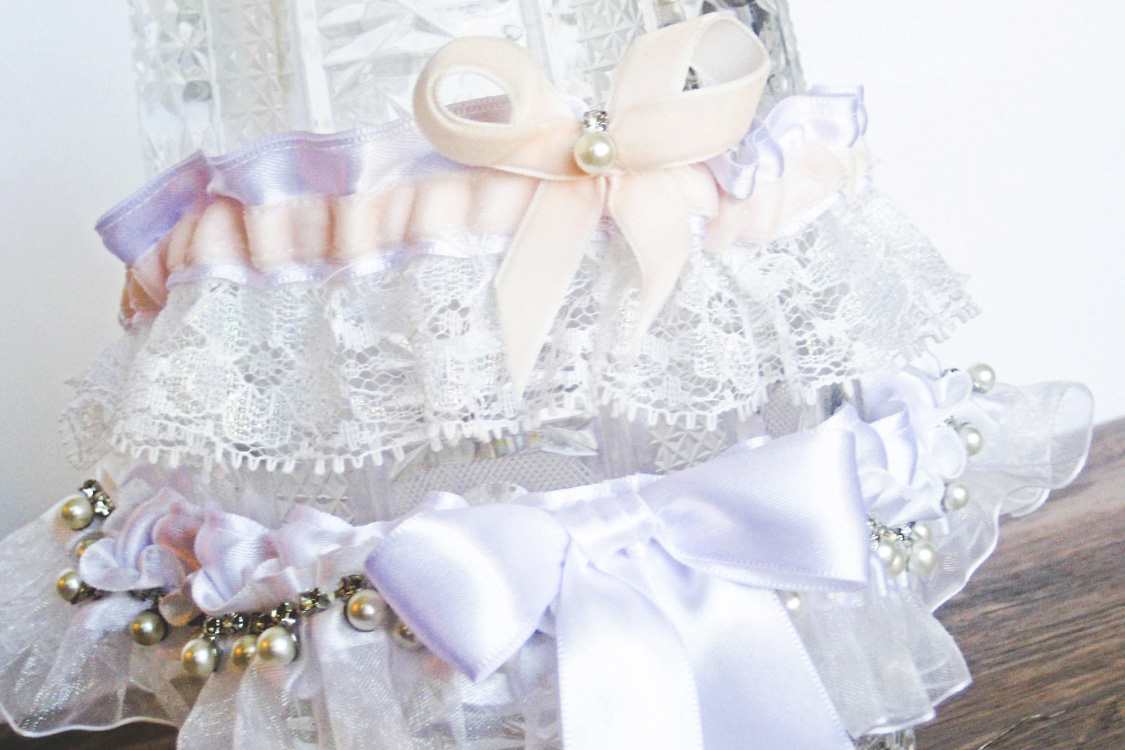
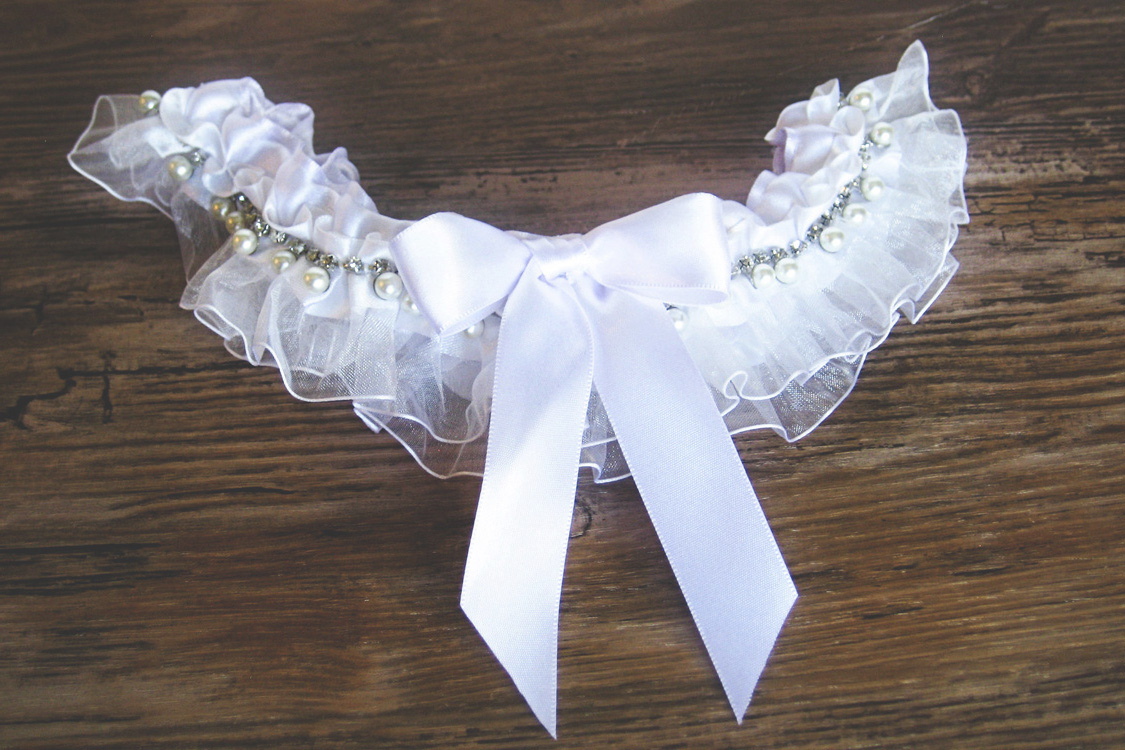
The final step of the process was tying this bow out of the same 1″ white ribbon and sewing it to the garter. I sewed it to the garter at the seam connecting the two ends. I was worried that what I created would not look like what I had envisioned, but it does, only better! I am thrilled with the final result! I think the first garter will be her keep version, but I will leave that decision up to her.
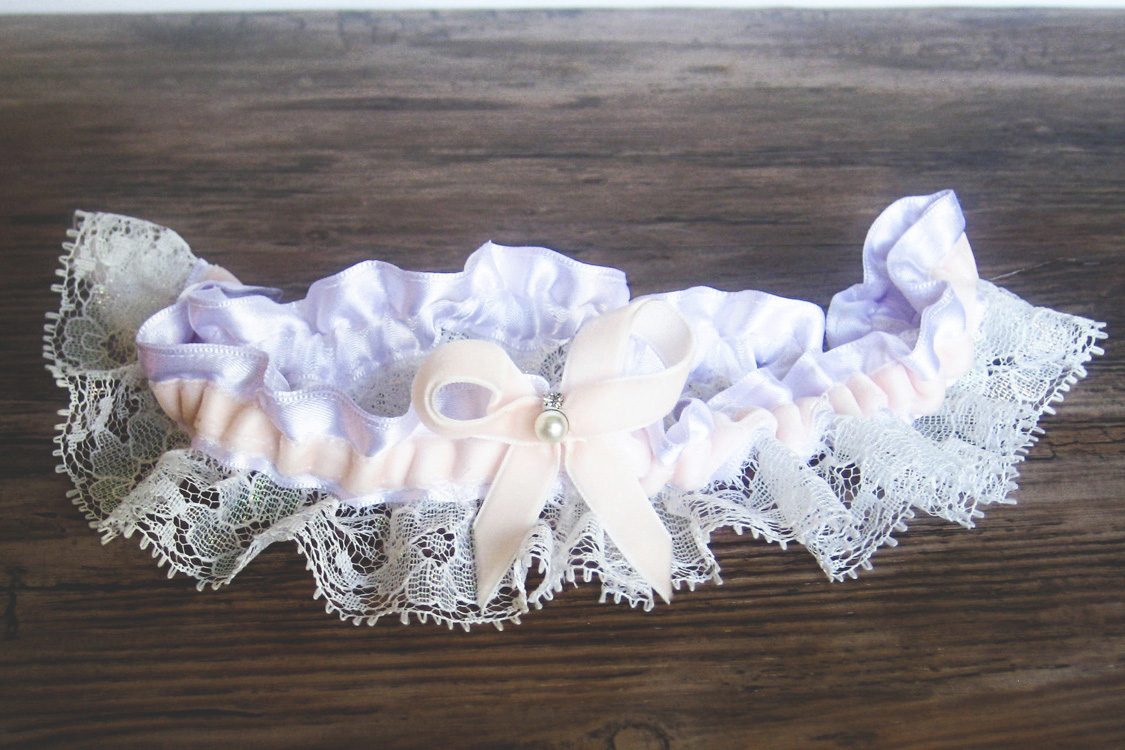
The second garter I made was a little more simple in both design and construction. I first sewed the blush colored ribbon to a strip of the 1″ white ribbon, and then I added the lace to the bottom edge. After adding the lace, I attached an additional 1″ white ribbon to the back to form the casing, and I stitched just along the upper edge of the blush ribbon to form the casing channel and to create a ruffled ribbon look on the top of the white ribbon. After inserting the elastic, I added a blush colored bow to the seam line, and I embellished it with a single clear stone and pearl combination. I love this garter, as well – it is simple, but beautiful!
On a different note, my camera batteries were all dead, so I took these with a different camera. I won’t make that mistake again. Unfortunately, since I took these pictures over a week ago and then promptly wrapped the garters as a gift, these images will have to do.
Have you made wedding garters before? Do you have any helpful tips or tricks?
Linking up at Craftaholics Anonymous, Crazy Mom Quilts, and Sew Can She

Nature Girl. Mom. Wife. Friend. Photographer. Sewer. Crafter. Artist.
To borrow a phrase – “Yeet Ye Riche”
What beautiful garters.
I wore my Mothers garter when I married, 37 yrs ago and copied the design 10 yrs later when my sister married. A simple design of 2″ wide ribbon with 1″ ribbon sewn on top to make the channel for the elastic and a ribbon flower was fine for the austerity at the end of WW2 but I embellished the design with lace and beads for my sister and several friends, and aquaintances over the years. I did think about selling them but decided that a) I didnt want to rush the process and end up with an inferior product and b) I could never hope to recoup the cost in time and materials. So I keep a box of materials handy and I can make a garter whenever I’m called upon to do so. My only disappointment is that (as yet) I havnt made one for my own daughter….perhaps I’ll make them for my granddaughters.
Thank you very much, Tina. That is a great memory – being able to wear your mother’s garter. I have scraps from my own wedding dress that I was trying to incorporate into Emma’s, but I couldn’t make it work.