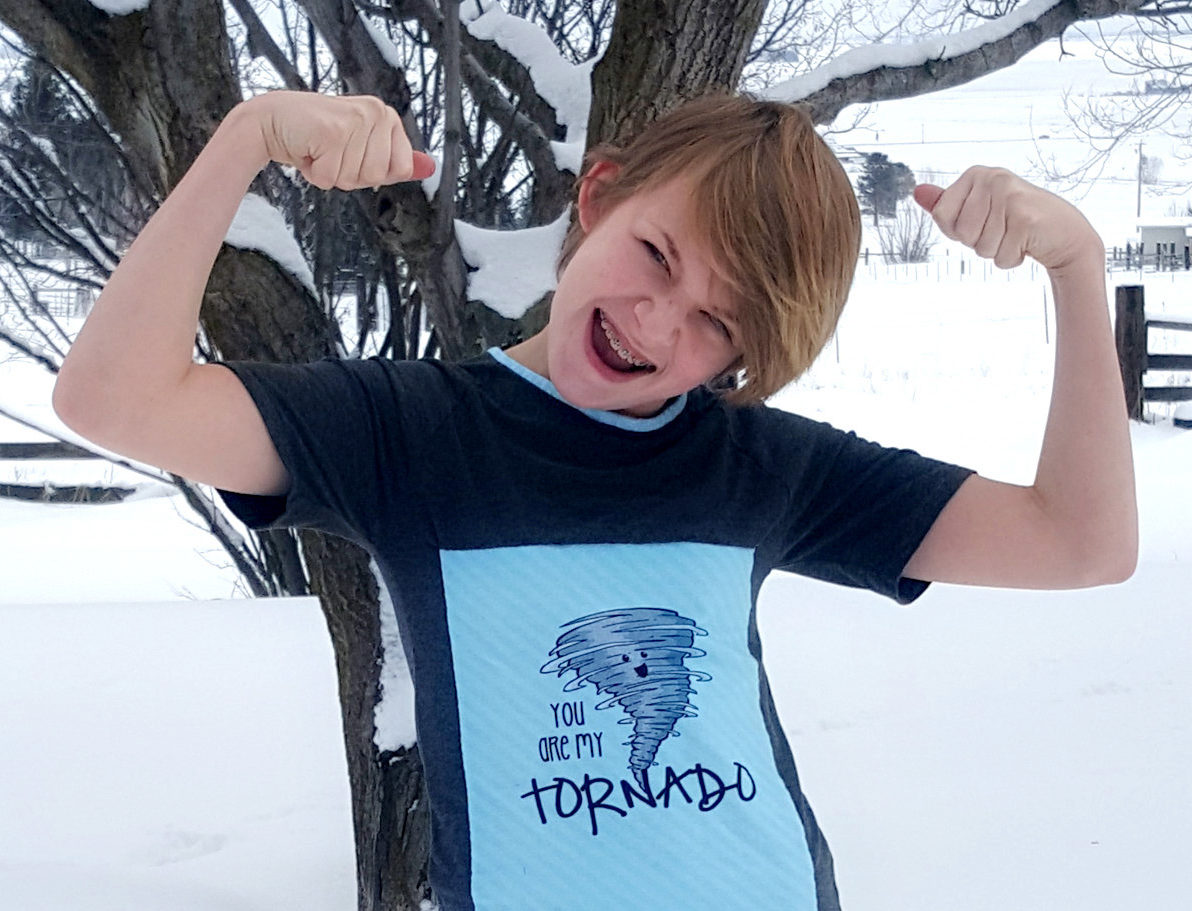
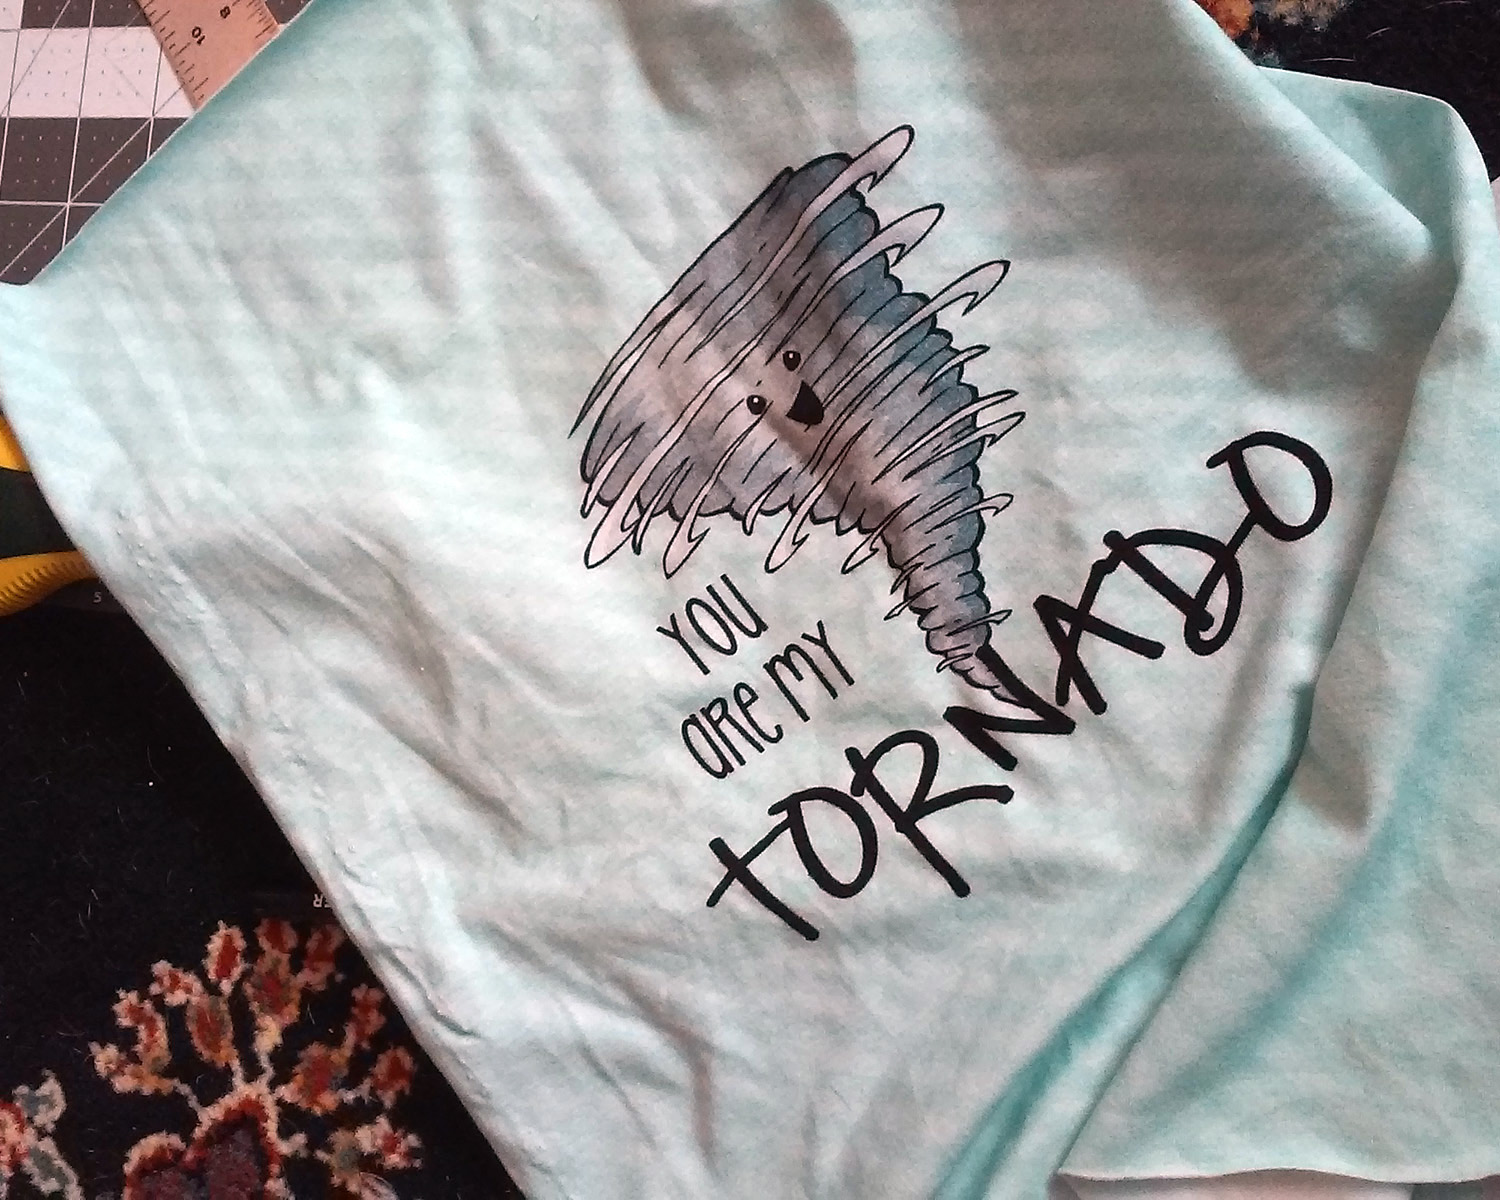
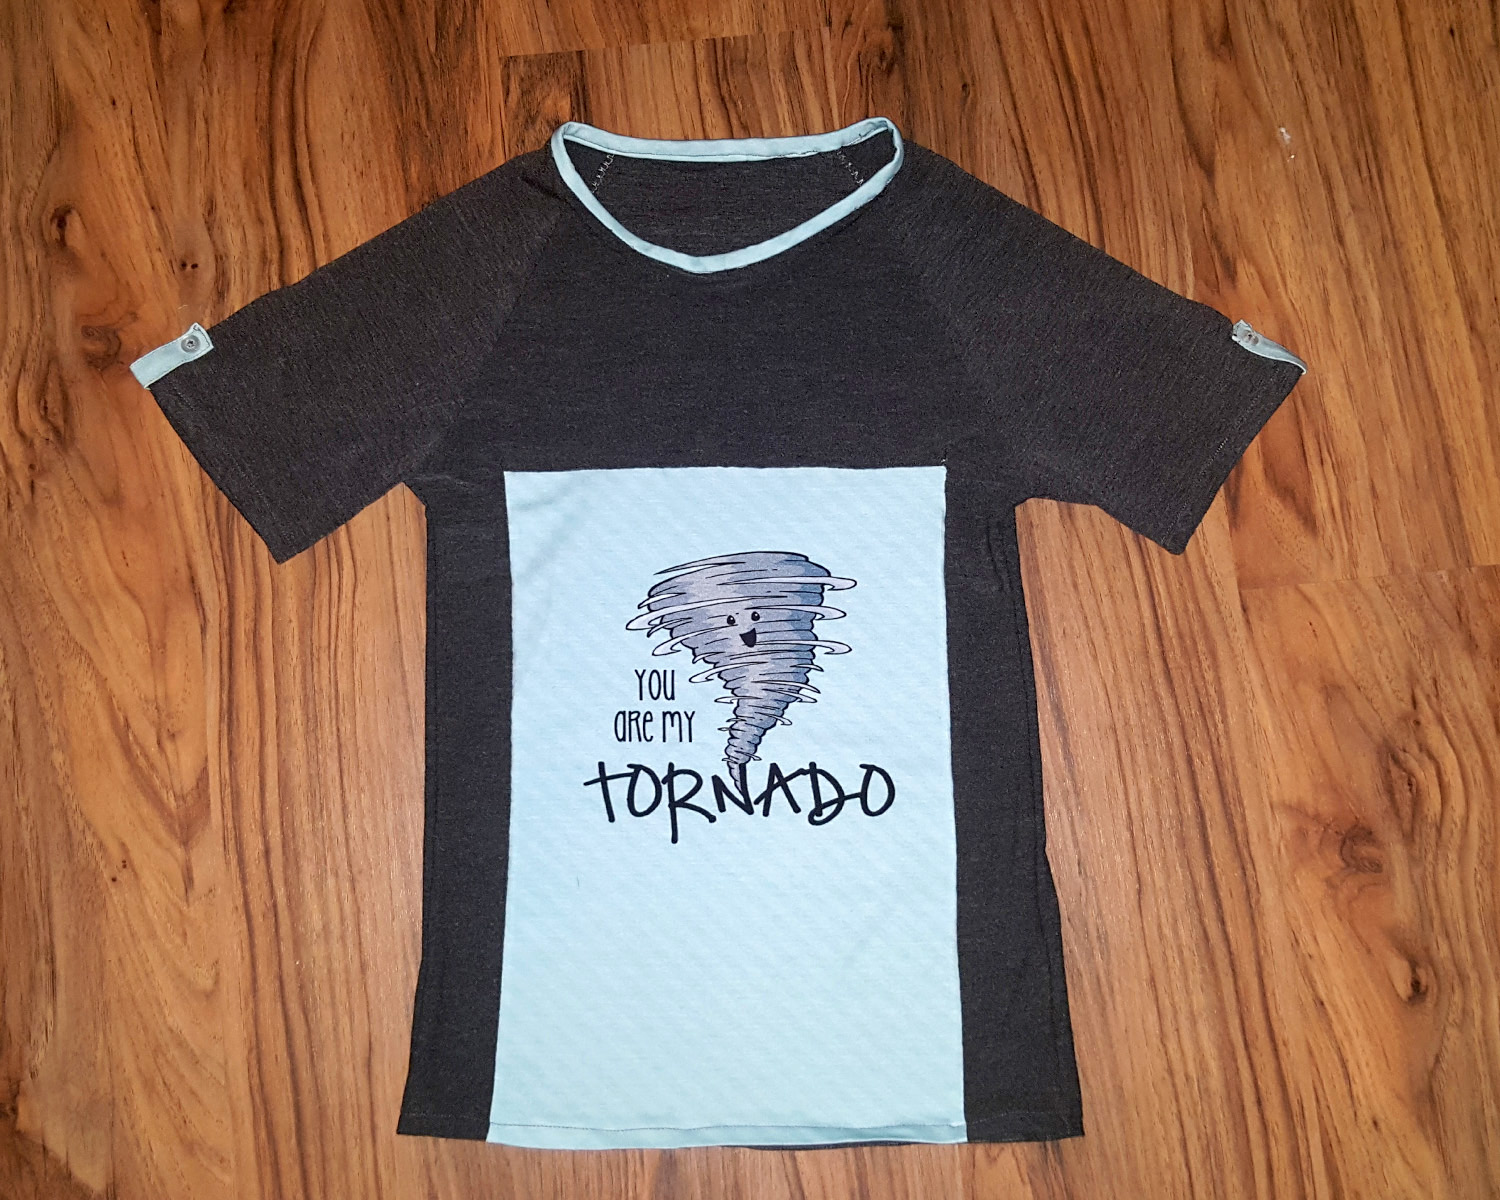
I first saw this fabric panel at Peek-A-Boo Pattern Shop (affiliate link) earlier this fall, and I knew when I saw it that it was perfect for my youngest daughter. There was only one problem – I wasn’t sure if she would like it since she is nearly 14. I was afraid she would think it was too “little kid”. I finally just decided that she could wear whatever I made as a pajama top if she didn’t want to wear it in public.
I waited and waited to buy it because I just wasn’t sure about it. Then, Amy had some seconds she was selling at a discounted price, so I went ahead and purchased the You are My Tornado Panel. I just needed to figure out what type of shirt to make for my girl. It is such a soft, supple fabric, and I really love the subtle diagonal stripe on the background. The teal-ish blue color happens to be one of Reagan’s favorites, too! Win!
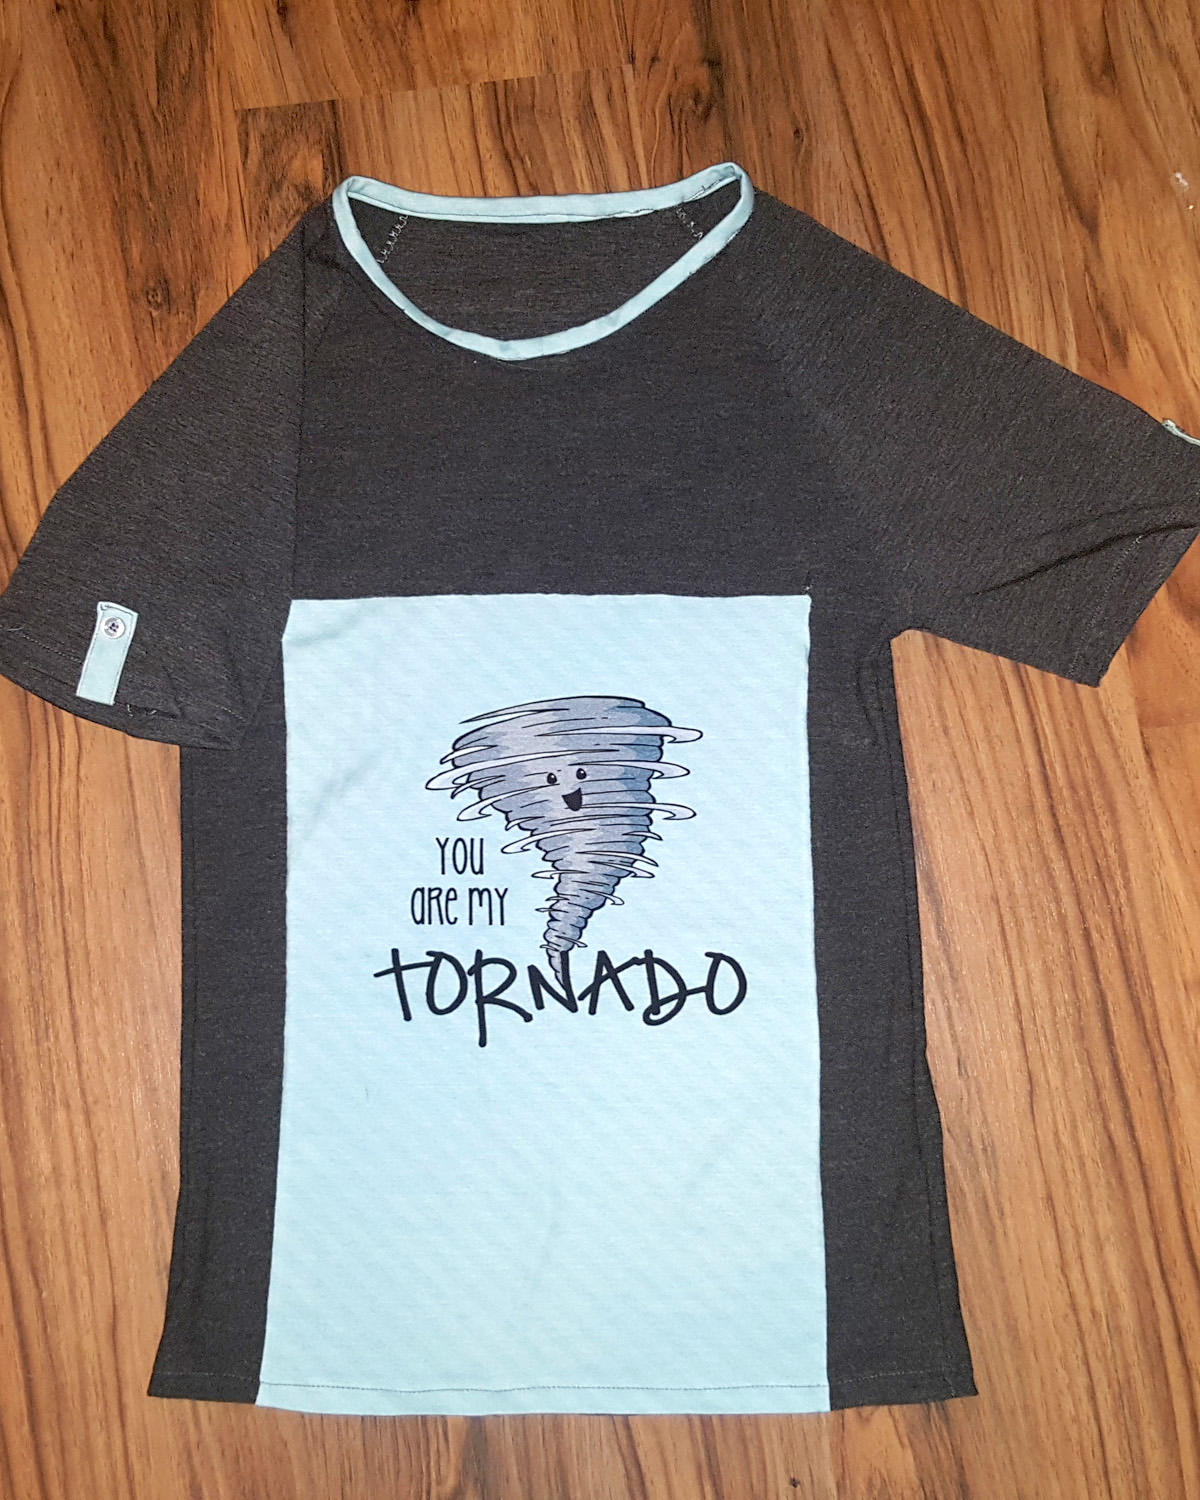
Not only had I not done a whole lot of pattern-making (I’ve made one pattern for a pencil skirt for my 17-year-old daughter), but I had never altered a pattern to create a color block right in the middle. When this panel arrived, I knew it would be too small to use as the full front of the shirt. It was really close on the sides, but Reagan has such a long body, it needed at least another 10″ in length.
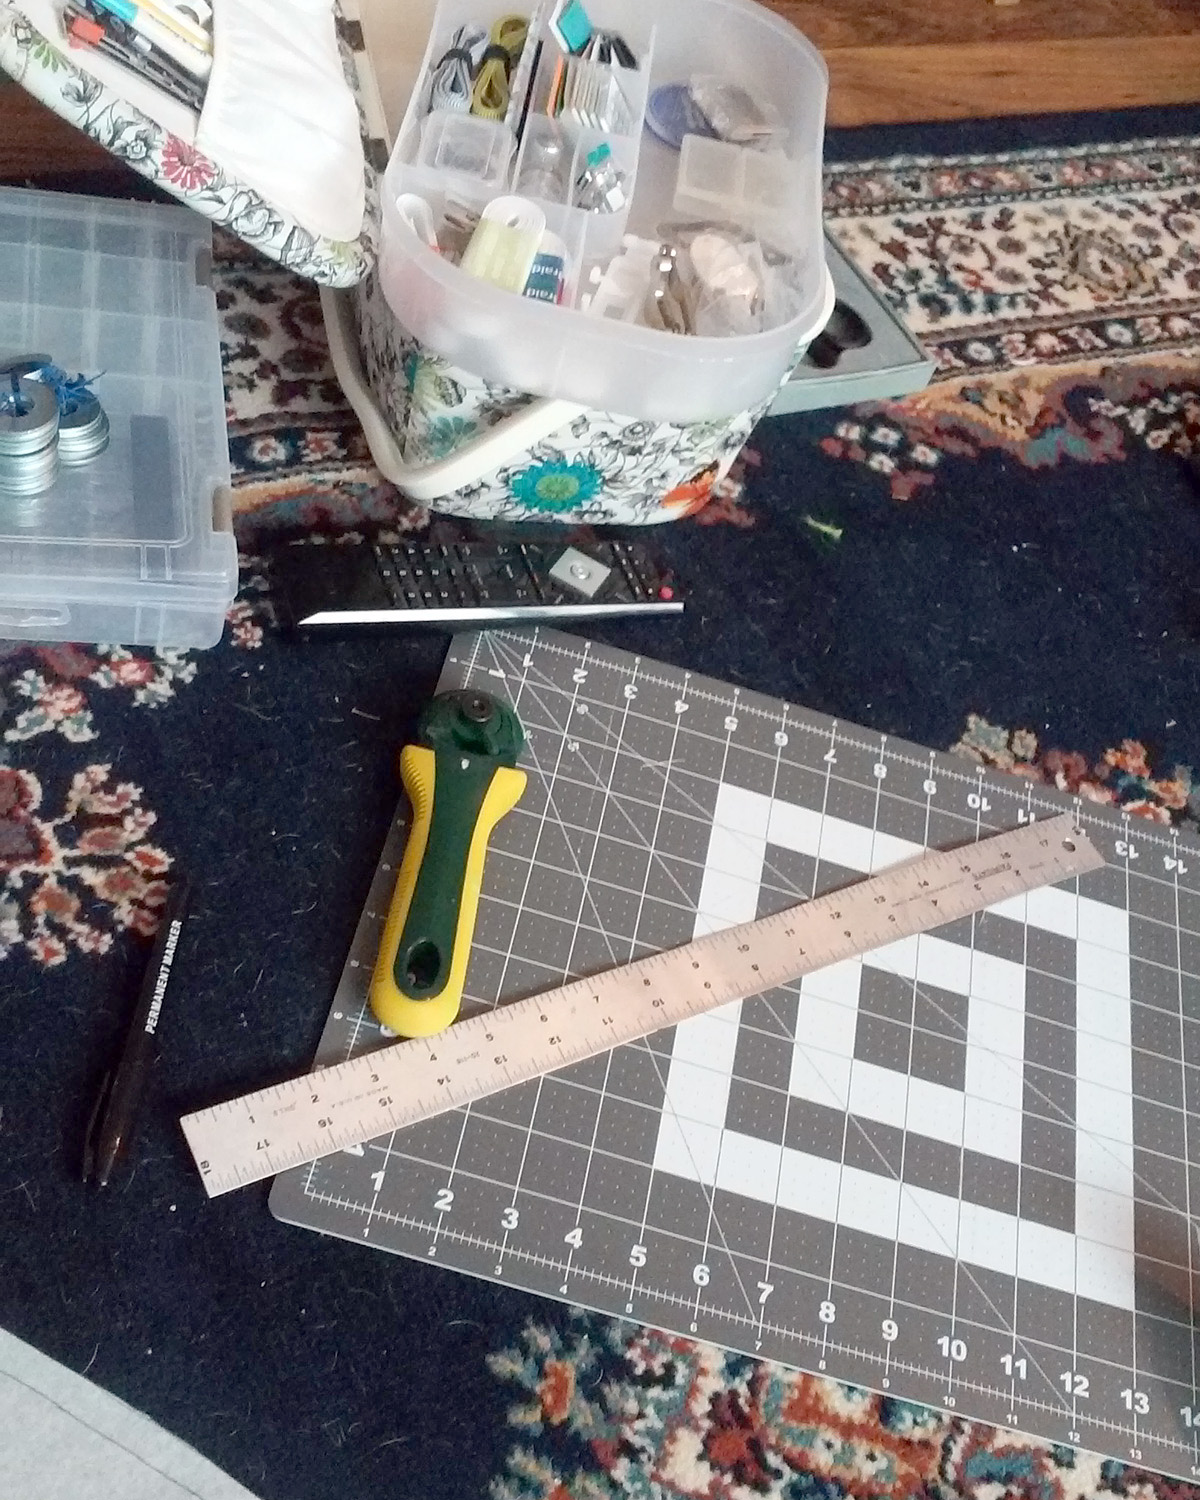
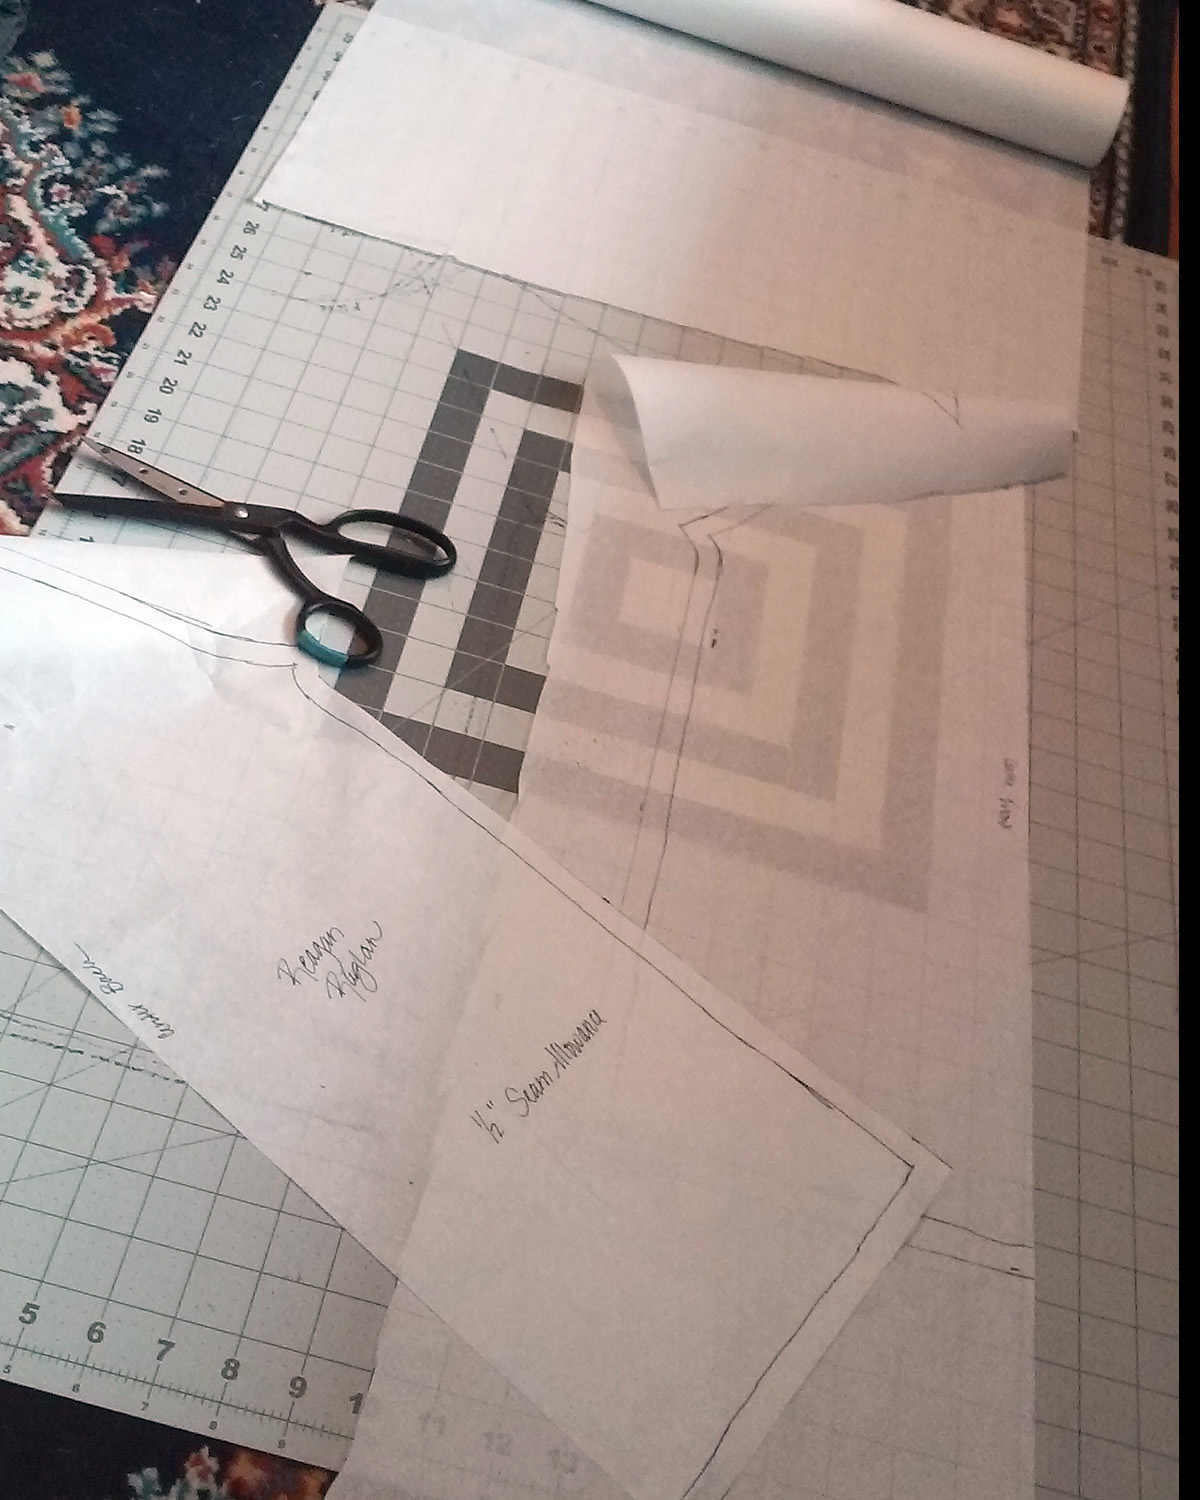
In the end, I made a simple raglan pattern following this tutorial on It’s always Autumn, and it was a great tutorial with detailed instructions. We have hard-wood floors, and I do anything (cutting) that requires a hard surface on them, but they kill my knees, so I spread all out on the area rug (ignore the jack russell and chihuahua sheds 😉 ).
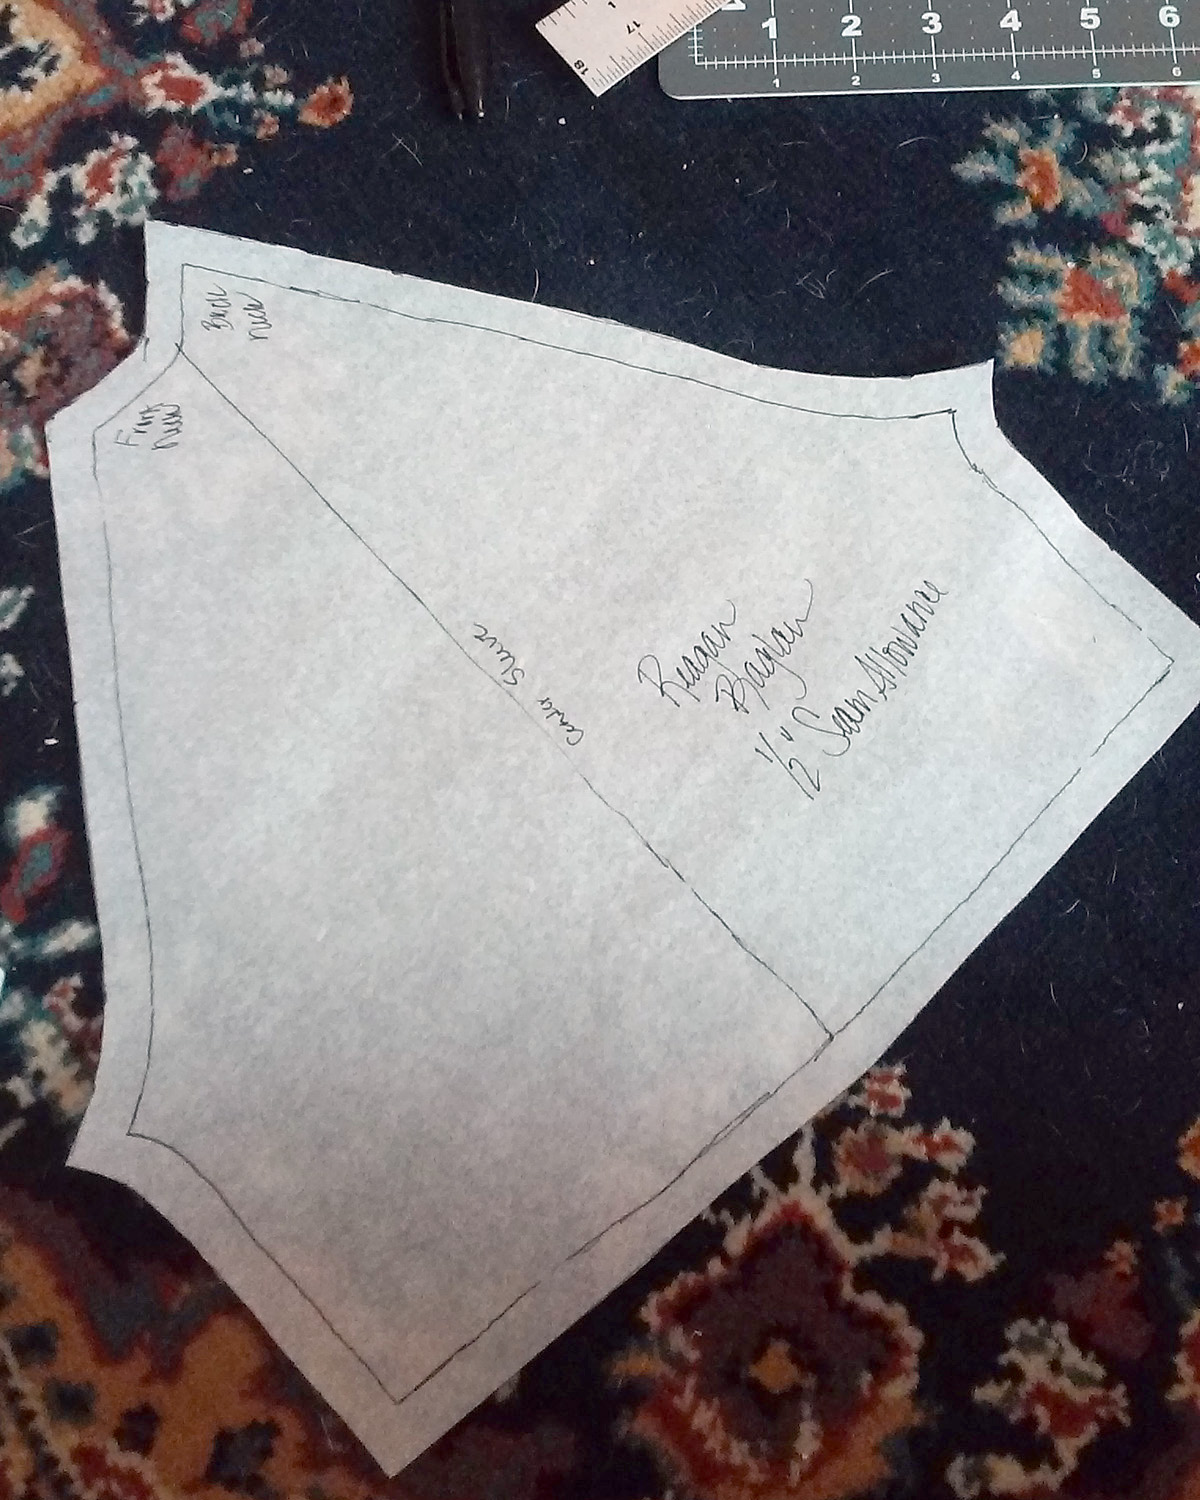
I made the pattern using one of Reagan’s favorite (and very well fitting) t-shirts as a guide. I did extend the sleeve length from the original tee because it was more of a cap sleeve, and I wanted this shirt to have longer sleeves, but still above the elbow. Plus, I have a ton of charcoal colored knit to use up.
I used a 1/2″ seam allowance for the shirt because I planned on using my overcast foot and wanted a little extra give. She is a skinny minnie, but I want this shirt to last as long as possible before she outgrows it.
Creating the pattern itself was actually pretty easy, and then I added the seam allowance. I learned a lesson making this pattern, too – make sure you’re NOT using permanent marker tracing your pattern on your cutting mat, or you’ll have permanent shirt outlines. Doh!
After I cut out the full pieces (two sleeves, the back and the front, I traced the outline of where I wanted the seams for the panel to be on the front, added 1/2″ seam allowance, cut out the section, and attached the panel. I love how it turned out!
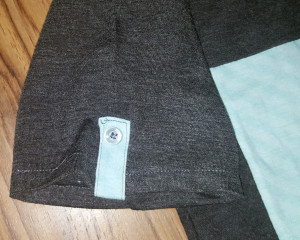
The shirt looked plain and kind of odd until I added the trim at the neckline and the tabs on the sleeves. I used the leftover fabric from the panel and attached the neck trim much like I do quilt binding. The tabs are simple tubes folded in half and top stitched, and then I attached them to the shirt by sewing the button on. I think it’s those little details that help make this shirt so adorable.
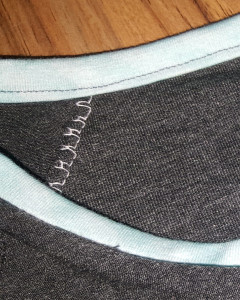
On another note, you can see my overcast stitching in the picture of the neckline above. I don’t have a serger, but I bought the Brother SA177 Side Cutter 7mm for my machine, and this was the first time I tried it out on knit fabric. It worked extremely well, and is sharp enough to cut through that shifty fabric without any problem.
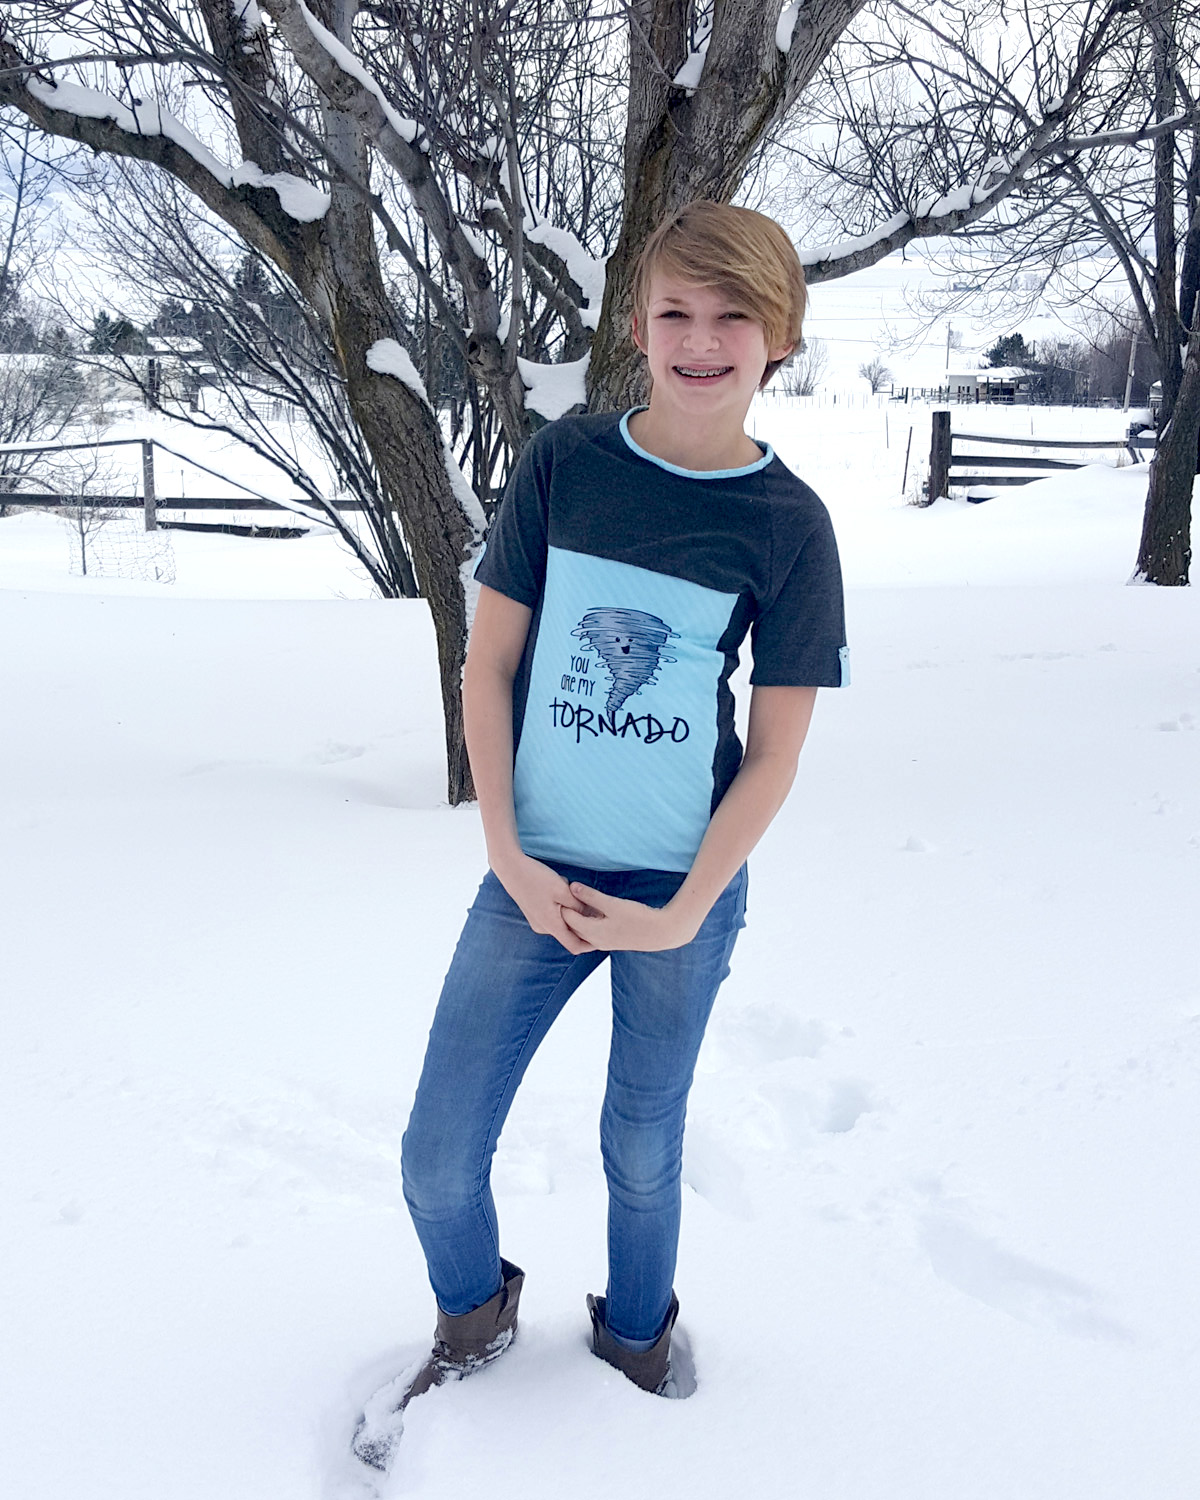
Judging by her reaction and the fact that she’s worn it several times since Christmas already, I’m guessing she likes it, and that buying the panel wasn’t a mistake!
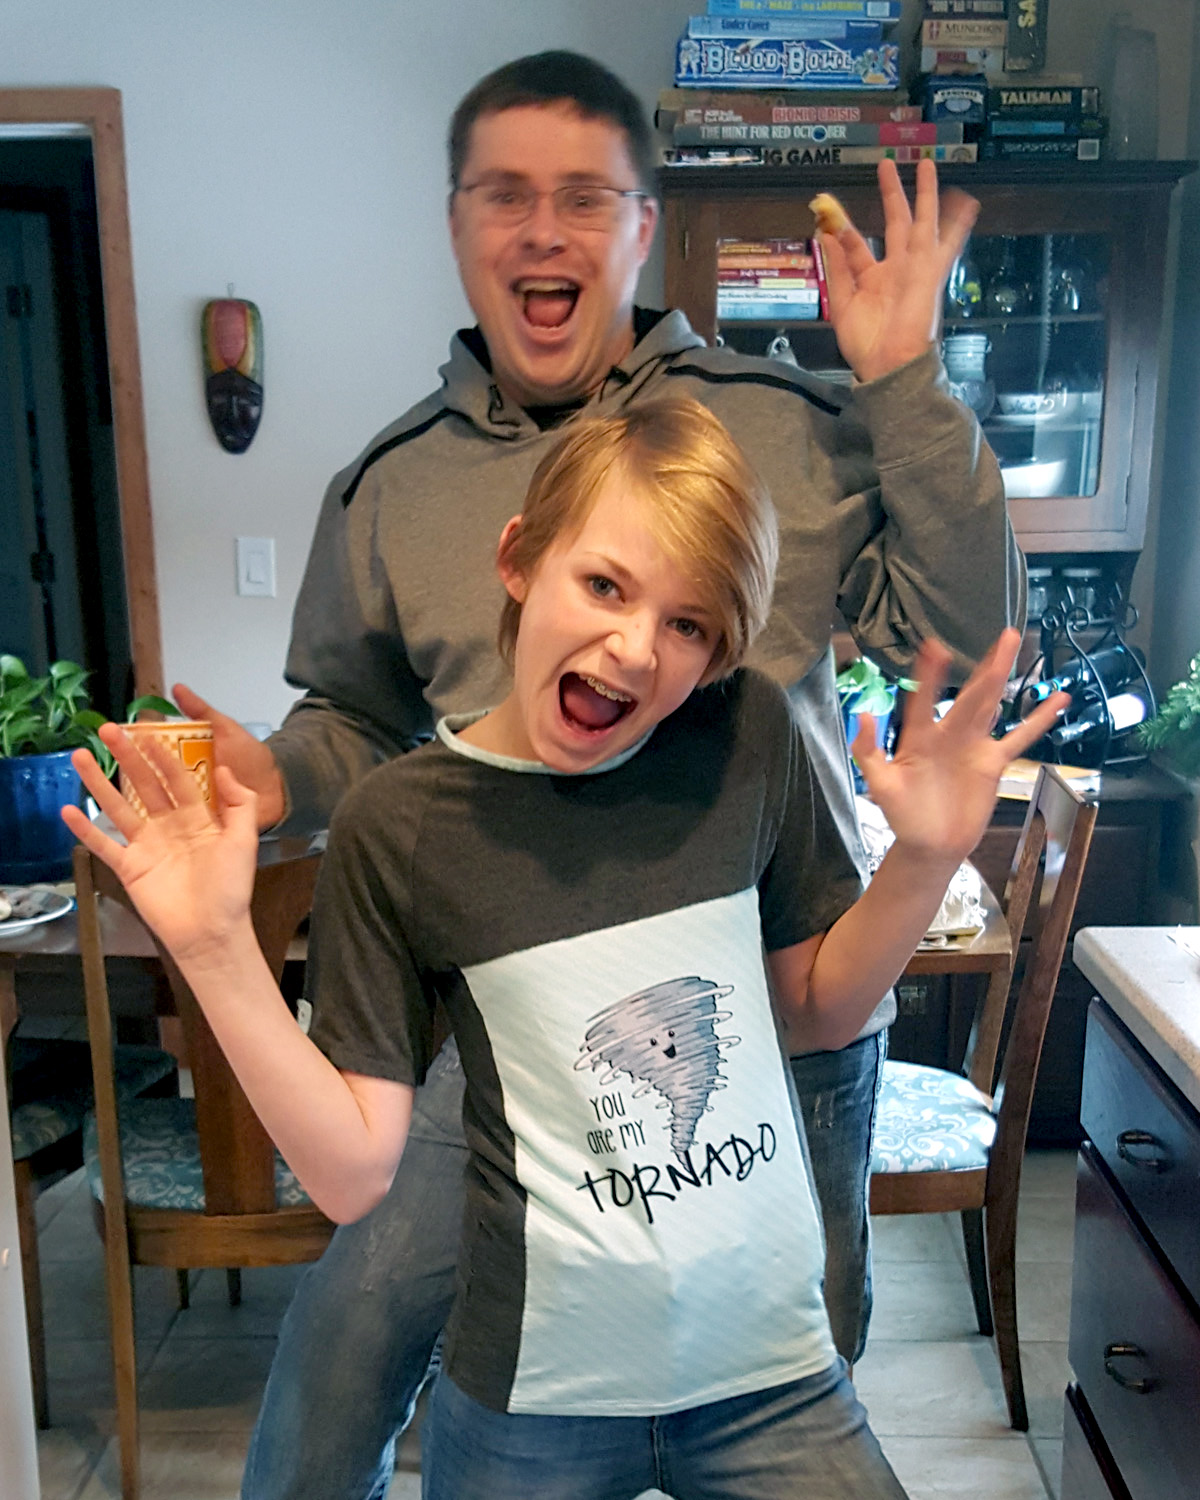
Todd and his shadow always have fun, and he had to add to the picture I was trying to take of her in her shirt when she put it on the first time. 😀
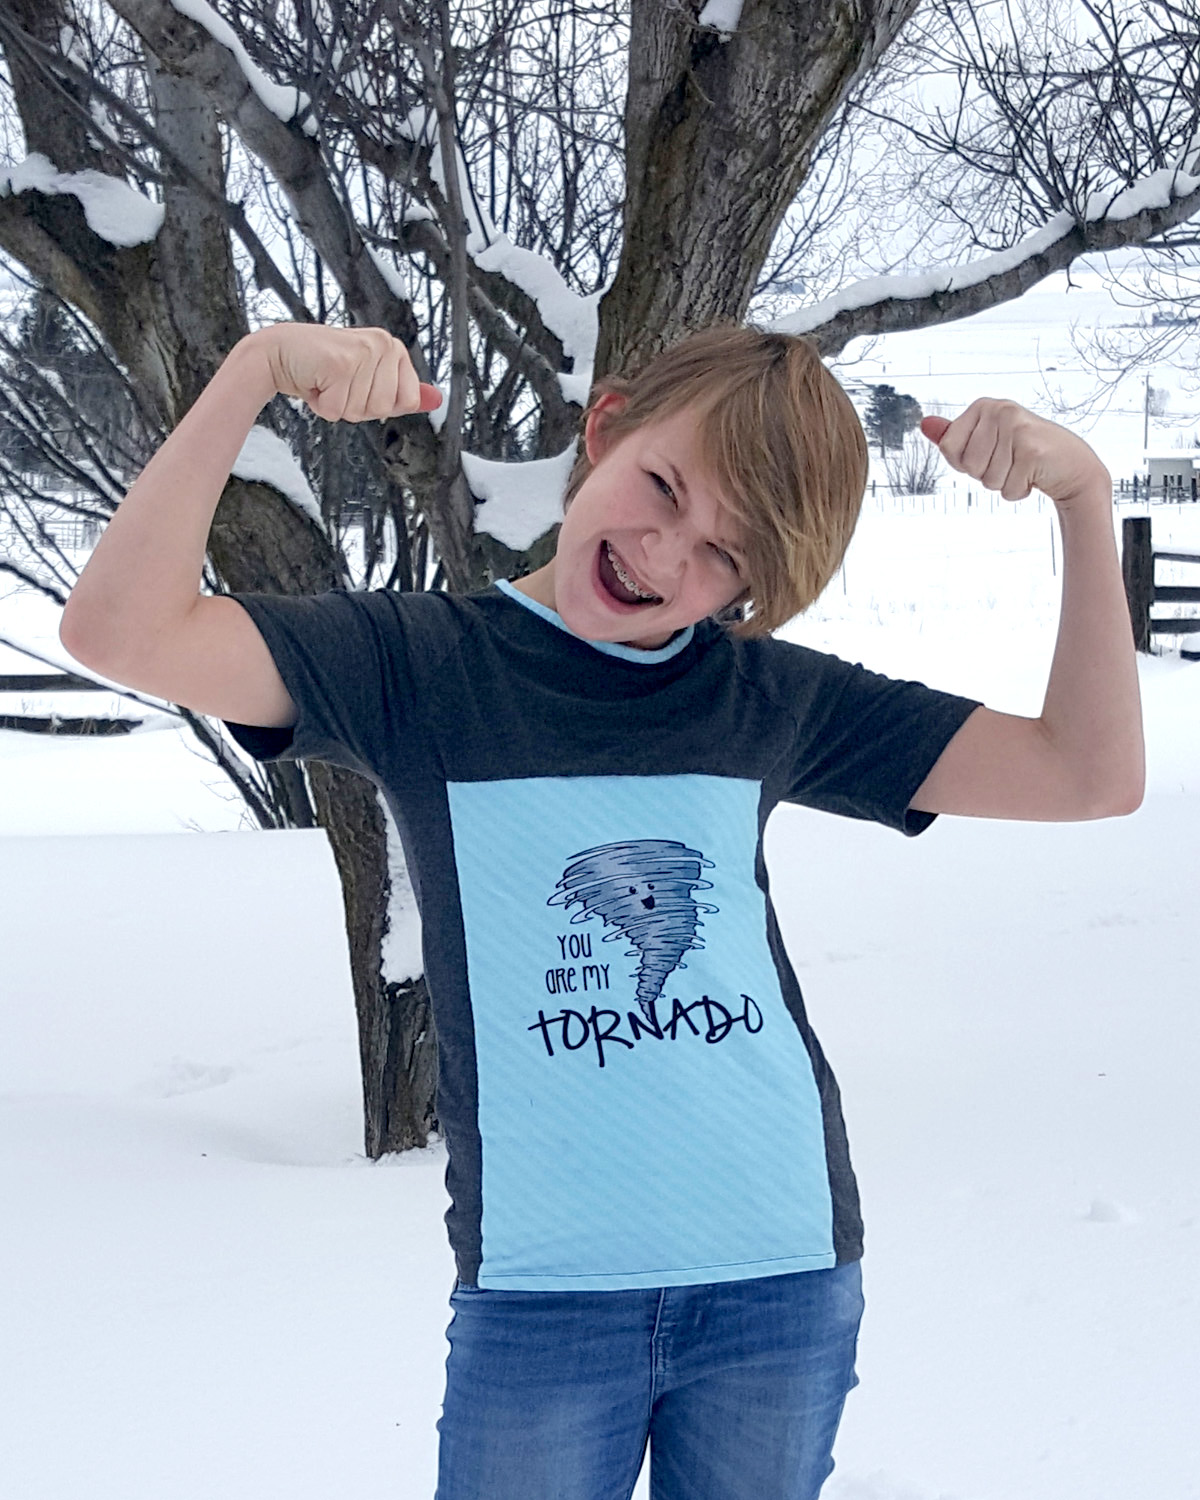
She may be my tornado, but I love her and her spunk all the same!
She was super nice the day I wanted to take pictures outside because it was only about 15˚F outside, and she was freezing! Luckily, I’m quick pressing the shutter.

Nature Girl. Mom. Wife. Friend. Photographer. Sewer. Crafter. Artist.
To borrow a phrase – “Yeet Ye Riche”
