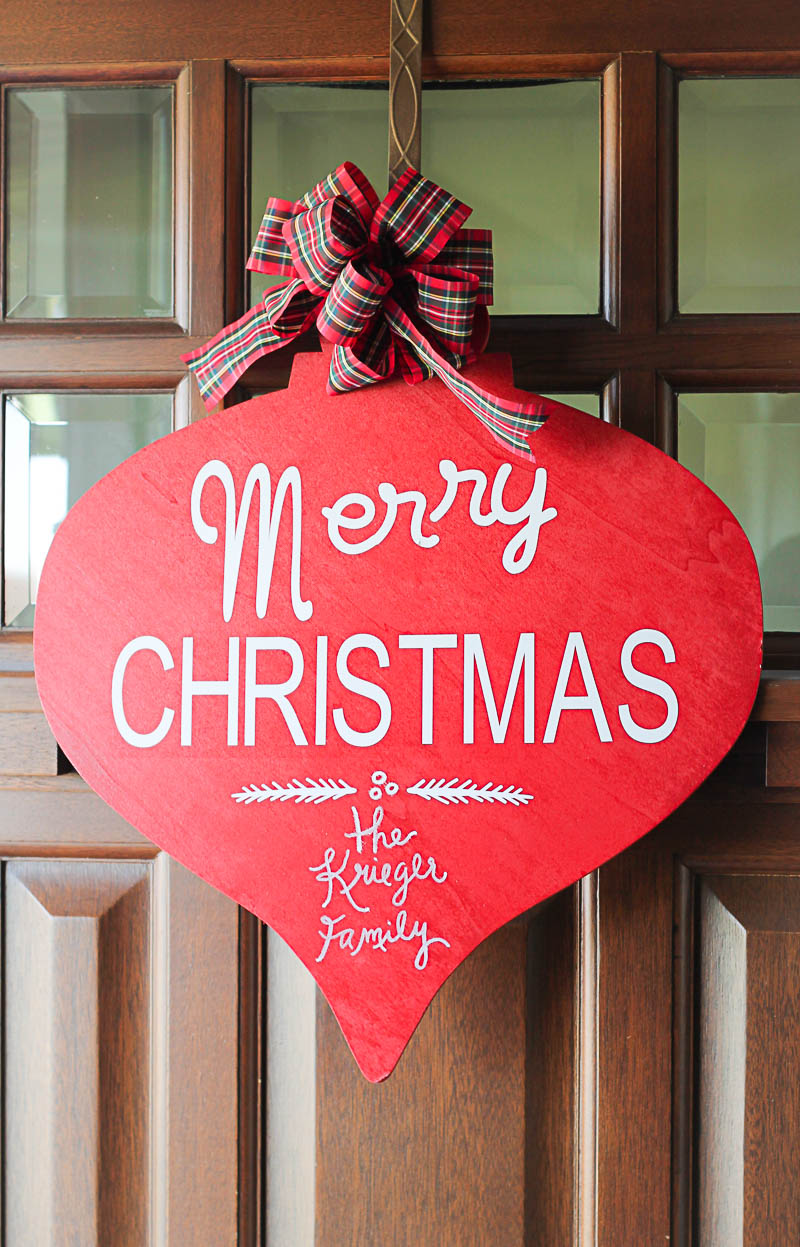
I usually hang a wreath on our door at Christmas, but I saw an example of a painted wooden sign that looked like a giant ornament and wanted to try to make one for us. I like the idea of starting new traditions and rituals in our own home.
I have scoured the blogs I follow for days now looking for the original post that inspired this project, and I finally found it! The original project was posted on Sugar Bee Crafts by Ariean from OneKriegerChick. Ariean’s project was inspired by this product at Pottery Barn Kids, and while the PBK item is beautiful, this is a much more economical way to create virtually the same thing.
Ariean used white vinyl (and I’m guessing a Silhouette or Cricket) to cut out the “Merry Christmas” and pine branches for her sign, and she used rattle-can spray paint for the red. To finish her project, she drew three berries and the family greeting with a chalk pen and added the plaid ribbon. I think it turned out beautifully! Ariean purchased her wooden ornament shape from Hobby Lobby.
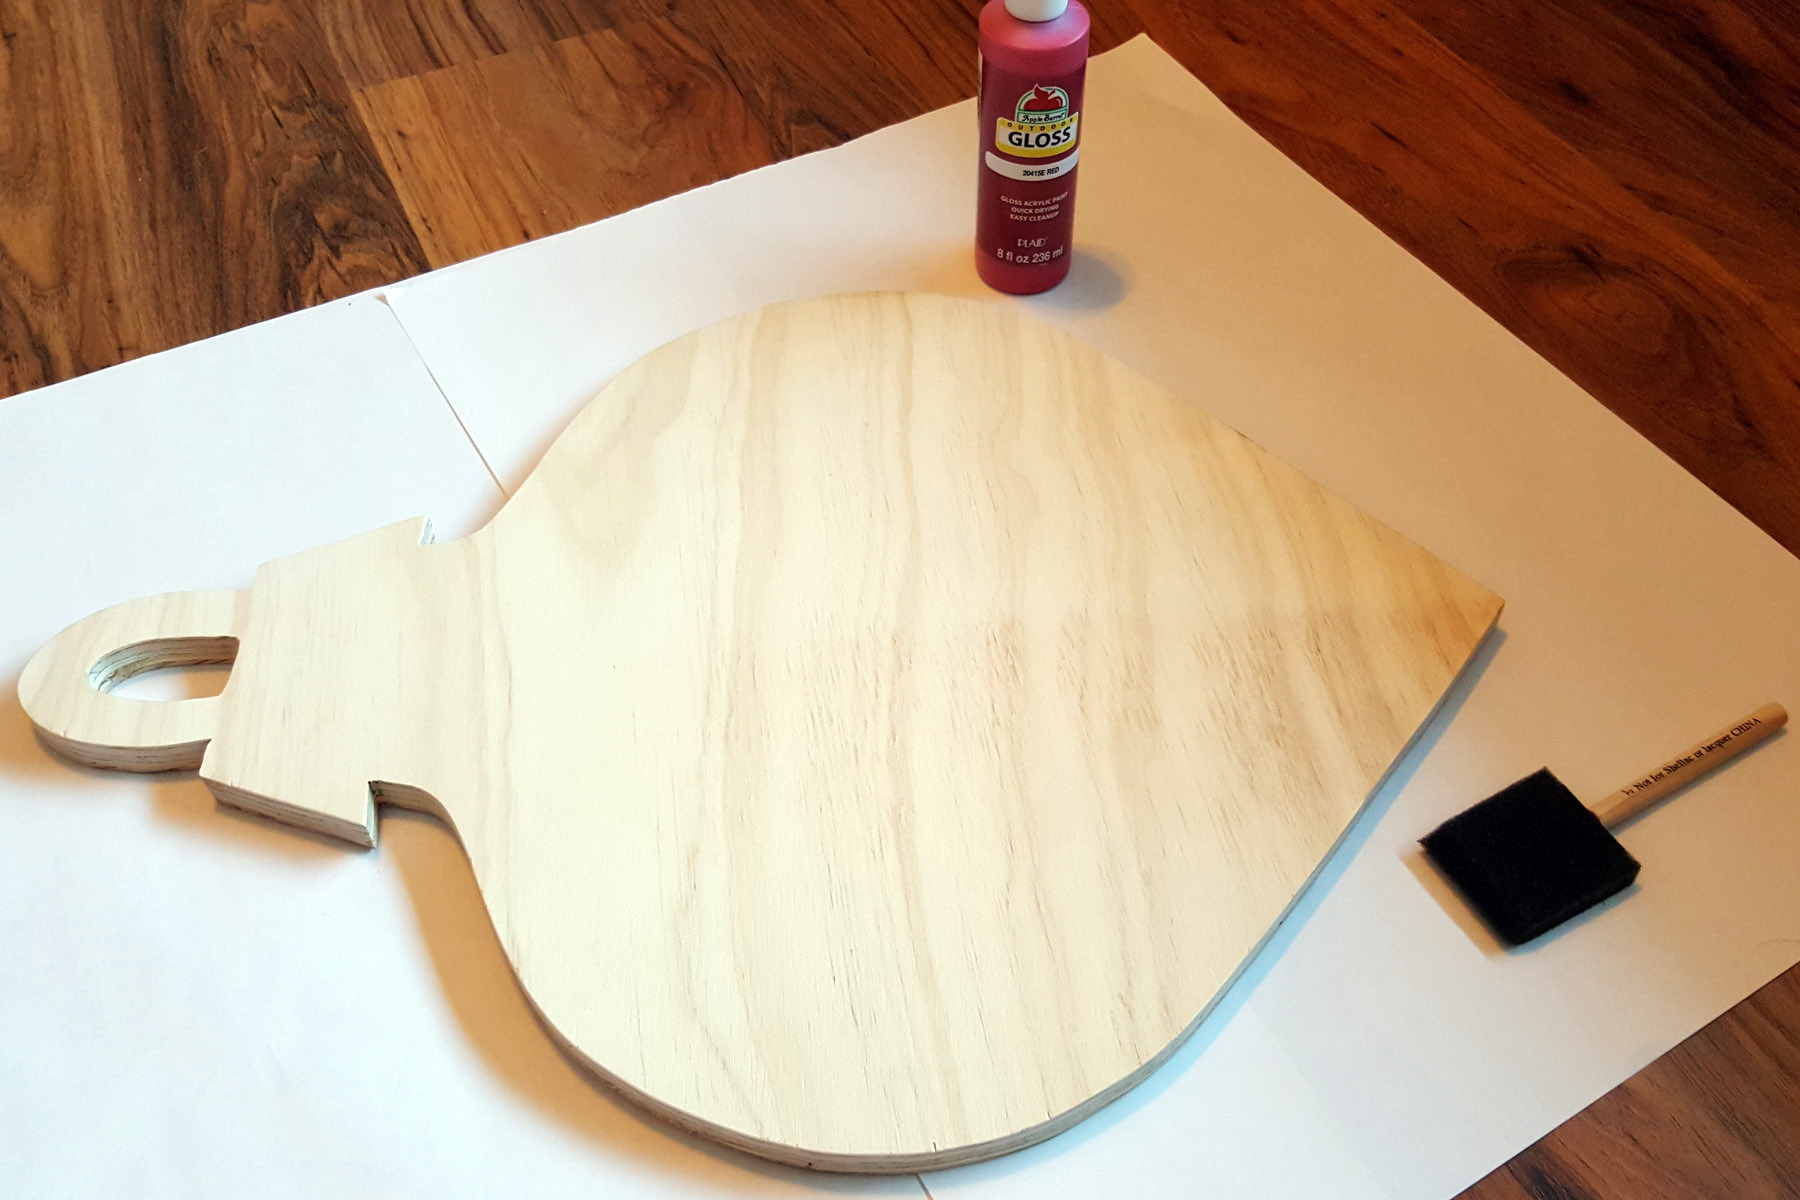
I don’t have a large craft store anywhere near (the closest Michaels, Hobby Lobby, or Craft Warehouse is over 2 hours away), but I do have a dad with a huge wood shop, tons of tools, and a horde supply of extra wood from his various projects. I used my mad Photoshop skills to create an ornament-shaped template for him to use as a guide for cutting the plywood. You can download the ornament template here: Ornament. Make sure when you print it, to choose print at 100% on multiple pages, then match up the lines, tape the pages together, and voila, you have a template!
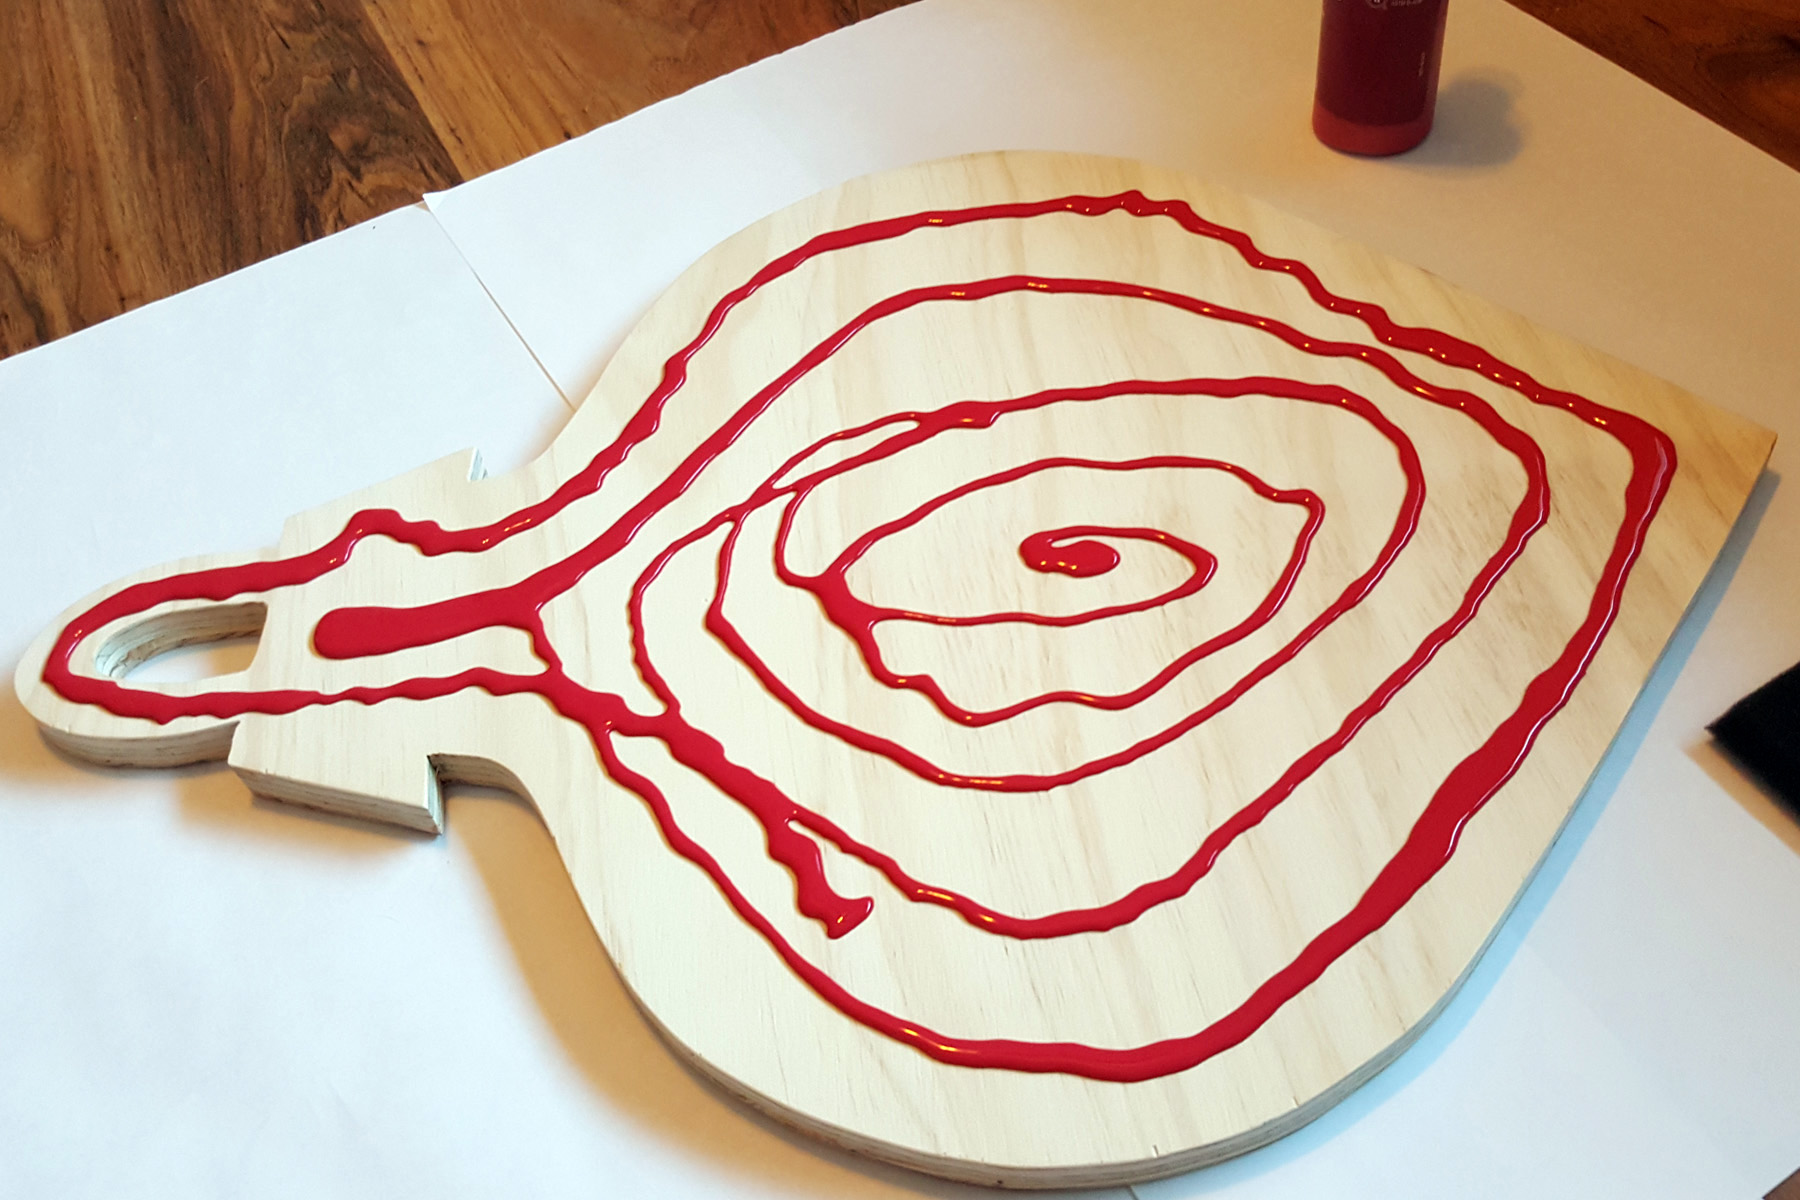
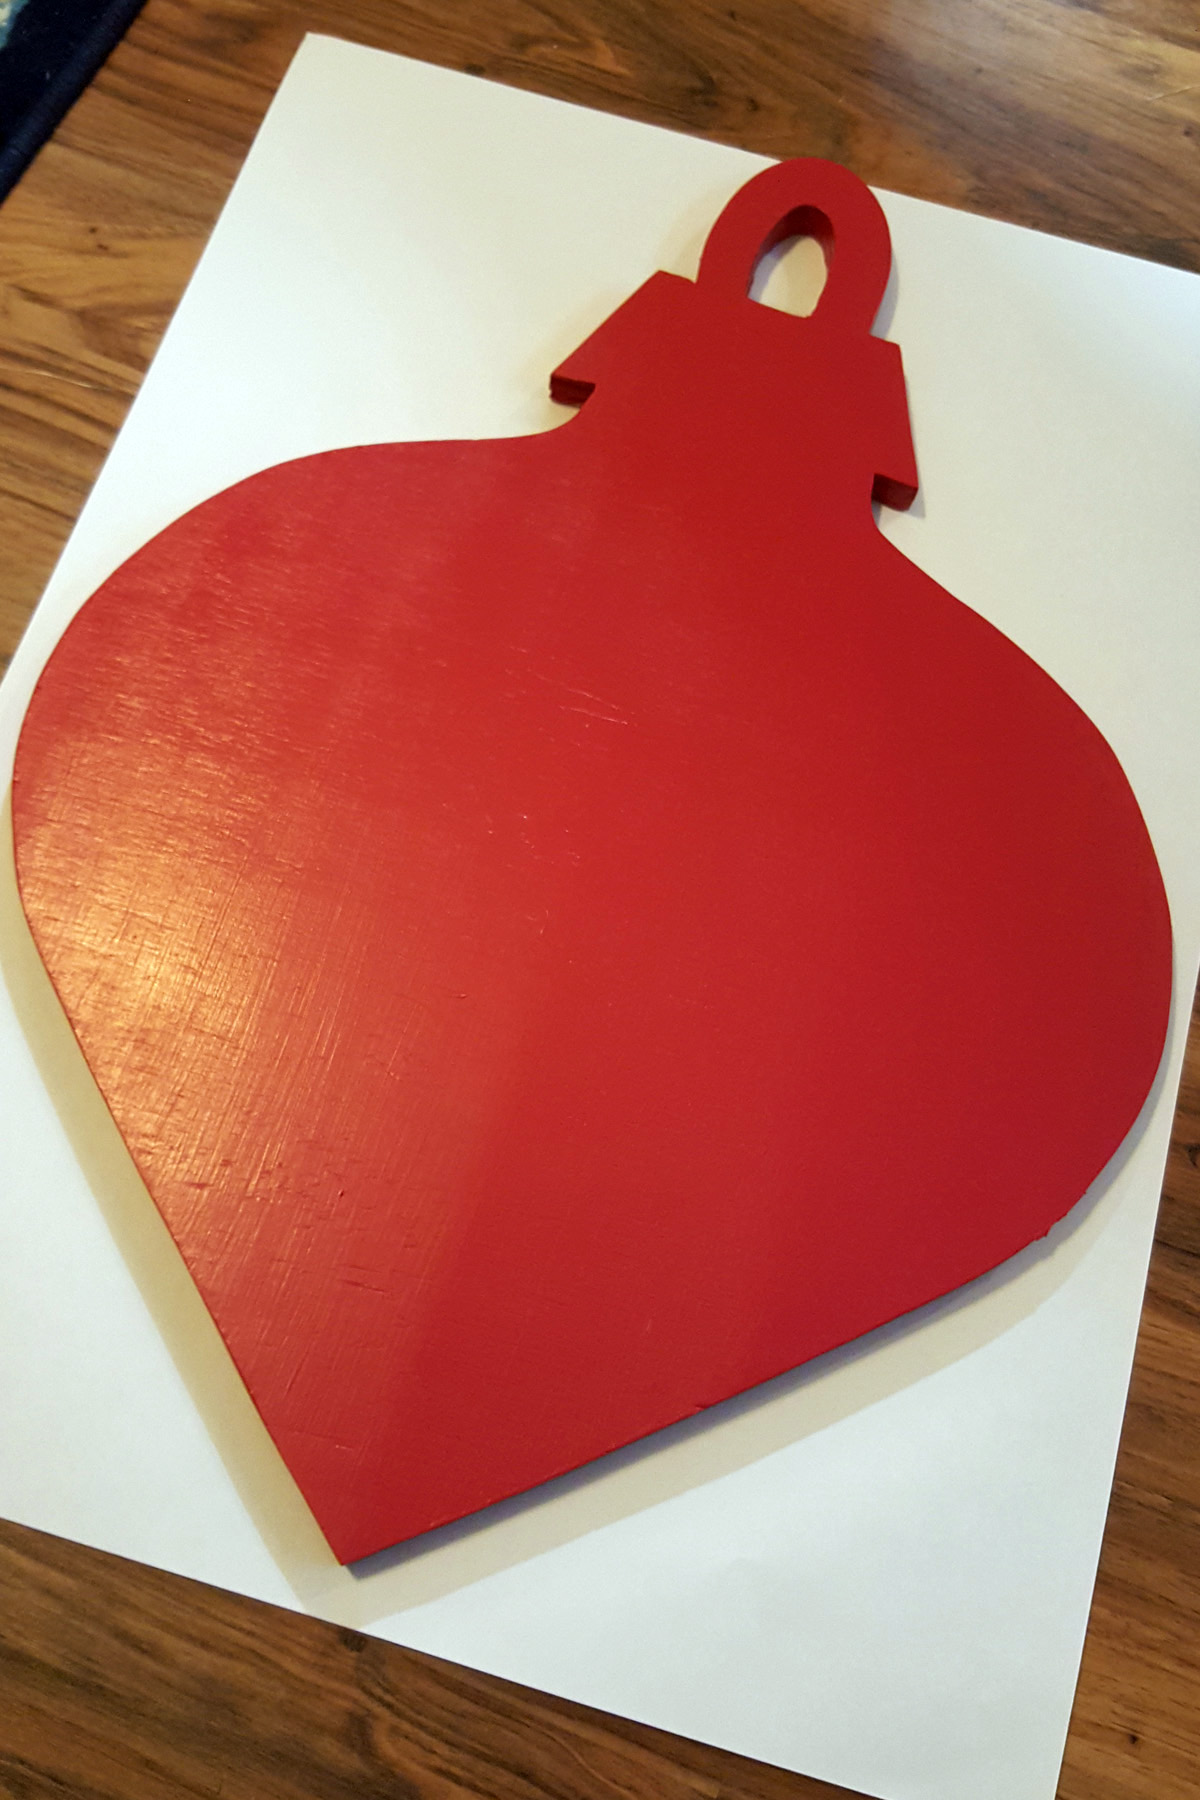
Instead of spray paint, I used Apple Barrel Outdoor Gloss Acrylic Paint in red for the base coat of the ornament. It covered really well, and it probably only needed one coat but I did two just to be safe.
I used simple foam brushes to paint the ornament, and I was able to just throw them away after each application. The paint dried quickly, and I was able to get both coats painted in one afternoon/evening. I did paint both the front AND the back of the ornament, more for consistency than anything, but I don’t think the back necessarily has to be painted.
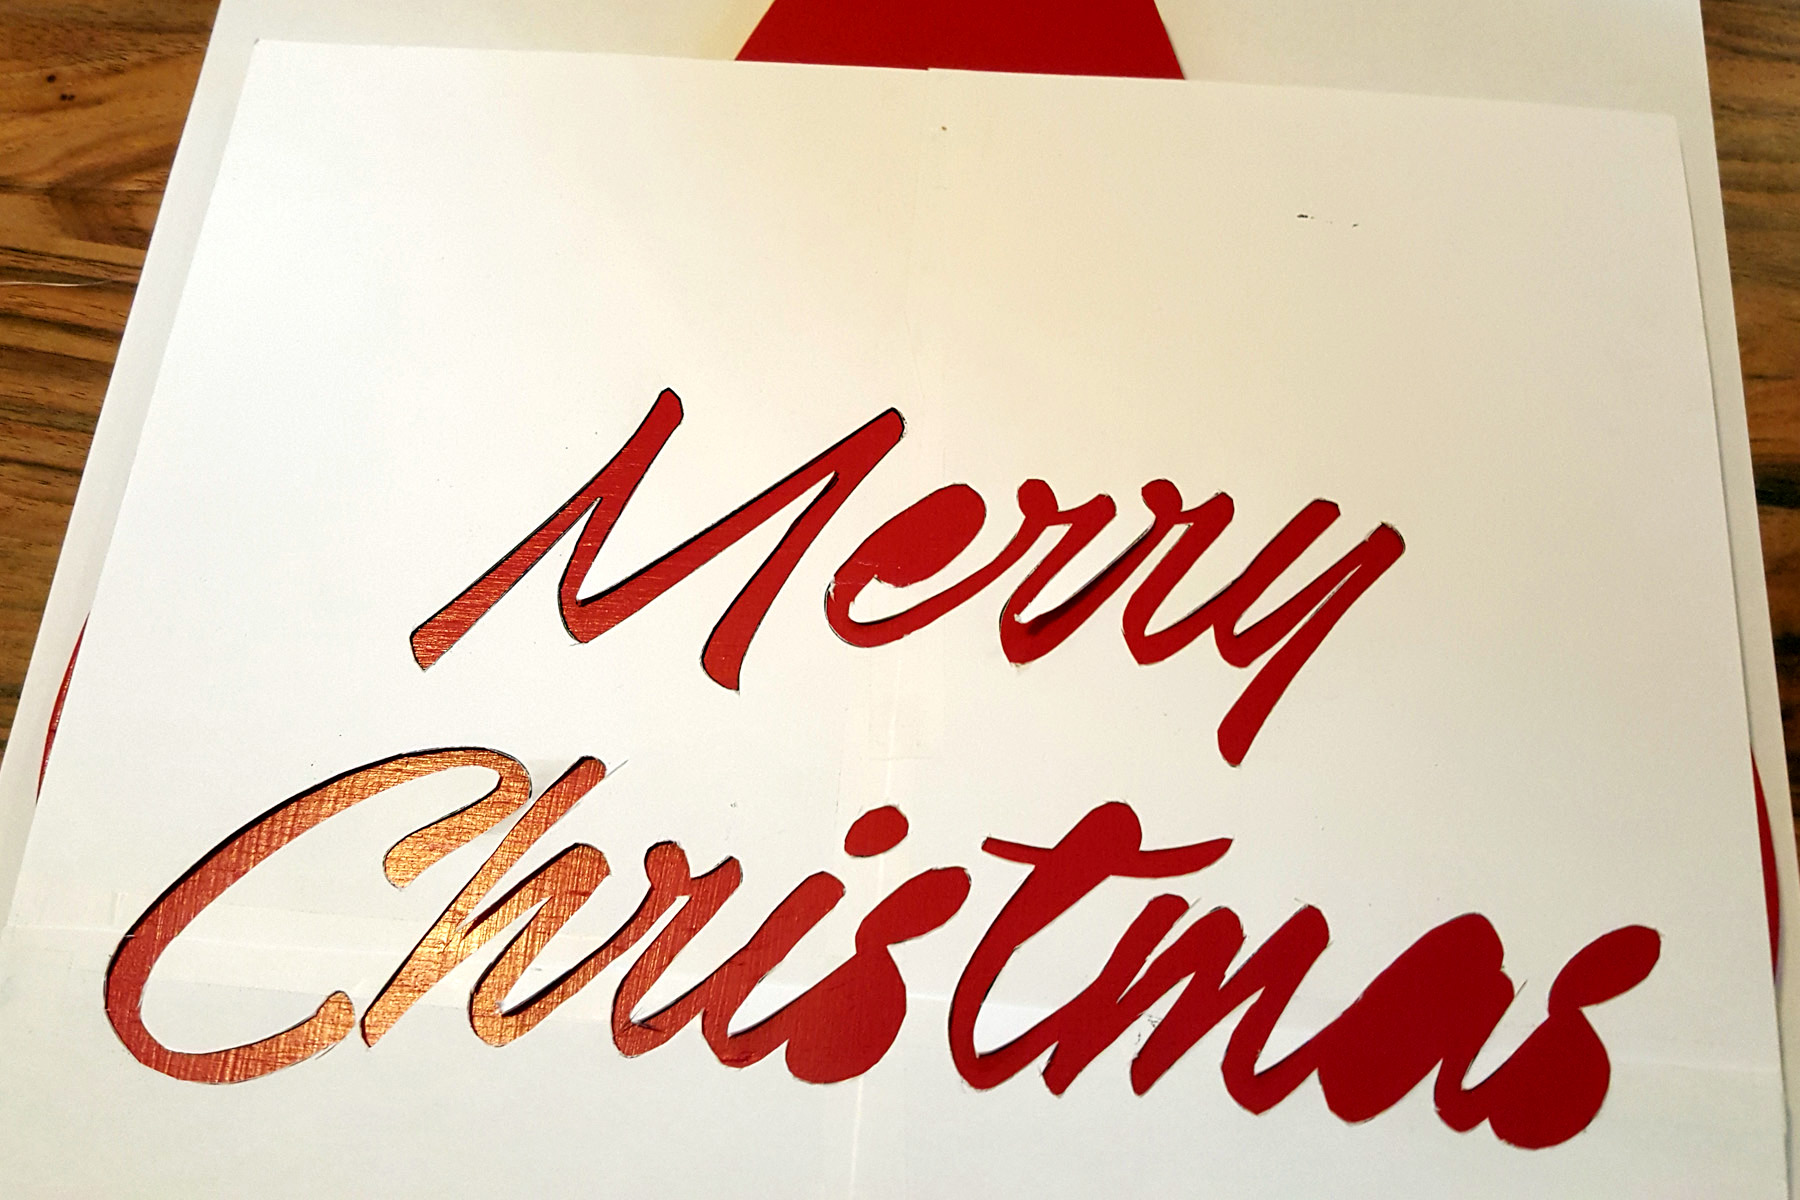
I don’t have a vinyl cutting machine (yet), so I had to figure out how to get the lettering transferred to the ornament. I returned to my mad Photoshop skills to find a font I loved. and I created a stencil about 2″ narrower than the ornament. Once I had it printed out and taped together (it was the size of four standard sheets of paper), I used an Exacto Knife to cut out the stencil letters. Even though they show in the picture, I decided against adding our names for two reasons – it would have been very difficult with the small pieces to stencil them, and I was being lazy after cutting out the “Merry Christmas”.
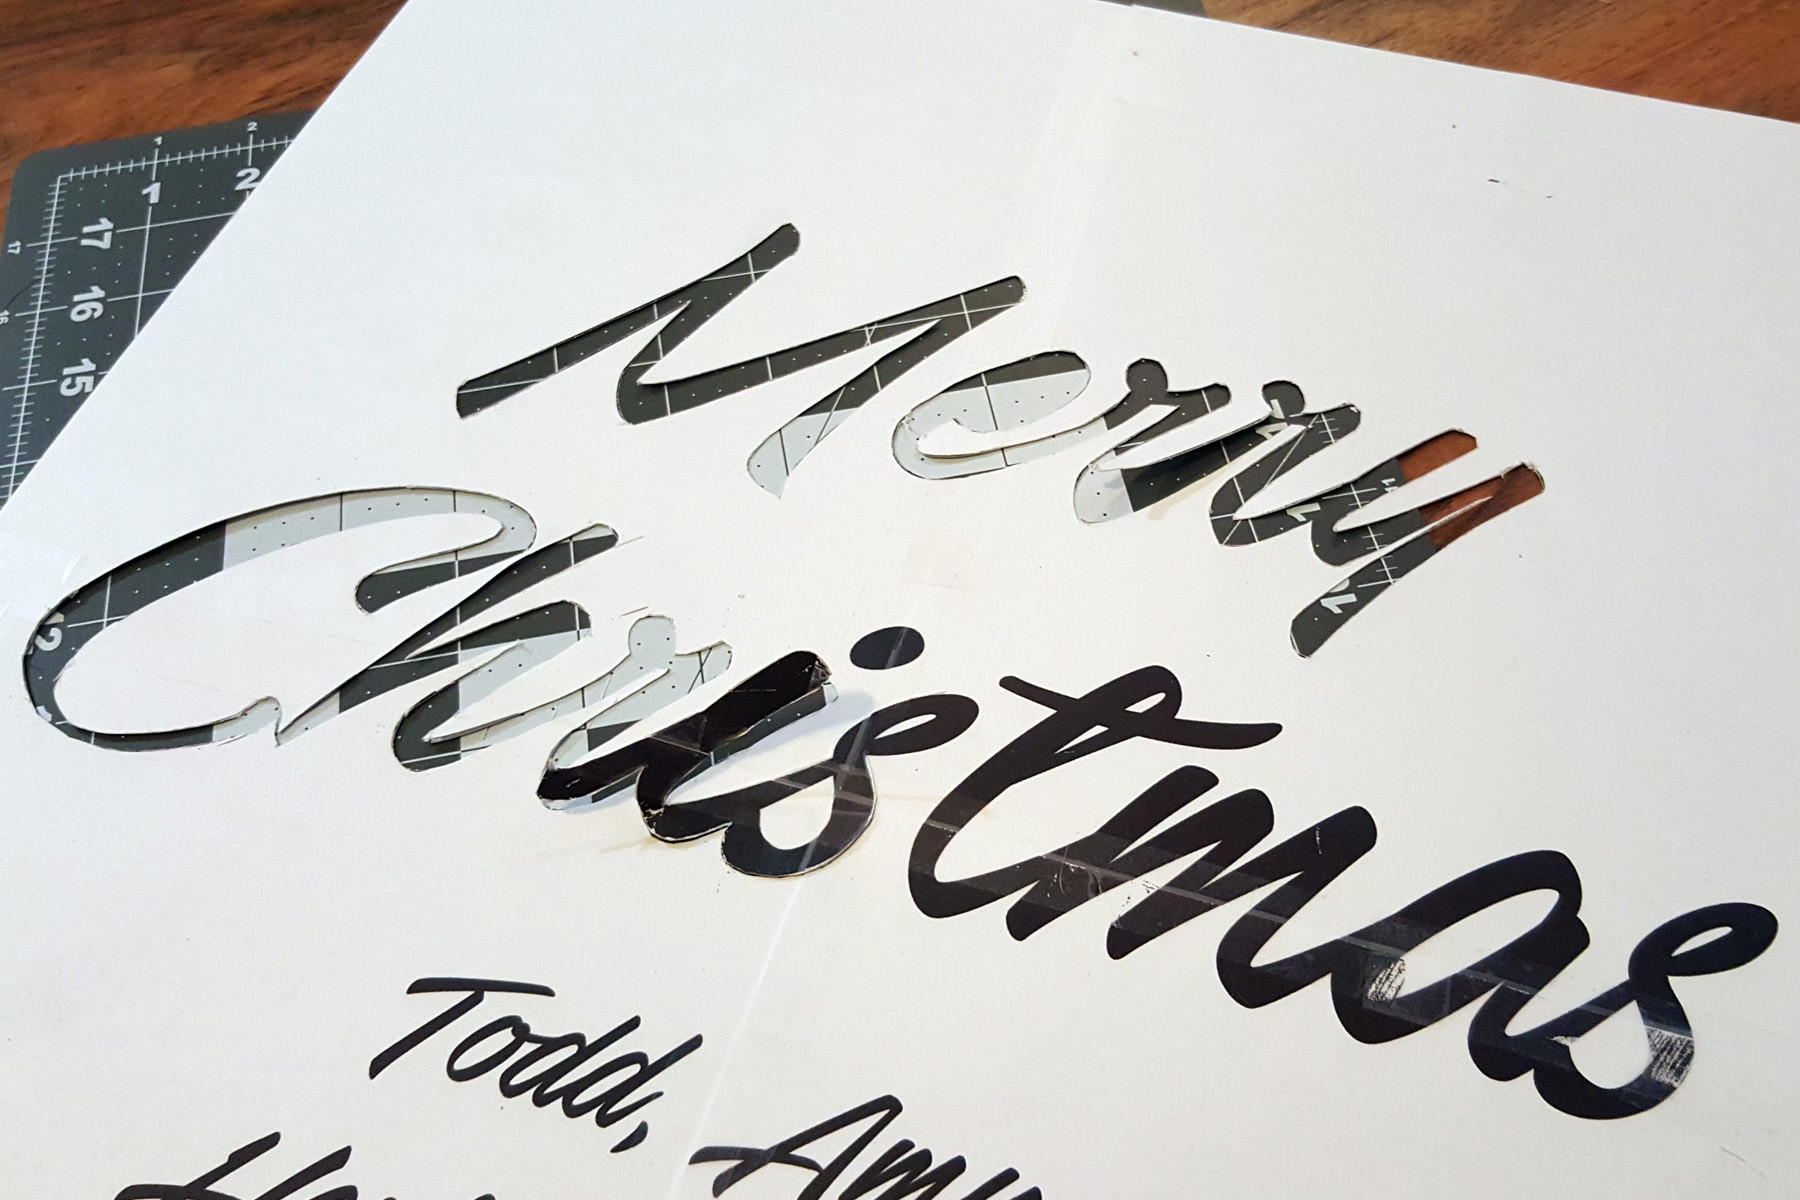
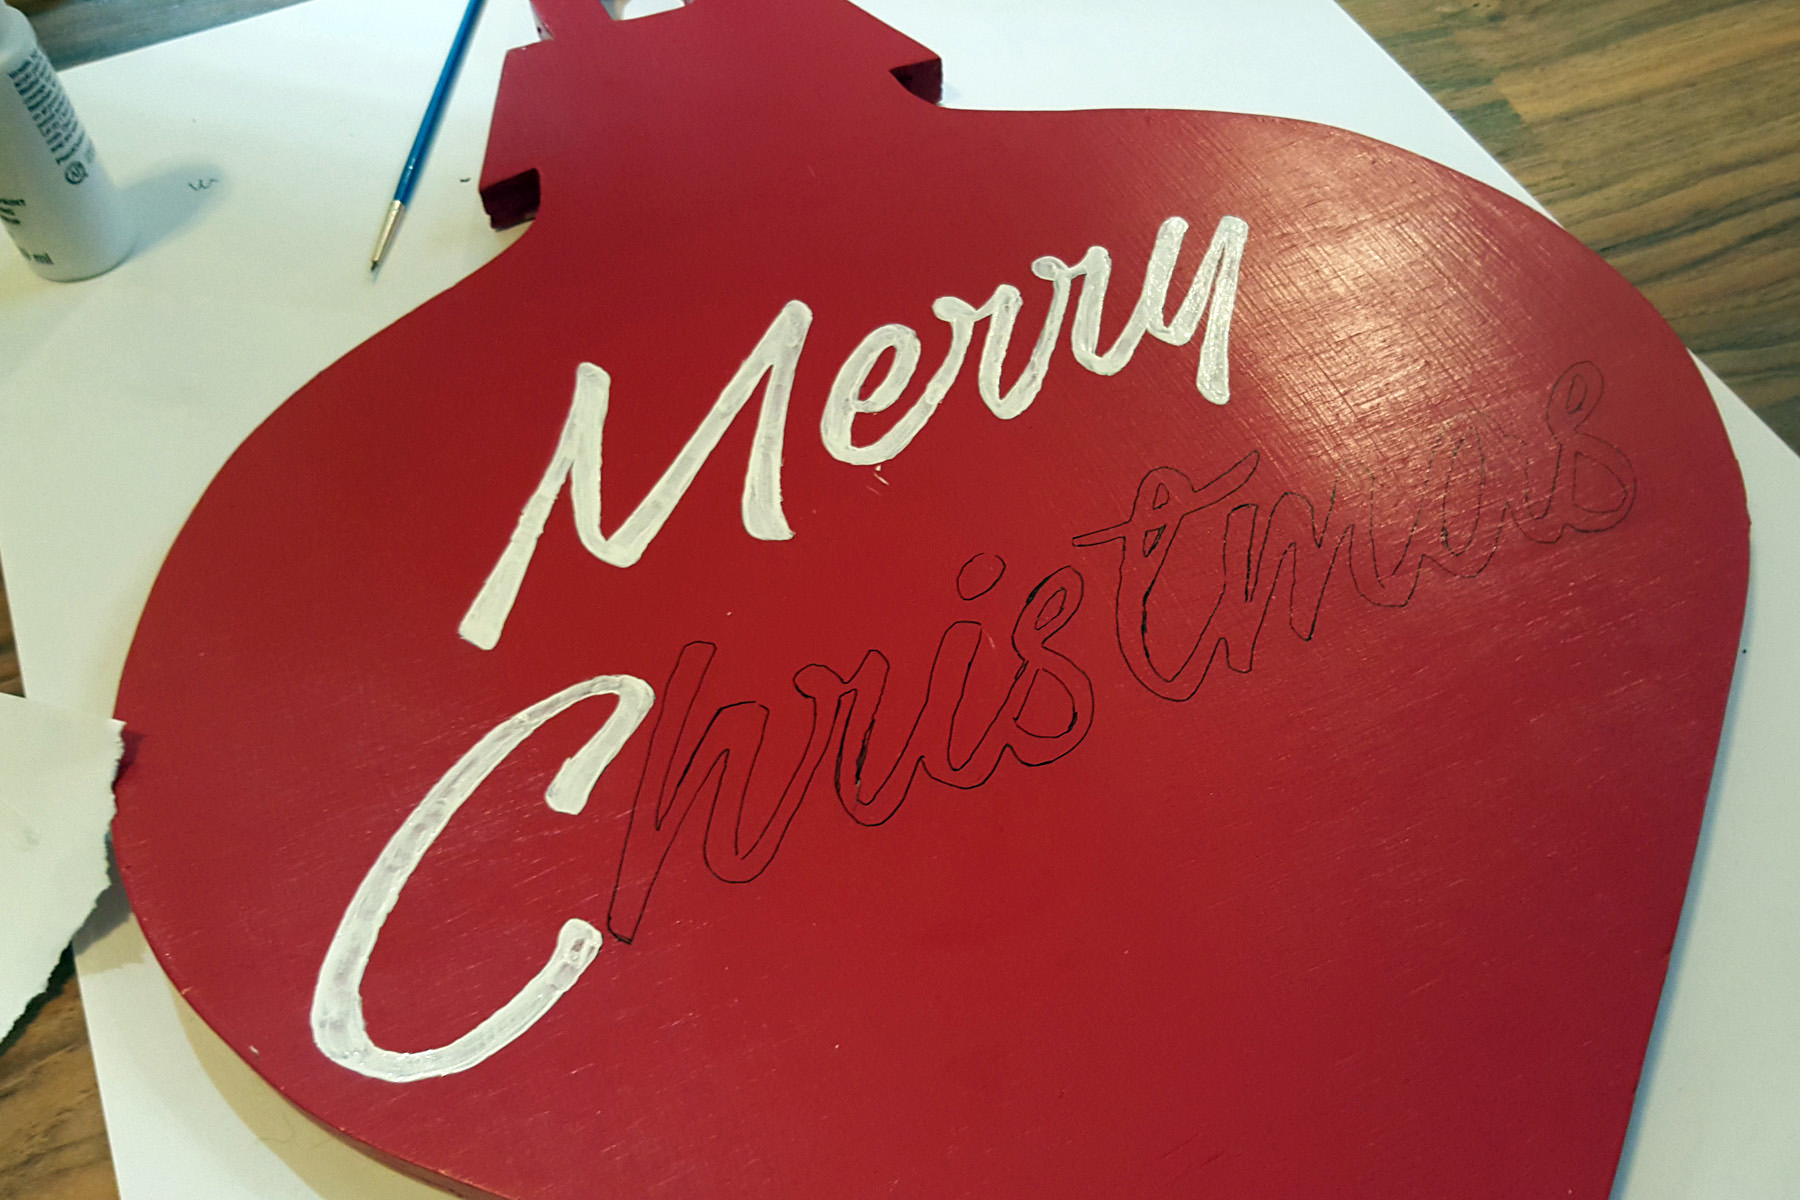
I originally thought of taping the stencil down and painting right over it, but I made it out of standard printer paper and figured the paint would bleed quite a bit. Instead, I used a fine-tip Sharpie marker to trace the letters.
I used the same Apple Barrel Outdoor Gloss Paint in white to paint the lettering. This process took quite a bit of time since I was basically free-handing with the paintbrush, but it was surprisingly therapeutic.
Even Pip decided to “help”, though I’m not sure she was interested in helping as much as she wanted a higher vantage point.
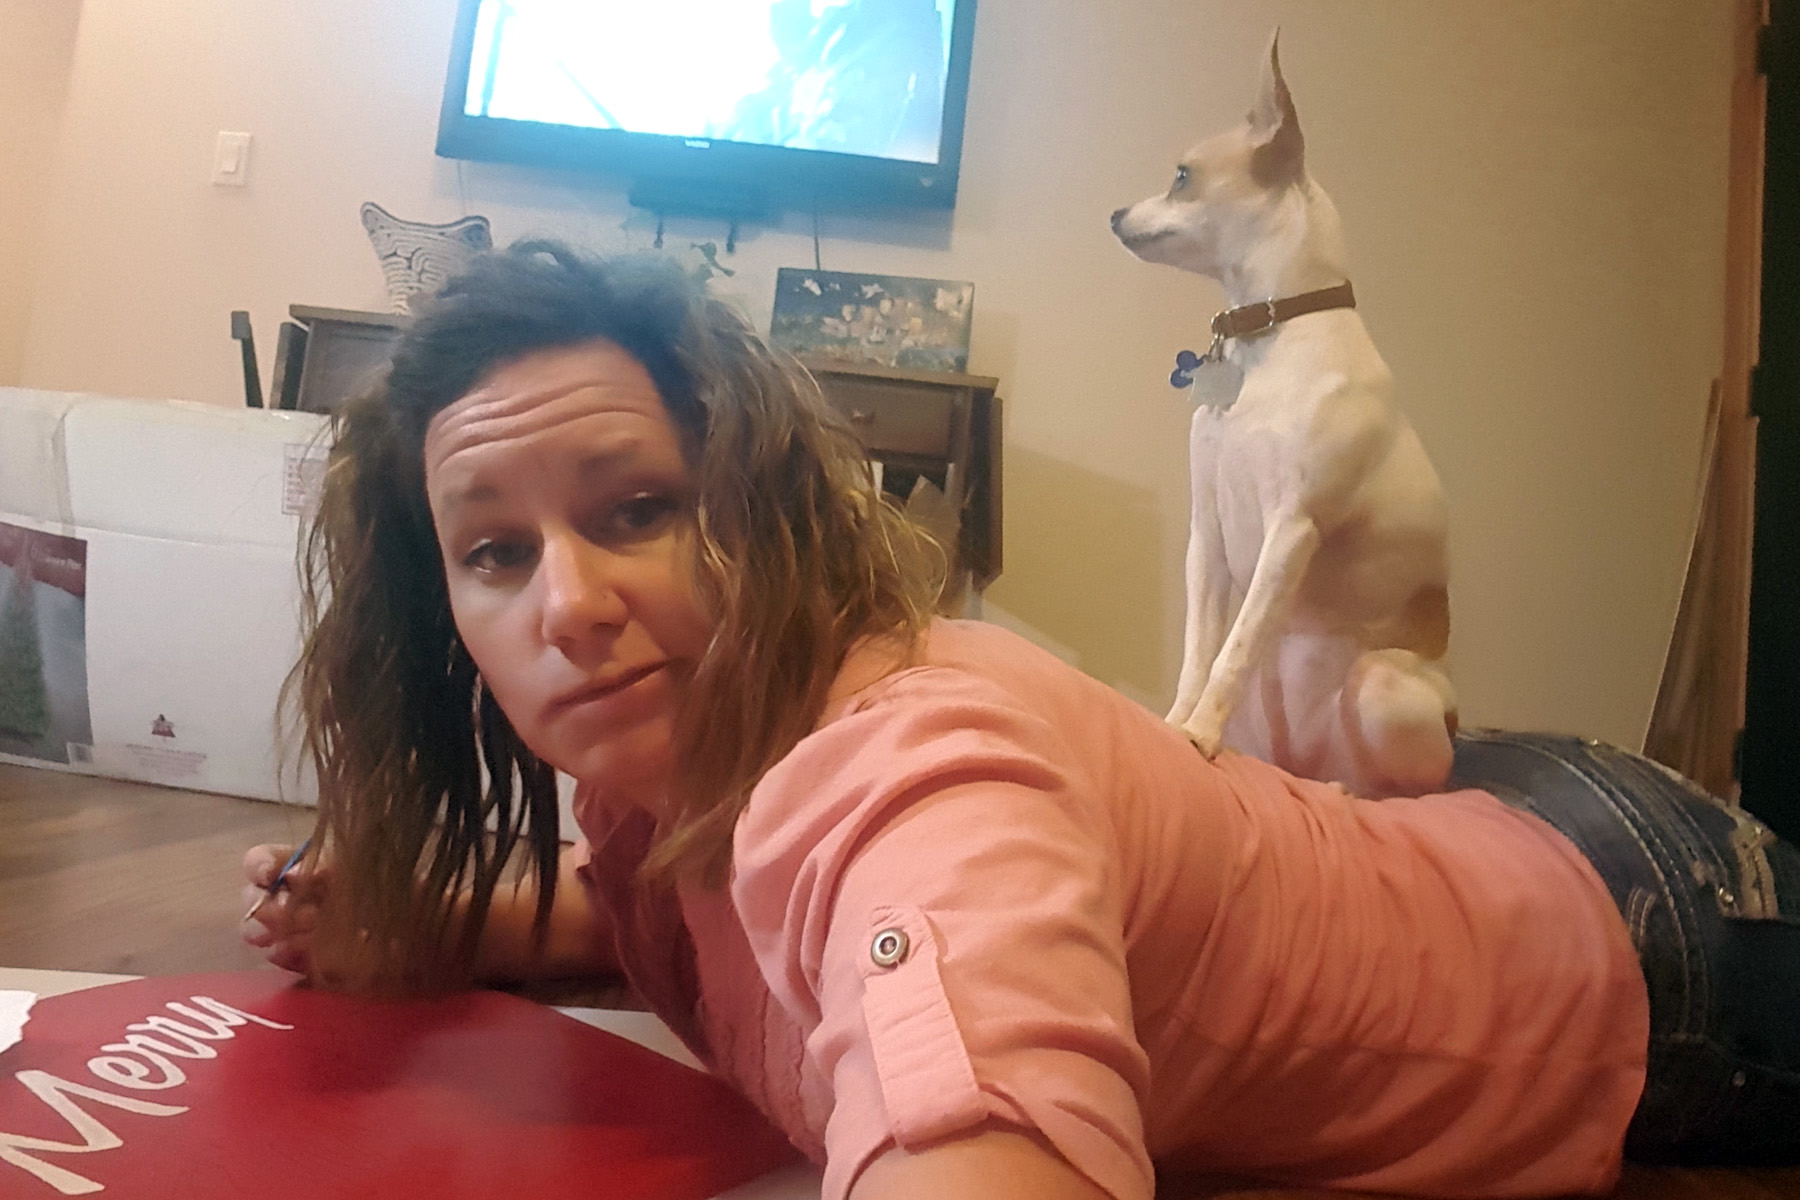
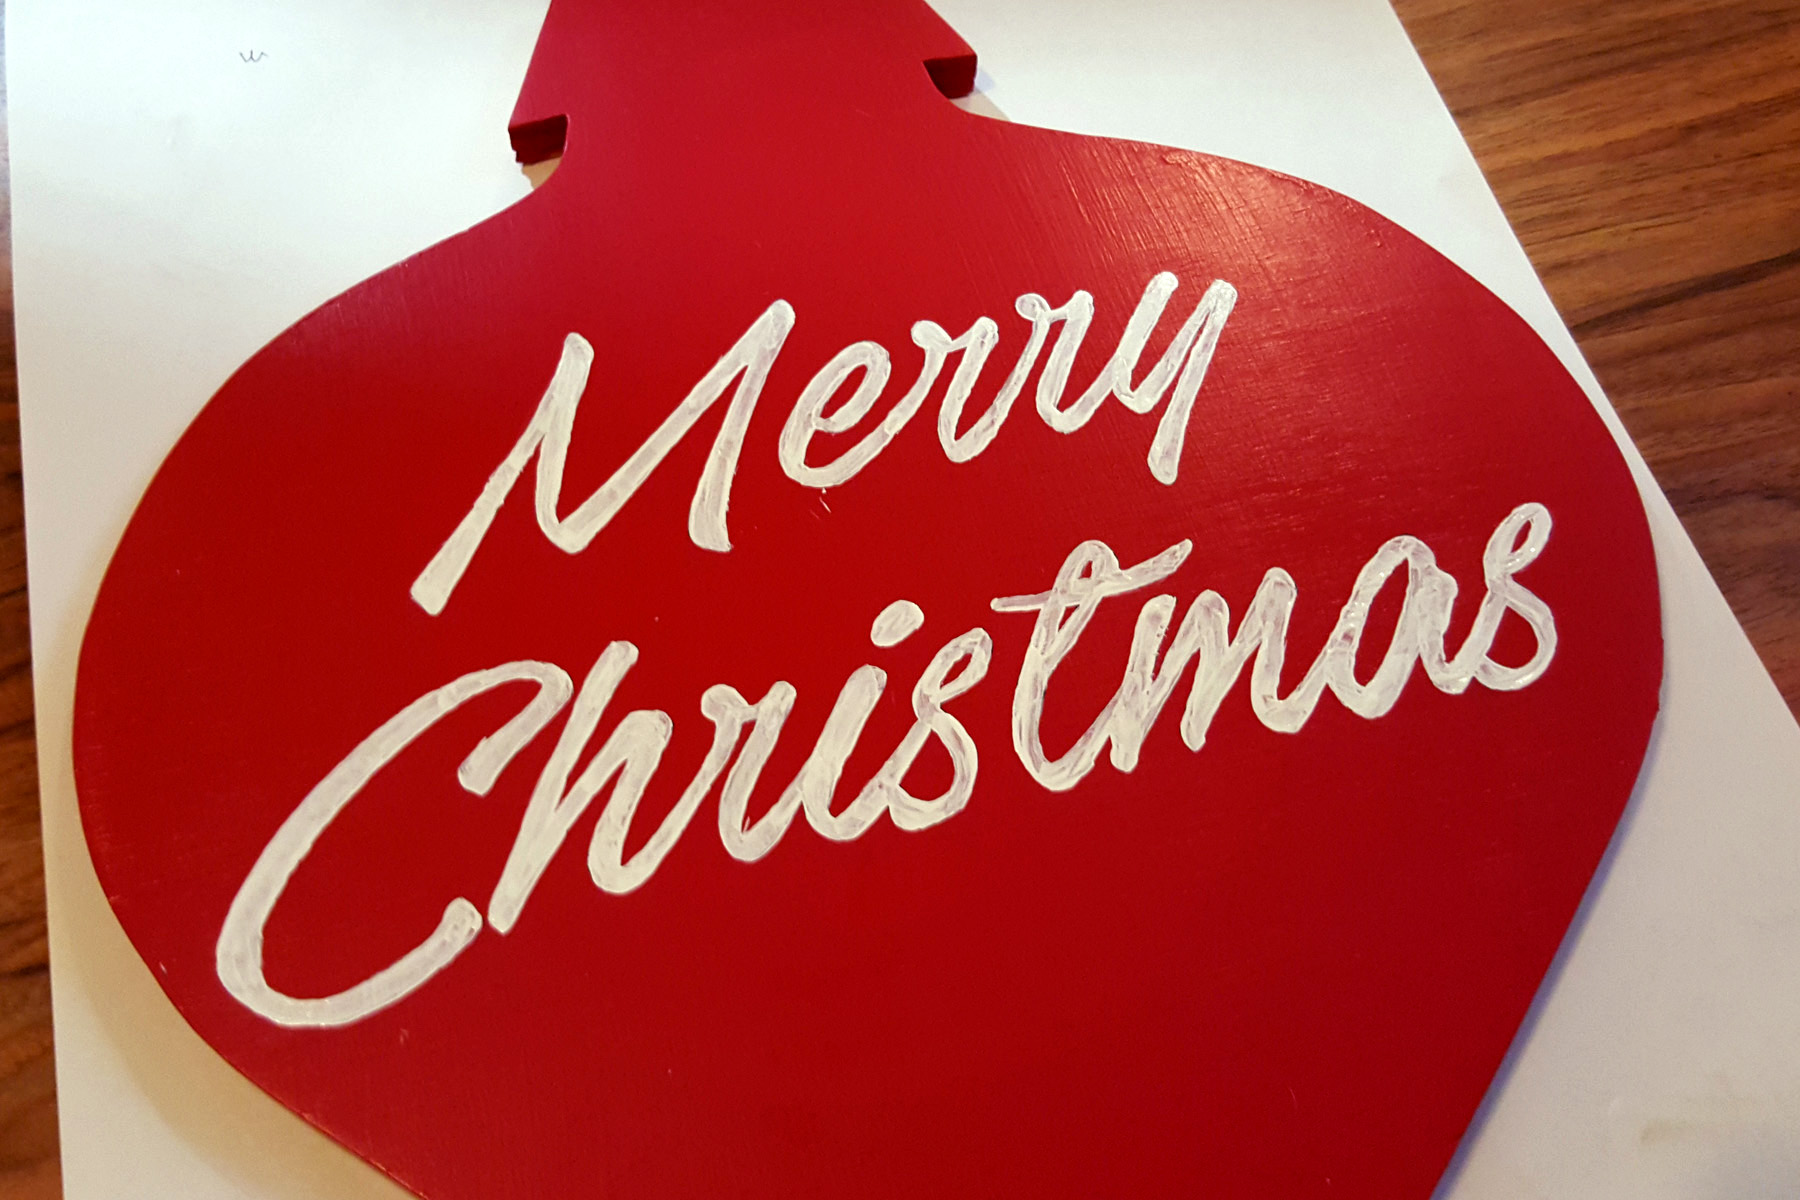
After one coat of white paint, my hand was shaky, and I was tired! The second coat went on much easier, and finished the ornament well! After the second coat of white and a couple extra touch-up spots, I sprayed the whole ornament (front and back) with three coats of clear coat to protect it from the weather.
After the clear coat dried, I added the bow as a final touch. It came with twist-ties, so I just wrapped them around the hole in the top part of the ornament, but It could have been hot-glued on, as well. I like the versatility of being able to change it out easily next year if I want.
I hung the wreath hanger on the door, added the ornament, and there you have it!
Merry Christmas from our family to yours!

Nature Girl. Mom. Wife. Friend. Photographer. Sewer. Crafter. Artist.
To borrow a phrase – “Yeet Ye Riche”
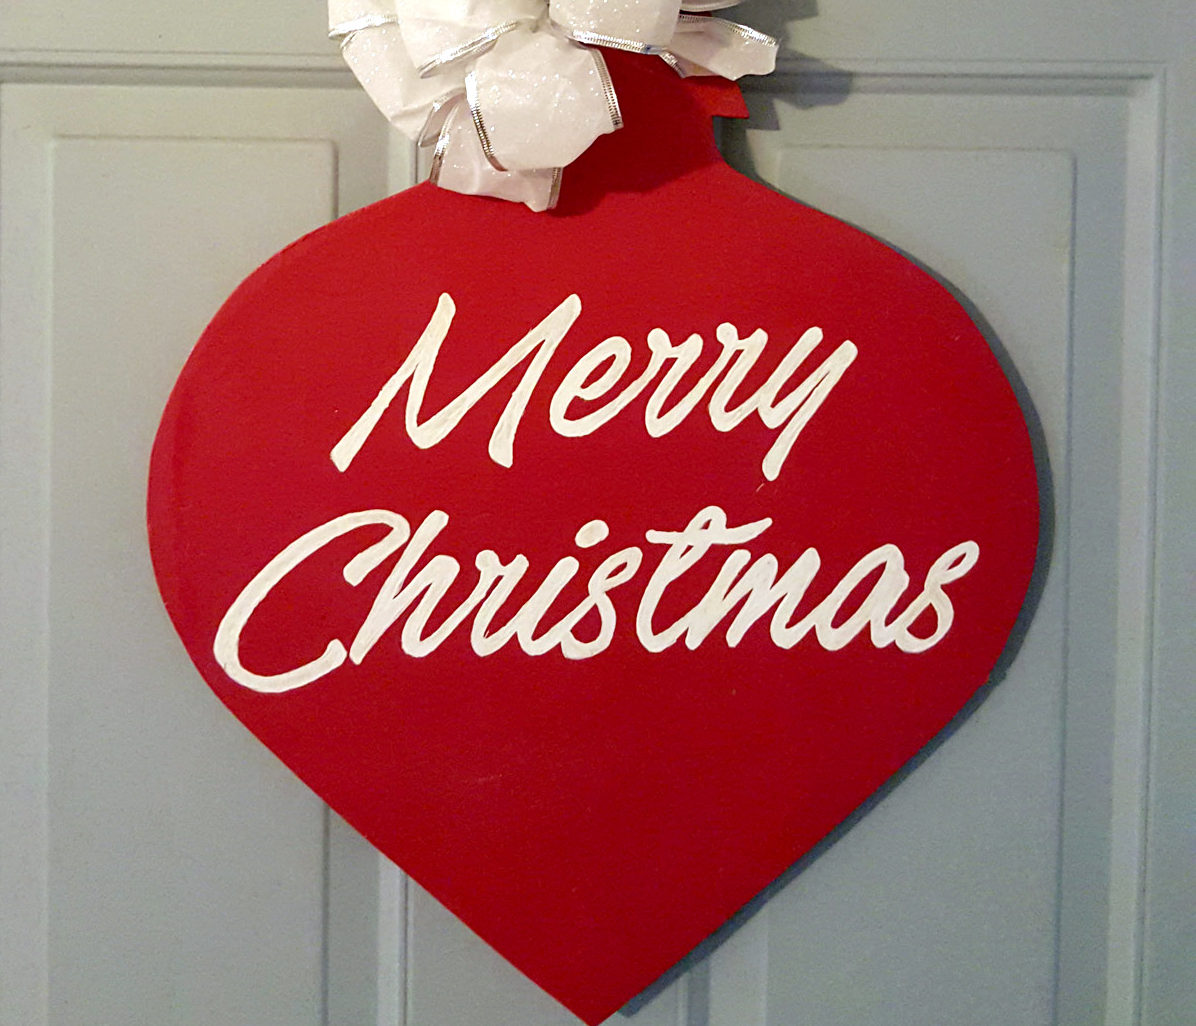
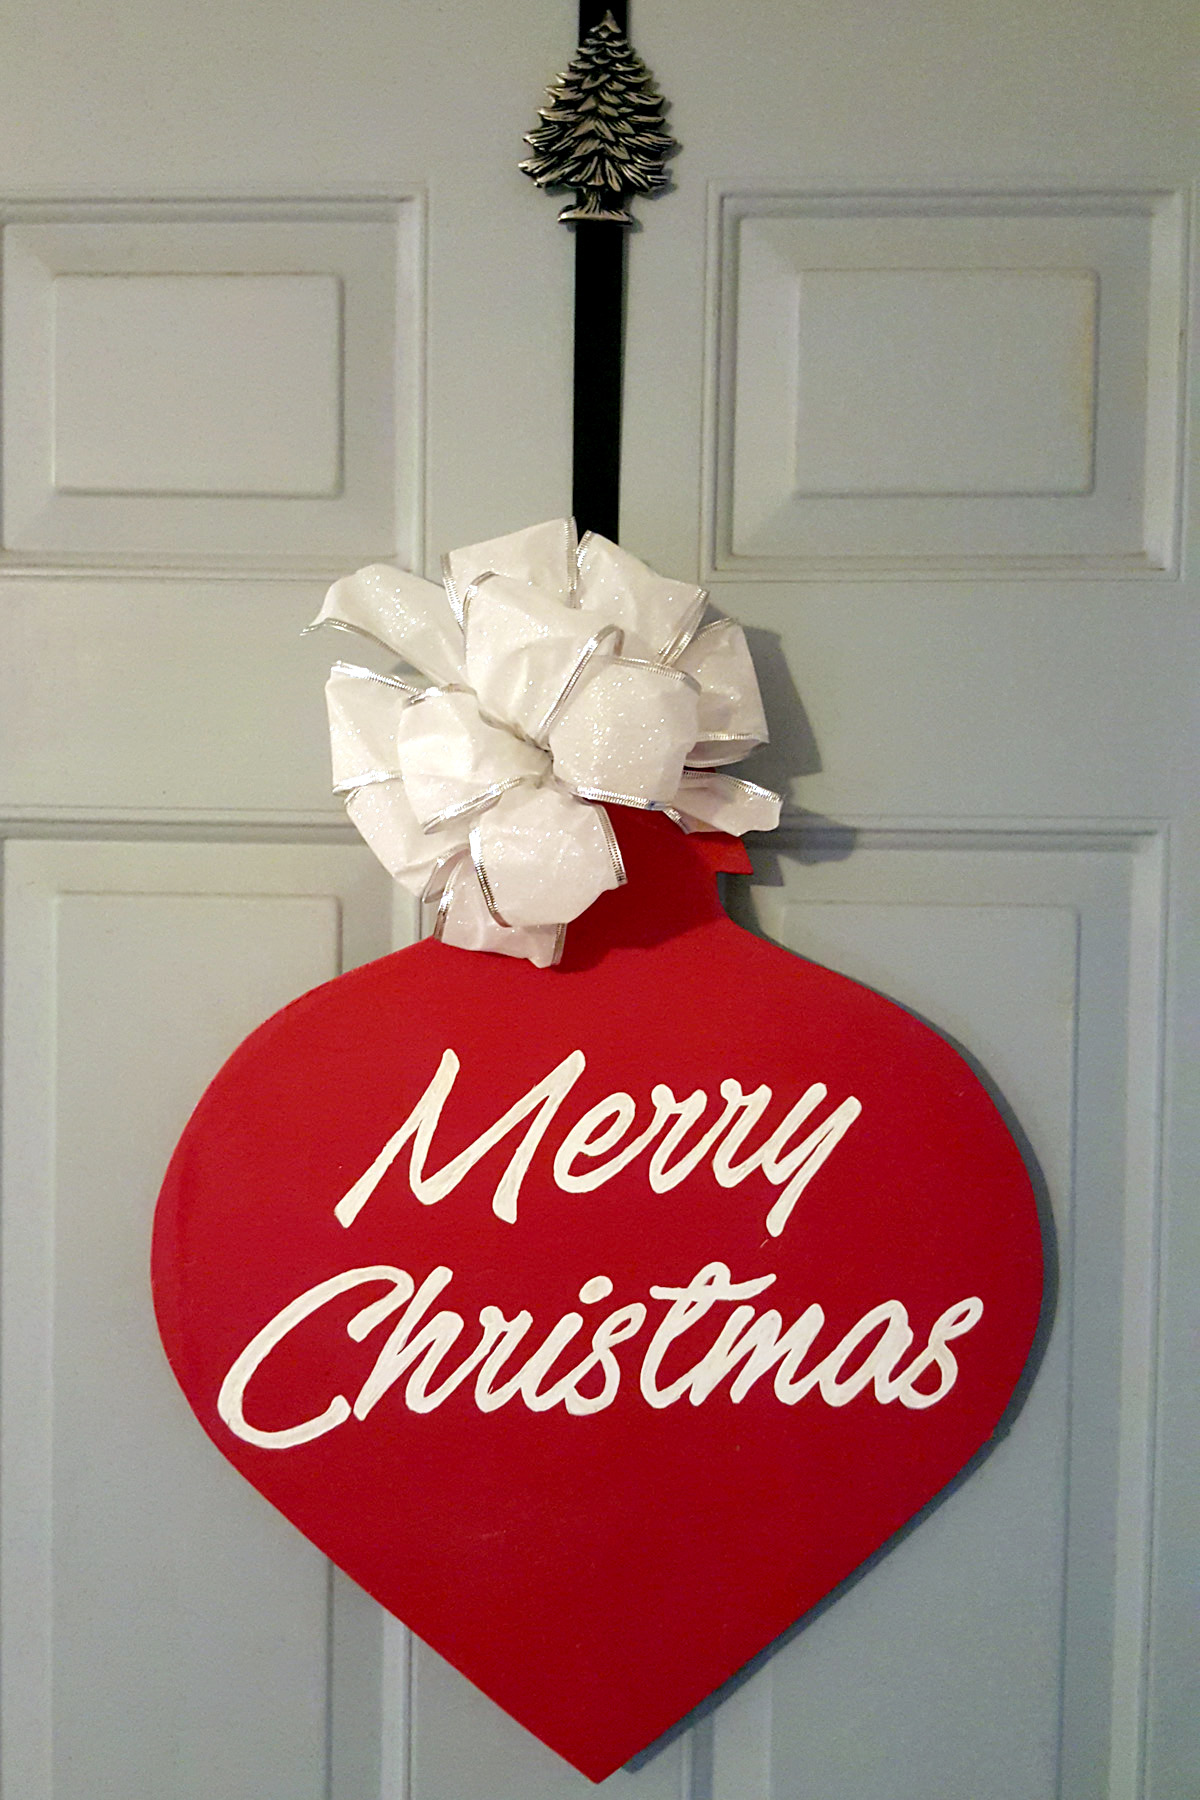
turned out so awesome!!
Thank you so much! It definitely would have been easier with a vinyl cutter, but it was still tons of fun!
Turned out great.
Thanks, Mom! I was thinking a white chalk pen or paint pen would be good to add our names with since I didn’t stencil them.