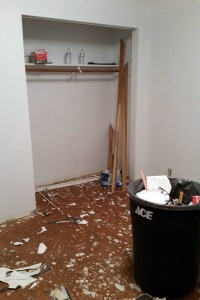
The kids’ rooms were the easiest part of the remodel for the most part because the only changes we made to them were cosmetic, and they really didn’t take a lot of work and time. We followed the same process for their rooms as we did for their bathroom, except we did not strip off the sheetrock. We gutted the rooms down to the subfloor and, in Harley’s case, we had to remove the wallpaper border from the walls.
What was really great about remodeling our house was that the kids are all big enough that they were a huge help to us. They each worked hard in their own rooms and wherever else we needed them throughout the process.
Demolition:
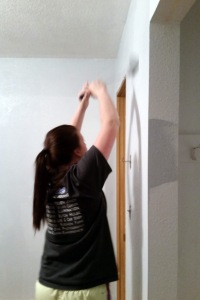
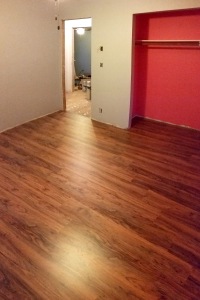
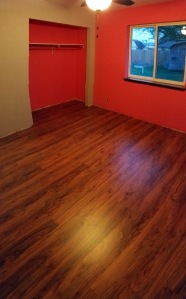
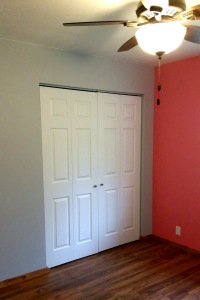
After the demolition, Harley painted her room gray with a bright pink accent wall. She also painted the inside of her closet pink. These pictures don’t really do it justice, but the colors are really nice and go well together.
Todd installed the new laminate floor after all the painting was done and the new light/fan was installed. It looks amazing with her paint!
Todd’s dad, Glenn, installed all the doors in the house, including the new bifold doors for the closets.
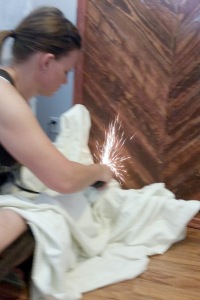
Harley and her dad made this headboard out of old pallets last summer, and she has been waiting to use it until we remodeled and were able to move into the house. It took some “creative” grinding to make it attach to her bedframe, but we got it, and it looks amazing!
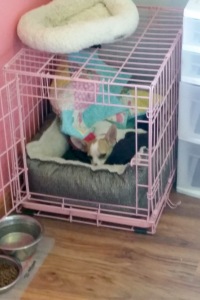
Pip has her own special spot in Harley’s room, and her crate even matches (completely unintentionally)!
The final result! Harley’s room is beautiful, peaceful, and “her”. It is a room that can maintain its personality easily or be changed up as she wants.
Harley plans on making some paintings and artwork for her walls to help personalize it even more.

Nature Girl. Mom. Wife. Friend. Photographer. Sewer. Crafter. Artist.
To borrow a phrase – “Yeet Ye Riche”


