You read that right, I meant to say “sconed”, not “scorned”.
One of the worst things best aspects about me being home so much right now, is the amount of time I spend researching and learning wasting my day away playing new recipies to make for my family. I have tried several new things out of sheer boredom the desire to utilize my cooking skills to make healthy food and to nearn new things.
I have read about scones, but I have never actually seen one, let alone taste one. Yesterday, after being sick for so long, I was completely stir-crazy really needed to be active. The scones were really easy to make, and tasted really good. I made a very basic recipe, but I can see how one might alt3er it to bring out different tastes from savory to sweet.
I’m taking a page out of Pioneer Woman’s photo tips for this post, and I’m not ashamed of it – I’m a copy cat, and I don’t mind admitting it. Oh yeah, the ridiculously ugly scars nasty burns on my hand are from my adventures in baking sugar cookies for Valentines Day and for Emma’s Basketball Team. They are taking forever to heal!
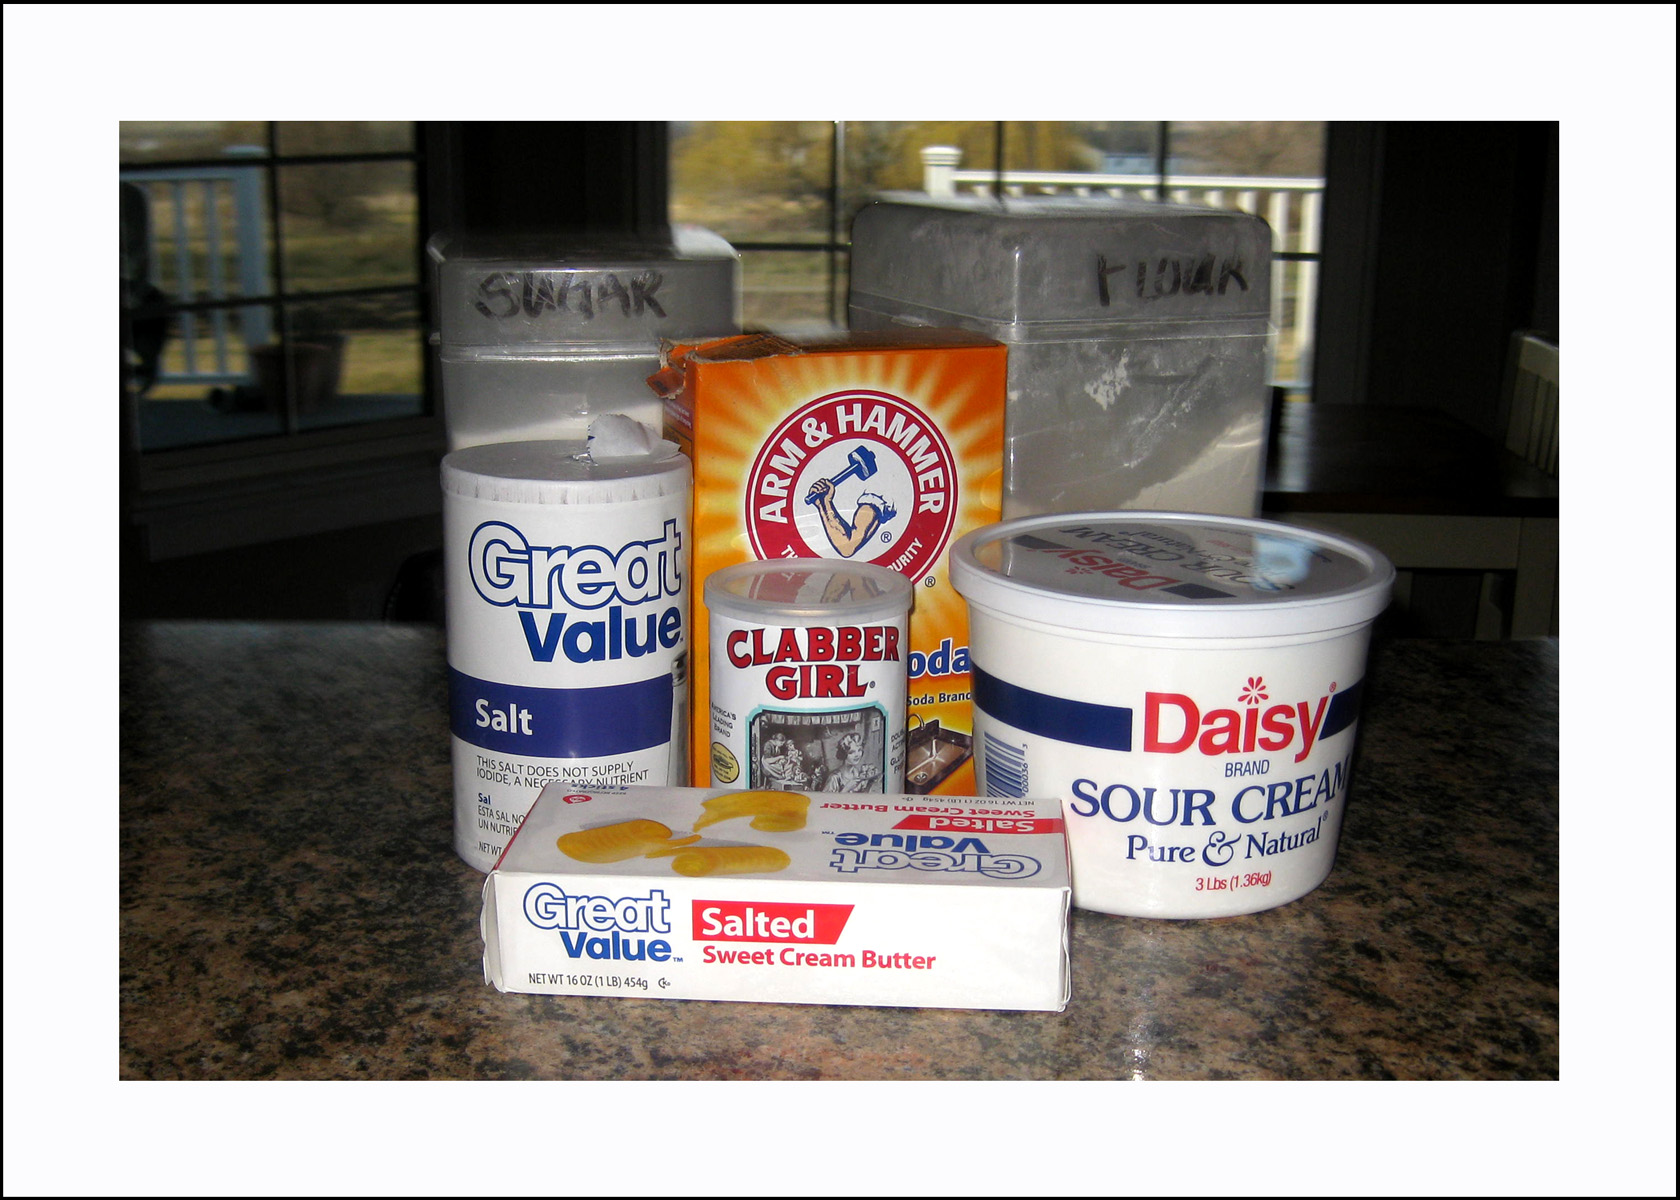
The ingredients include flour, sugar, salt, baking powder, baking soda, salt, egg, sour cream, and frozen (yes, frozen) butter. Pretty simple and basic. As you can see by the picture, I’m a cheapskate I’m economically responsible and purchase generic brands for quite a few things. I refuse to purchase generic for some products – they’re just not the same.
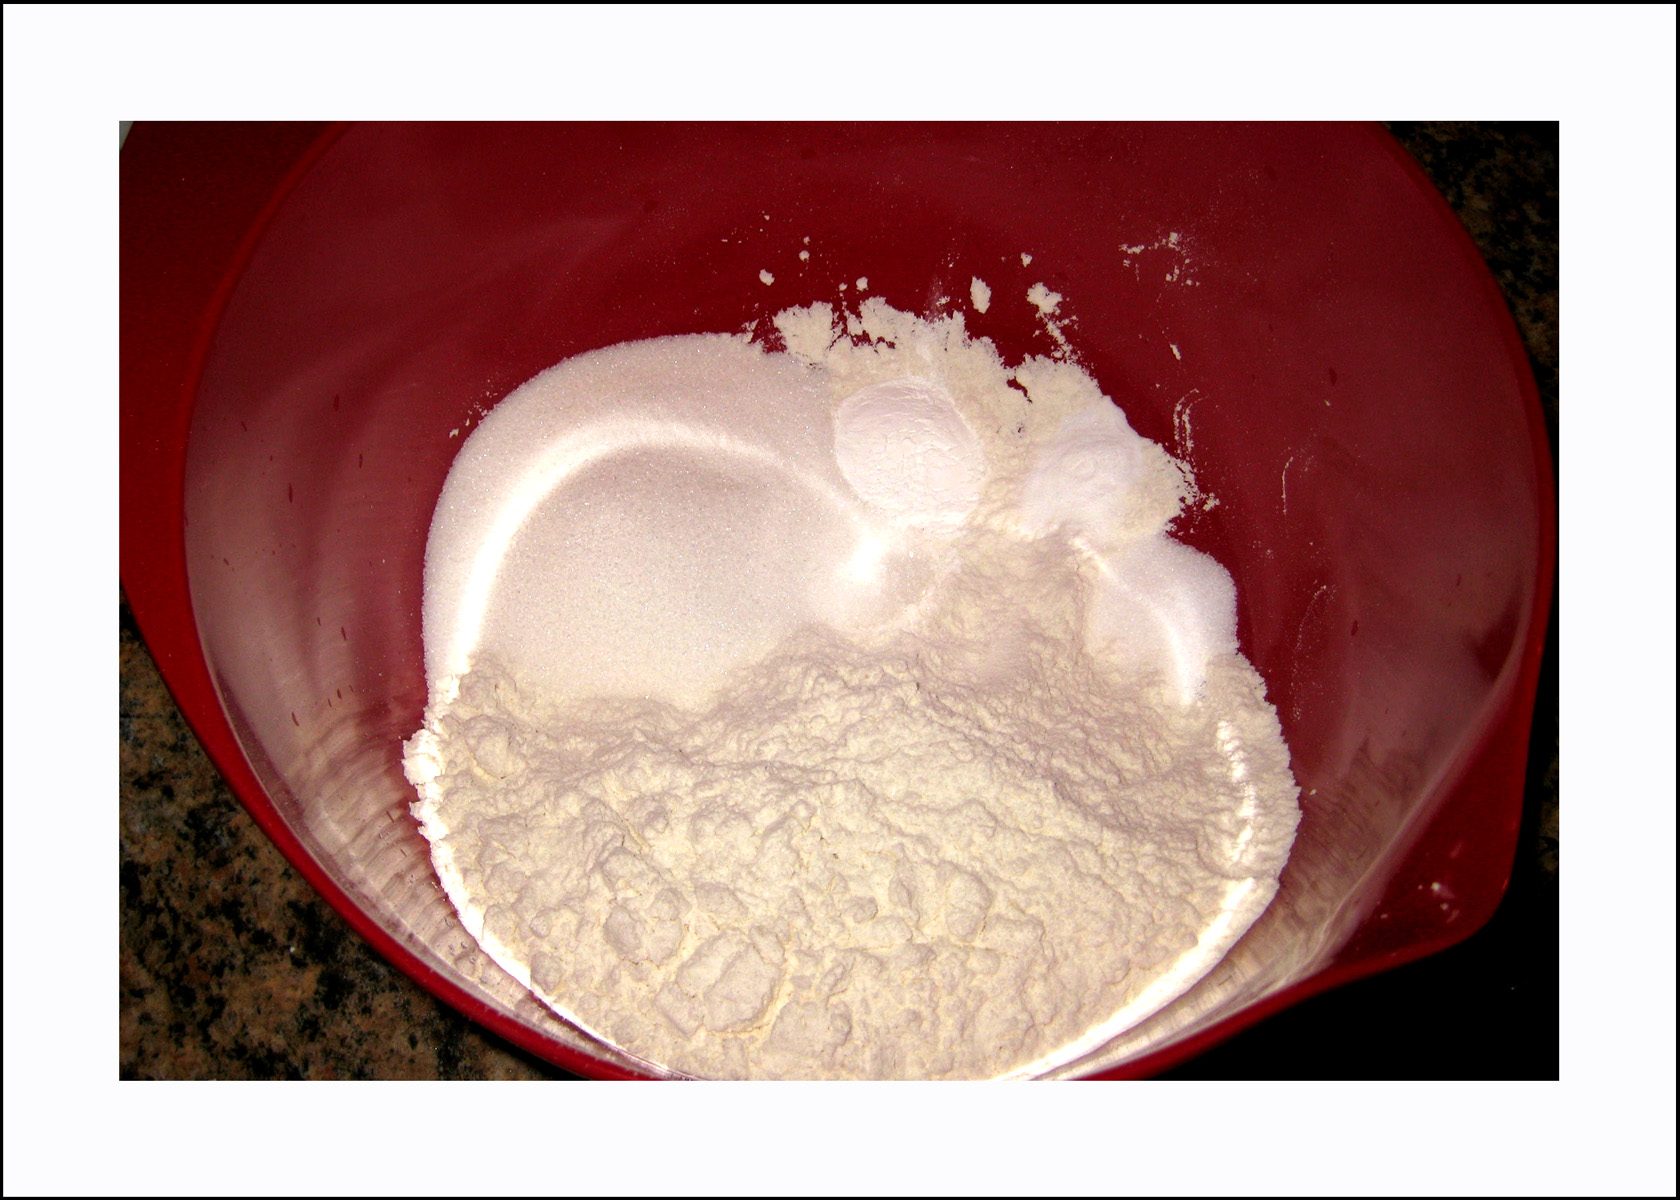
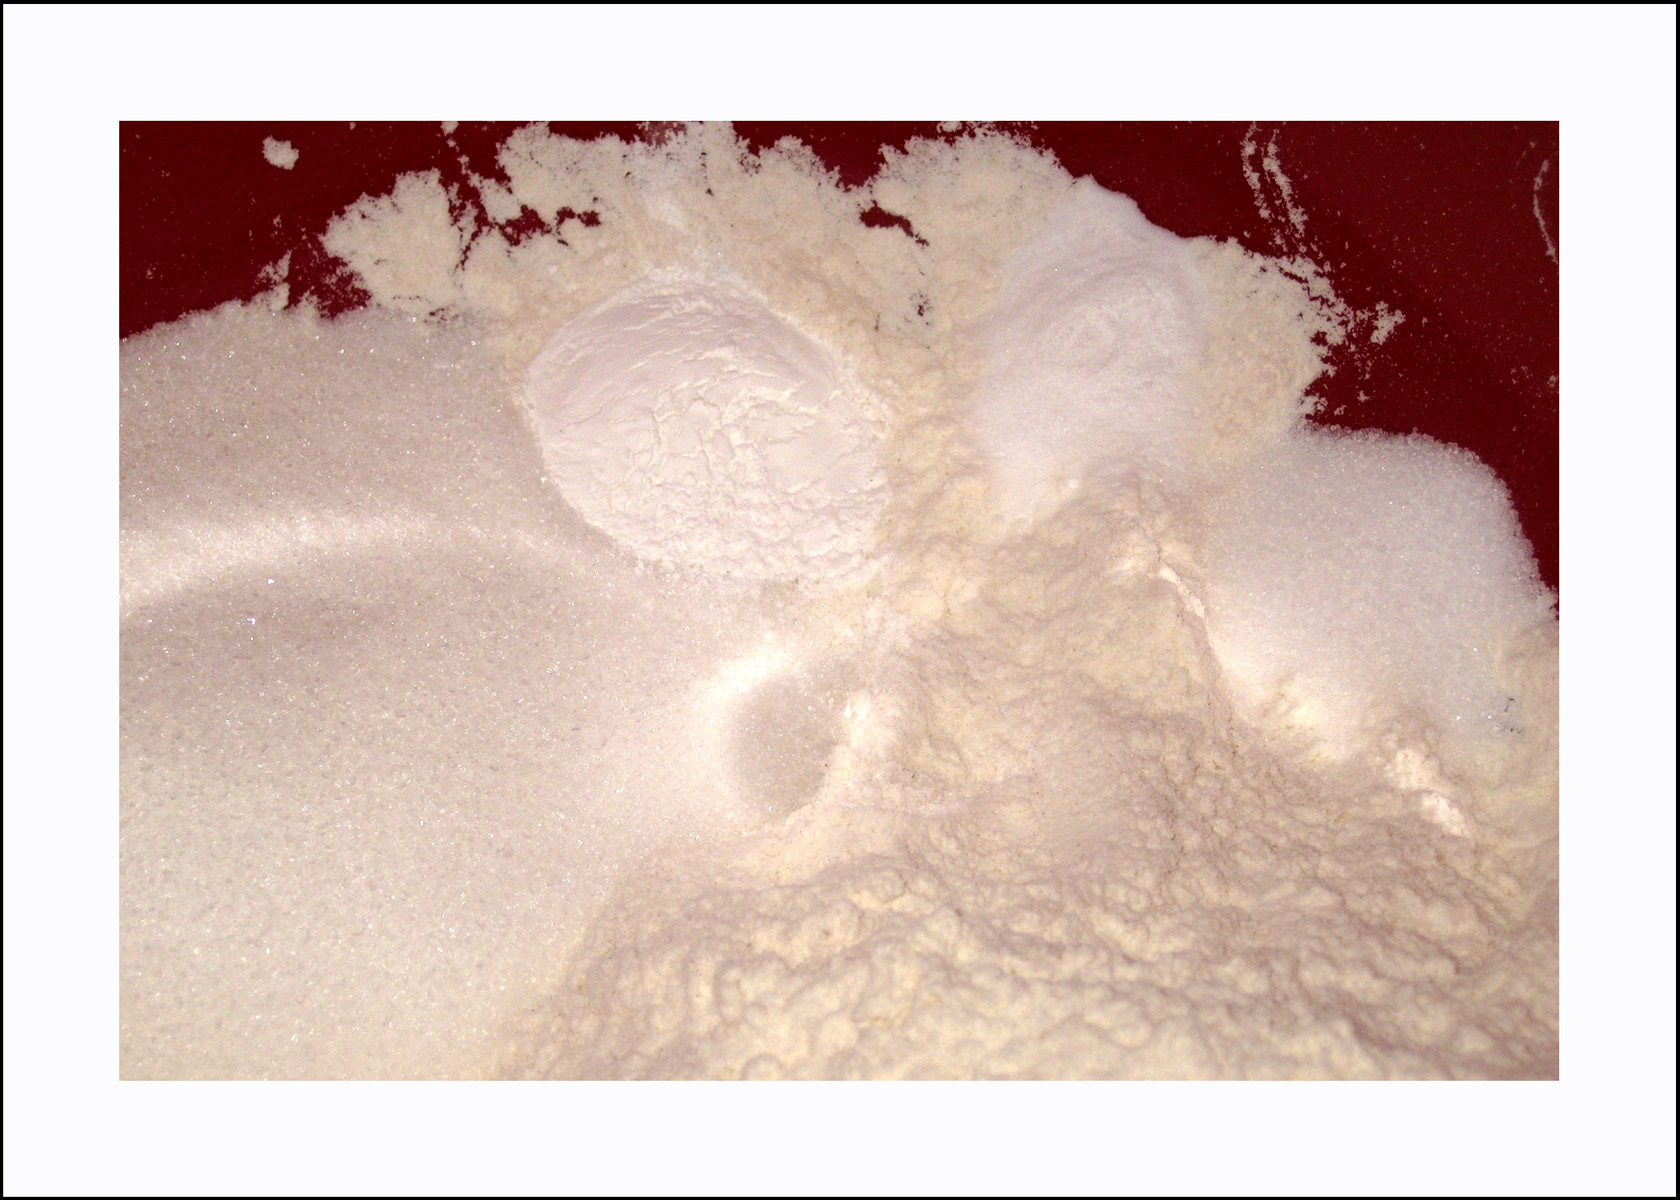
The first two steps are very simple. Add all the dry ingredients (flour, sugar, baking powder, baking soda, and salt) to a large bowl and whisk them together.
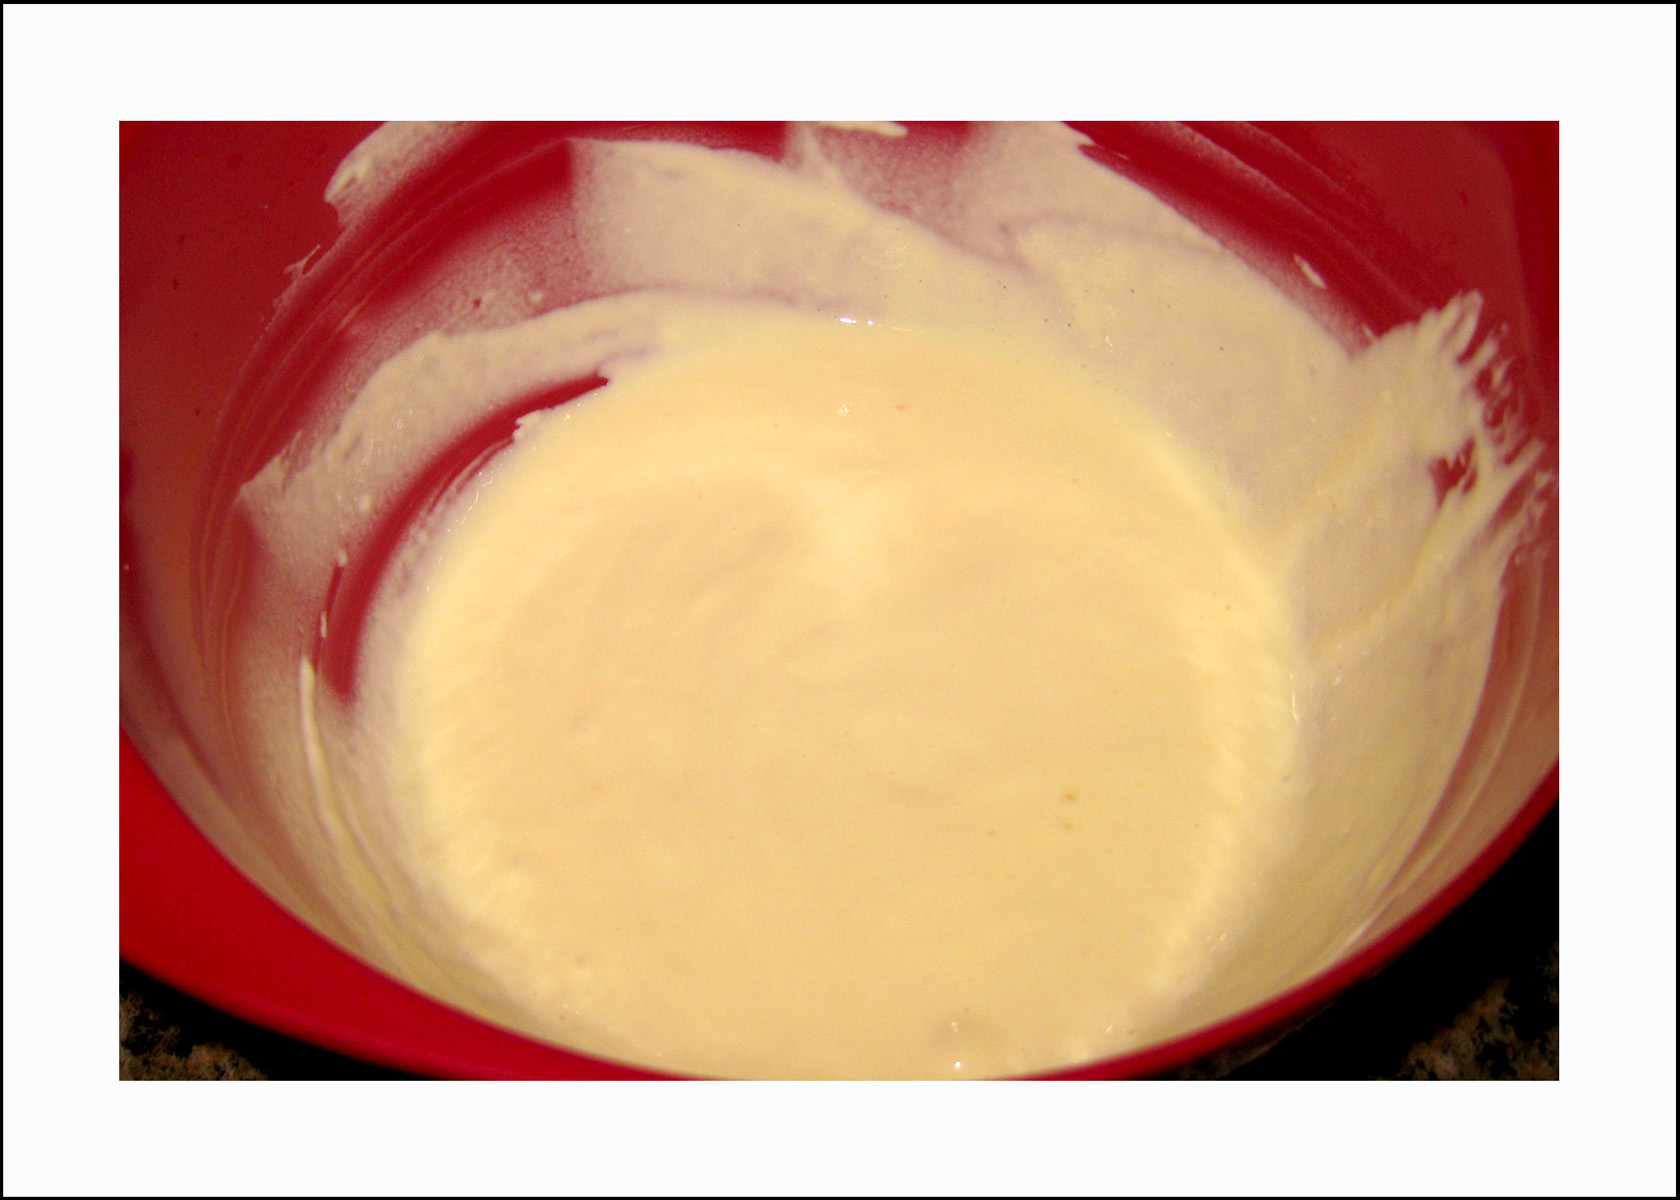
The second step was to whisk together the egg and sour cream.
The reason the butter has to be frozen is because once the first two steps are completed, the butter is then grated into the flour mixture. That would not be possible with refrigerator temperature or room temperature butter. And, quite frankly, the next step of incorporating the butter into the flour was much easier with the grated butter.
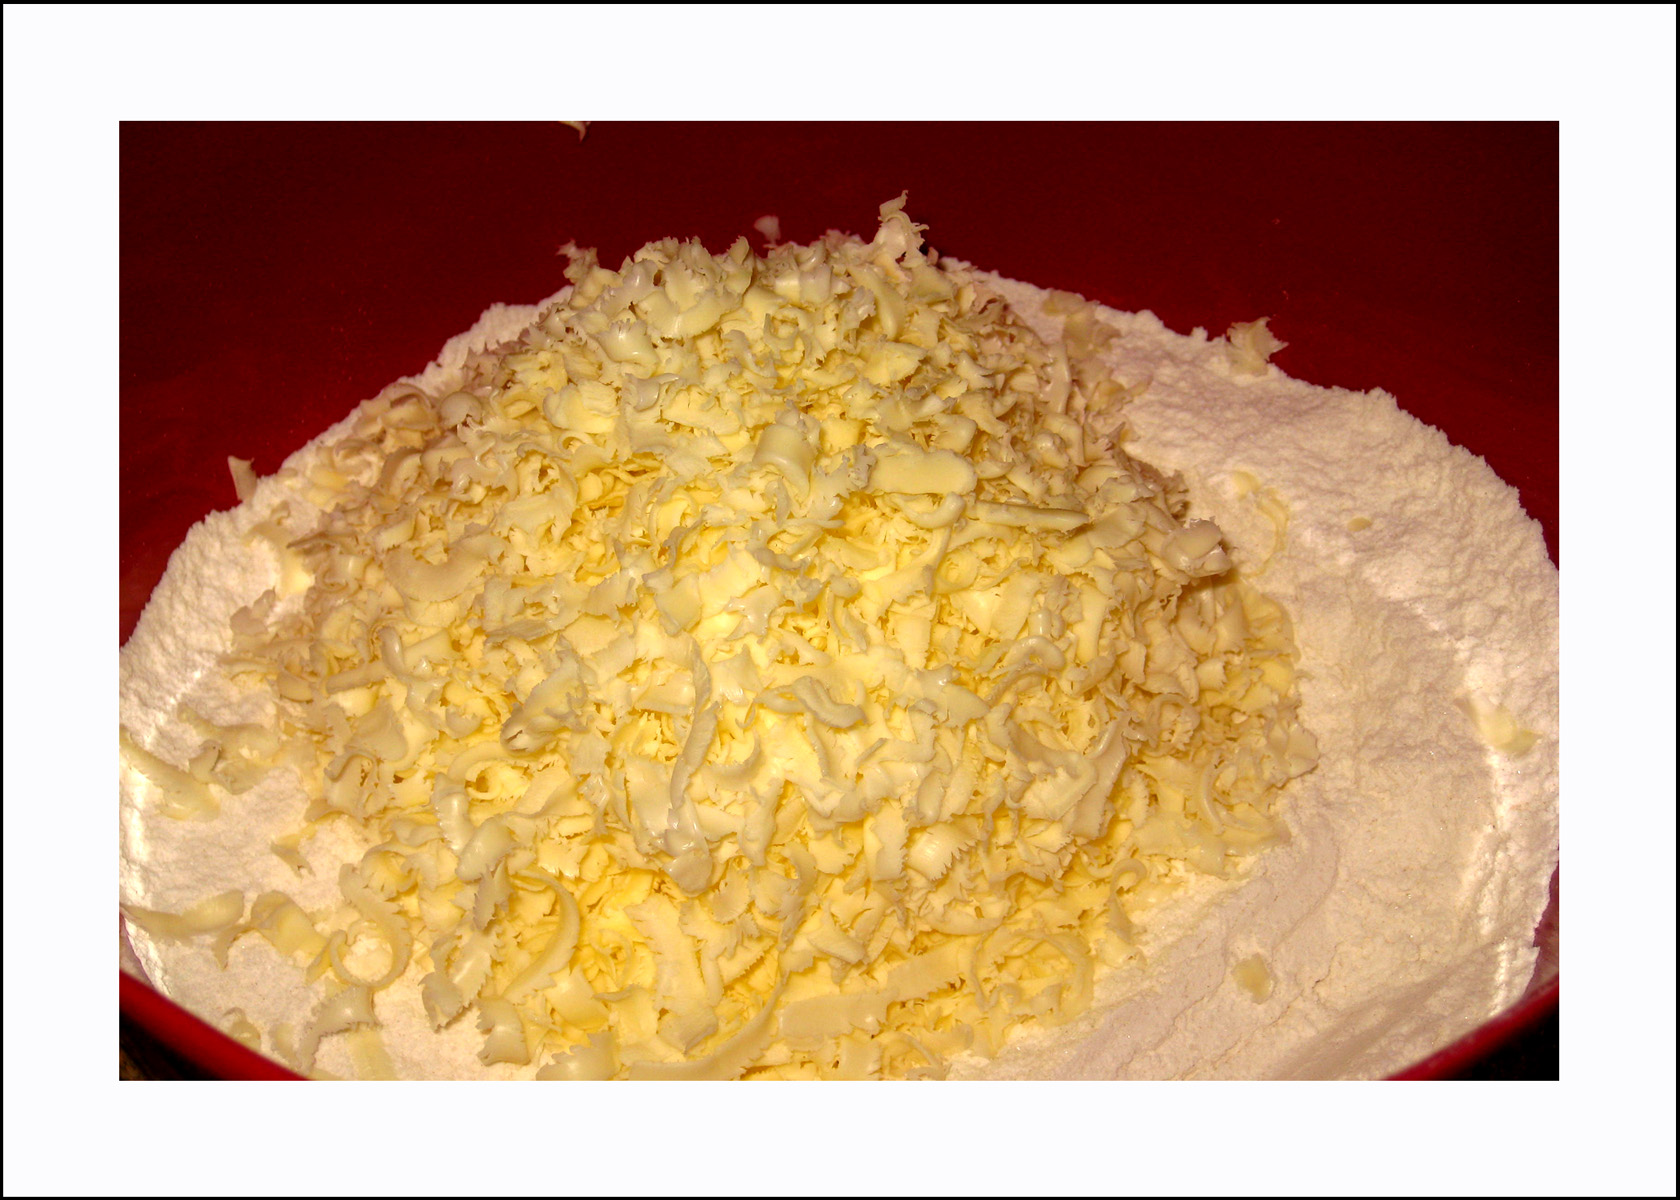
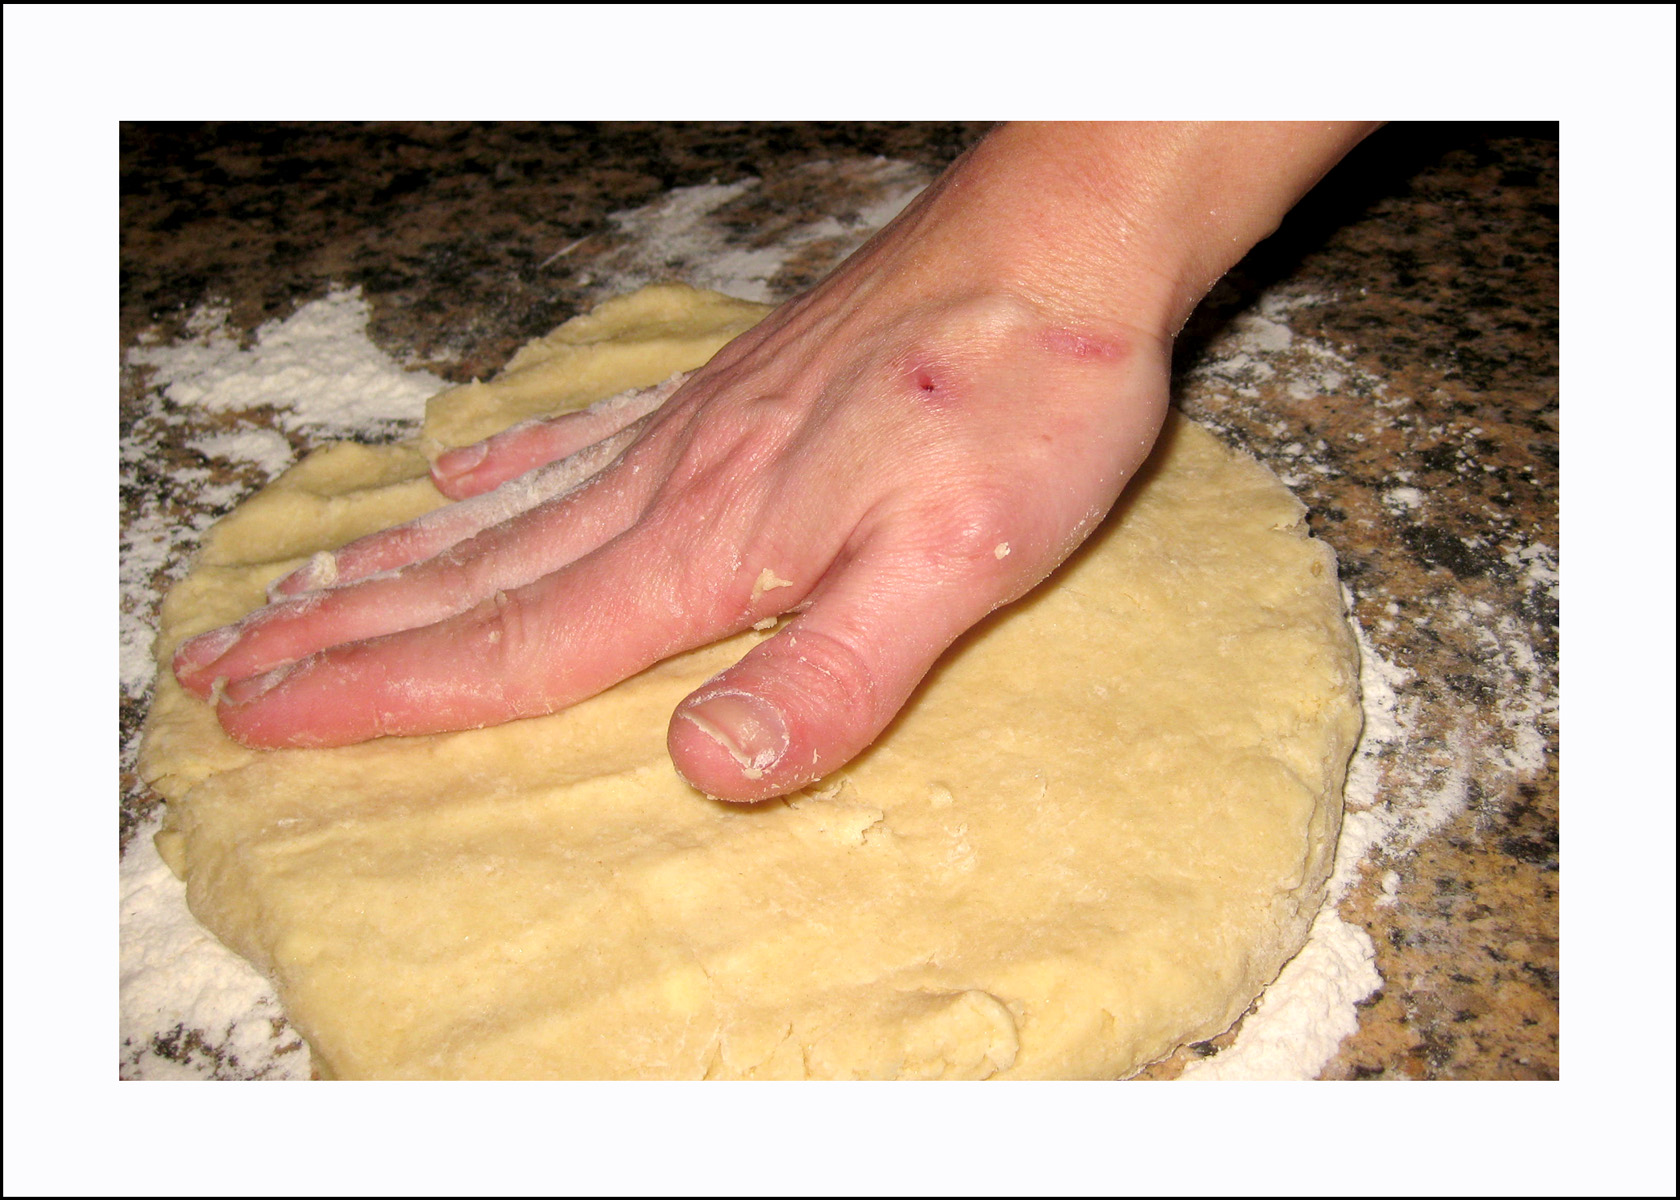
This is where I forgot to take pictures. After the butter is incorporated (so the combination looks like little grains), stir the egg & sour cream misture into the flour with a fork until it forms chunks of dough. Use your hand to press the doug around the bowl further until all dry ingredients have been incorporated.
Then, on a lightly floured surface, pat dough to a 10-12 inche circle that is about 3/4″ thick. Cut into triangles with a butter knife.
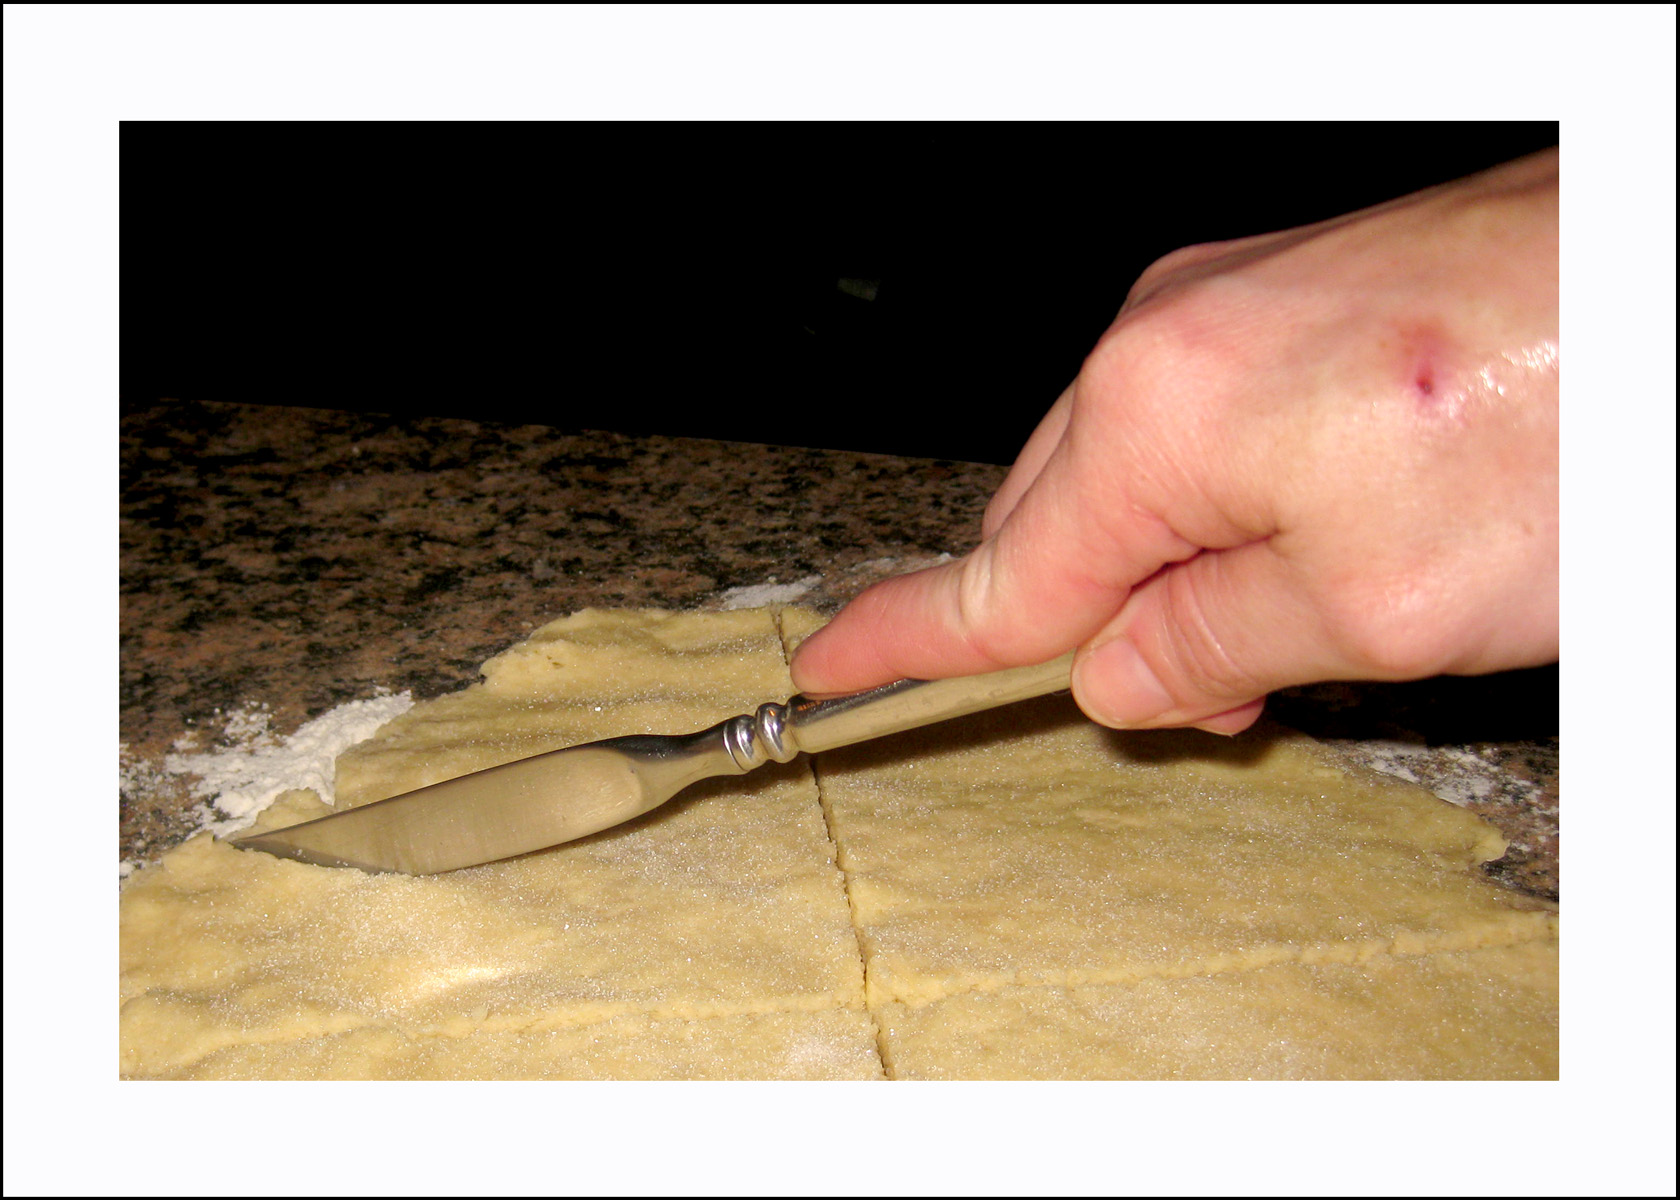
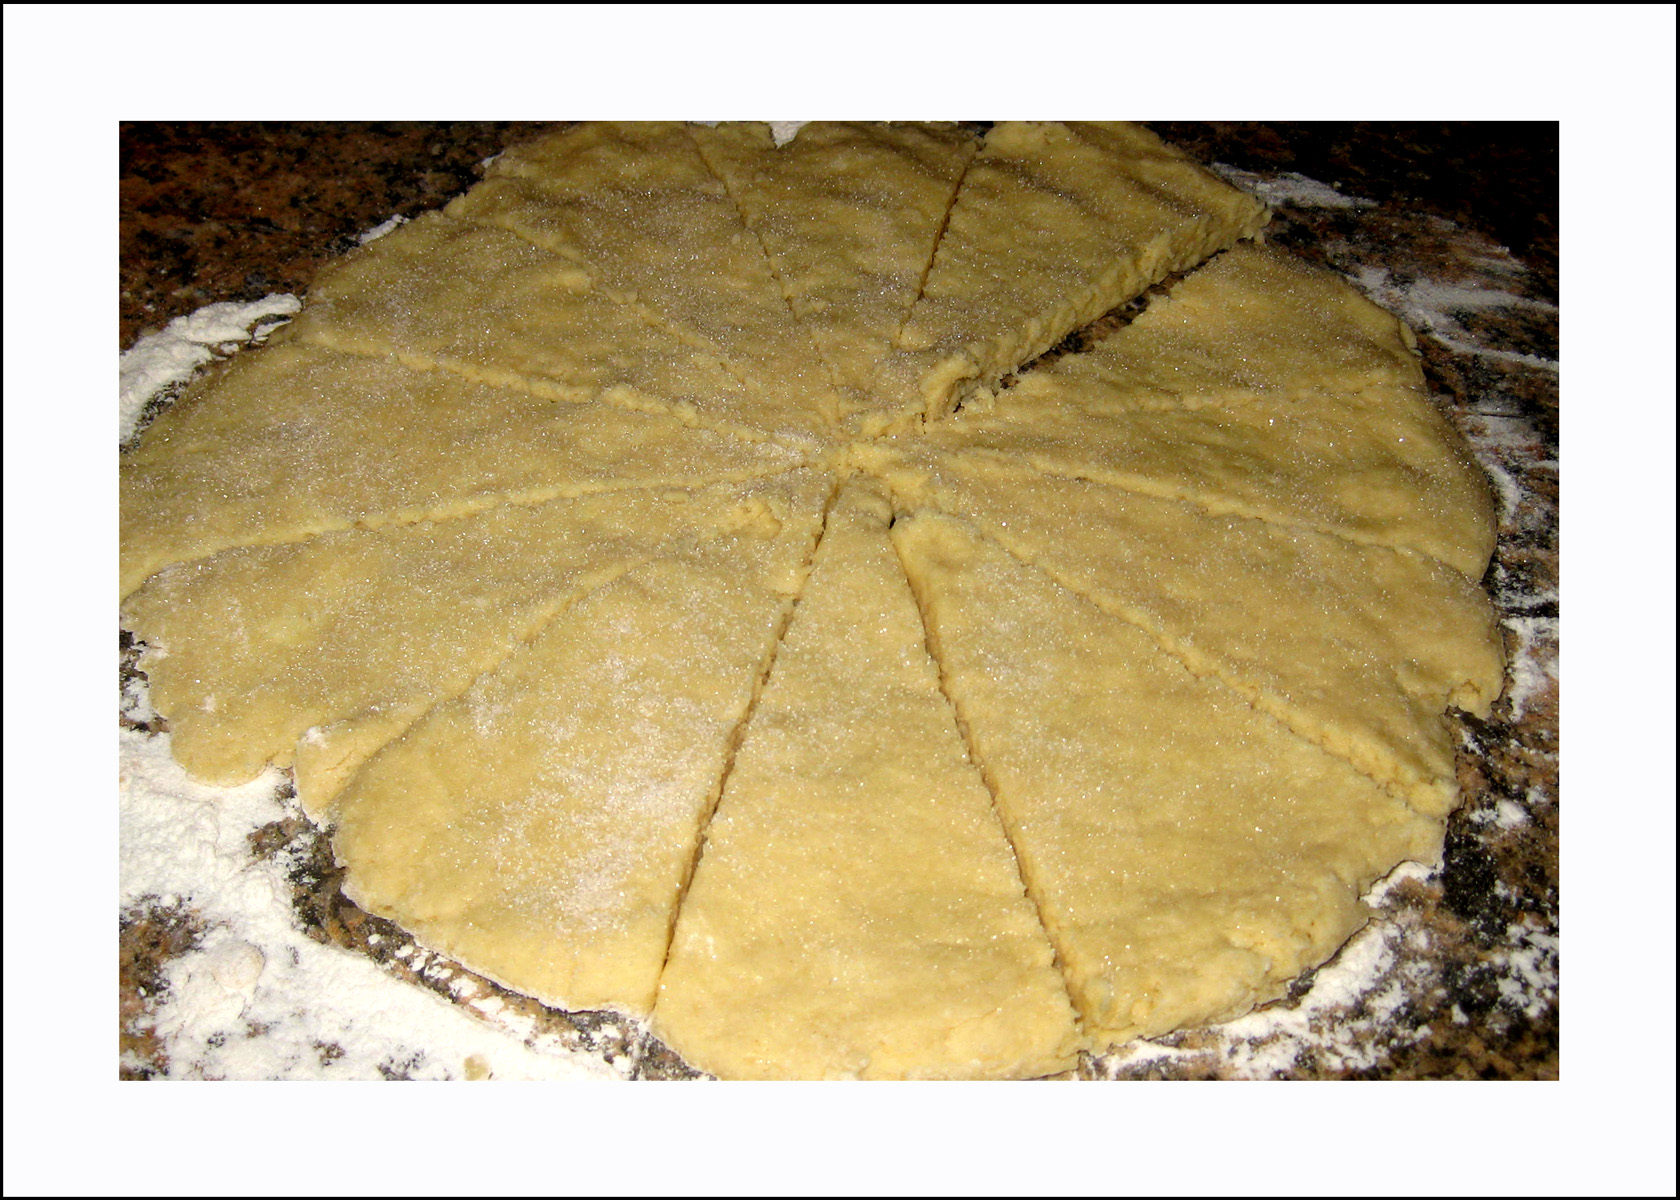
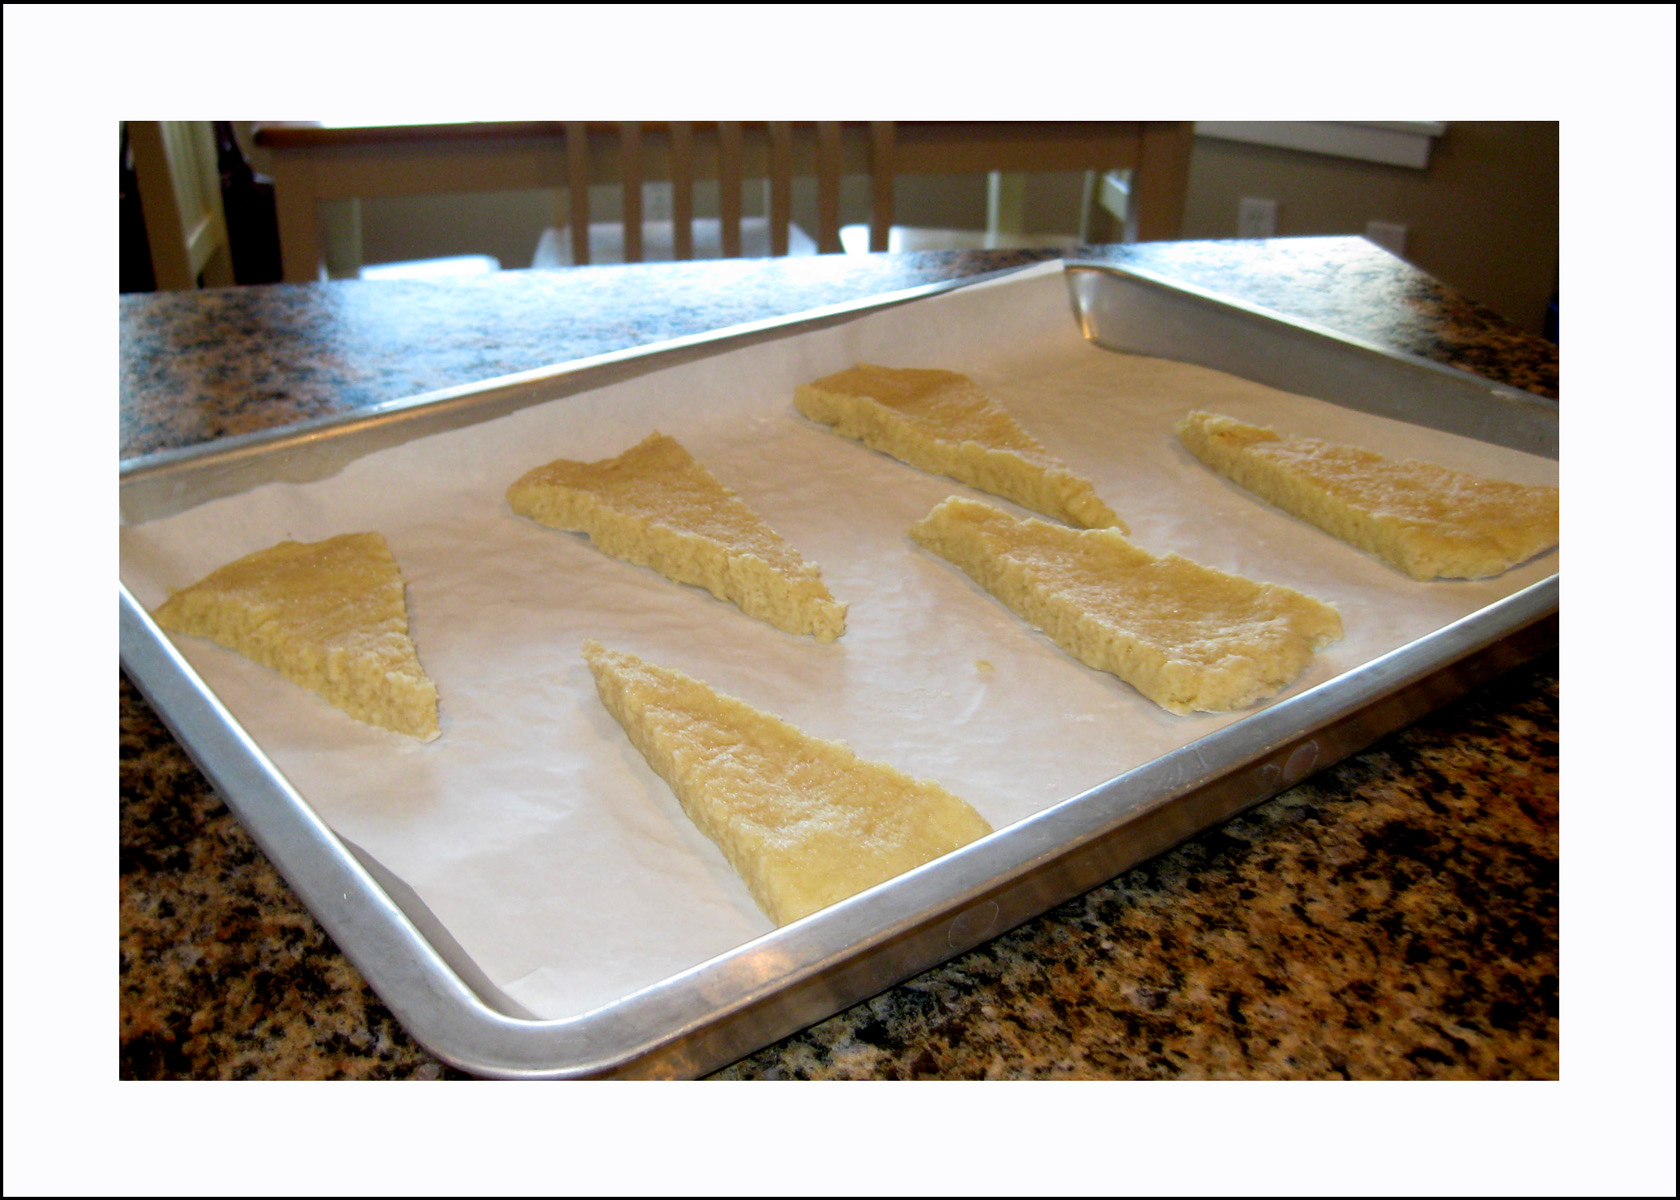
The triangles should be placed about 1″ apart on a parchment paper lined tray. They cook for 12 minutes at 400 degrees.
Mmmmmmmmmmm, yummy! They’re very good with strawberry topping and whipped cream, and they are just as yummy plain.
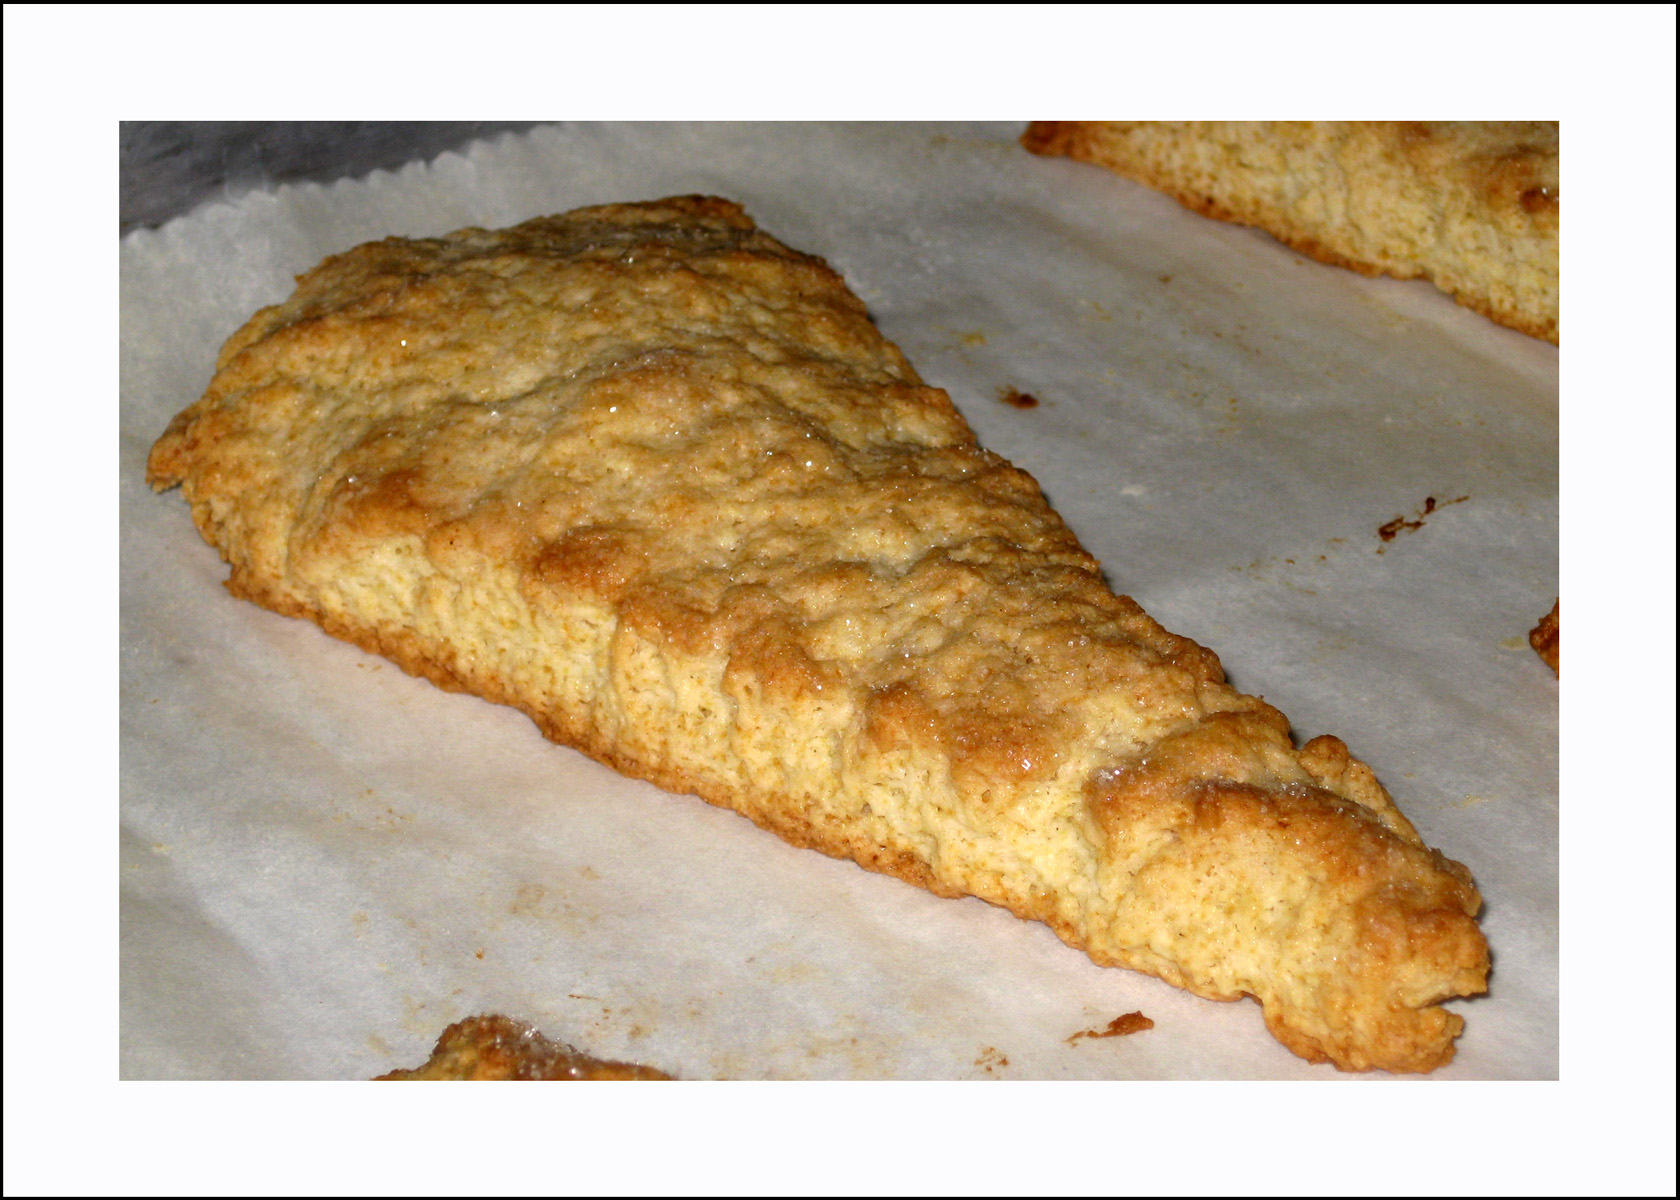
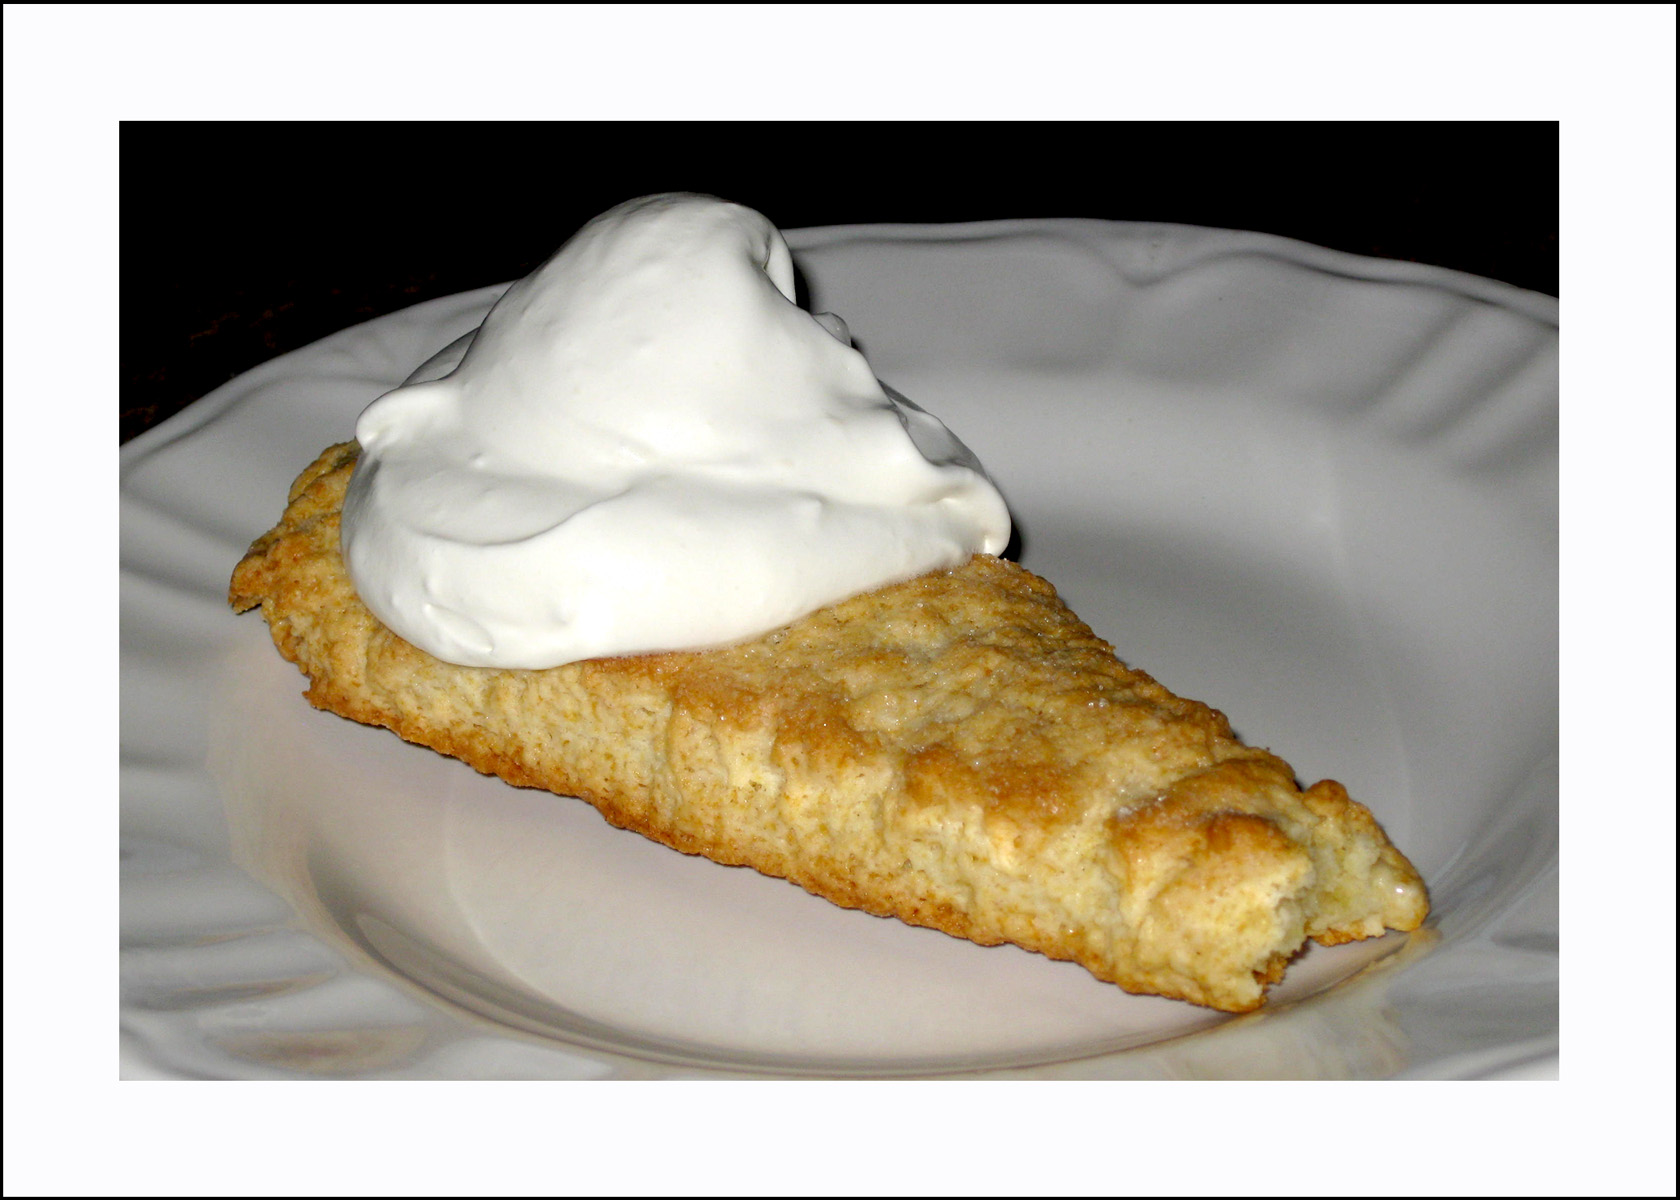
So, while this time at home has been great for developing my cooking skills serving my sweet-tooth, it has not been any good on this whole getting in shape thing I’m trying to manage.
The recipe from allrecipes.com:
- 2 cups flour
- 1/3 cup sugar
- 1 egg
- 1 tsp baking powder
- 1/4 tsp baking soda
- 1/2 tsp salt
- 1/2 cup sour cream
- 8 Tbsp butter
I followed their recipe with the exception of the raisins. I didn’t include them, and I still think the scones tasted great!

Nature Girl. Mom. Wife. Friend. Photographer. Sewer. Crafter. Artist.
To borrow a phrase – “Yeet Ye Riche”