I’ve talked before about not having a dedicated sewing/craft room in our house because we just don’t have room. Because of that, my sewing machine is in the living room against an island wall that is the pantry on one side and a coat closet on the other side. It works well, and I am able to keep my sewing machine out and accessible instead of having to store it away between projects.
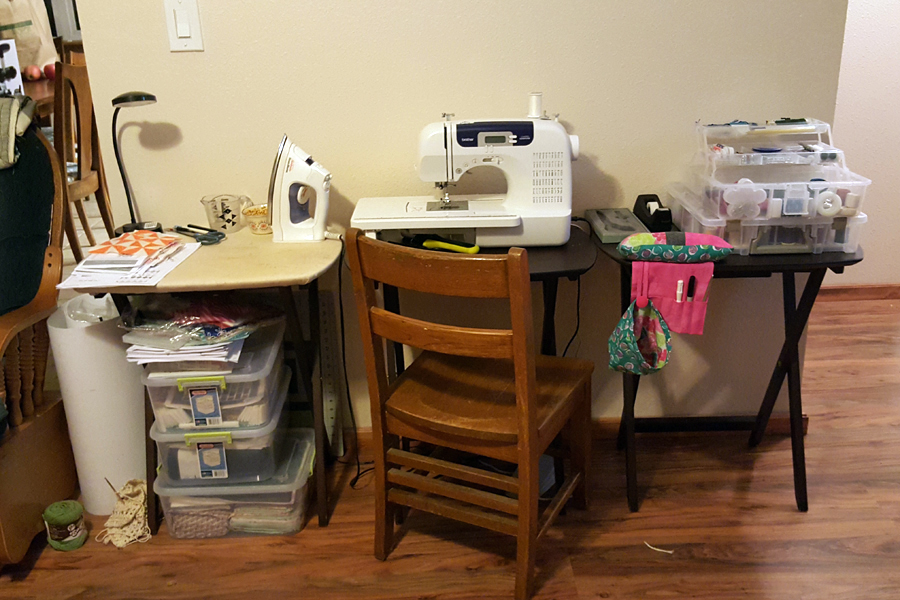
Until recently, I had a make-shift, cobbled-together sewing table and storage system, and it was pretty rough-looking. I was using three TV trays as my sewing space. One of them I covered and used as a pressing table (I actually still use it), I had my machine on one, and I stored supplies and other stuff on and around the third one.
This system worked well, but let’s face it – it is U.G.L.Y.!
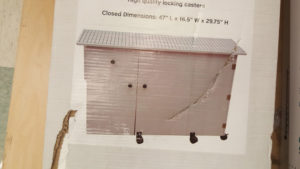
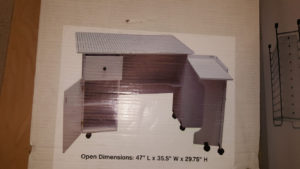
Last Fall, my mom and I were in Boise, and I happened to run across a sewing table in JoAnn Fabrics that looked like something my dad could make, so I sent him a picture of the box and asked if it was something he might be able to make at some point in time.
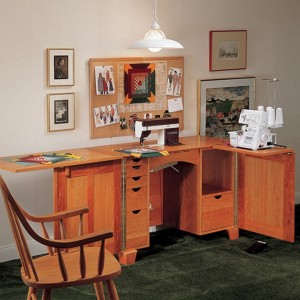
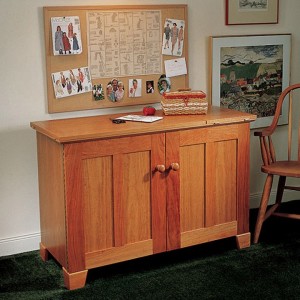
I didn’t think much more about it until a couple of months later when I got an email from my dad with a link to a wood-working pattern asking me if this cabinet would meet my needs:
Um, YES!
Again, I didn’t think anymore about it until Dad said he needed to borrow my sewing machine so he could get the measurements off it for the cabinet.
Insert happy squeal here!
Long story short, my dad made me the most amazing sewing cabinet, and I think it is by far better than the one I found at JoAnn’s or the one in the pictures from the Rockler Woodworking Website, where he got the plans.
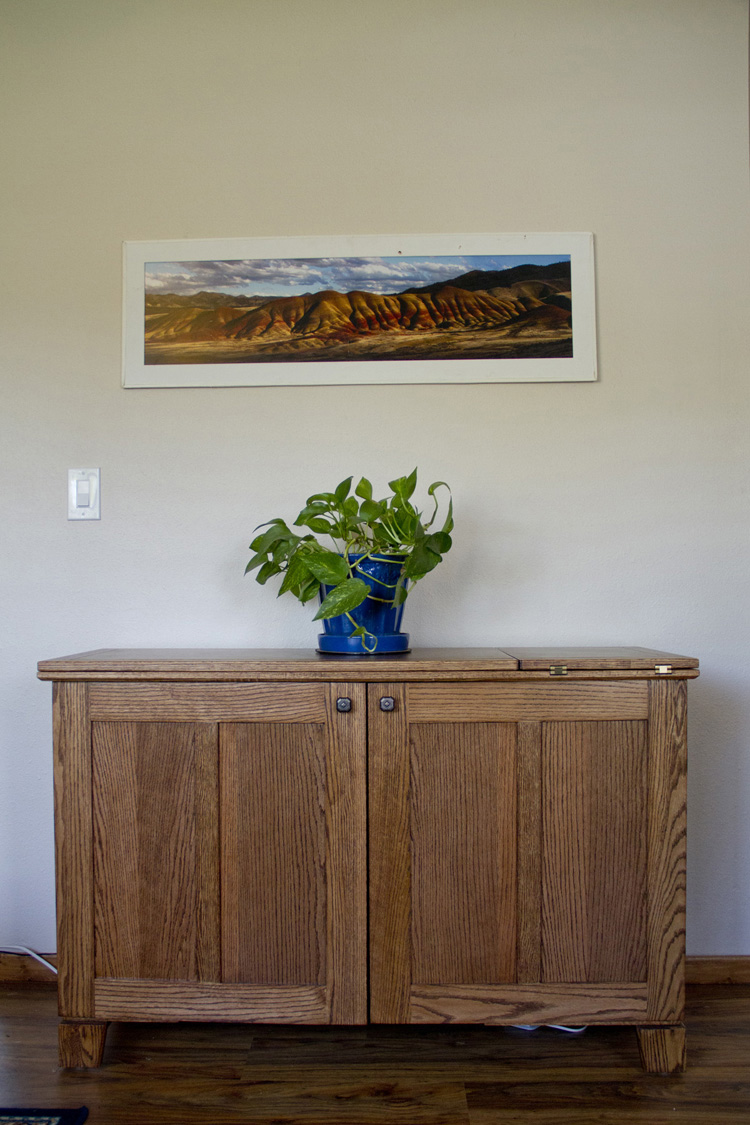
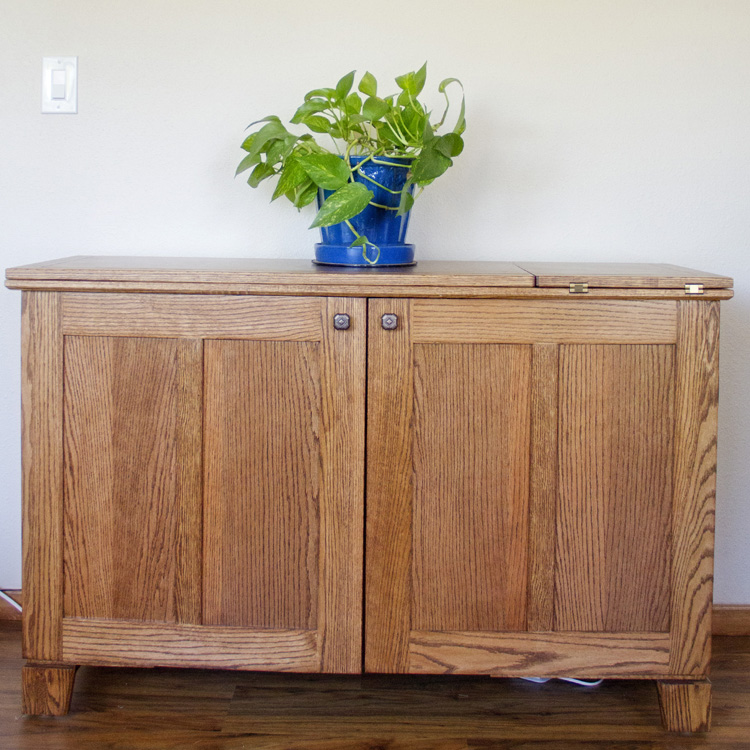
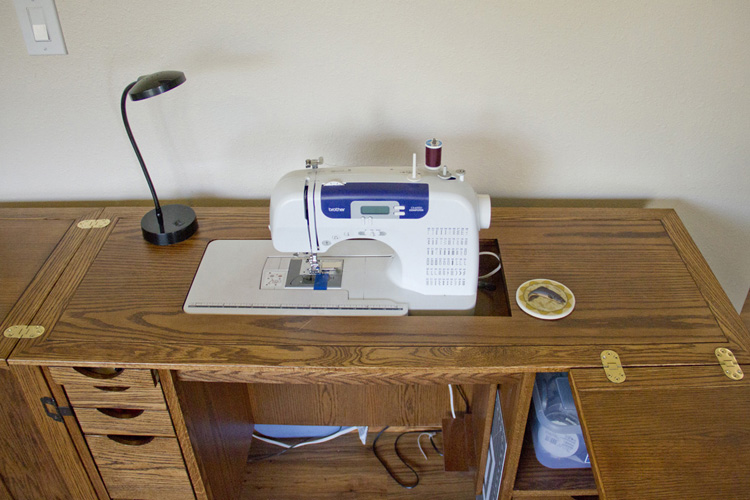
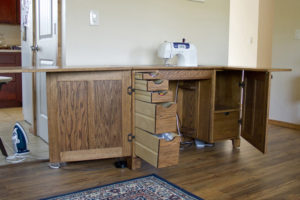
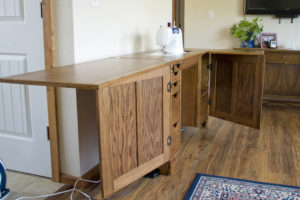
Voila! My new sewing cabinet:
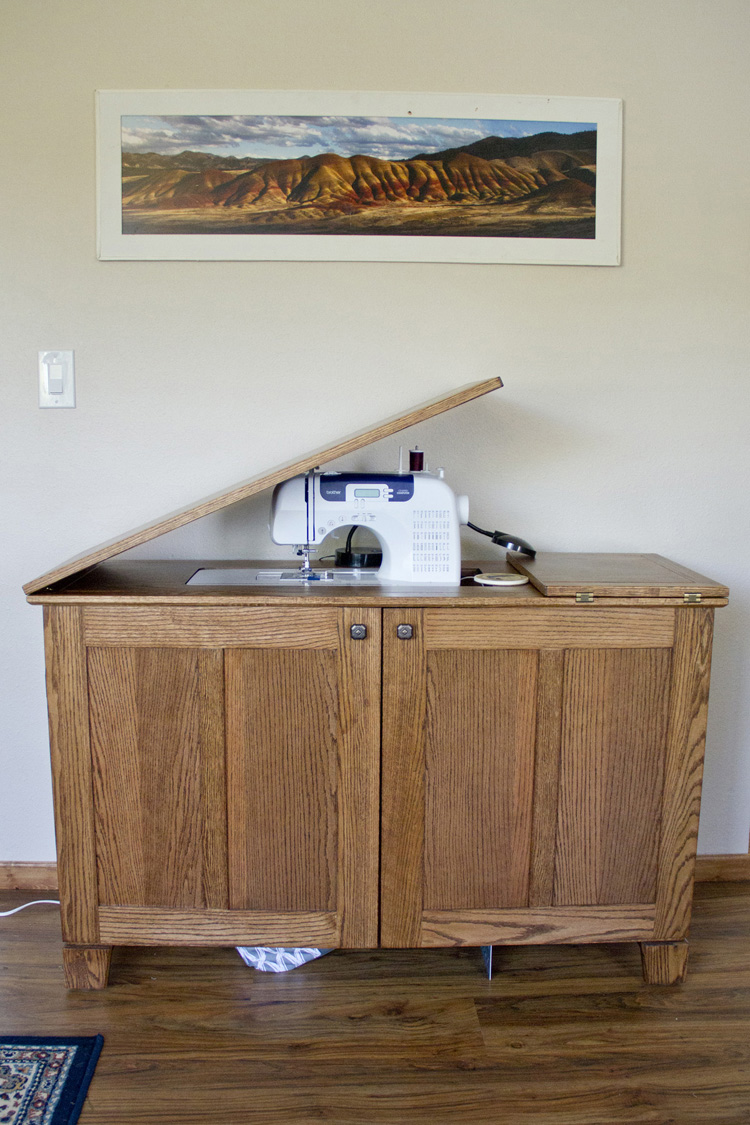
When I am not working on any projects, I am able to put my machine completely away and close up the cabinet, which makes it look like just another piece of furniture.
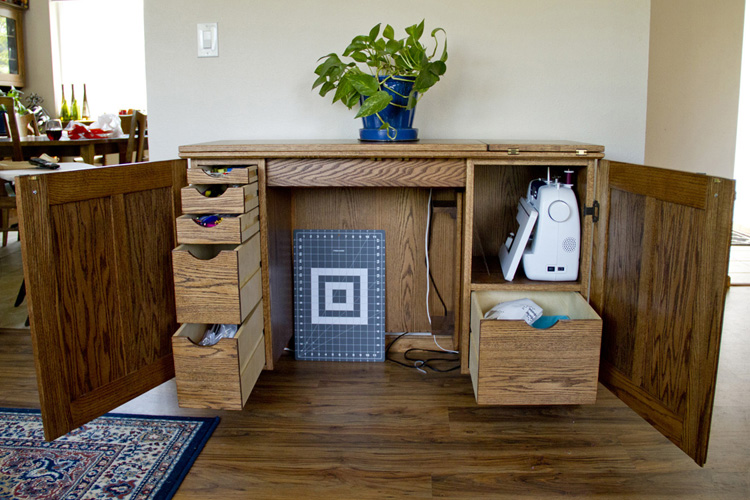
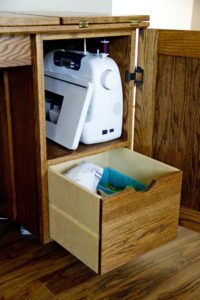
One thing my dad did not do; however, was purchase the automatic lift system for my machine because it was beyond expensive (the mechanism alone was nearly $200.00). When I want to put my machine away completely, there is a shelf on the right-hand side where it fits perfectly.
Instead of the lift mechanism, he made the cut out in the top so the surface of my machine and extended table were level with the surface of the cabinet. He also made an insert out of the cut out to use when I need to use just the arm of my machine (like for hemming sleeves, pant legs, etc.). The cut-out insert hangs on a hook inside the cabinet on the right hand side. Another hook (that I still have to install) will be on the left side for me to hang my smaller cutting mats.
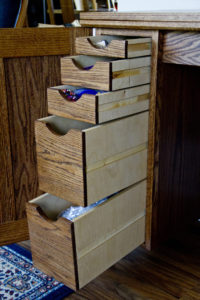
The left-hand side of the cabinet has five drawers, and I am still fiddling with what to put where. I am not used to having all my tools within arms reach, so deciding exactly where to put them is taking some trial and error.
For now, the top drawer has all my marking pencils, seam gauges, seam rippers, presser feet, machine needles, and measuring tapes. The next drawer has all my scissors, pinking shears, wheel cutters, and turning tools. The third drawer holds pins, magnetic pin grabbers, and hand-sewing needles. For now, the fourth drawer stores thread cones and my bowl of bobbins. The bottom drawer has trims (laces), beads, zippers, and velcro.
In the drawer on the right-hand side, I have my pattern taping/cutting supplies, pressing ham and roll, and miscellaneous bag hardware. Above it on the shelf where my machine can be stored, I normally have two plastic tubs that have the fabric for my current projects stored in them.
When the table is completely opened up, it has two flat surfaces that I use as work tables. The one on the left is works well for laying out pieces of fabric to pin together or for cutting pattern pieces, and the one to the right is the perfect place for pattern sewing instructions!
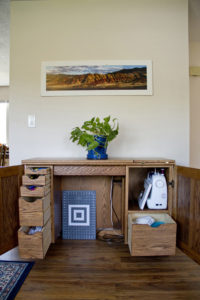
One of the nice things about this cabinet is that I can “mostly” put it away when I need to, and even though my machine is still out, the cabinet contains all of the other supplies and fabric of current projects. I have to admit that my machine rarely gets put away completely, though, and it usually looks like this. I love that it sits right under one of my absolute favorite images I have ever made – the Painted Hills at the John Day Fossil Beds. The image has seen better days, and it needs re-matted and framed; however, it is still a favorite. If you’re ever in Oregon and have an opportunity, the Painted Hills are a must see; they are part of Oregon’s Seven Wonders.
Every time I receive a piece of furniture my dad makes, I feel more and more privileged to have received such an amazing piece of work. My dad is an amazing craftsman, and he creates pieces that will one day be priceless heirlooms both for their sentimental value and their craftsmanship.
In February, I wrote a Love Your Sewing Space post, and even though I was content with it then, I am over the moon with my sewing space now!

Nature Girl. Mom. Wife. Friend. Photographer. Sewer. Crafter. Artist.
To borrow a phrase – “Yeet Ye Riche”
Hi Amy, How blessed you are to have a Dad so willing to make such a beautiful sewing cabinet! You will treasure it your whole life long! It’s really well-made – I noticed the hinges – very nice! I hope you enjoy many happy hours sewing at this beautiful cabinet remembering your Dad every time you turn on the machine. Blessings, Janet
Thank you, Janet! I agree, I am very blessed!
This is such a wonderful gift! Kudos to your sweet and skilled Dad! Enjoy it. It is really beautiful and so perfectly functional.
Thank you so much!
Gorgeous! What a wonderful cabinet that your Dad created for you. I love furniture that combines beauty, function, and love.
Deborah @ Sew Much To Give
Thank you so much! I am thrilled to have something he created to keep forever!
Amazing sewing space with such special meaning!
Thank you, Audrey! My dad is not “old” by any means (71), but I know that there will come a day when I cherish the furniture he has made me for their craftsmanship AND memories.
I do have to admit, though, it rarely looks that clean. It’s usually spread out and covered in WIPs!