I am not sure why I am so intimidated making stays, but they terrify me. The process of making the stays started immediately after I finished making the underpetticoat; however, I also worked on making a set of practice pockets at the same time (linked here). They are finally finished, and I have stays for days!
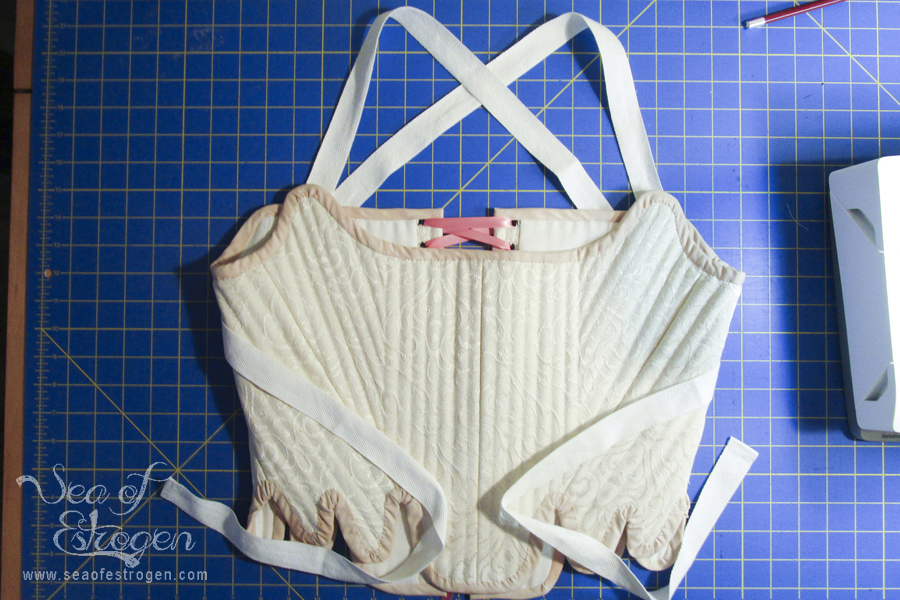
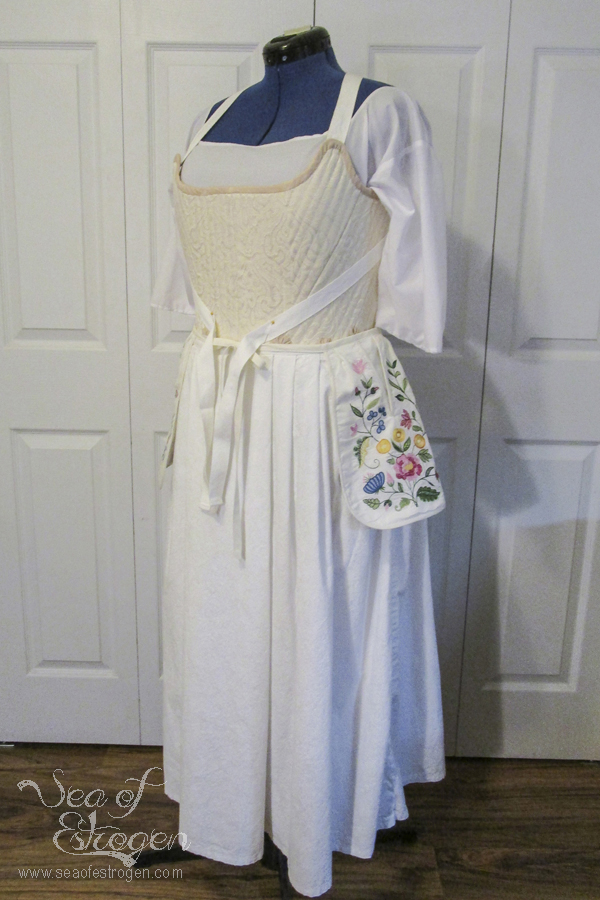
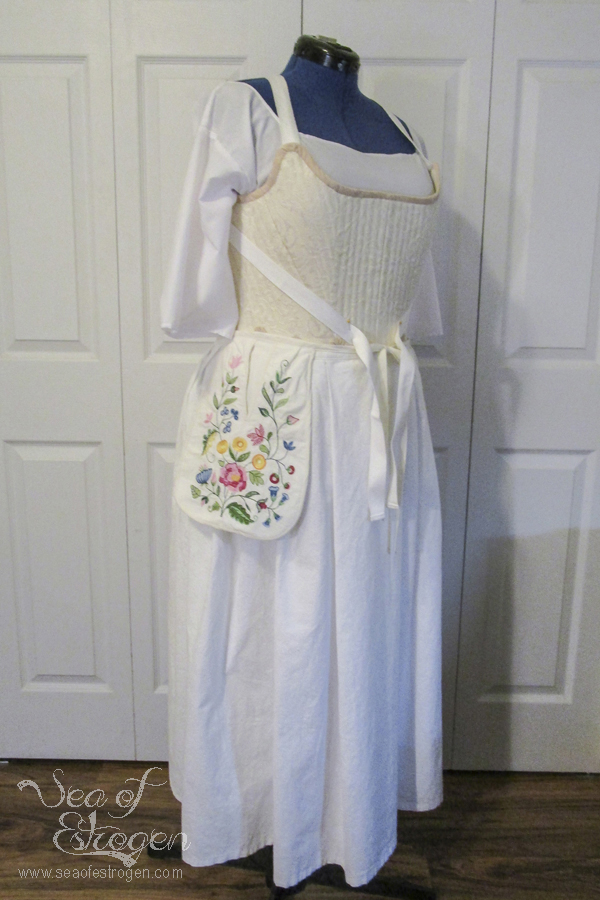
Unfortunately, I have not tried these on, so I have absolutely no idea whether they fit or not. I have put them on my dress form, Francis, and she has roughly my measurements, so they should fit fine. We will soon find out. The next step of my costume will be to make the panniers (pocket hoops). Once they are made, all the underpinnings will be finished. I plan on trying on the entire ensemble at that point.
Supplies
The stays required much more complex supplies than the other pieces have. In addition to the outer layer of the stays, they also required two layers of coutil and one layer of lining fabric. Additional notions included grommets, twill tape, bias tape, boning, and ribbon. Finally, I am using Simplicity Pattern #8579 to create the stays.
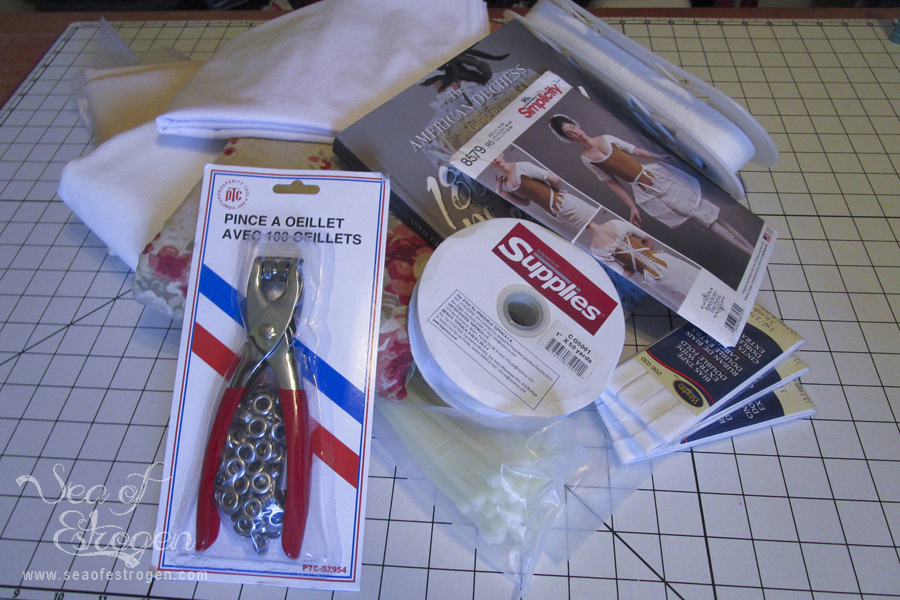
Instead of using synthetic baleen (whalebone) for making the stays, American Duchess recommends using industrial-strength zip ties. They are more cost-effective and easier to obtain.
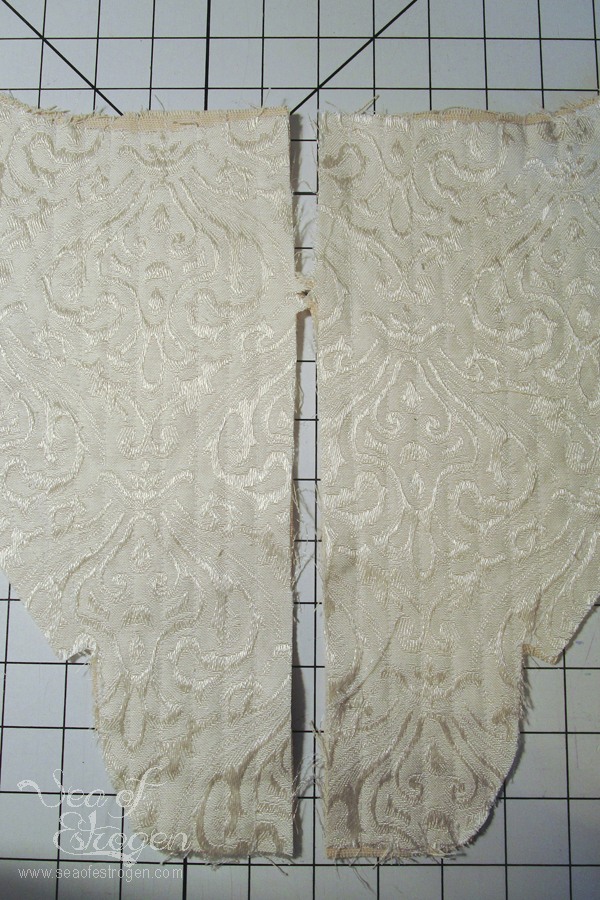
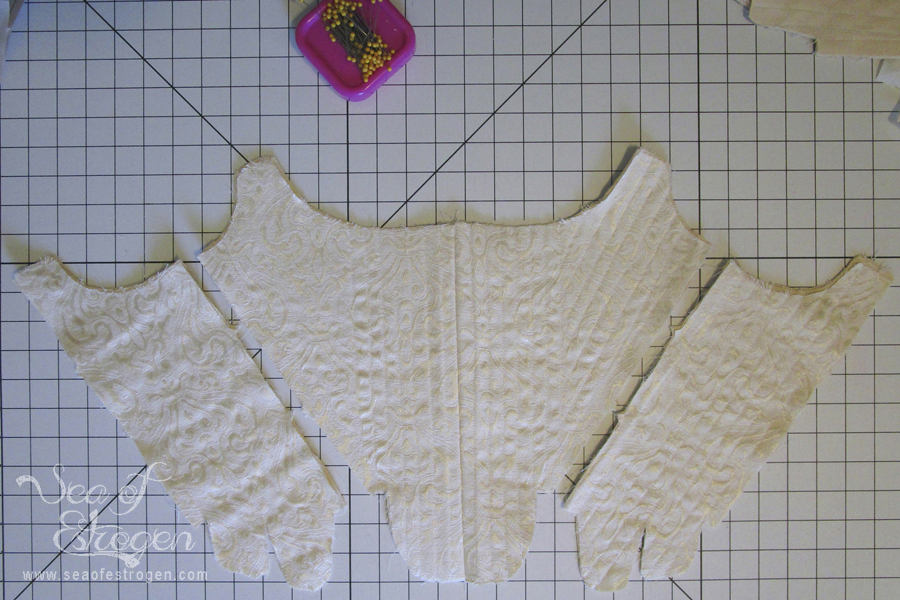
Cutting the Pieces
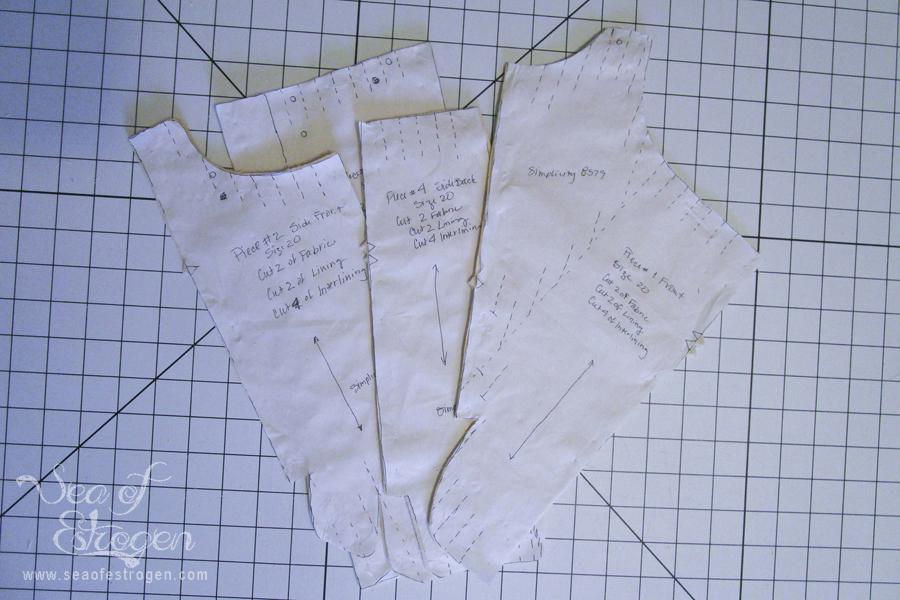
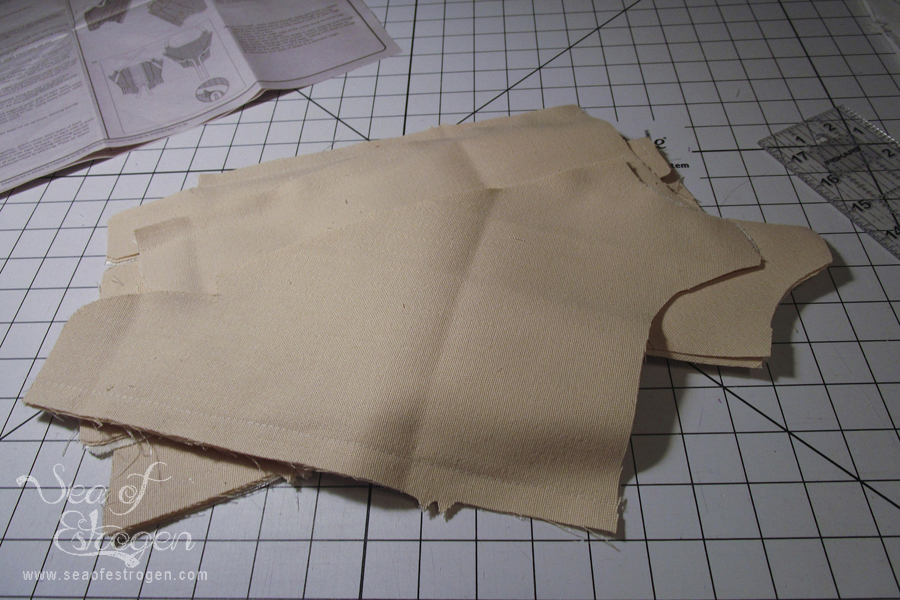
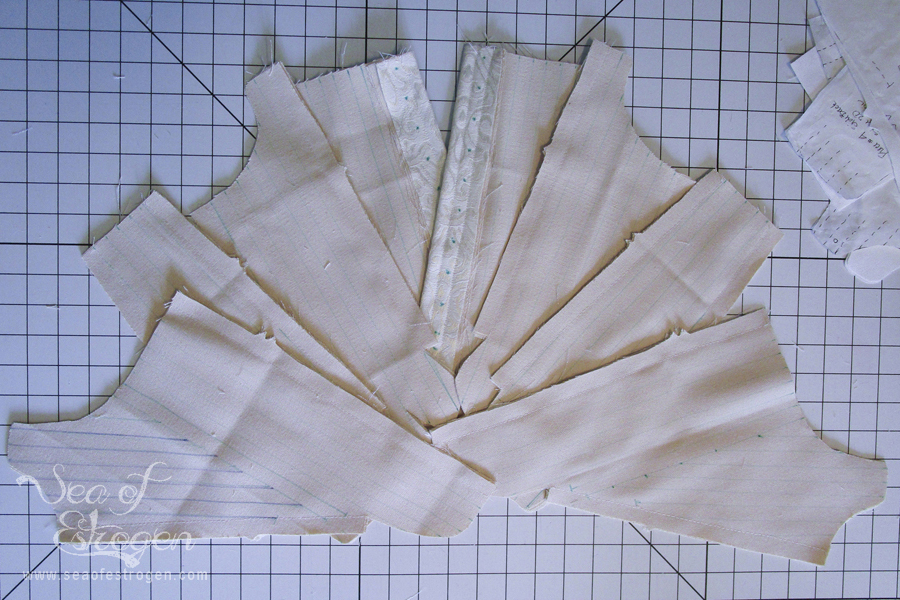
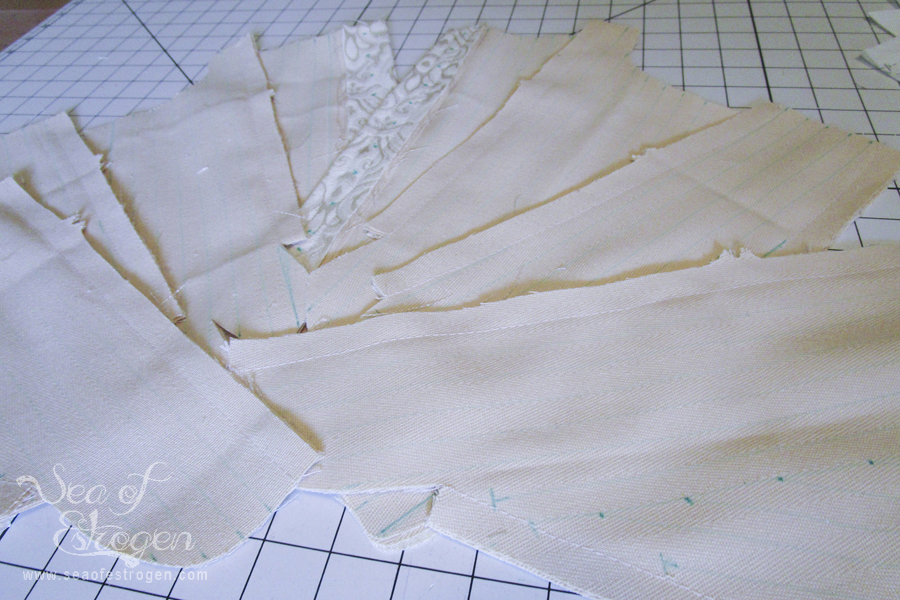
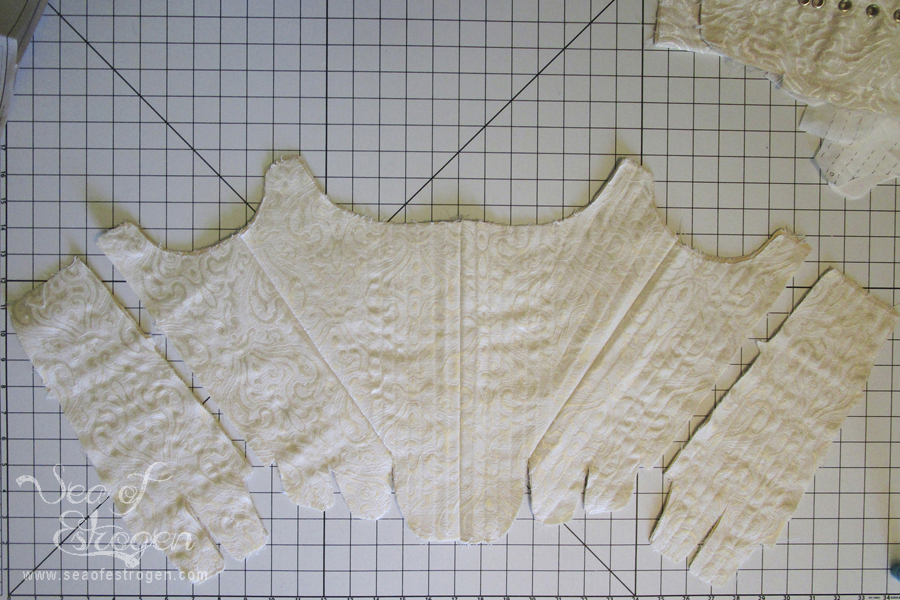
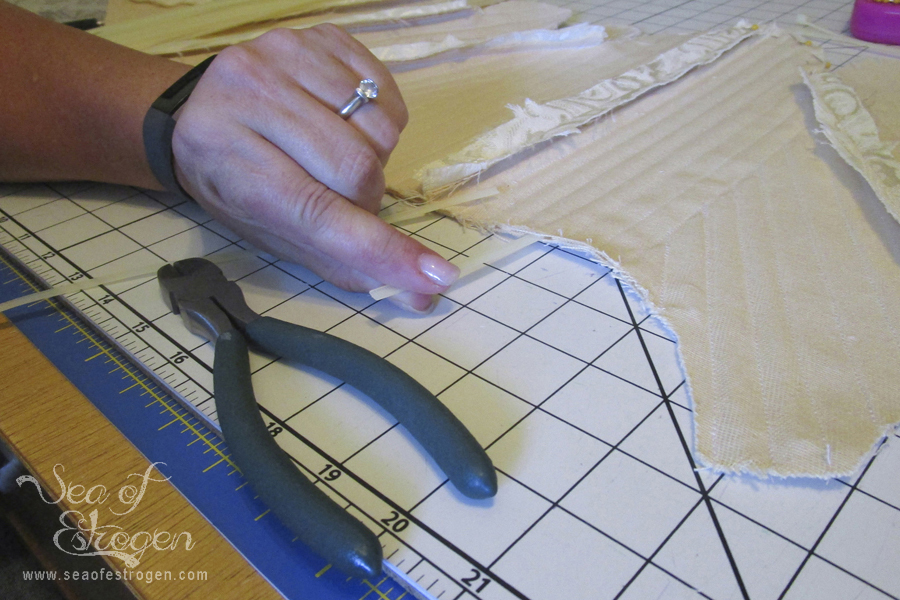
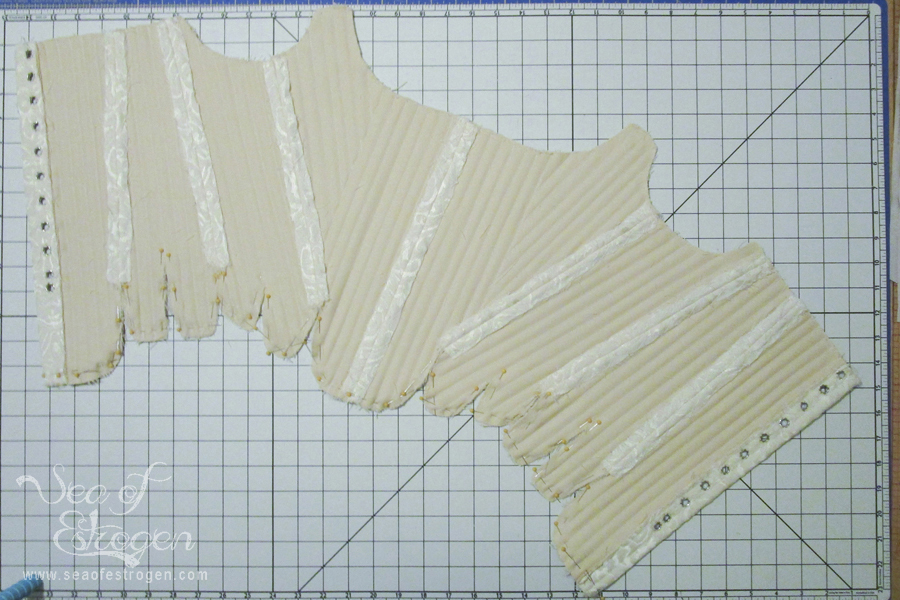
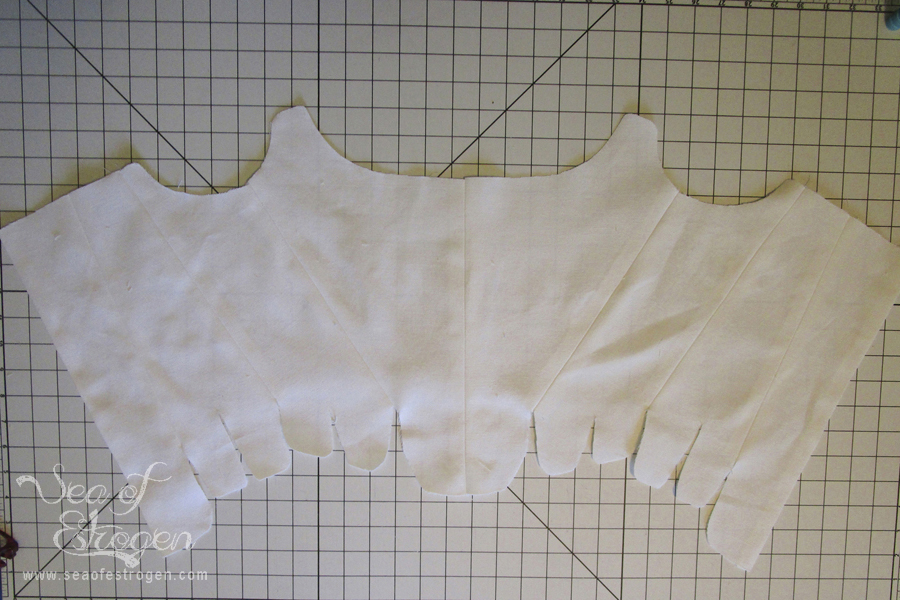
I traced the original pattern onto tracing paper so I could use a different size in future projects. After tracing the pattern and transferring the pattern markings, I cut each piece out.
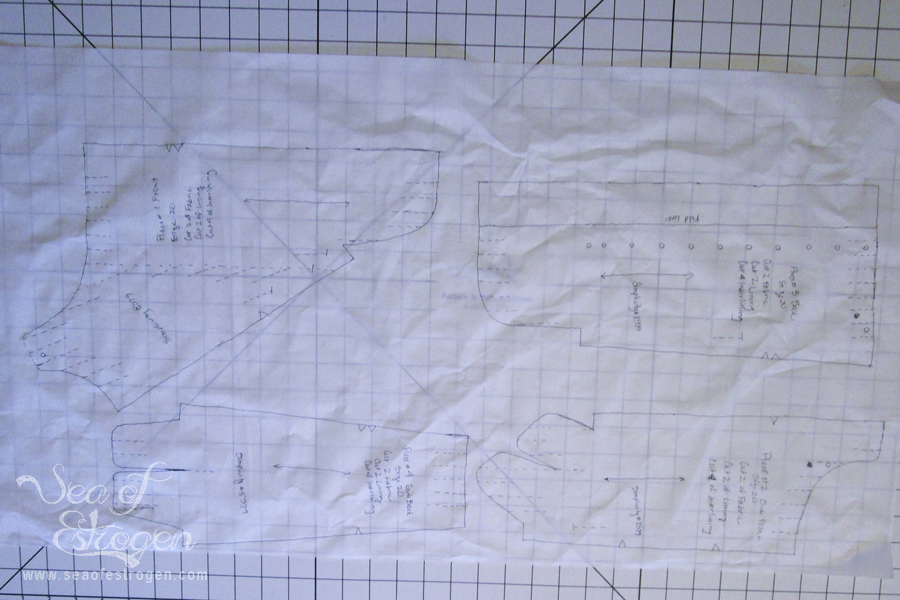
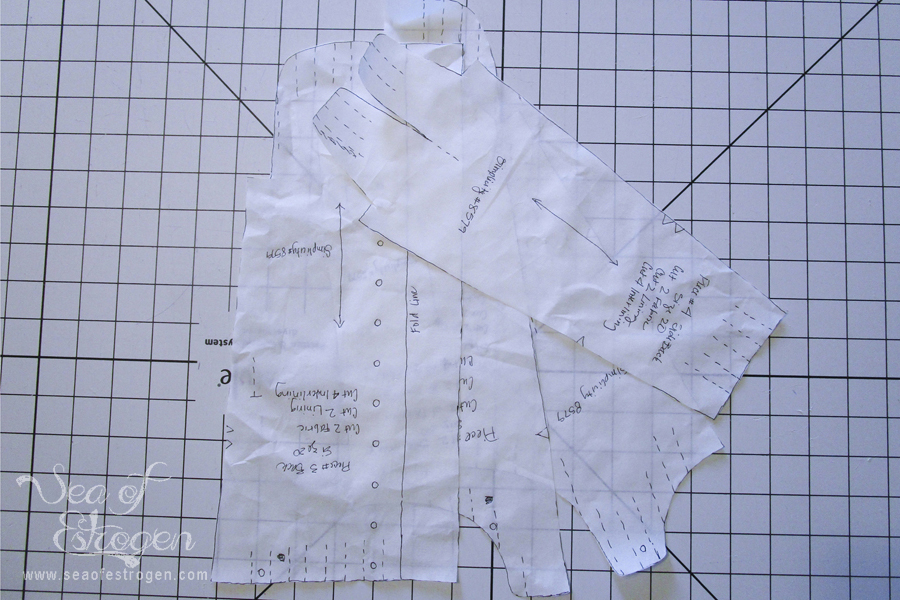
The pattern calls for one layer of main fabric, two layers of coutil, and one layer of lining fabric. Once the pieces are put together and the boning channels sewed, the bones are placed between the two layers of coutil.


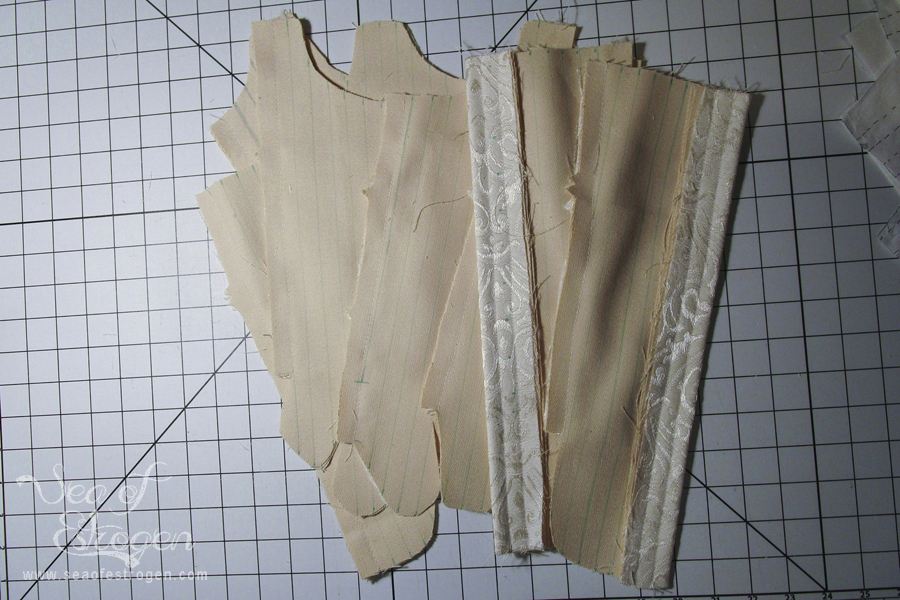
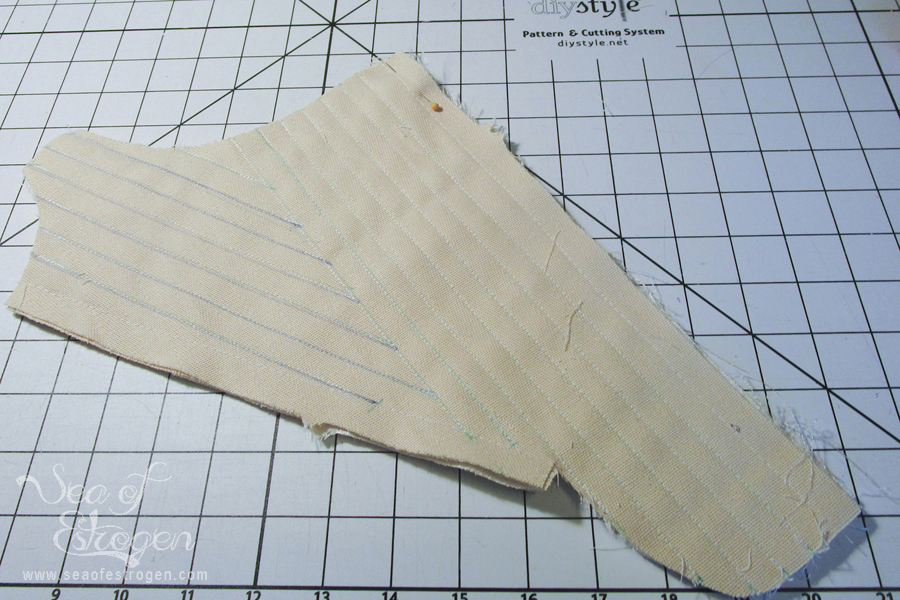
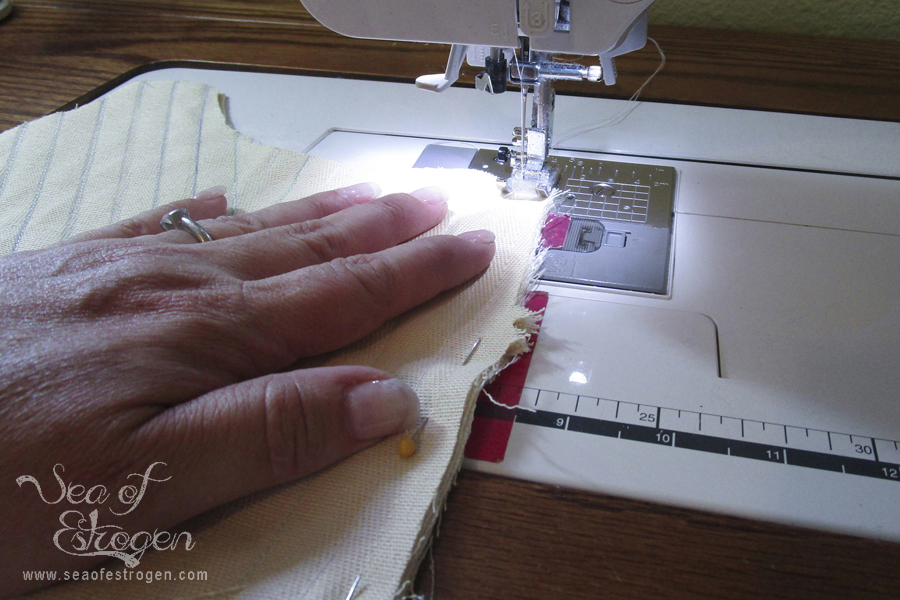
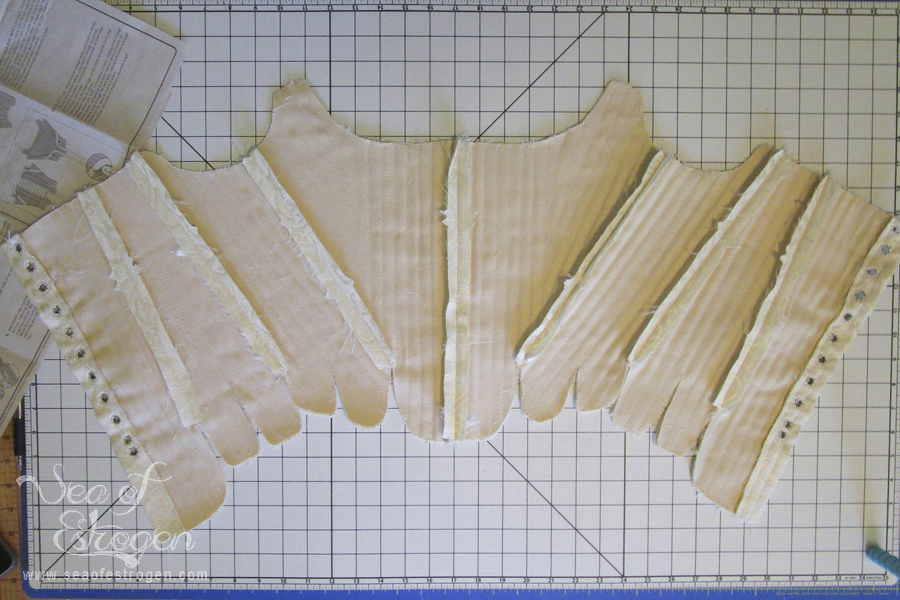
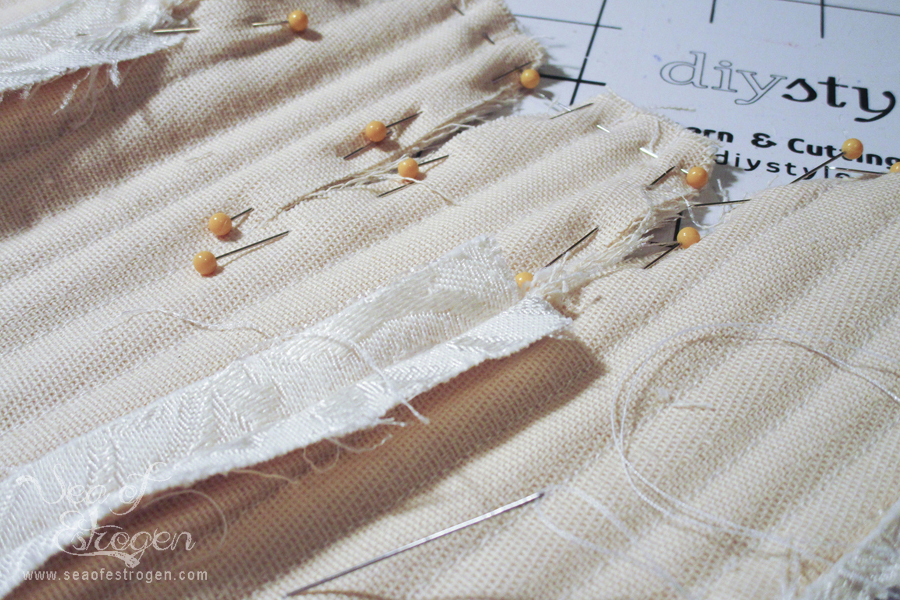
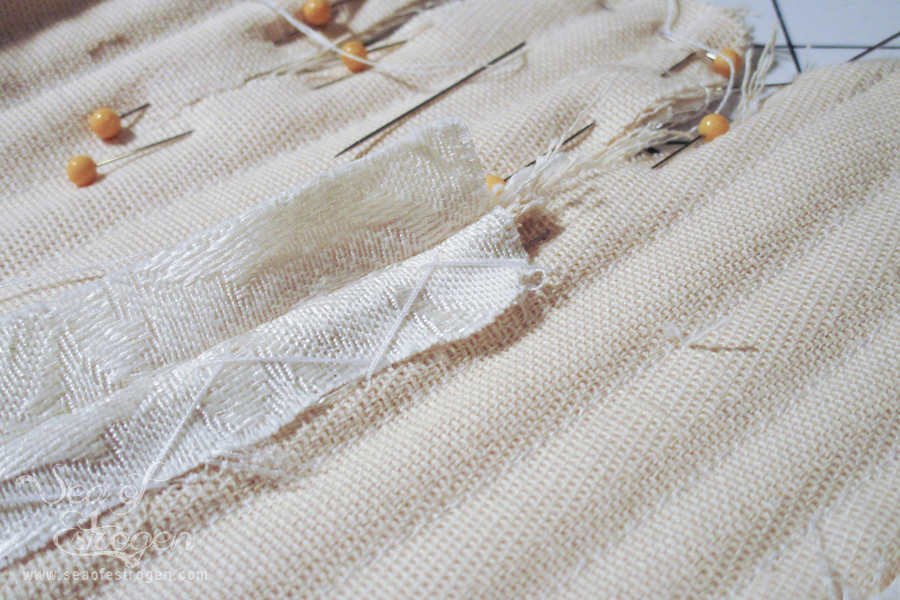
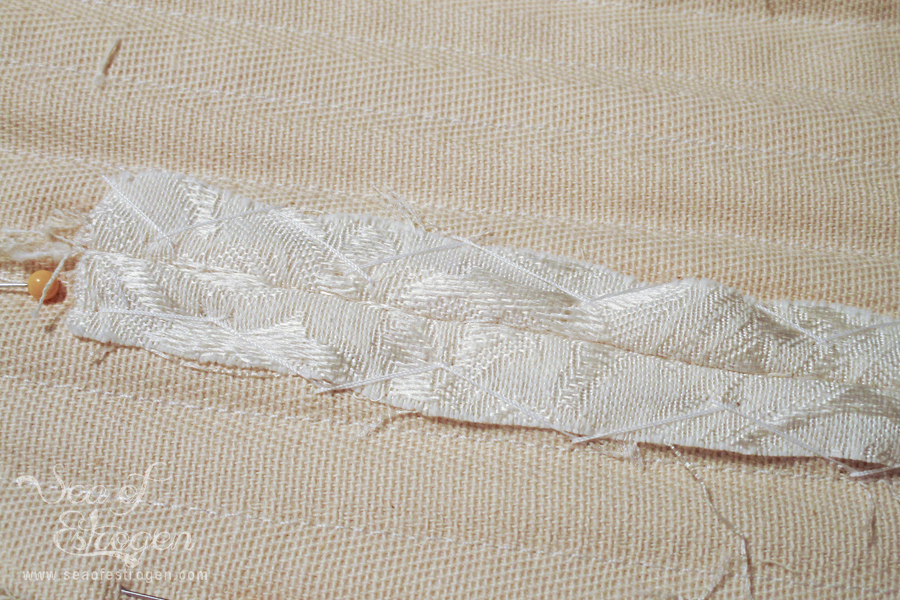
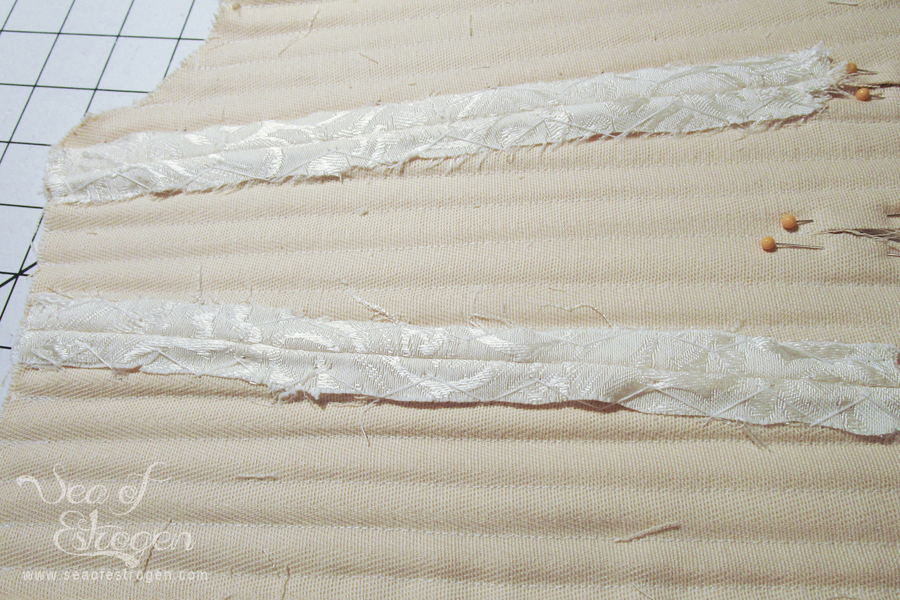
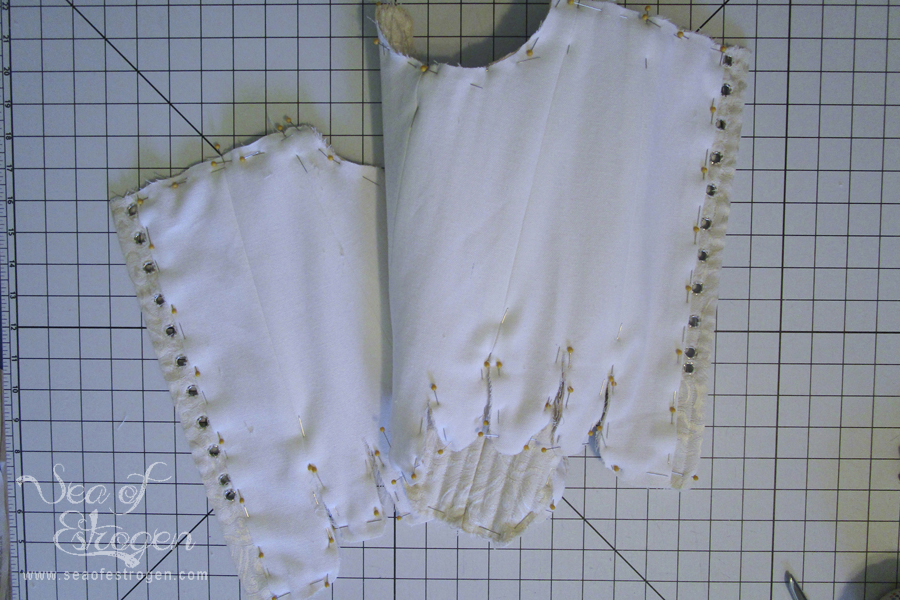
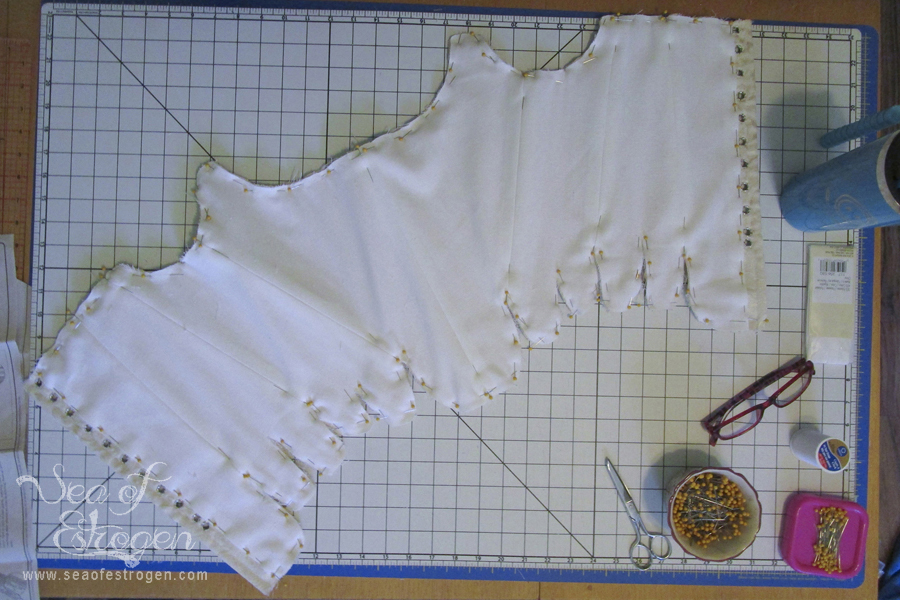
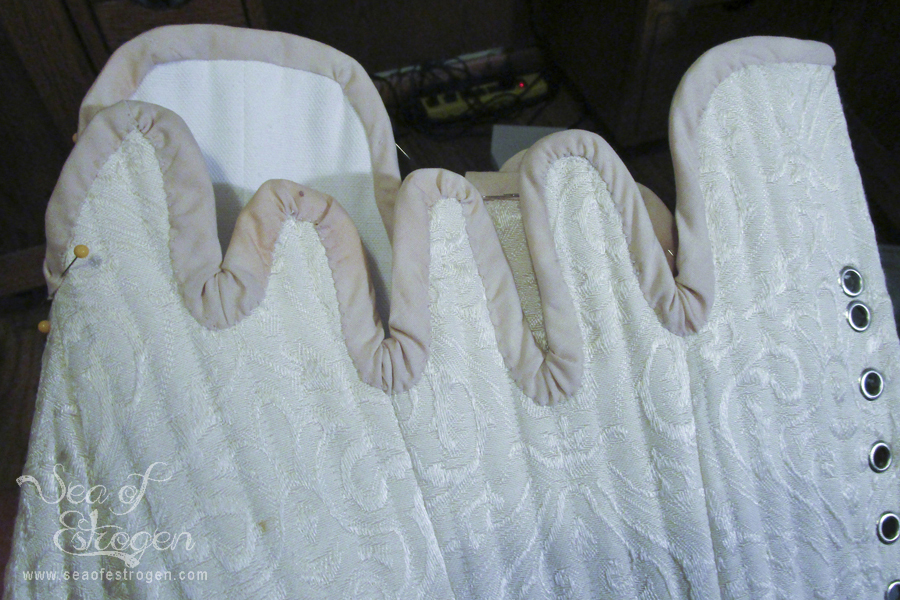
Coutil and Grommet Channels
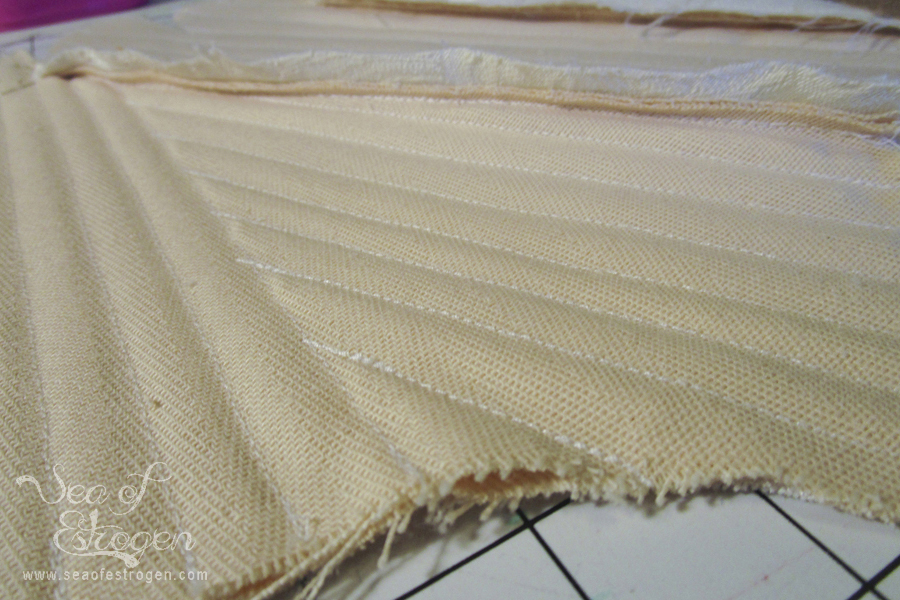
The first step of construction was to attach the coutil to the main fabric layer by basting along the edges. After creating the grommet channels, I sewed the boning channels following the guidelines provided on the pattern (the dotted lines in the last picture above).
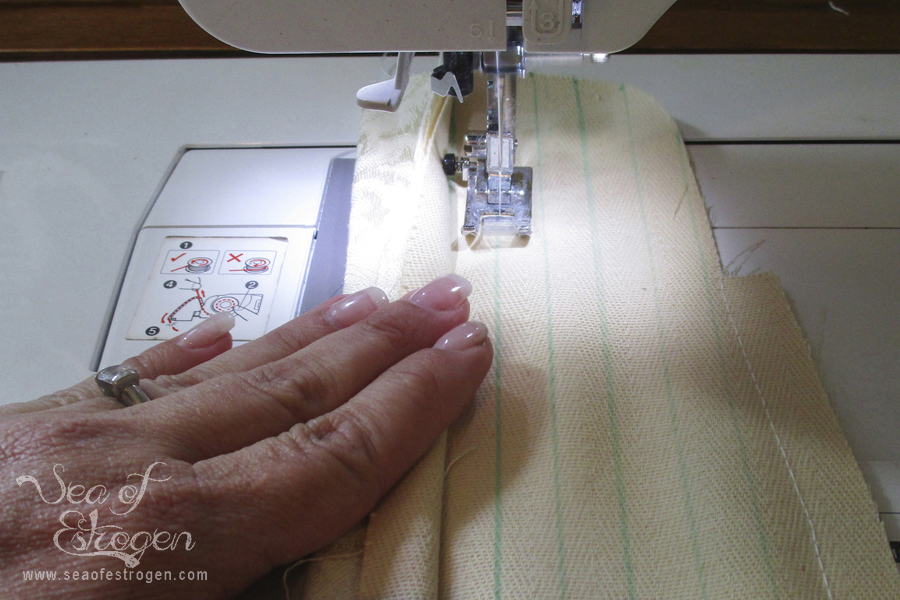


Those boning channel threads took forever to trim!
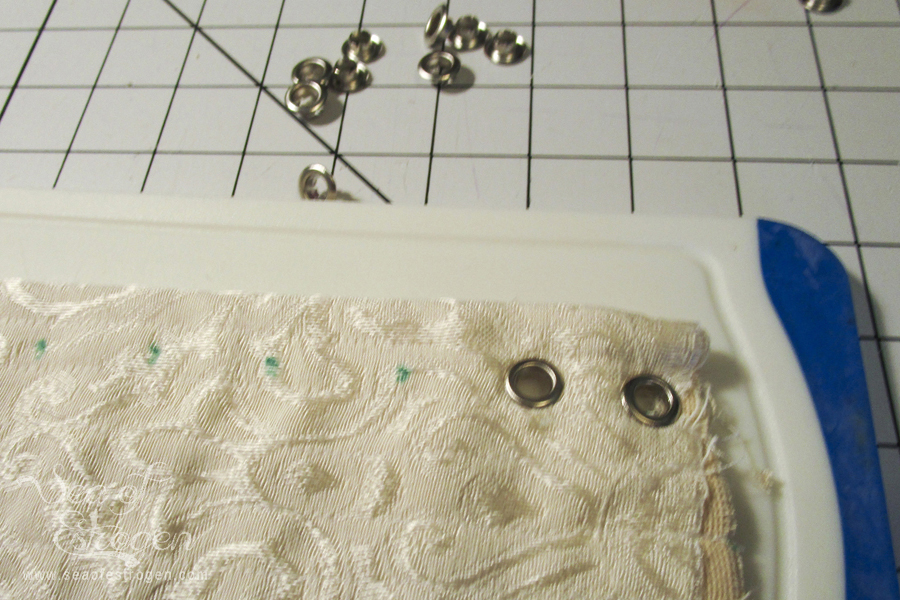
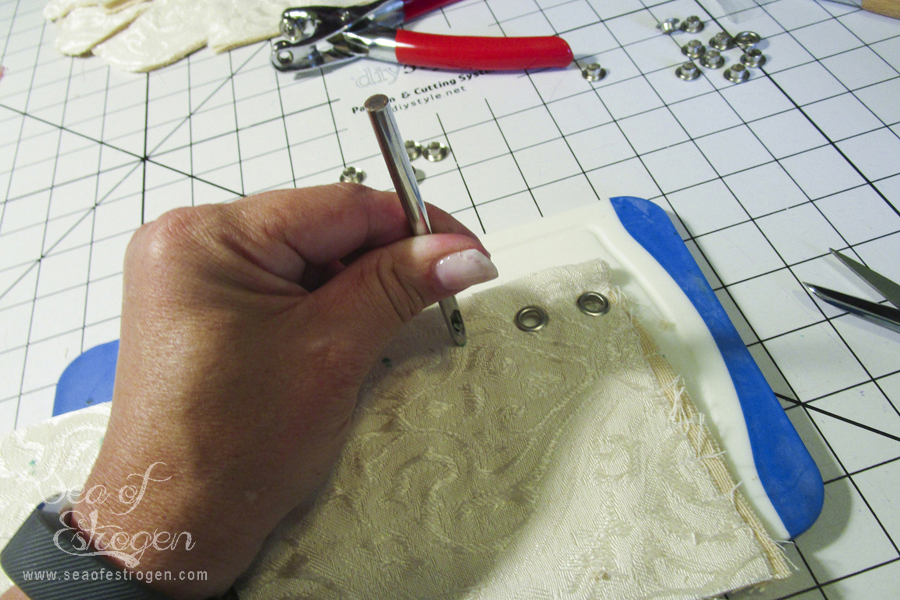
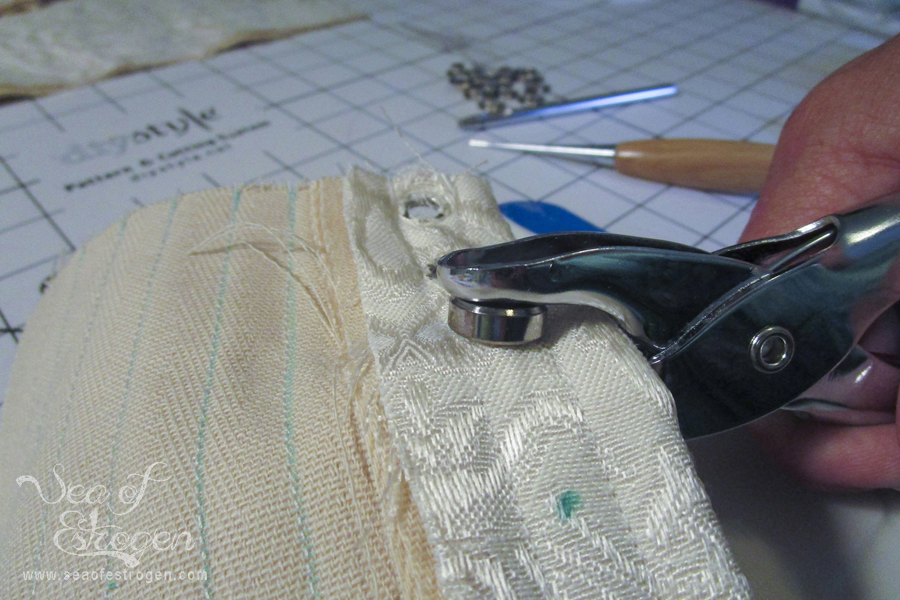
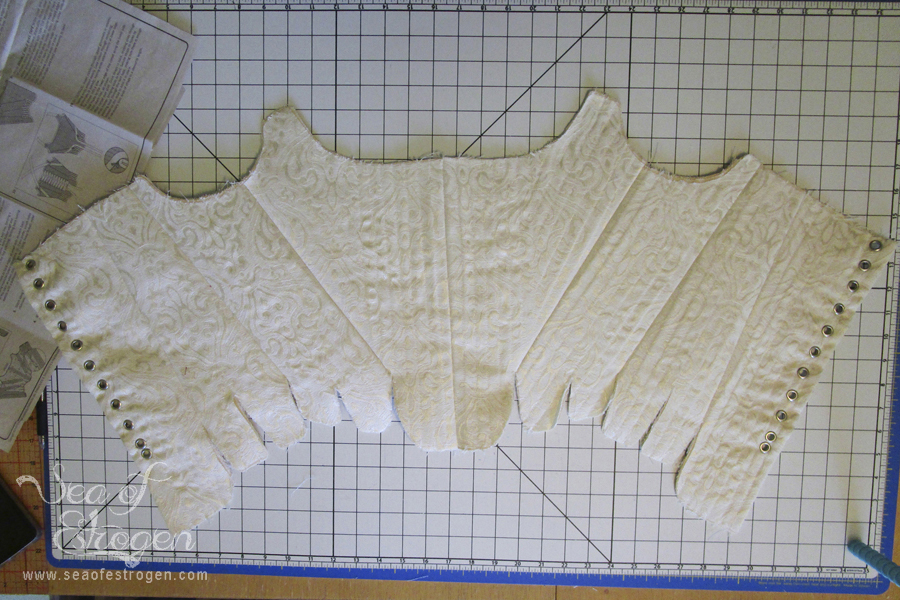
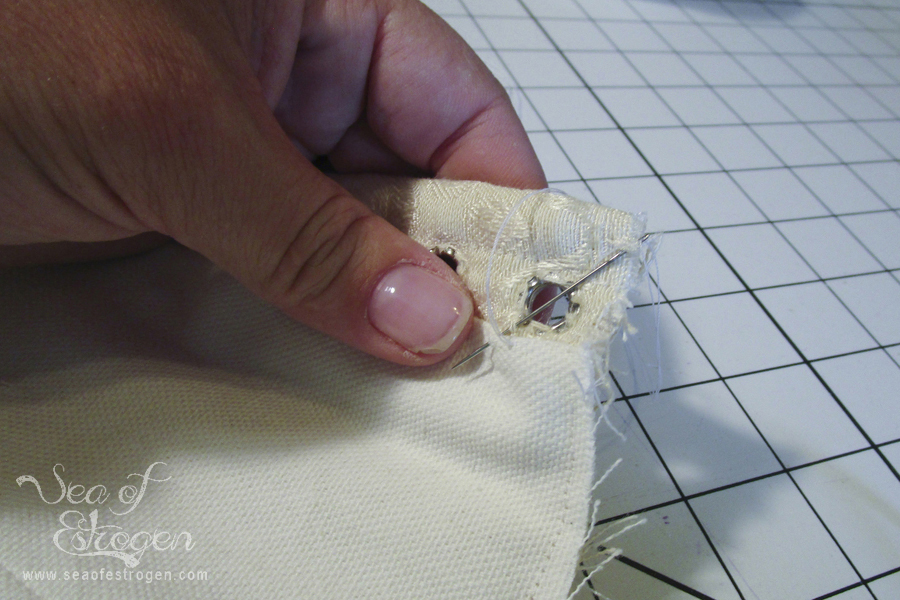
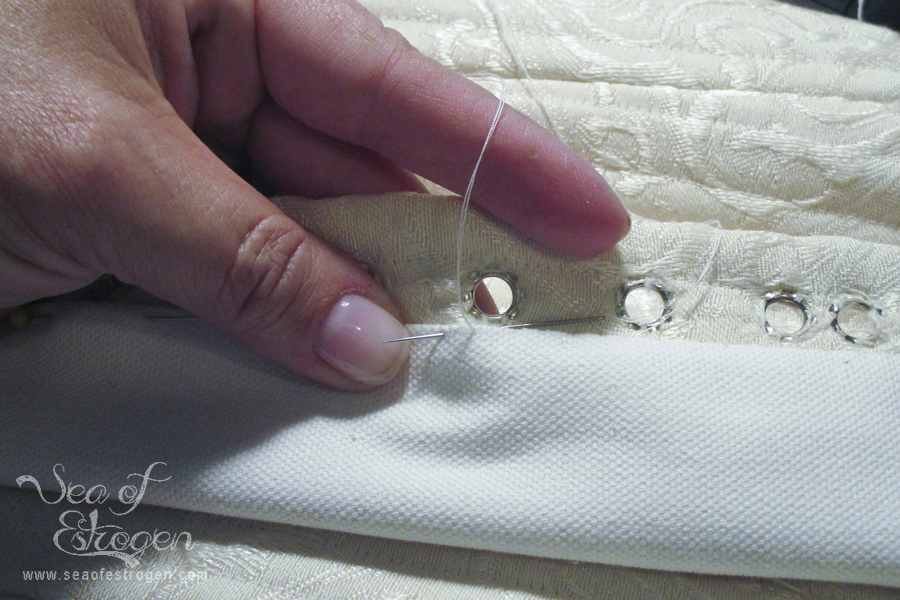
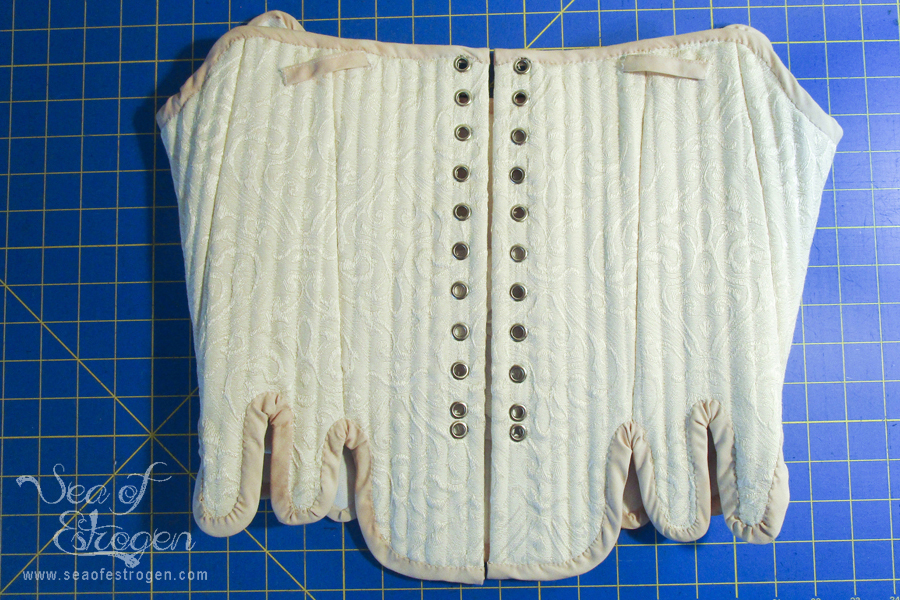
Grommets
This was the first experience I ever had using grommet plyers. I am used to using double-sided grommets that get pounded together with a hammer and tool. I like these grommets much better, as they only require hand-strength to install.
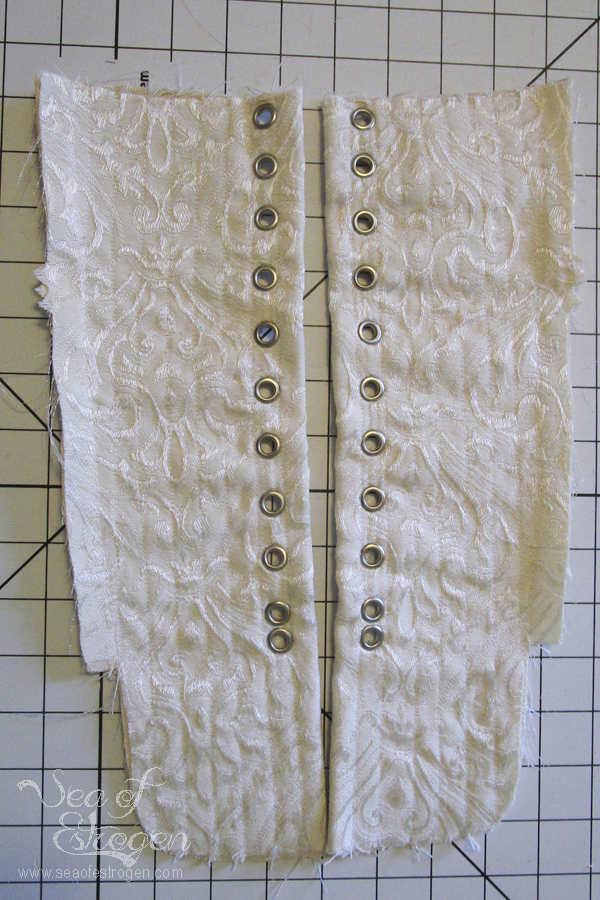
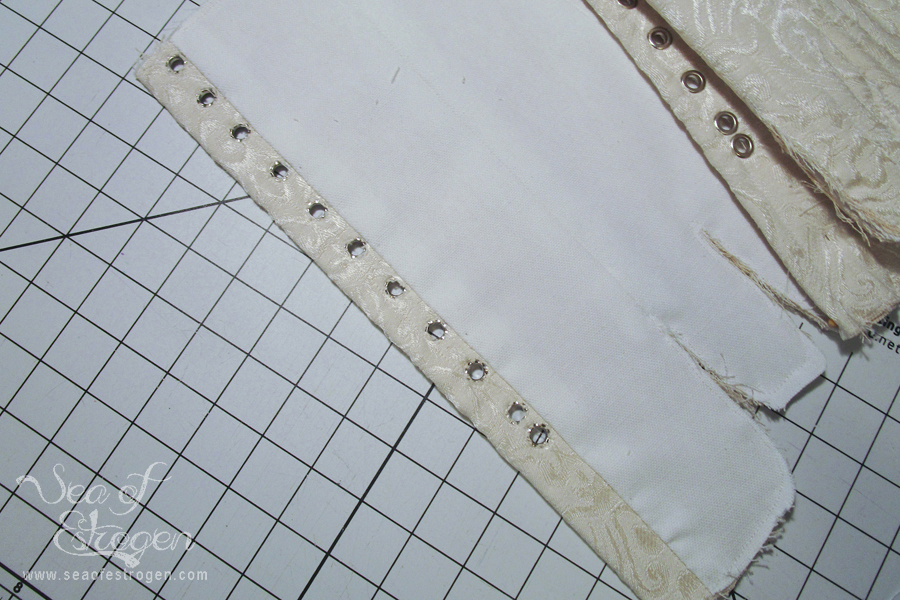
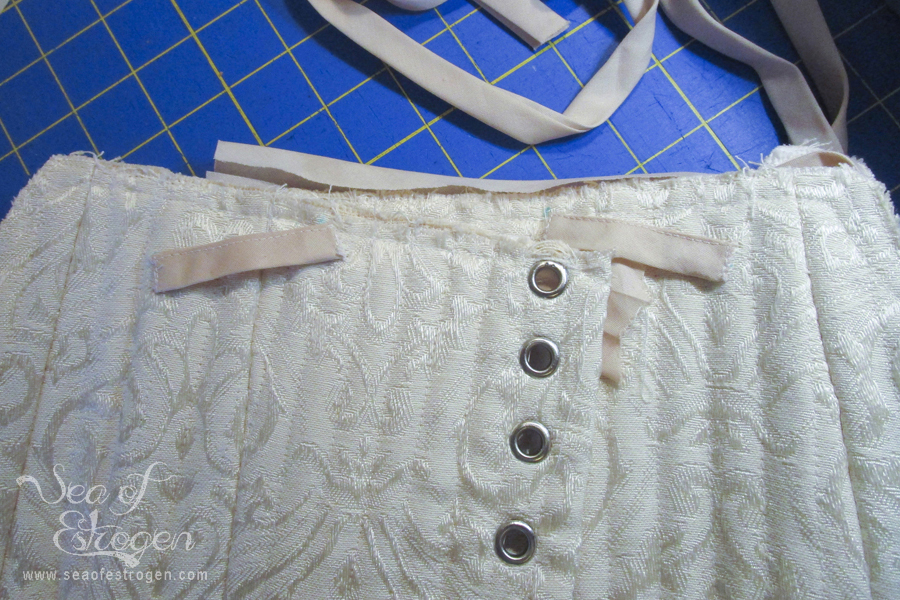
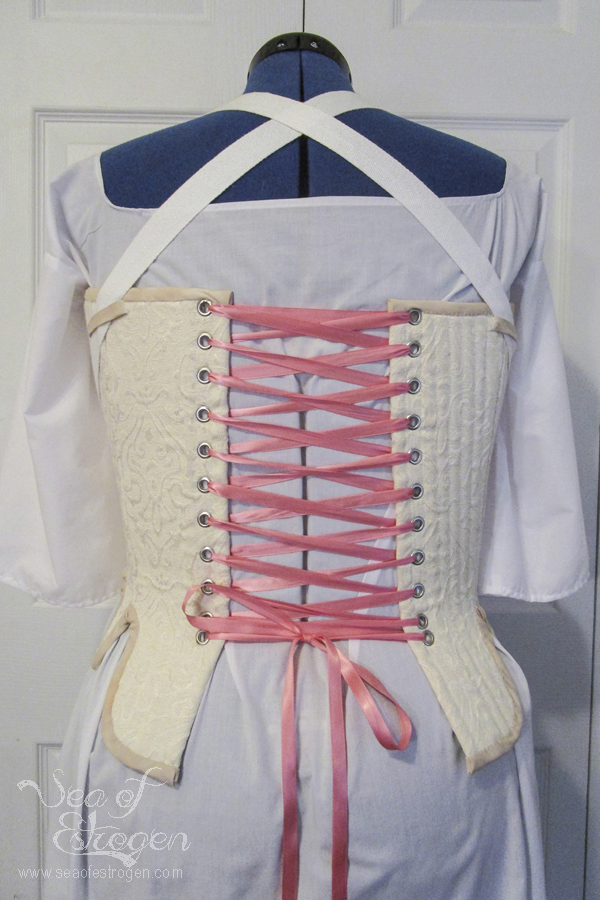
The first thing I did was transfer the grommet marking from the pattern pieces to the two back pieces. Then, each grommet marking needed to be punched out, the fabric hole stretched, and a grommet installed.
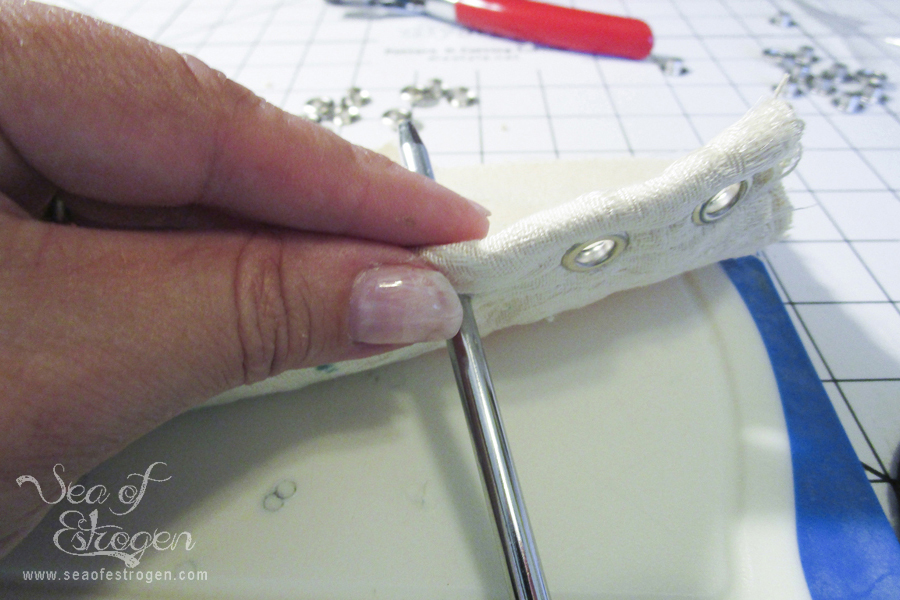
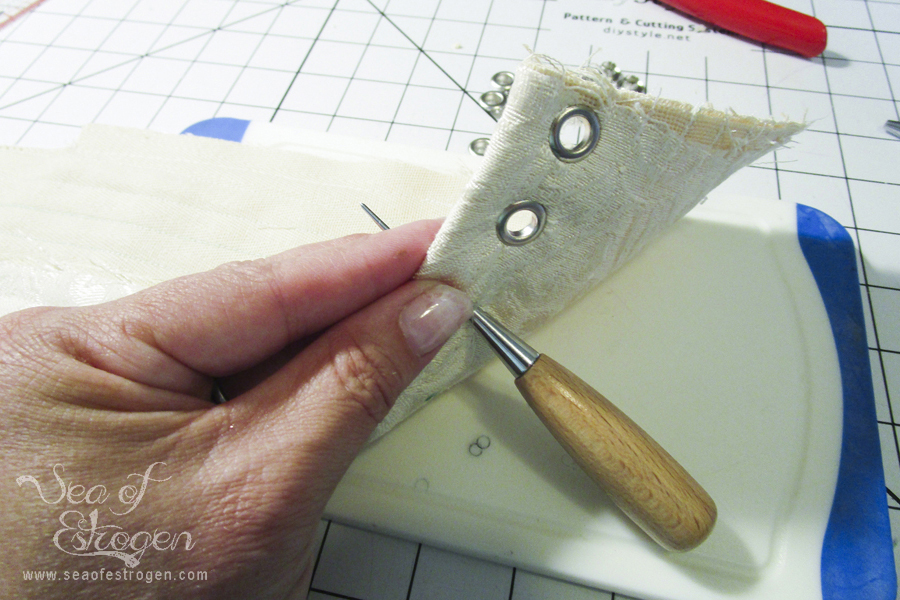
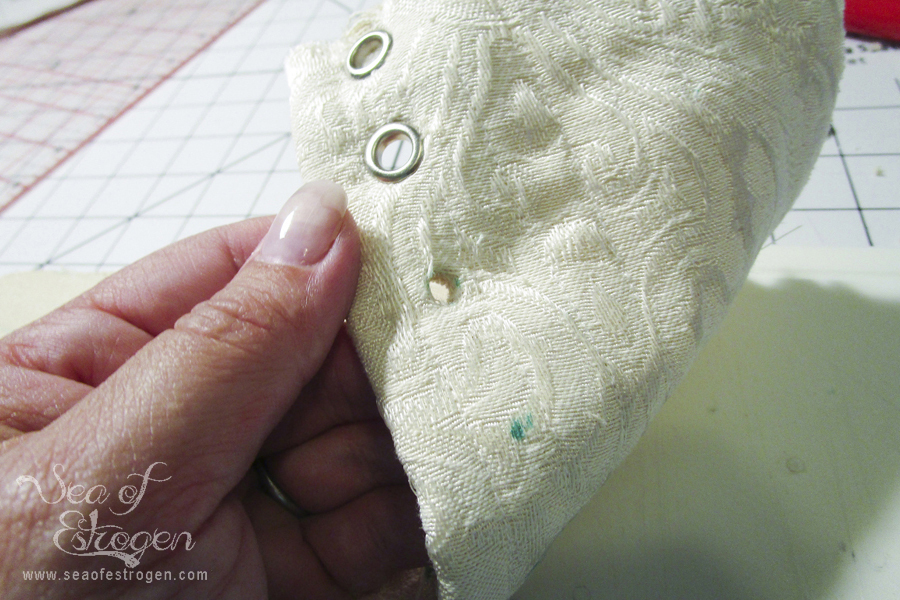
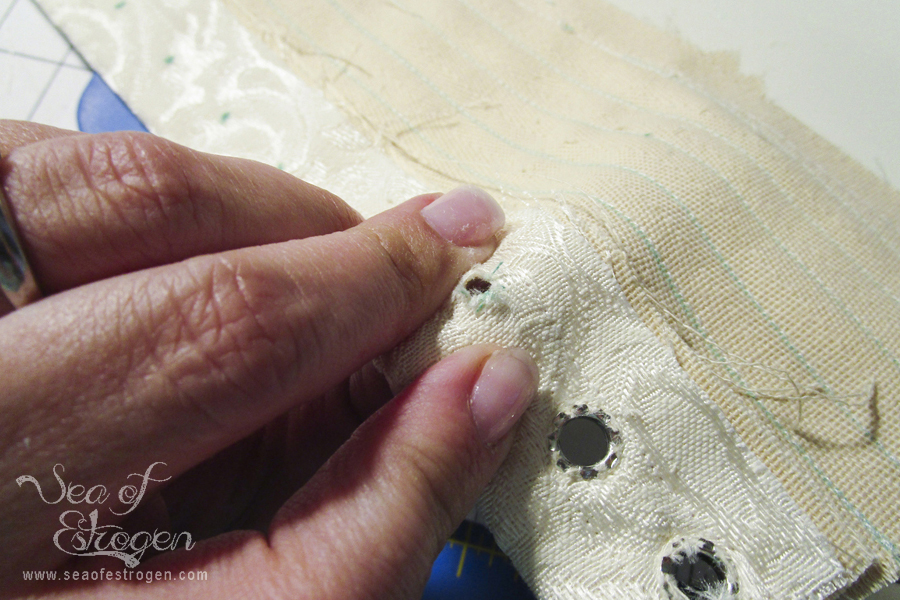
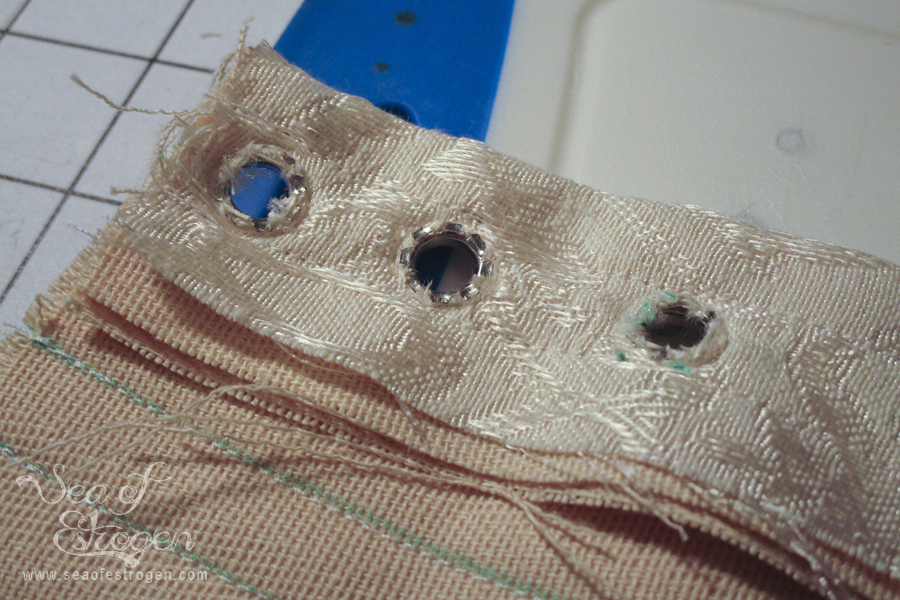
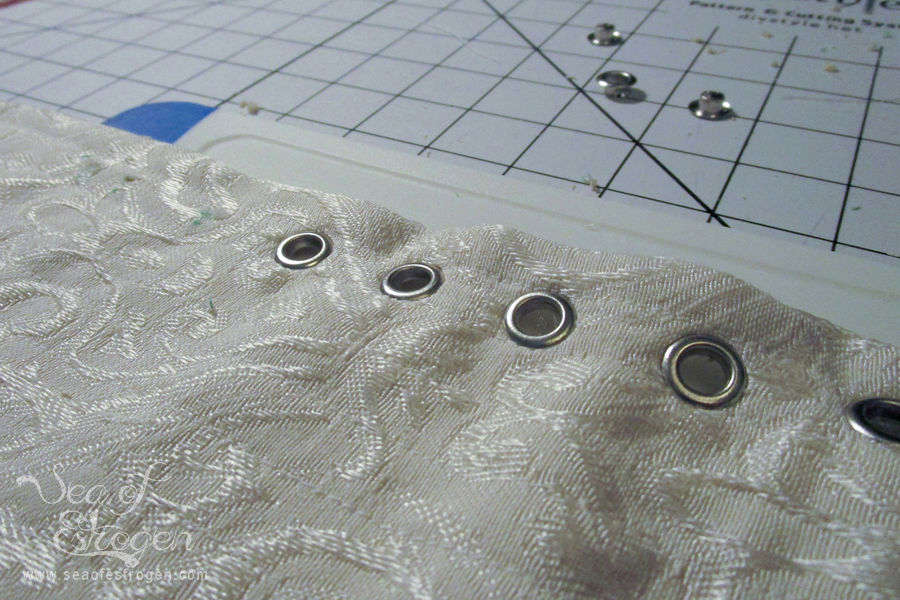
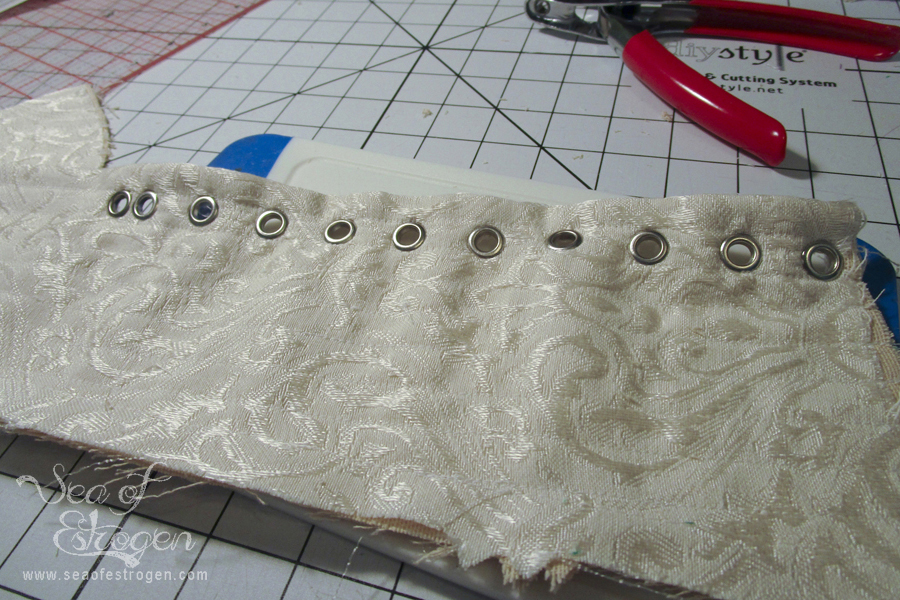
When binding, the very top grommet to be too close to the top edge of the stays. When I make these stays again in the future, I will probably move the entire line of grommets down 1/8″-1/4″.
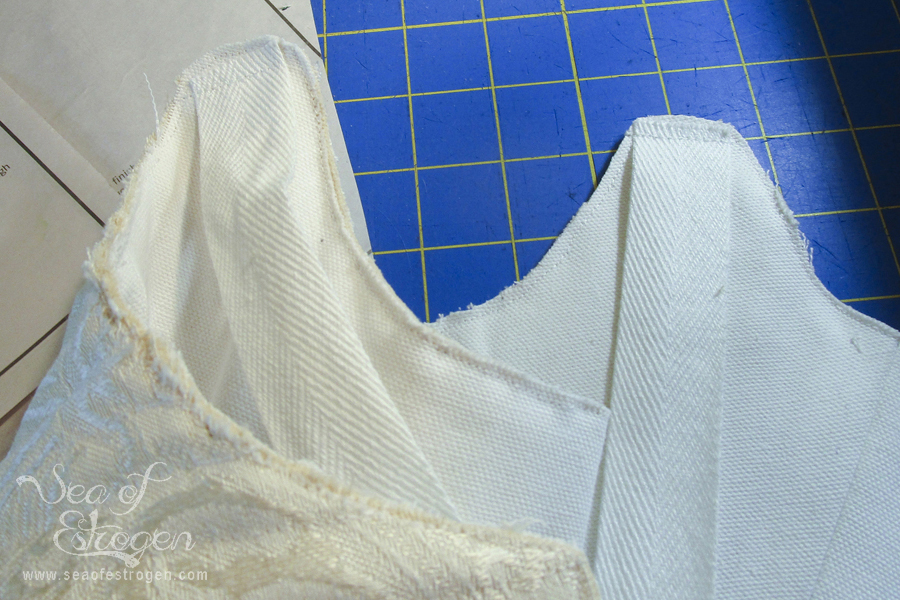
Assembling the Main Pieces
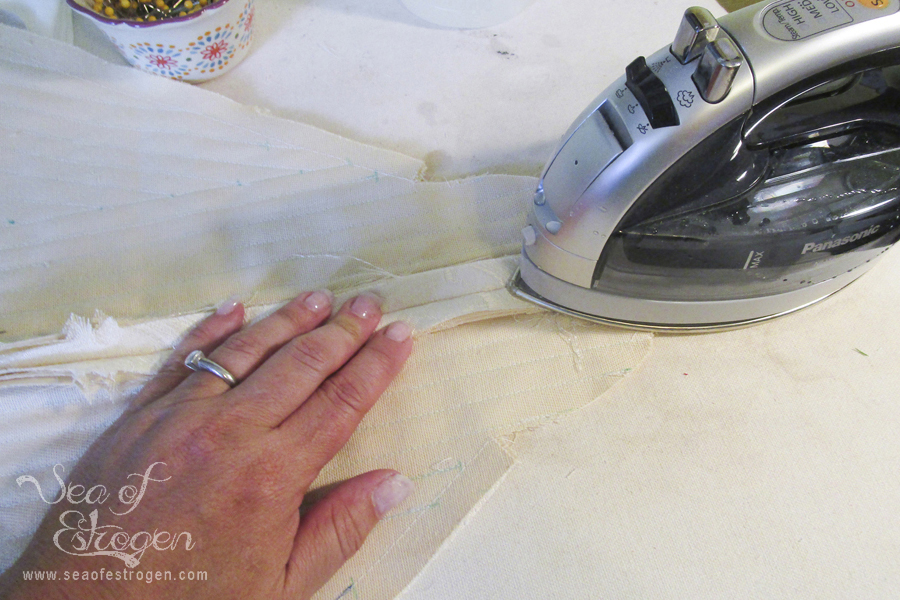
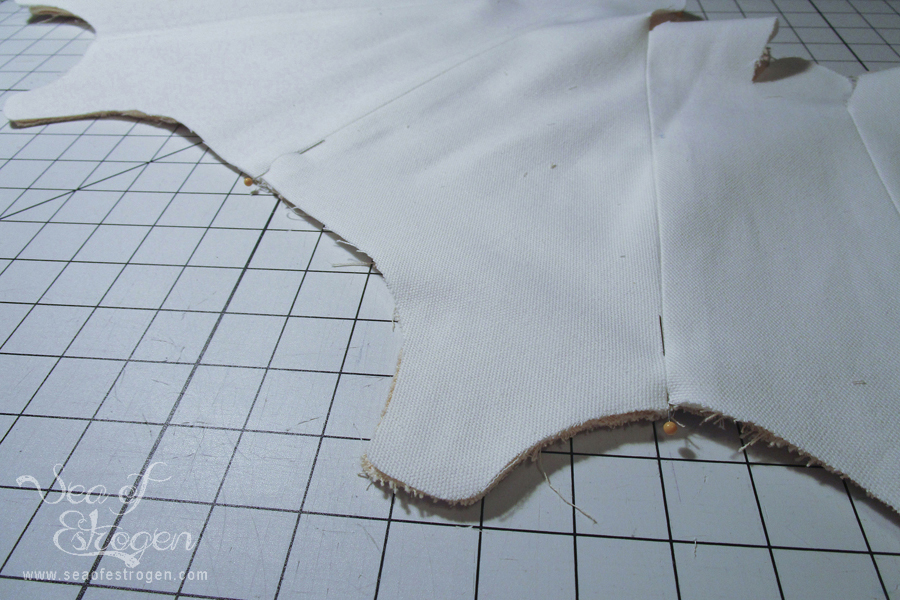
Now, the stays are assembled beginning with the front center seam and moving towards the back. Mirrored stay seams were sewn in the same order rather than constructing an entire side at a time. Once the seams were constructed, they were pressed open.
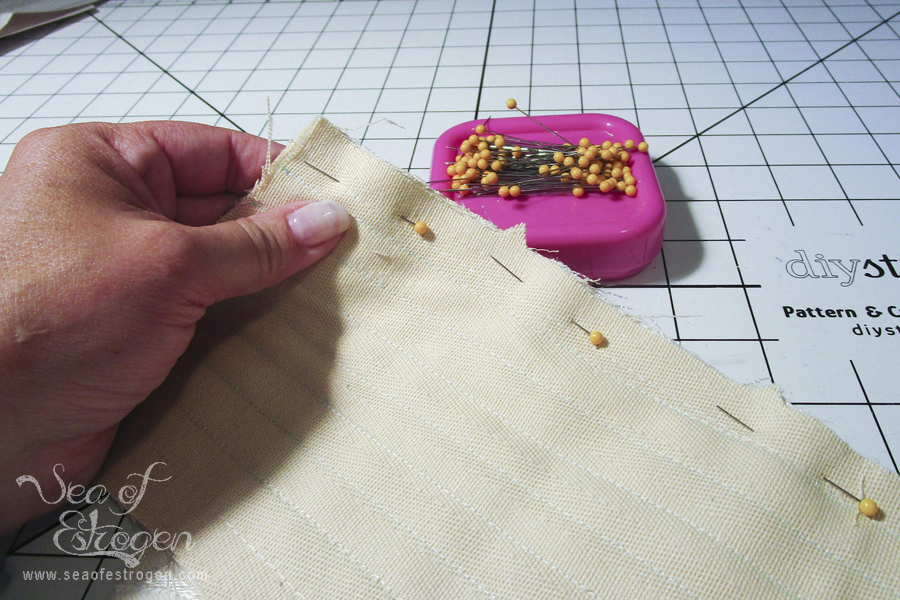
Inserting Boning
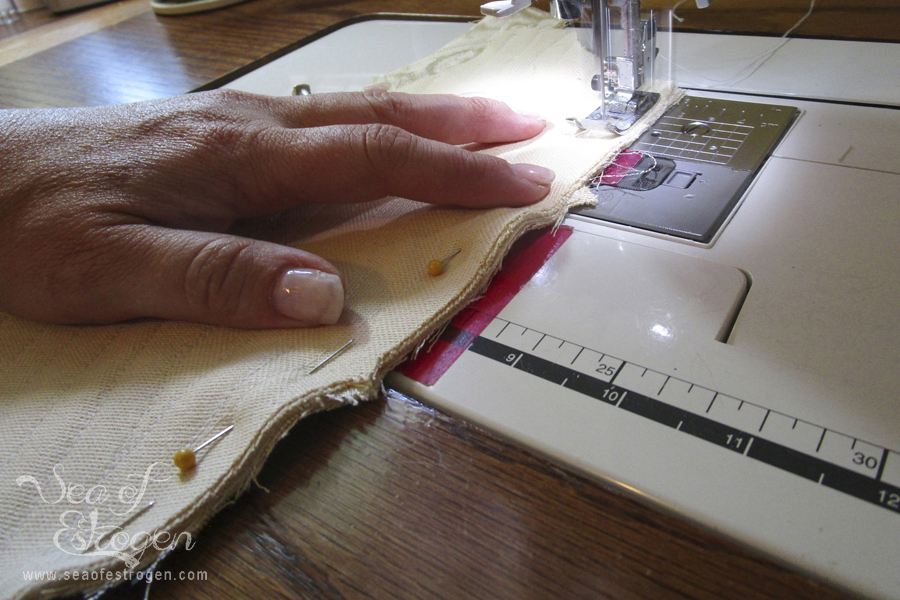
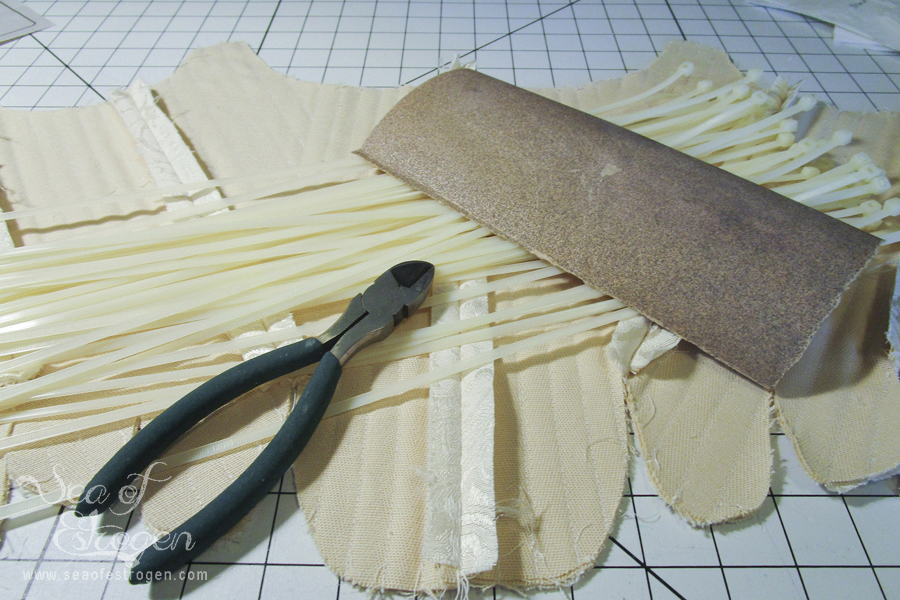
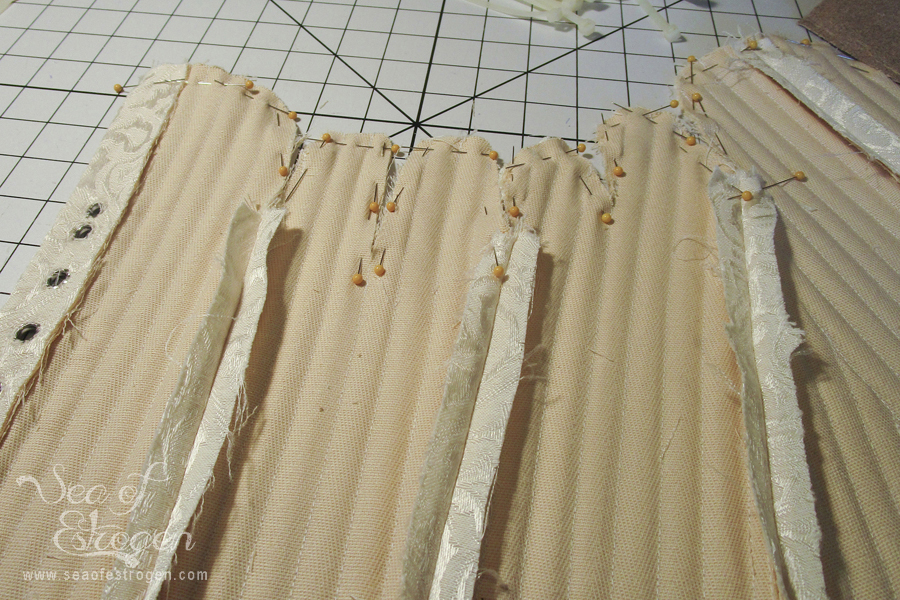
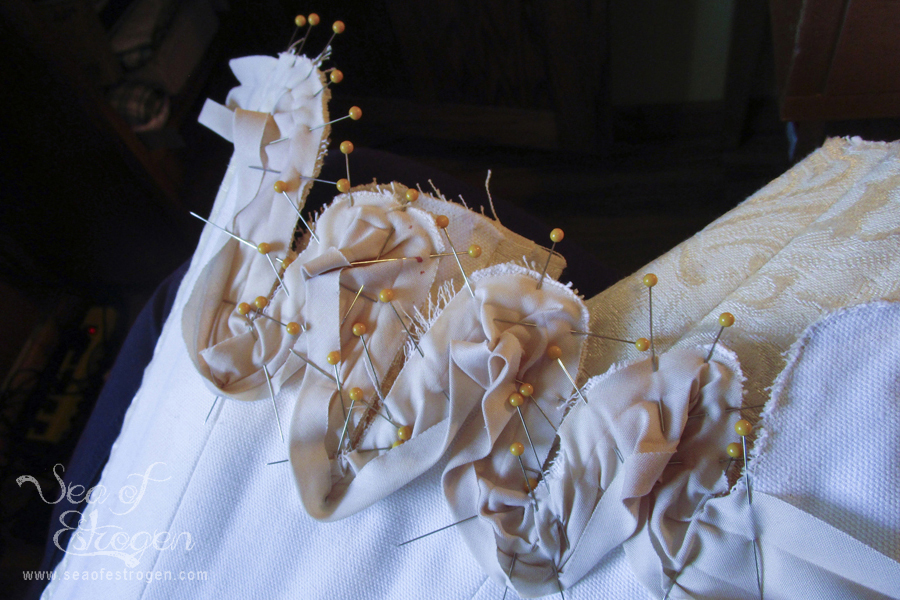
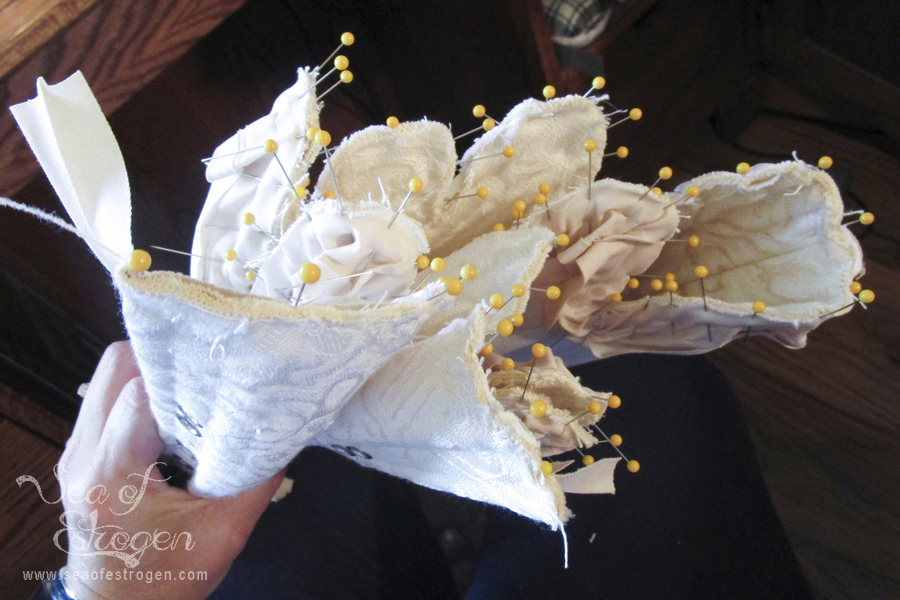
To cut the boning, I used wire cutters to trim the zip ties to the correct length. Then I used sandpaper to smooth out the cut ends of the boning. This makes it less prone to poke through the coutil. After inserting all the boning, I pinned along the top and bottom edge of the stays. Finally, I basted the boning channels closed by machine.
Lining
Prior to adding the lining, each of the seam allowances needed to be secured. I used a cross-stitch, also known as the herringbone stitch. The herringbone stitch is worked backward (for right-handers, left to right rather than right to left).
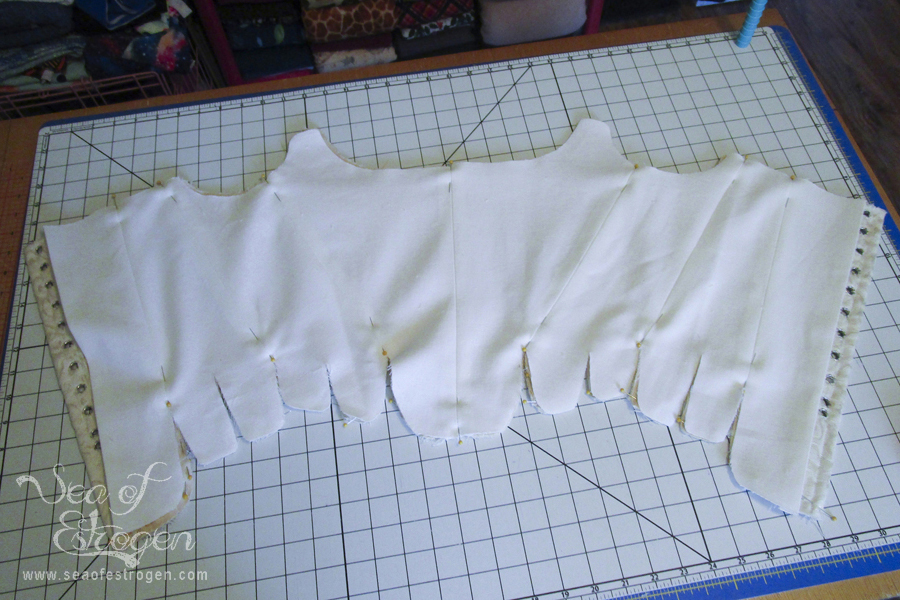
The lining is assembled in the same manner as the main/coutil later, beginning at the center front seam. The back seams are pressed to the wrong side of the lining to be hand-stitched to the main layer.
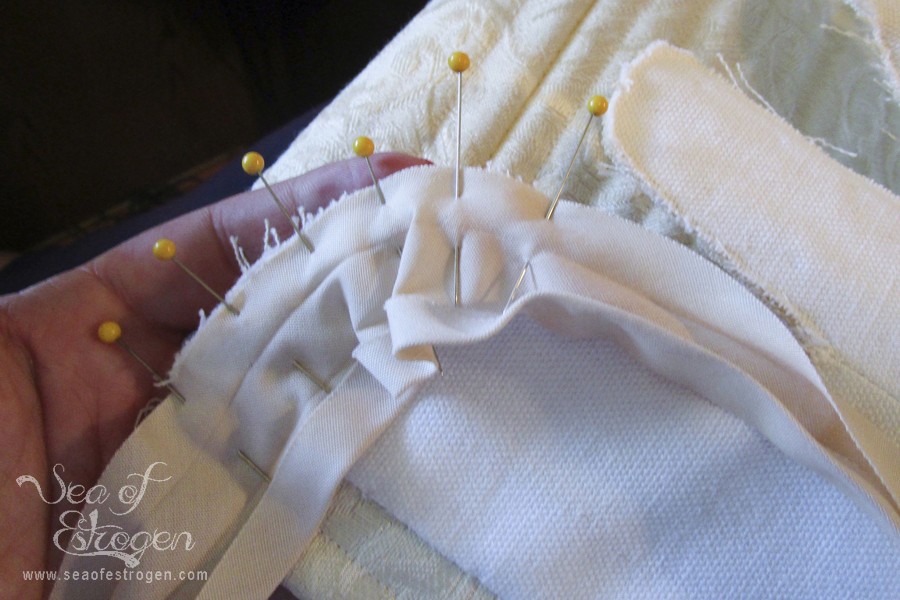
Pin the lining wrong sides together to the main layer matching seams and edges. The center back edge of the lining gets pinned to the stitching line just inside the grommet channel. Baste the layers together along the top and bottom edges.
The back lining center seams are hand-stitched to the main layer using small whip stitches.
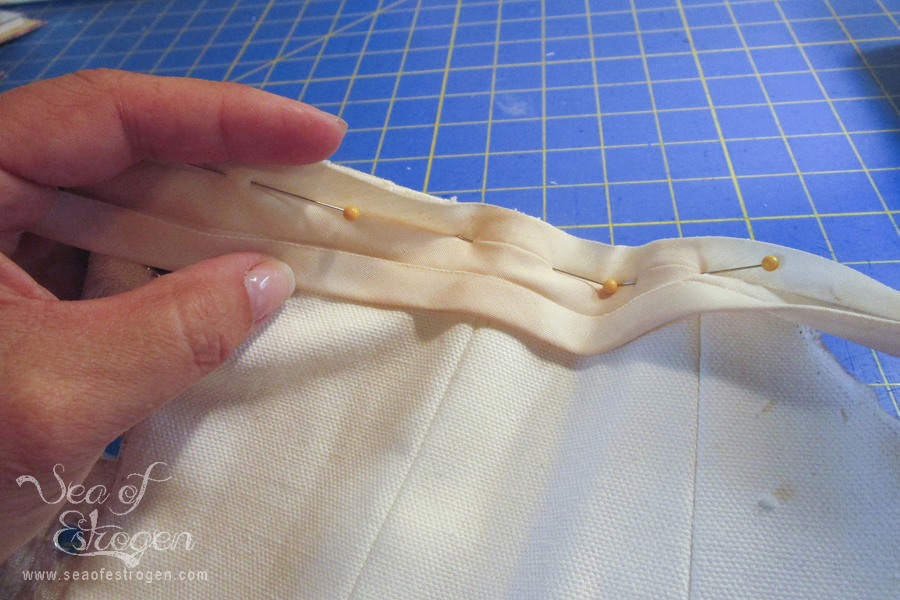
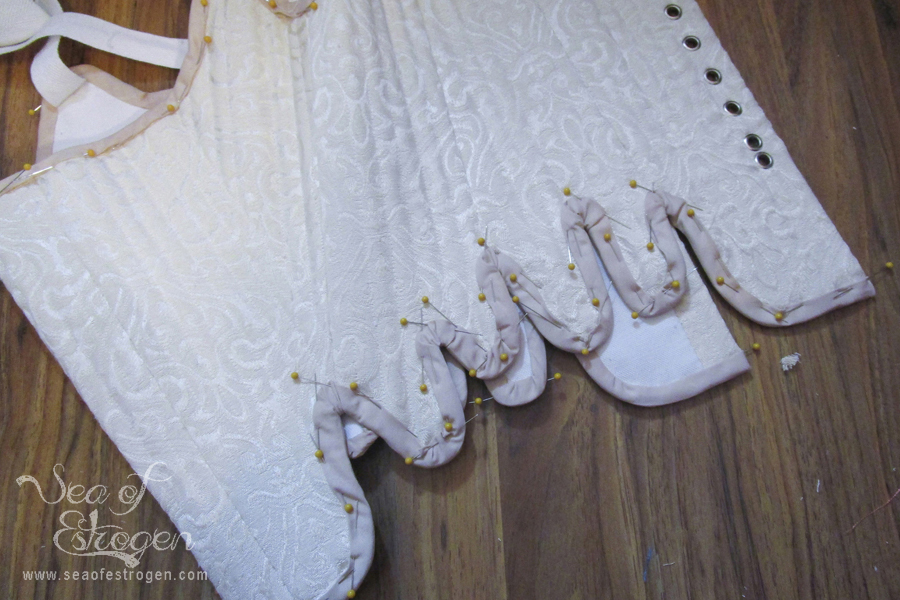
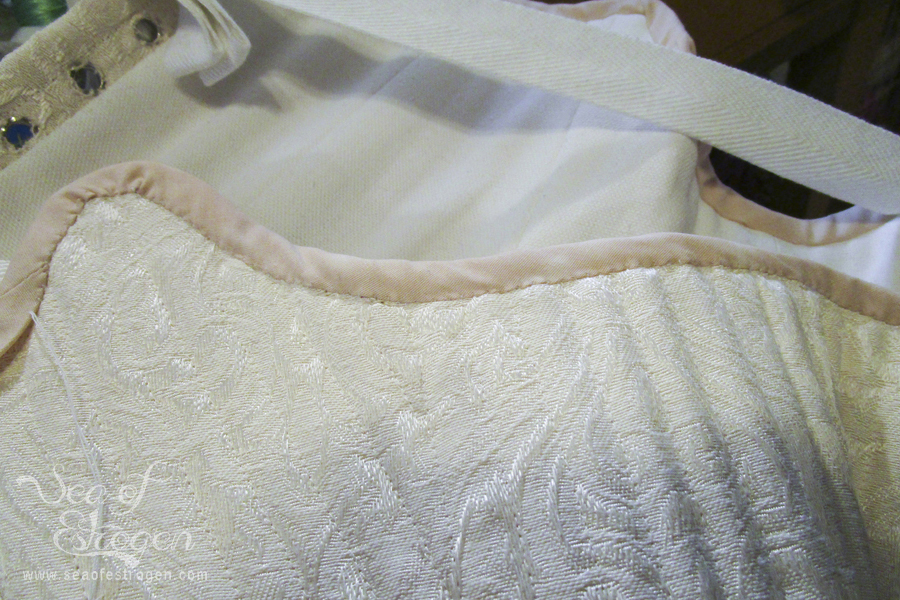
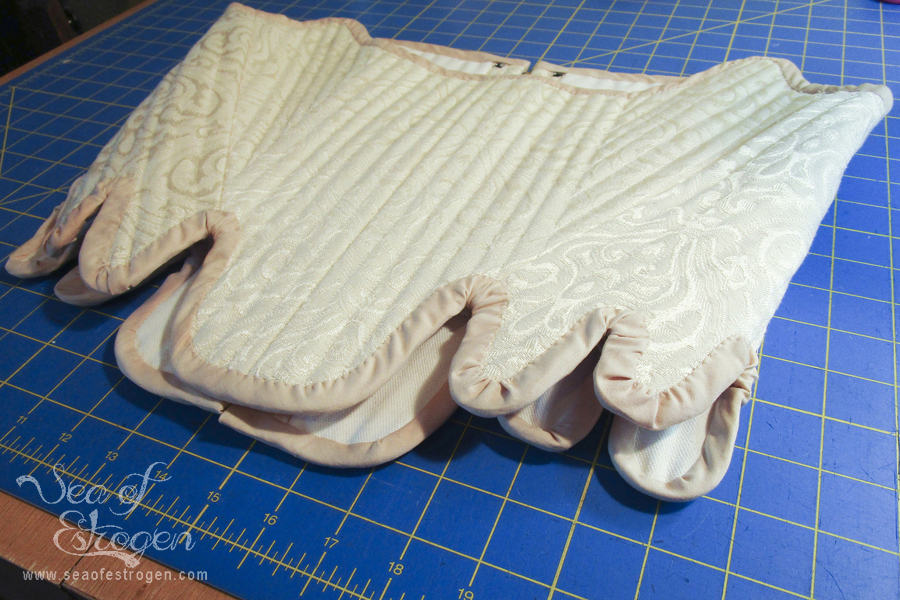
Binding
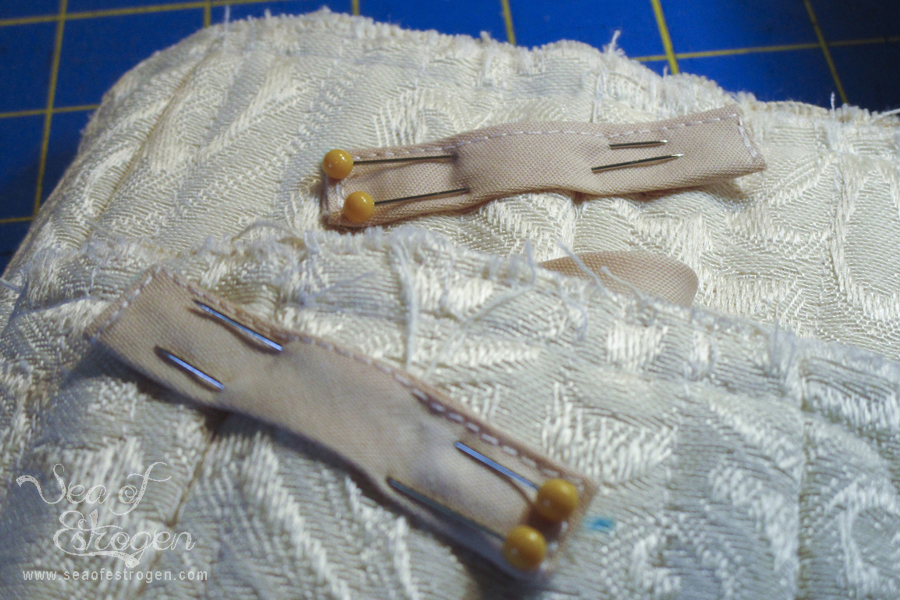
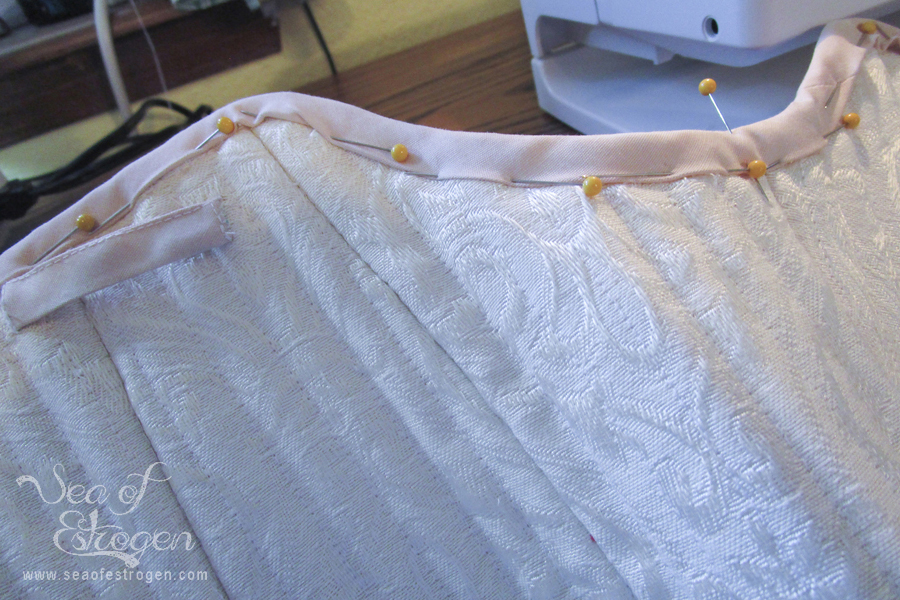
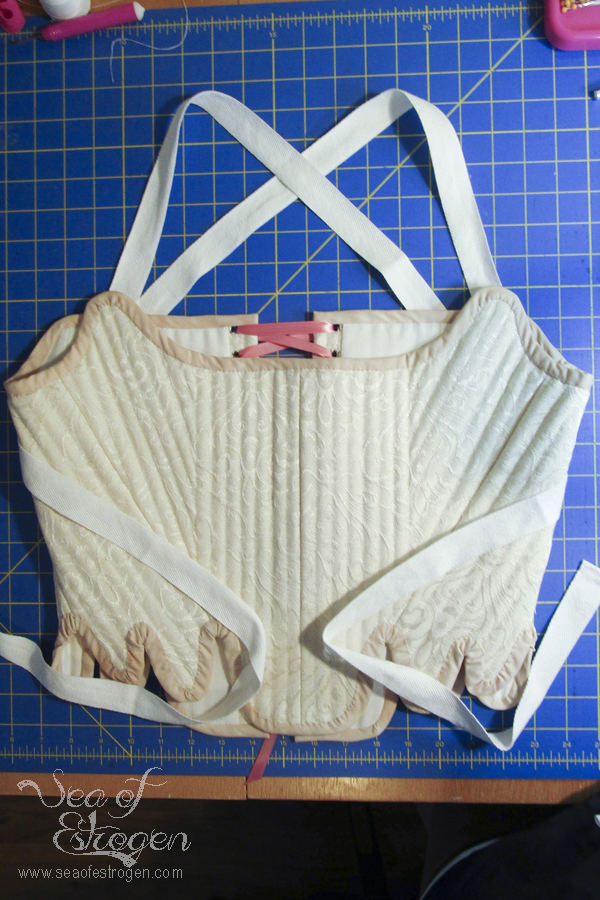
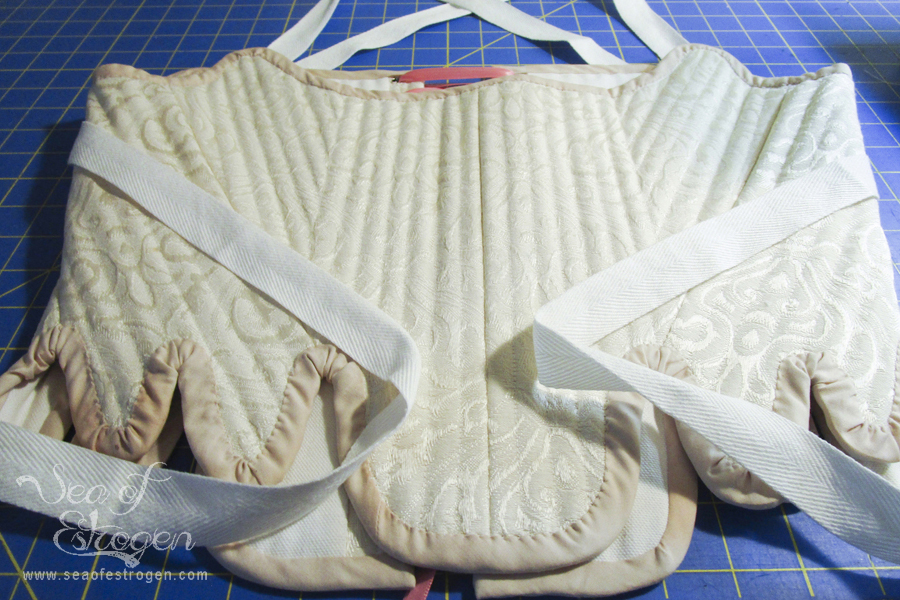
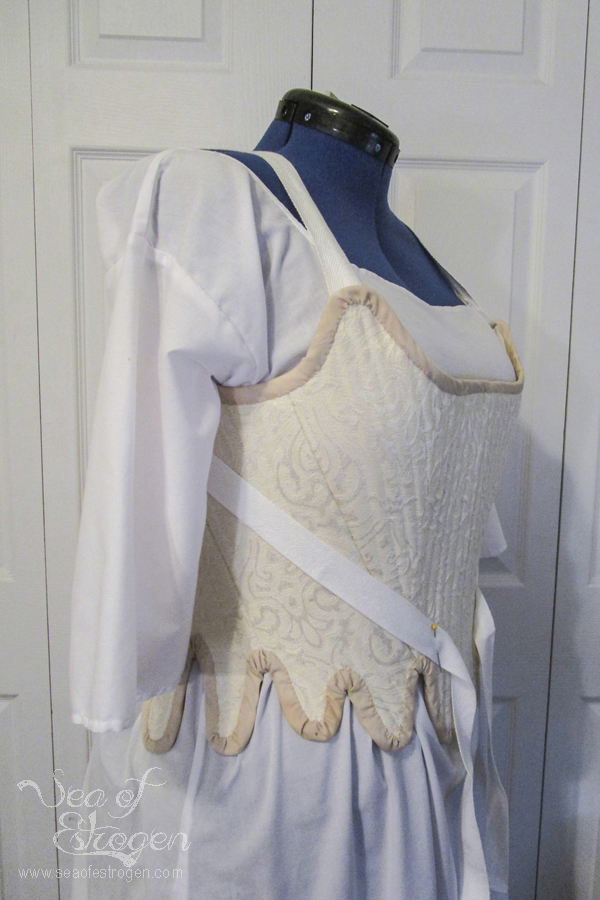
The final step of making the stays is to bind the top and bottom edges. Prior to binding, a piece of 1″ twill tape is sewn to each front shoulder. They are used as straps once the stays are finished.
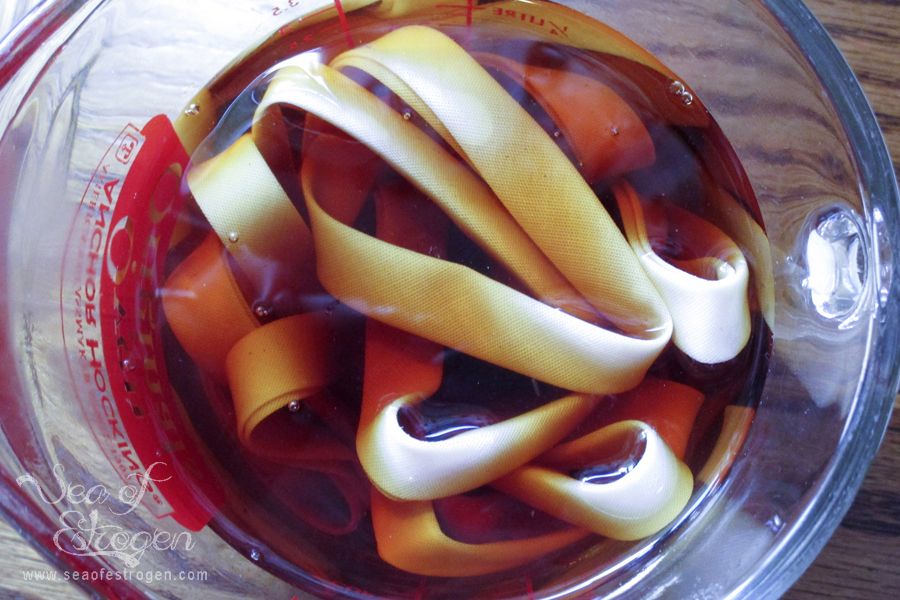
I only had bright white bias tape. I didn’t like the way it looked against the ivory color of the brocade I used for the main fabric. Rather than wait to order some to match, I decided to tea-dye the white tape. It came out a little mottled and uneven, but I love it because it feels more historically accurate to me.
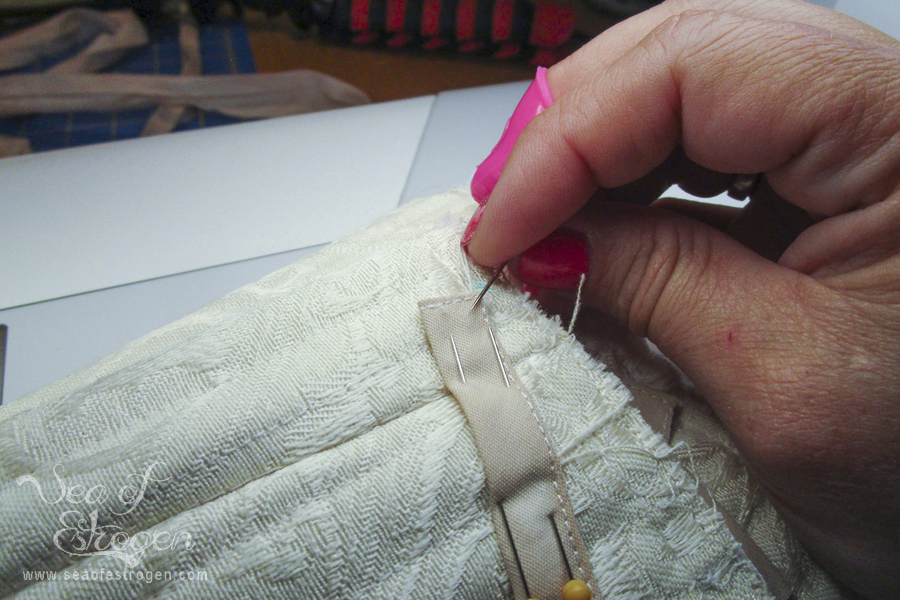
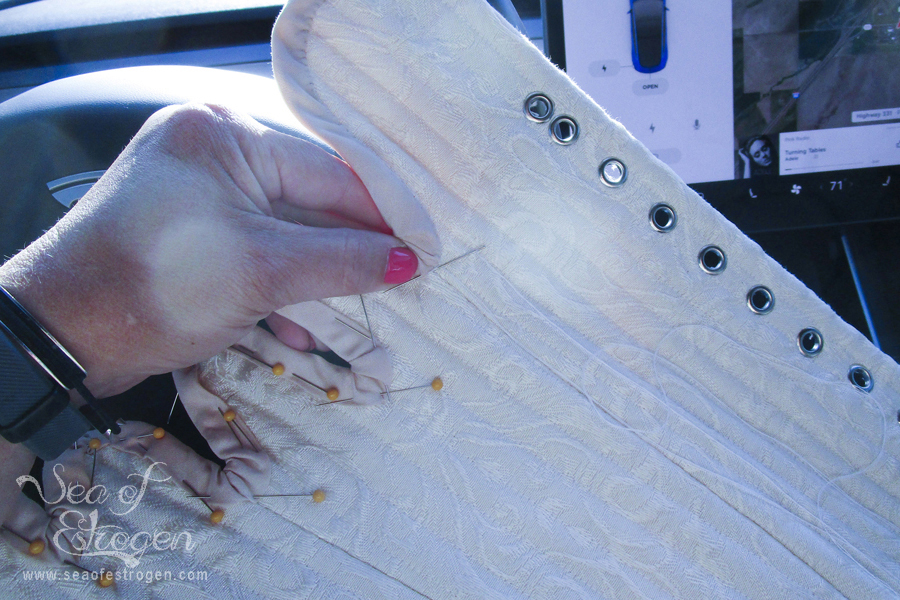
The bias tape was attached by pinning it to the wrong side of the stays and machine stitching in place. The tape was folded over to the right side of the stays and hand-stitched in place. A small piece of bias tape was added to the backside of the stays as a guide for the twill tape straps.
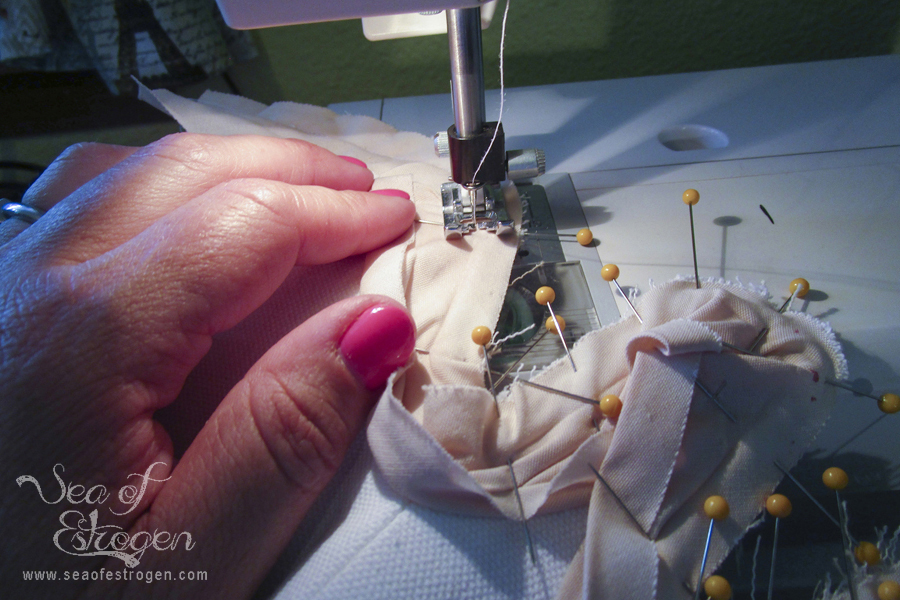
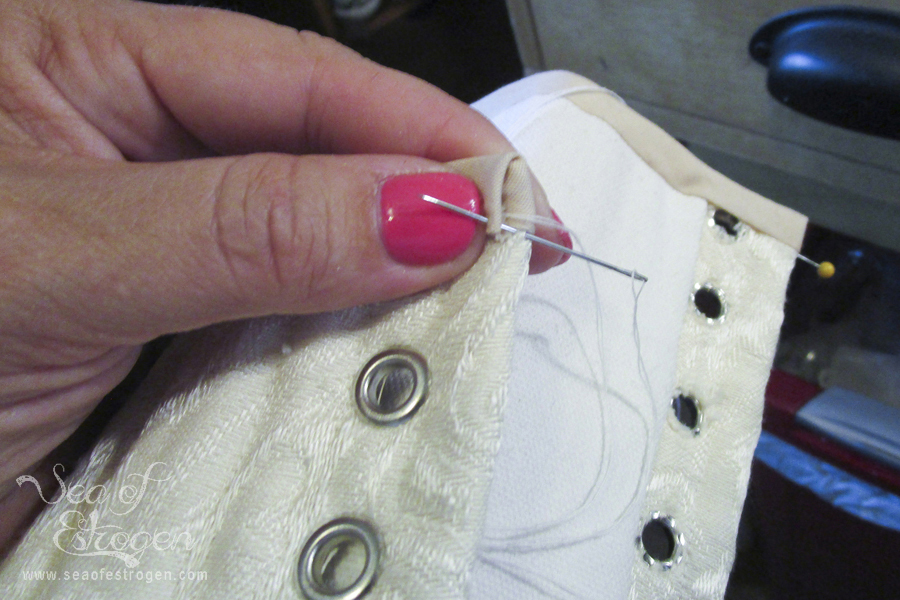

I should have reversed the order so the hand-stitching was on the inside because my stitching looks like rubbish. I spent a lot of time hand stitching – I am very slow. It is how I occupied my time while I was babysitting the machine embroidery of the pockets.
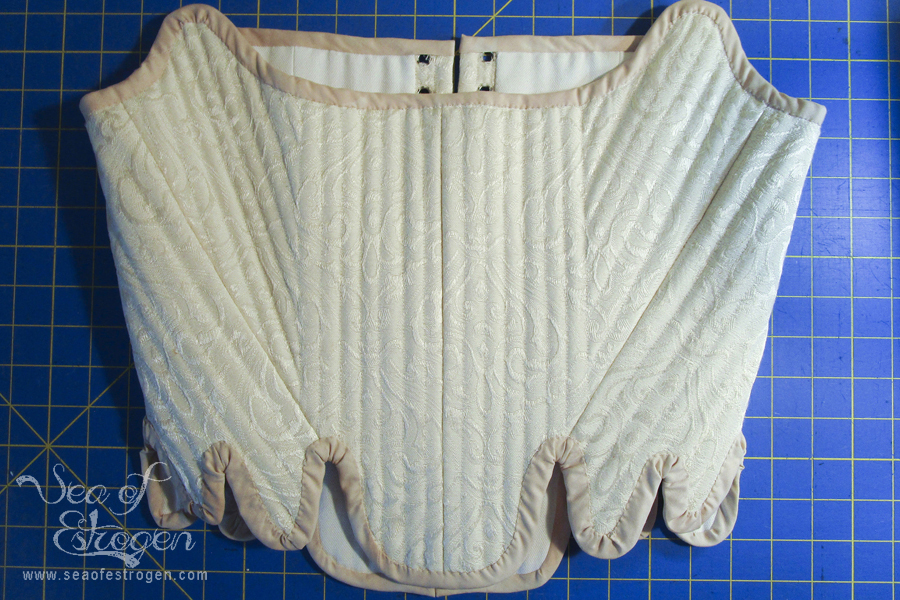
Finished!!!
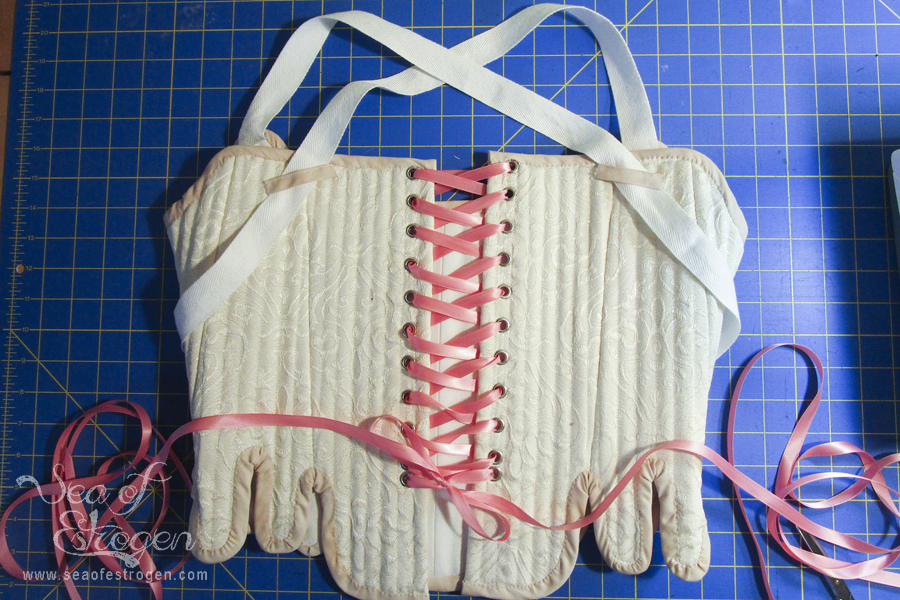
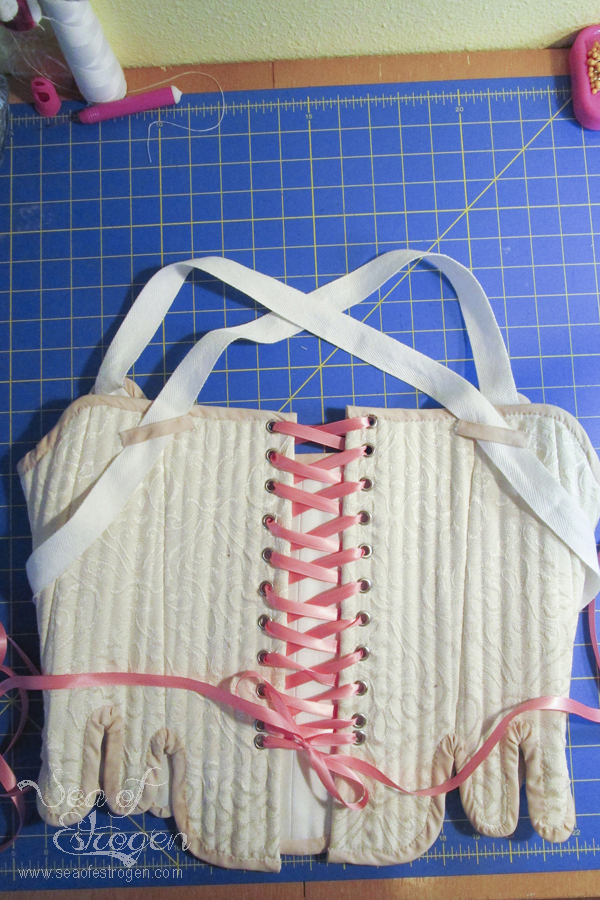
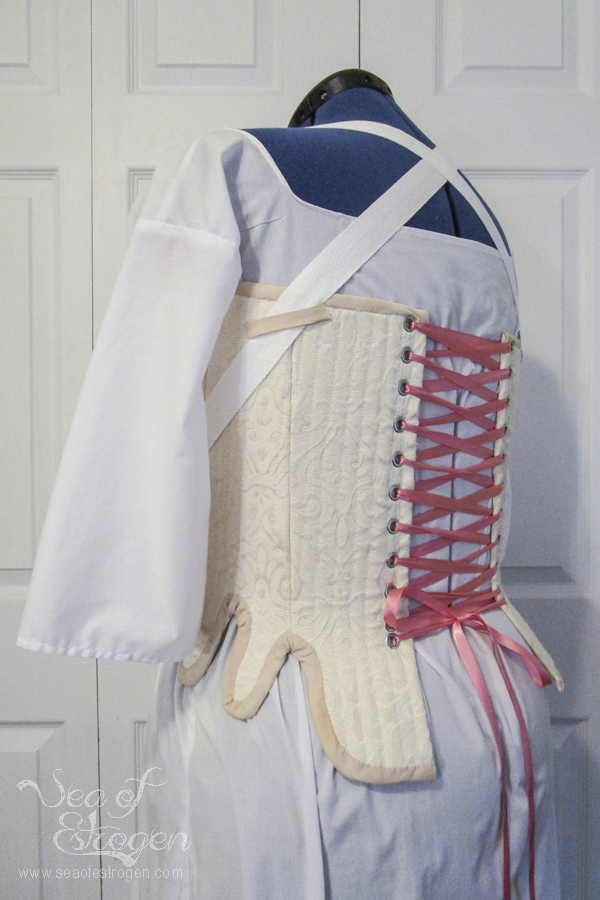
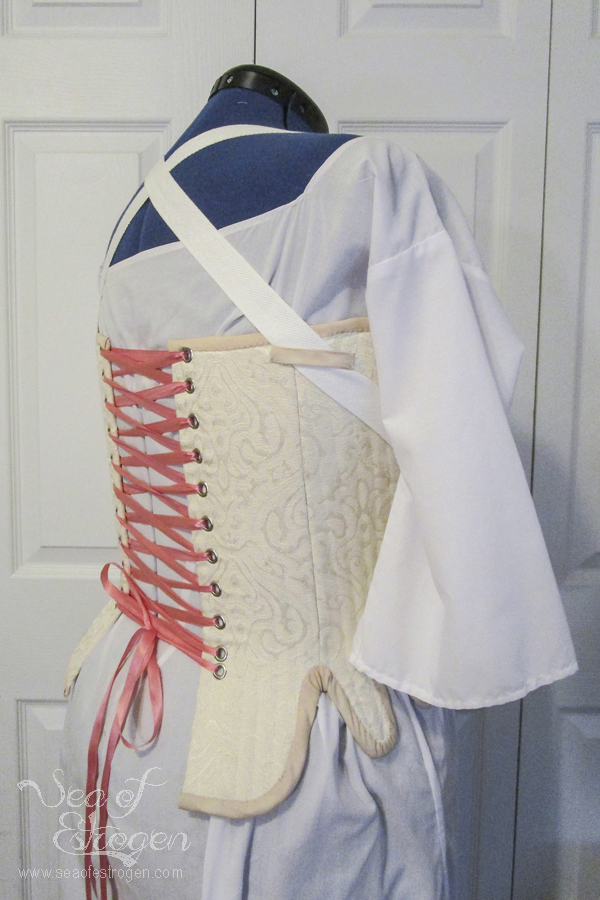
With the completion of the hand-stitching on the binding, the stays were complete all but lacing! I used a very pretty salmon pink colored ribbon to lace the stays. I don’t know if I will keep this ribbon lacing because I’m not sure if it will slip, or not.

Final Thoughts
I am beyond thrilled with how well the stays turned out! They look great with everything else on my dress form. They lace easily, and they hold the correct silhouette for the 1760s. I am really looking forward to trying them on!
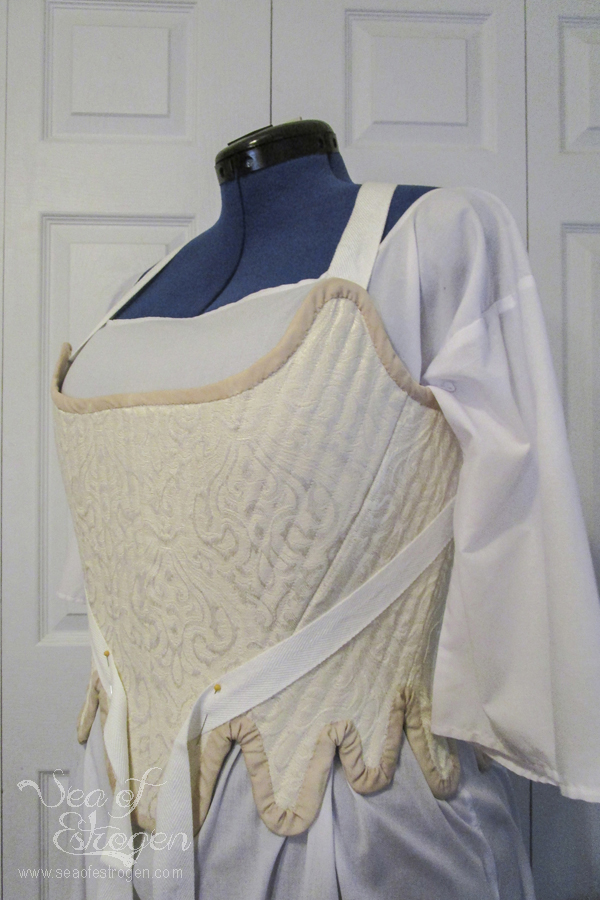
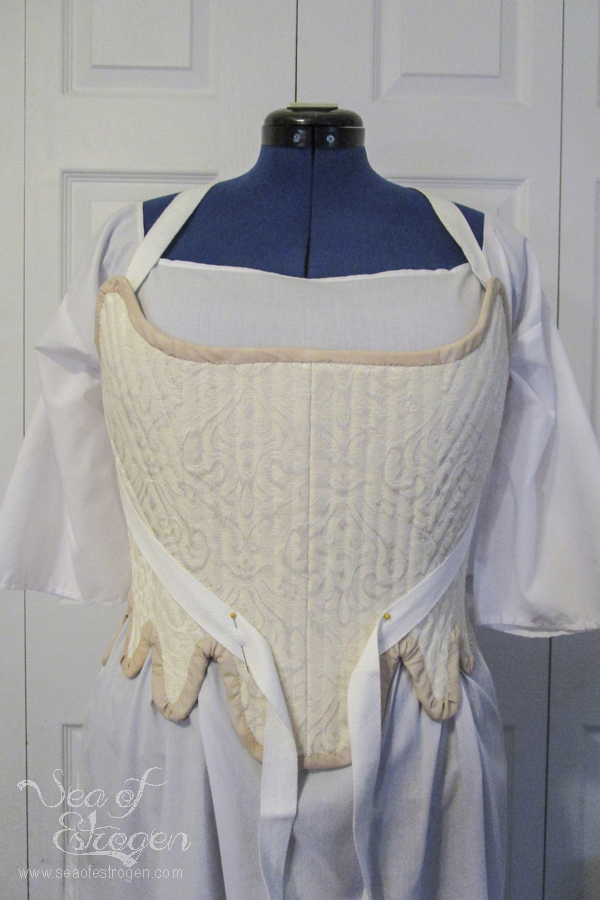

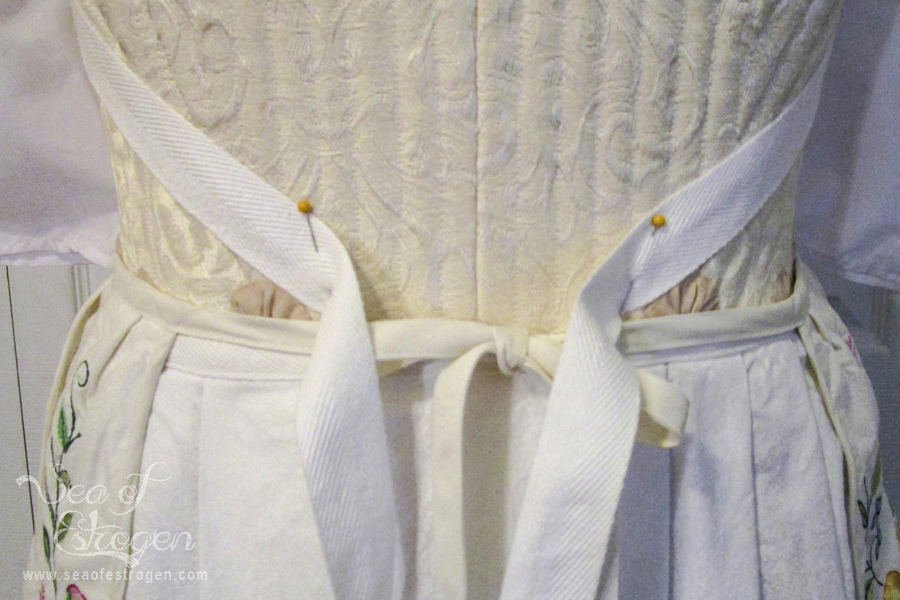
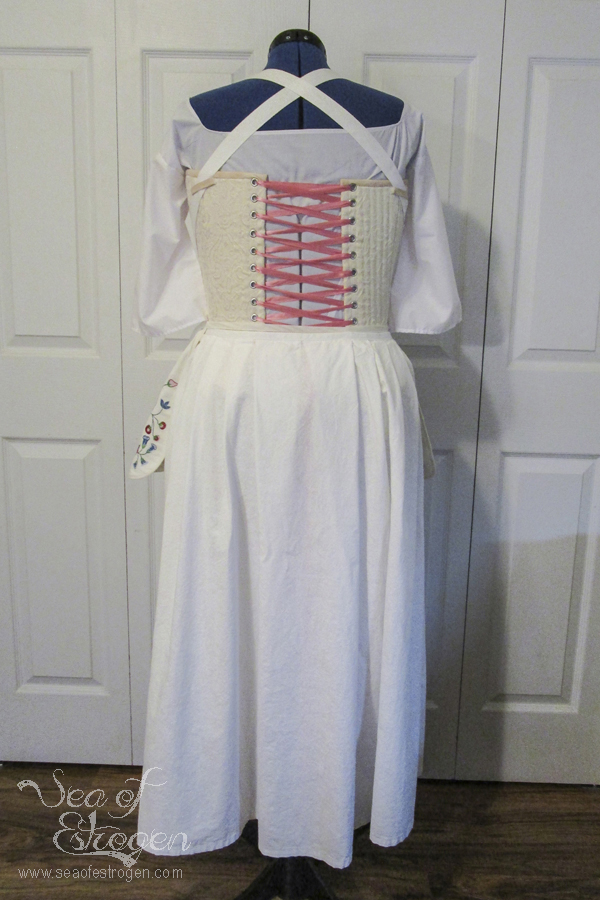
One more thought – you’ll notice the straight pins holding the shoulder straps to the front of the stays. I do still need to add a couple of hooks to the stays to attach the straps to when worn. I don’t have the hooks on hand yet, but as soon as they arrive I will add them.
Leave a comment below and let me know if you have any questions. Have you followed this pattern? Do you have any input or suggestions for making the process easier (especially the hand-stitching)?
Series Posts
- To-Do Tuesday Intro
- Meet My New Friend
- Supplies and Fabric
- 18th Century Shift
- Underpetticoat
- 18th Century Pockets
- Stays for Days
- Panniers
- Underpinnings

Nature Girl. Mom. Wife. Friend. Photographer. Sewer. Crafter. Artist.
To borrow a phrase – “Yeet Ye Riche”

3 thoughts on “Stays for Days”
Comments are closed.