
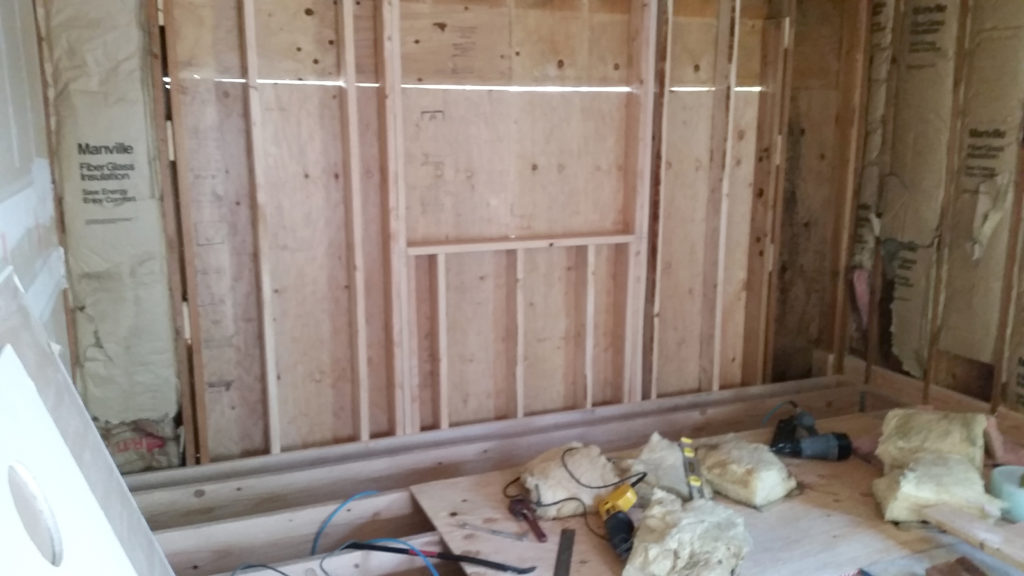
I feel like I need to break the remodel of the garage up into four separate posts because of the amount of work that went into it. This was by far the most work-intensive part of the remodel since we essentially took one big space and turned it into three separate spaces – the Master Bathroom, Master Bedroom, and the Laundry Room. In this post, I am going to show the changes we made to the structure and “guts” of the garage, and then I will write separate posts for each of the rooms. I am really disappointed that I didn’t get before pictures of the garage, but I don’t think it matters too much – most people know what the inside of an unfinished garage looks like.
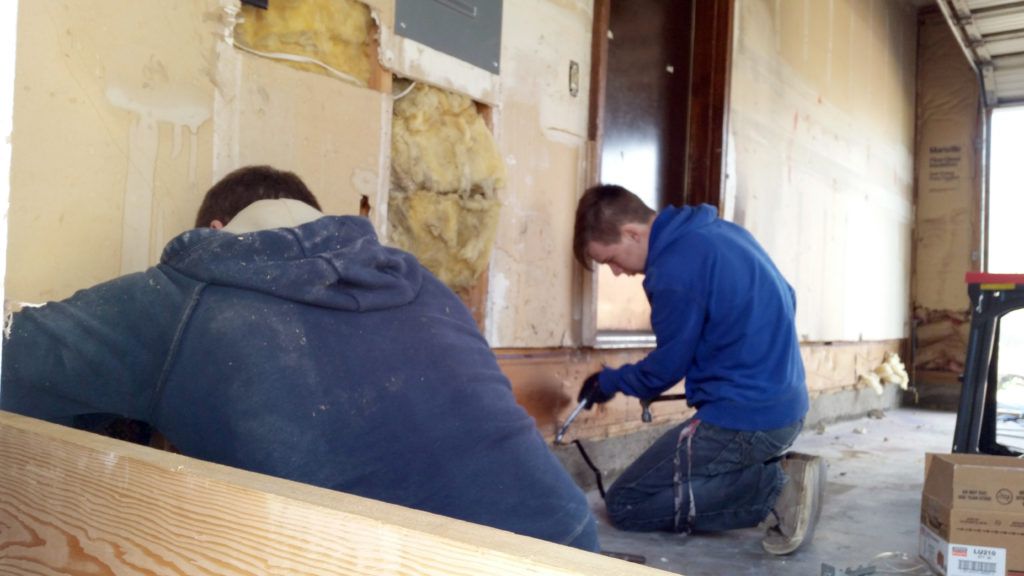
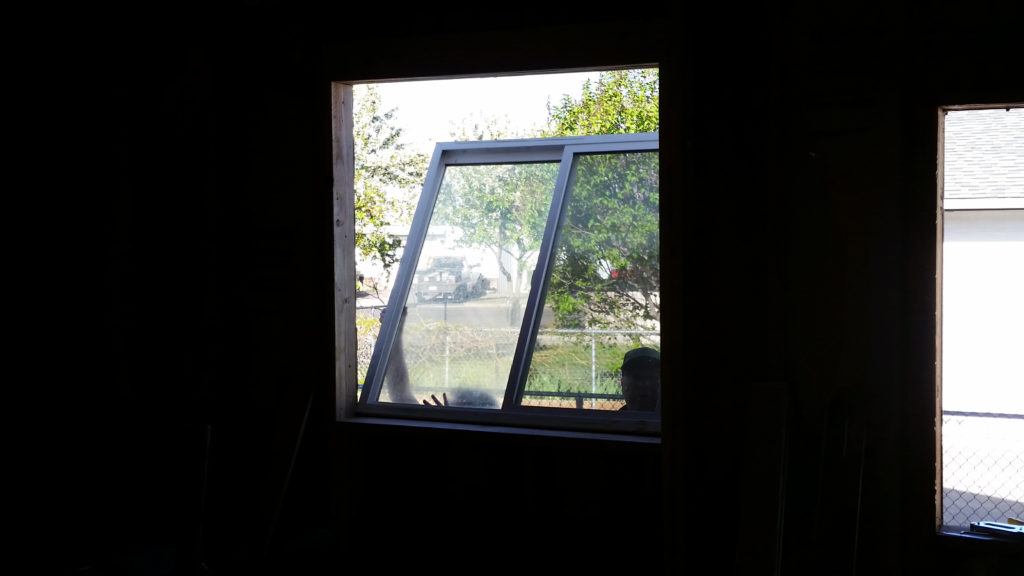
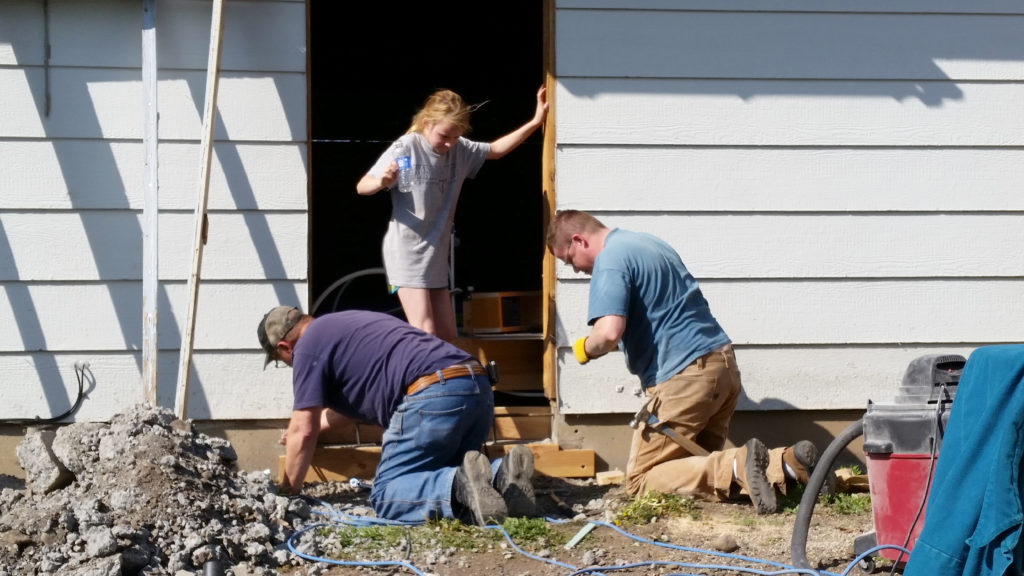
So, in order to work on the garage, we first had to gut it – we took some of the insulation out, removed all the fixtures, and took it down to bare bones. The insulation was in really good shape, so we saved it to reuse, but the rest went straight into a dumpster we had rented. Then we moved the original window further north so it would be in our bedroom, and we framed in the old window opening.
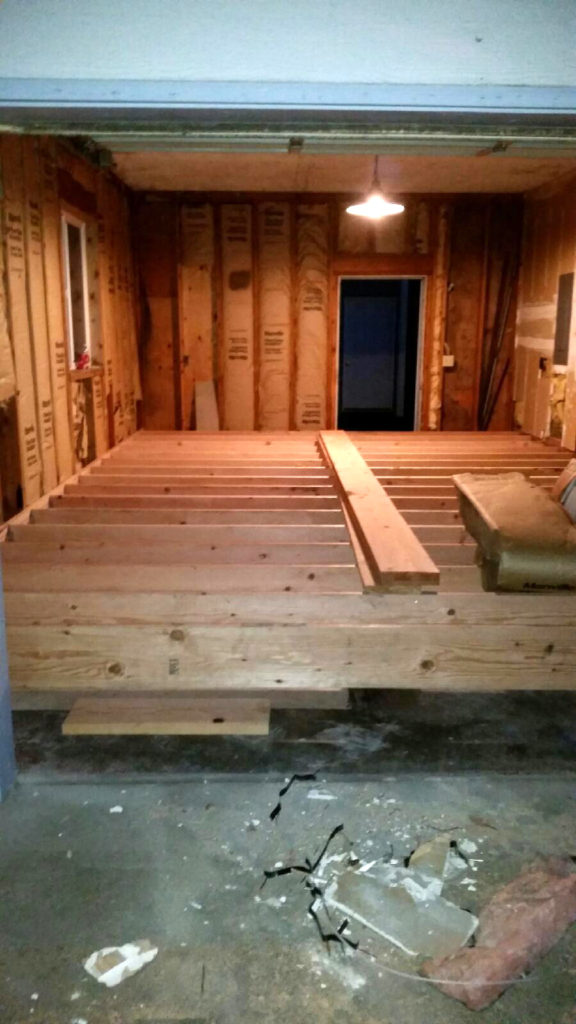
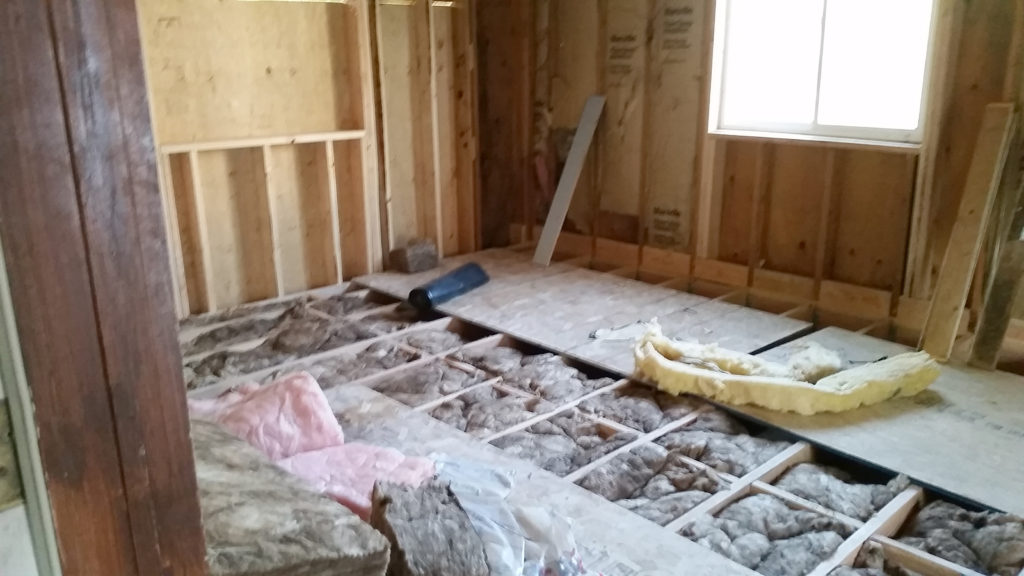
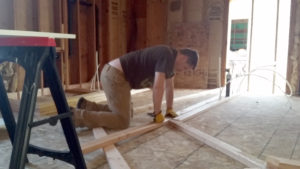
The other thing we had to do was raise the floor so it was at the same level as the house (about 18″) so the transition to the new space would be smooth and so we had space under the floor for all the new plumbing.
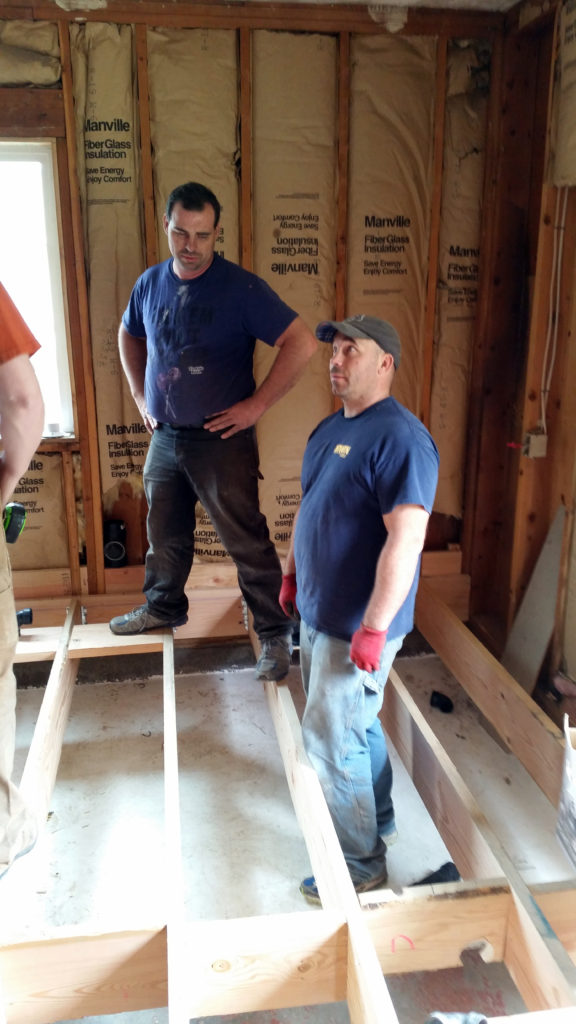
We absolutely could not have accomplished this remodel without the help from both Todd’s parents, Todd’s brother, Troy, my parents, and our friends Justin, Jamie, and Justin’s brother, Russel. Russel is a plumber, and he helped us re-route our water heater after we moved it, and he helped with all the new plumbing layout, as well. We are truly lucky to have had so much help and advice throughout the process!
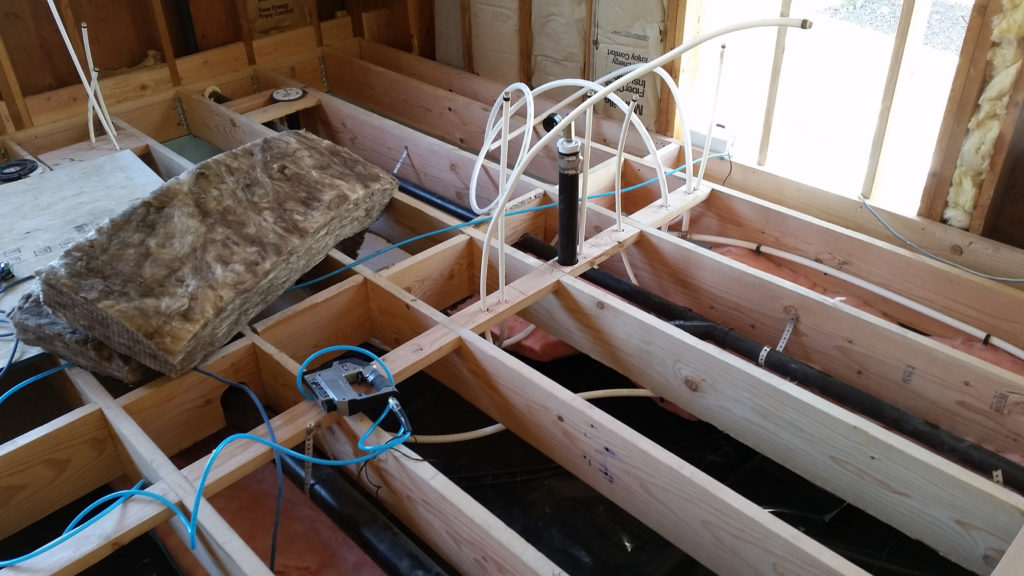
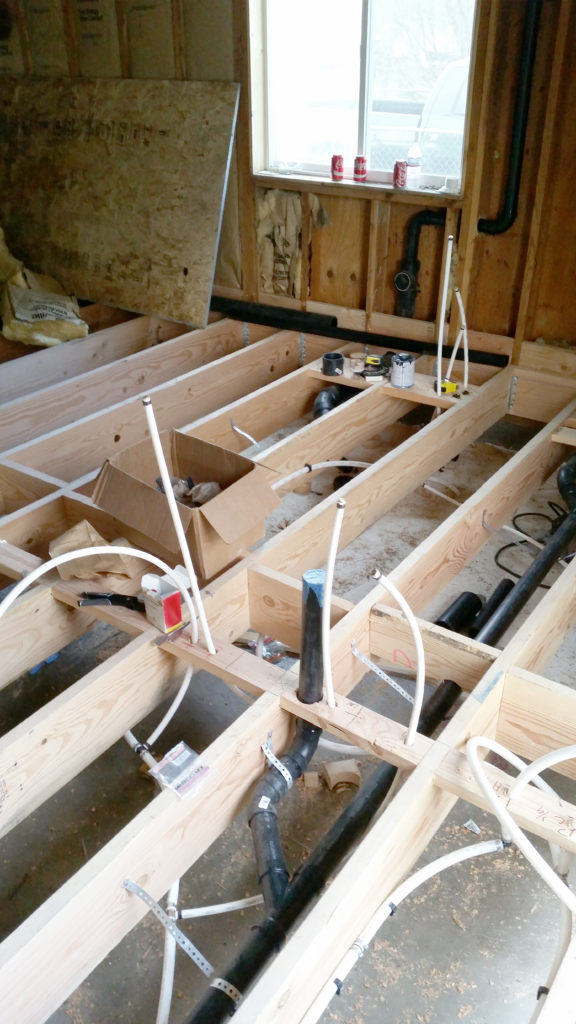
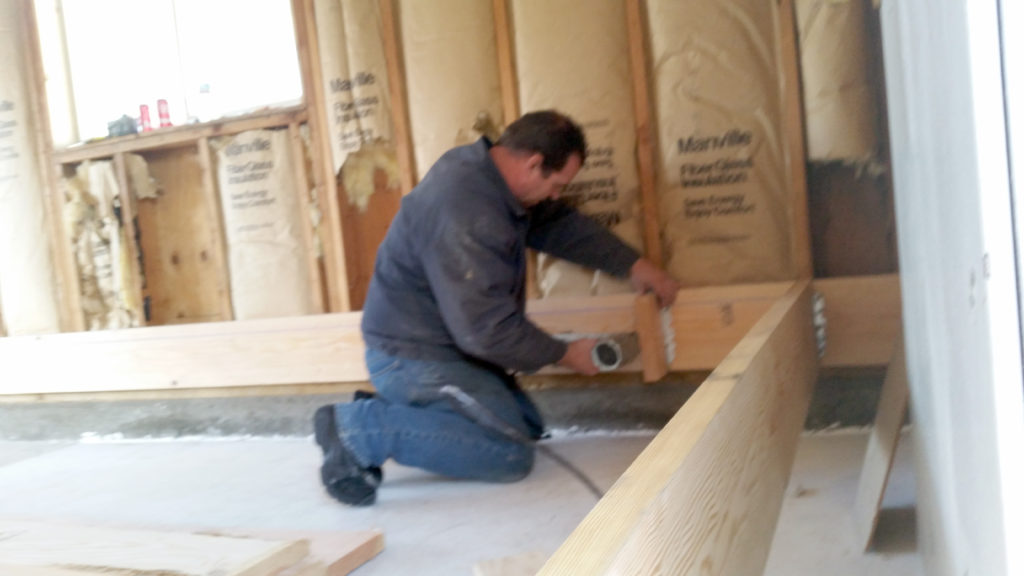
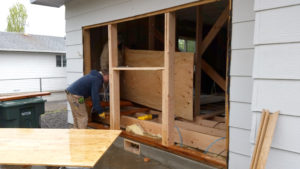
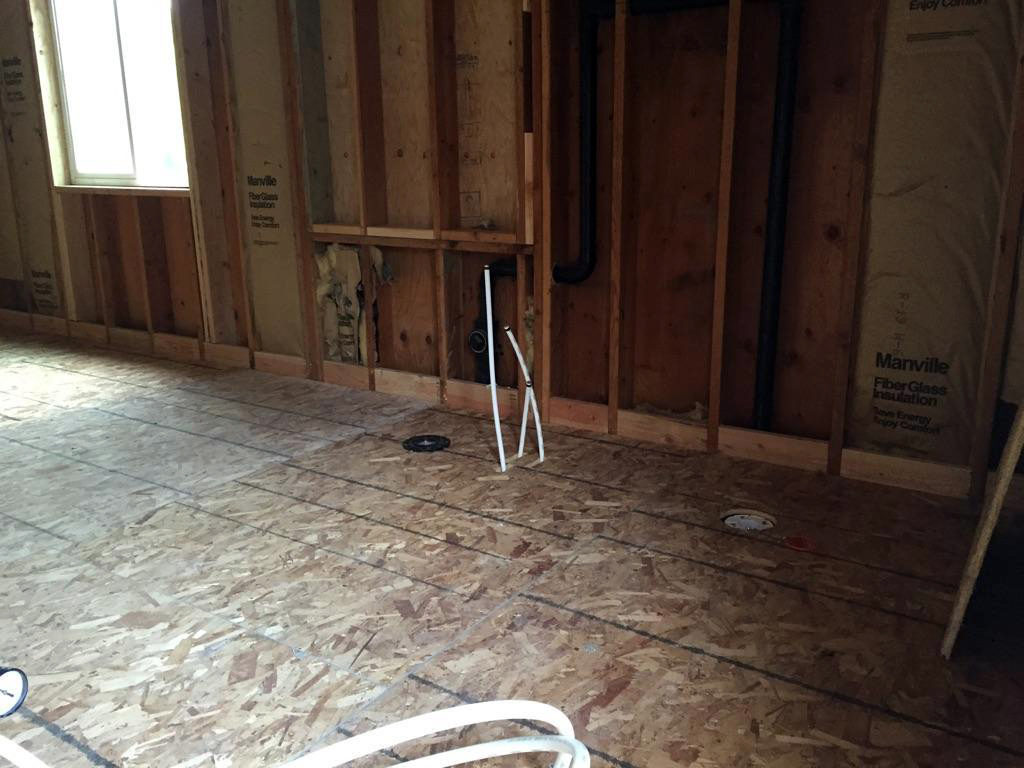
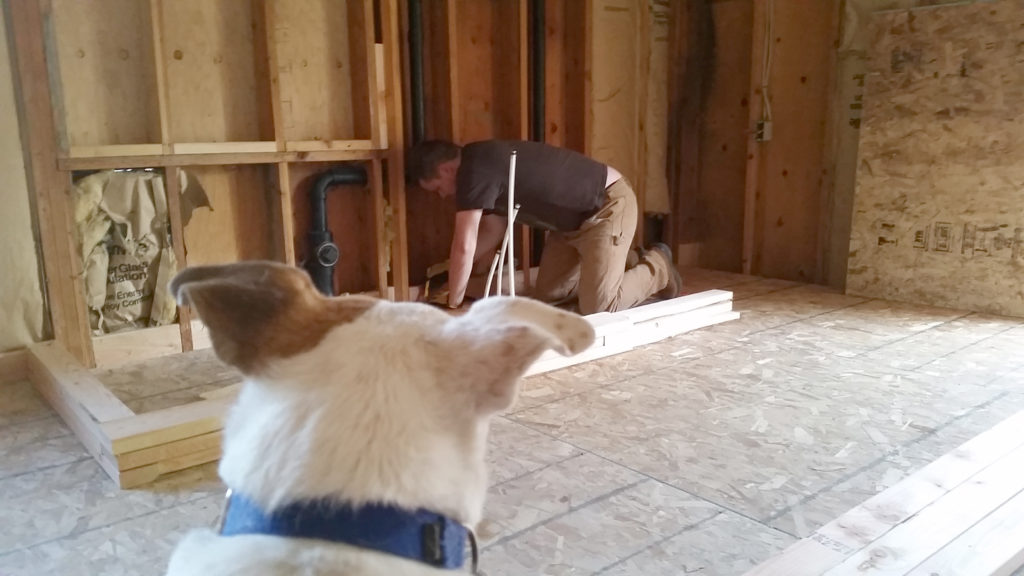
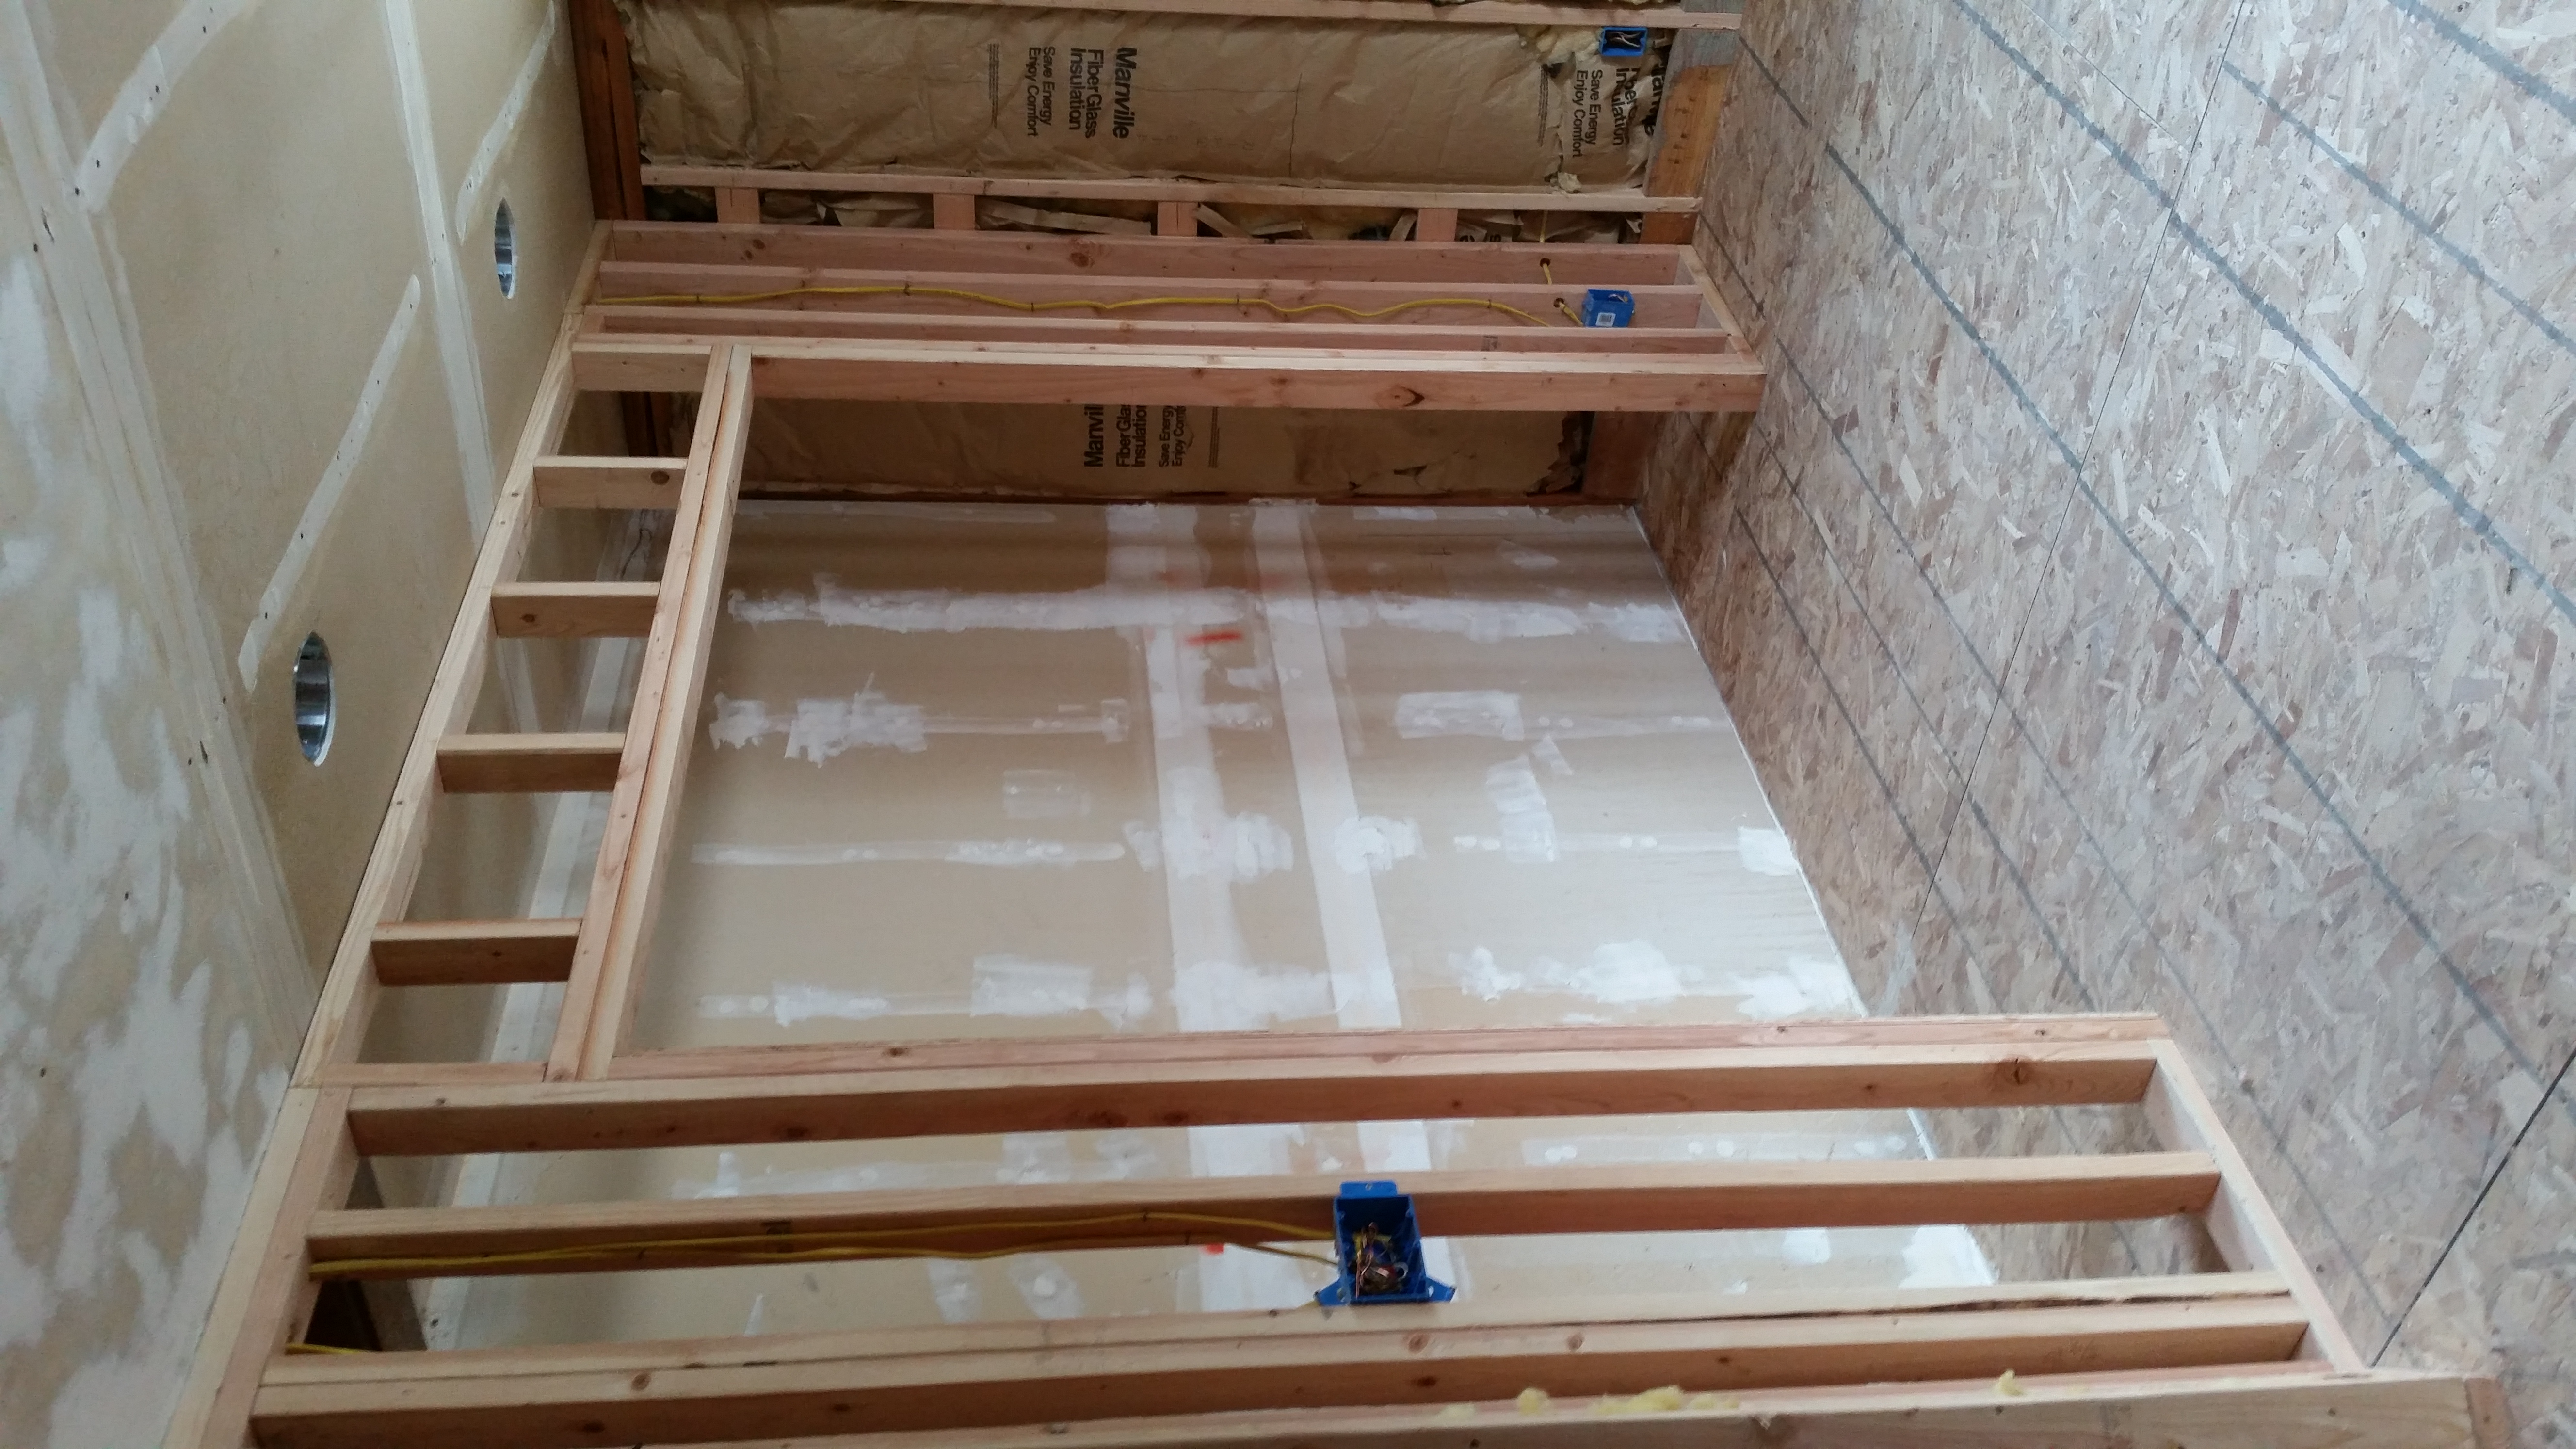
After most of the plumbing was finished, we framed in both the man-door and the roll-up garage door.
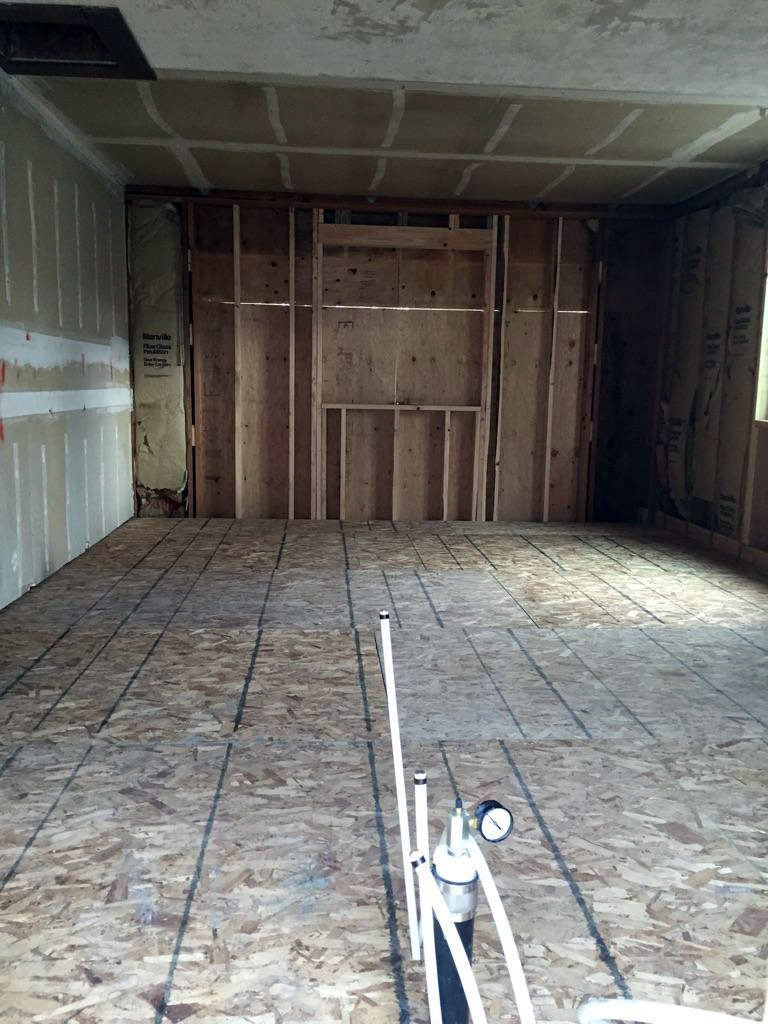
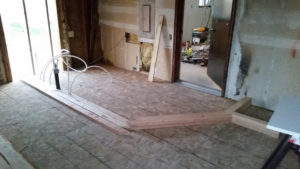
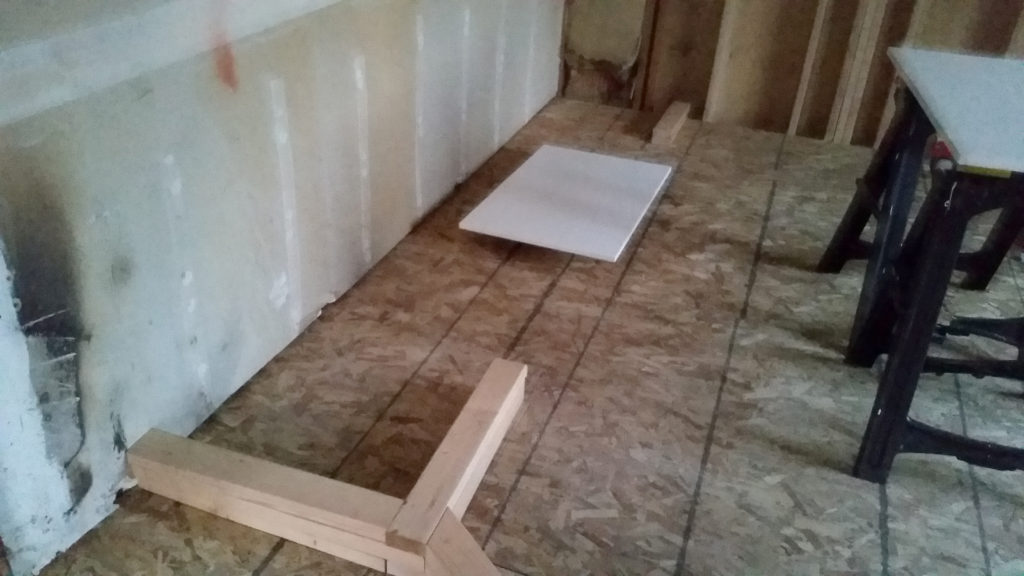
After the rough plumbing was finished and we passed inspection, we insulated the floor and started to lay the floor decking! I was really excited about this part because walking around was no longer hazardous (I’m super clumsy), and we didn’t have to try to balance precariously on the floor joists.
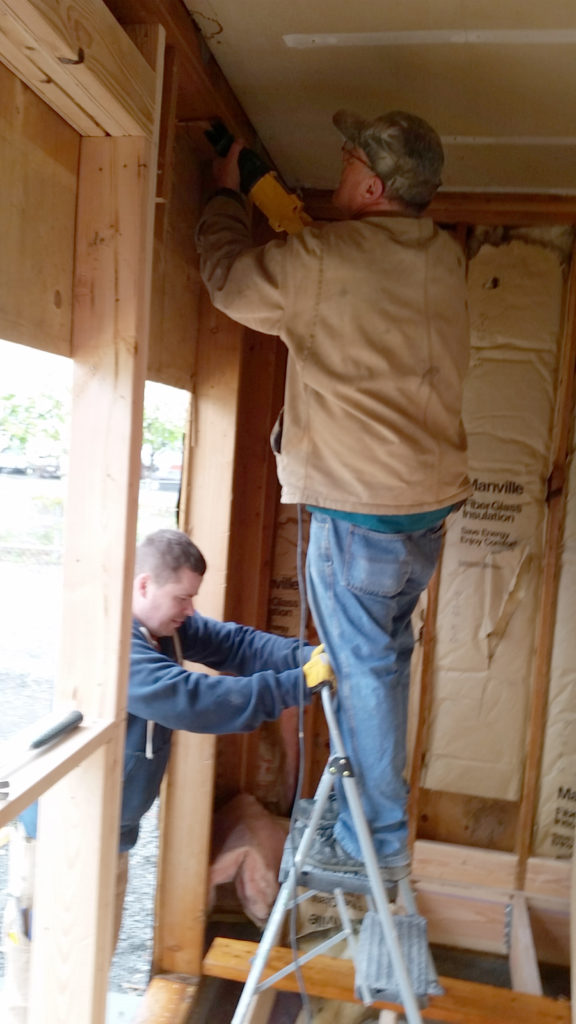
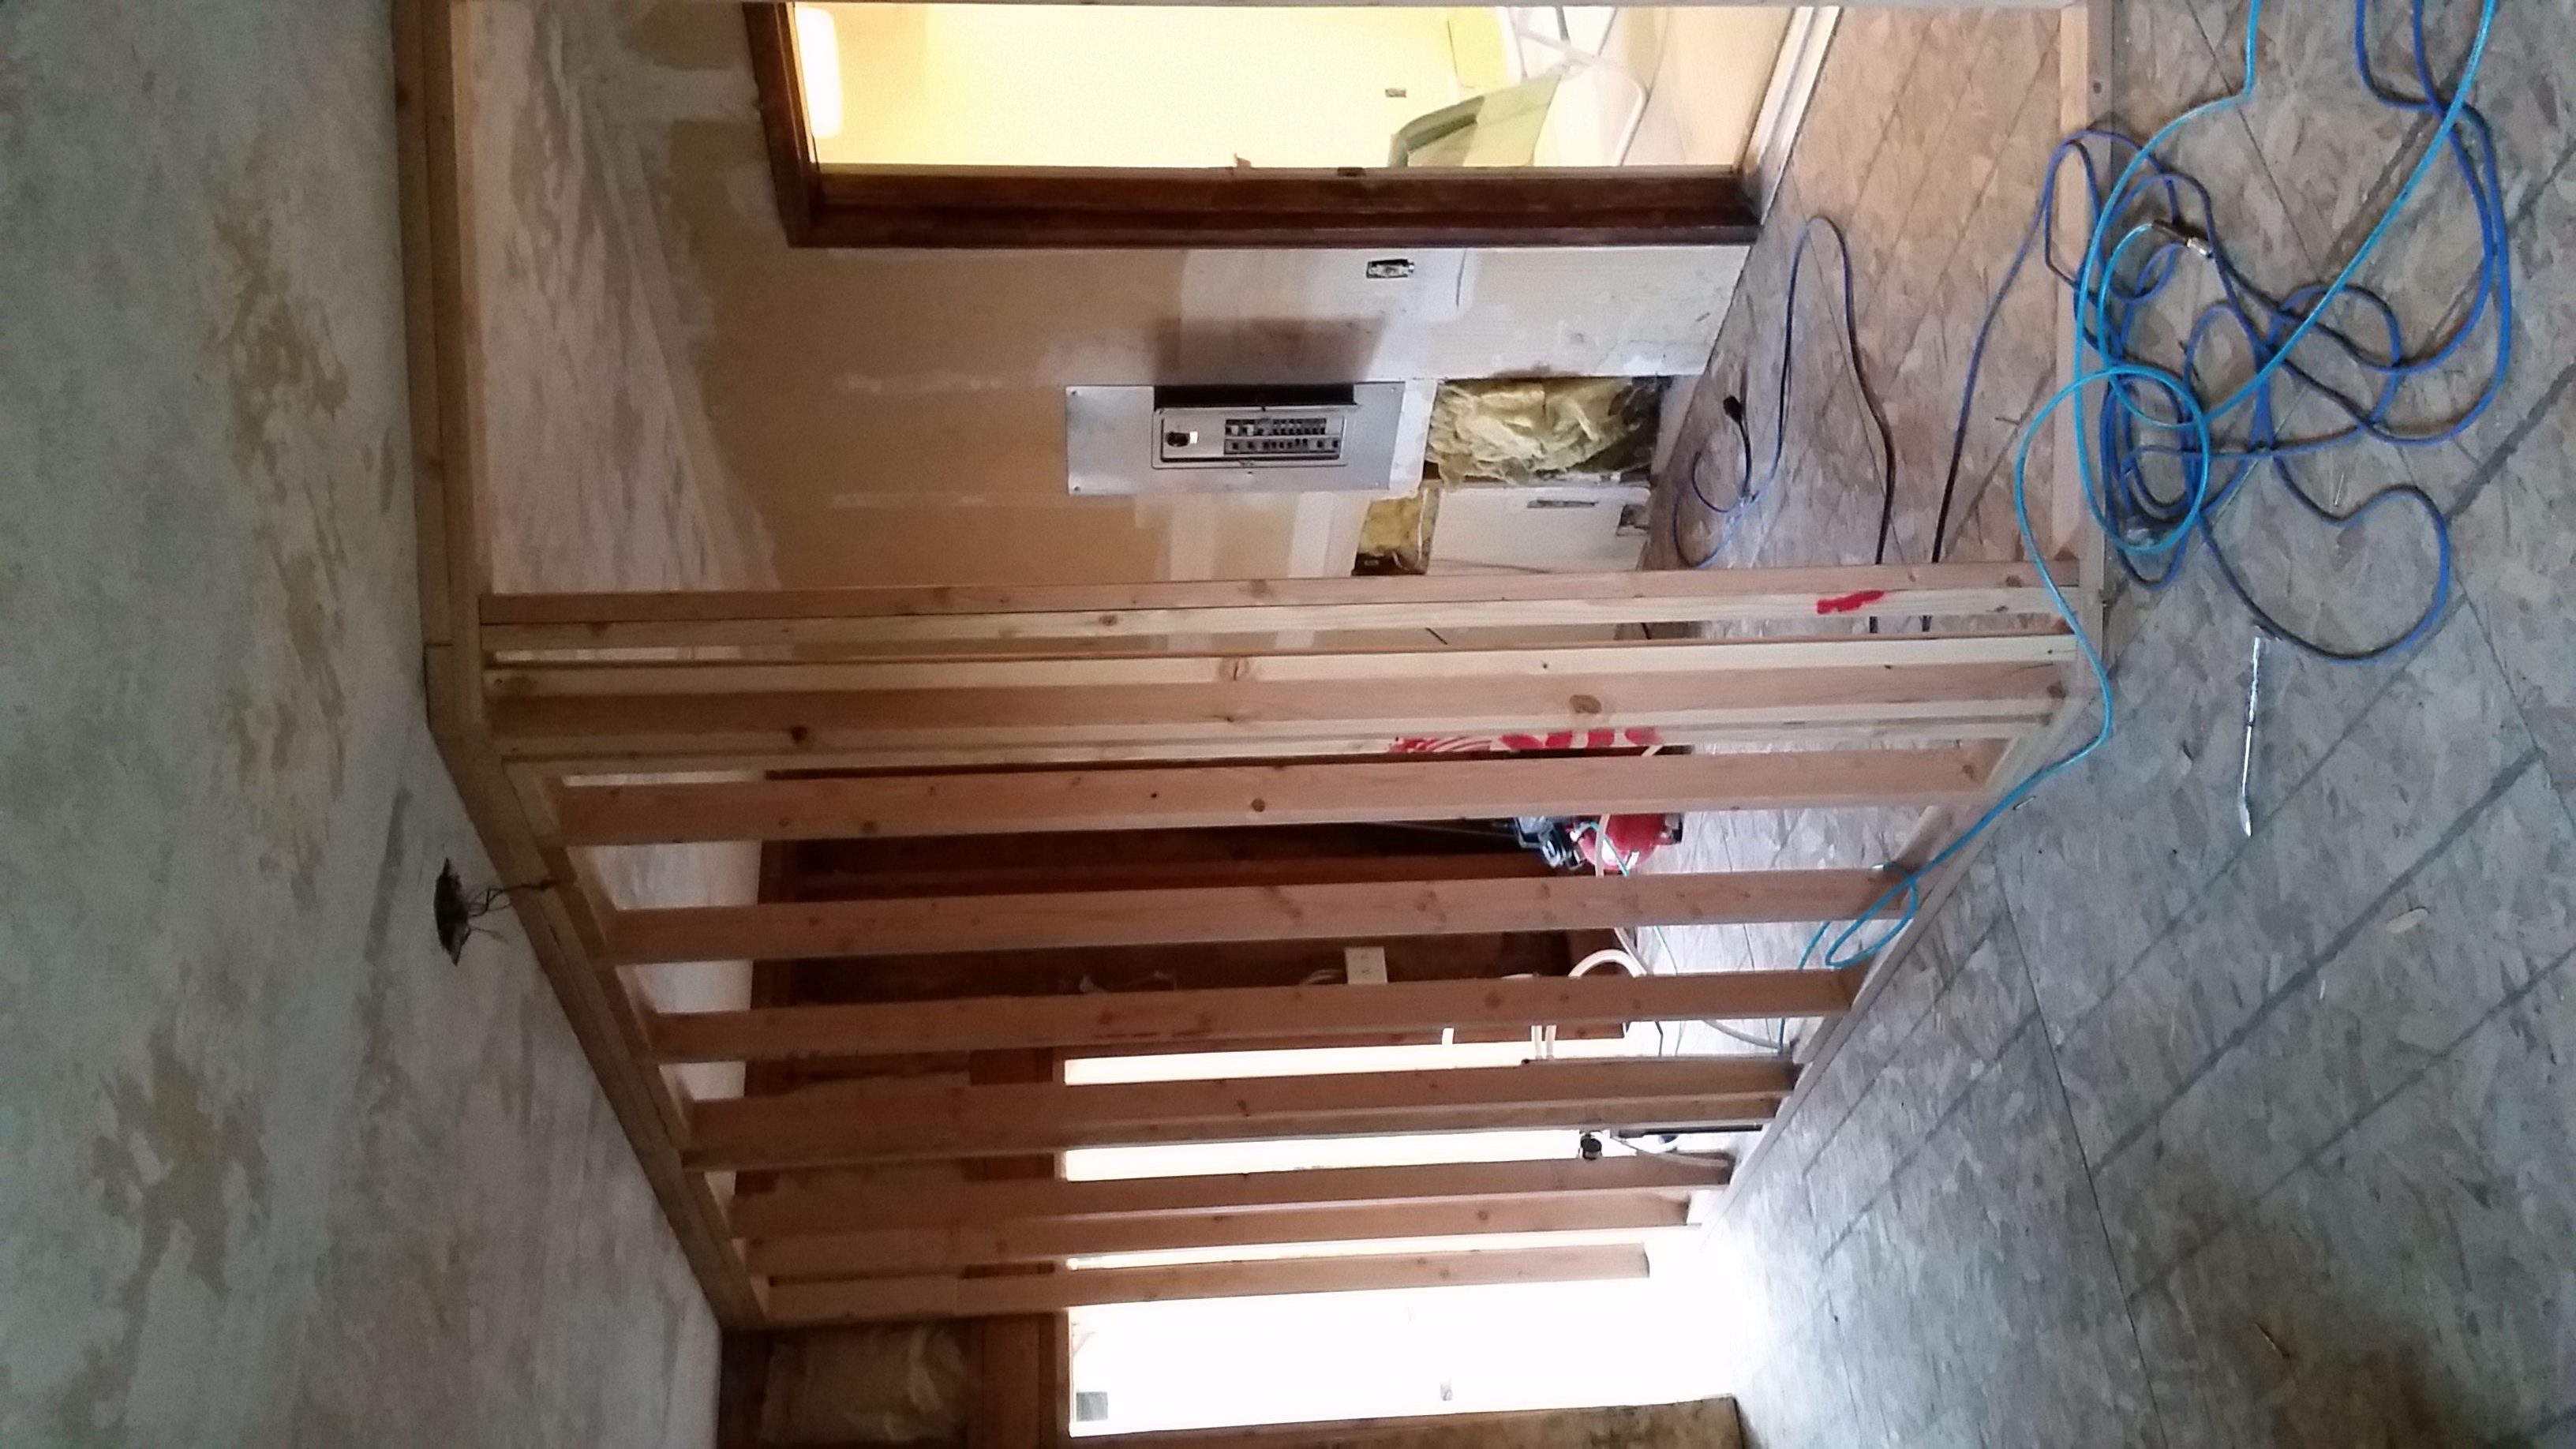
After the floor decking was installed, we were able to start framing up each of the rooms and design features! The laundry room and the master bathroom have a common wall with the plumbing in it.
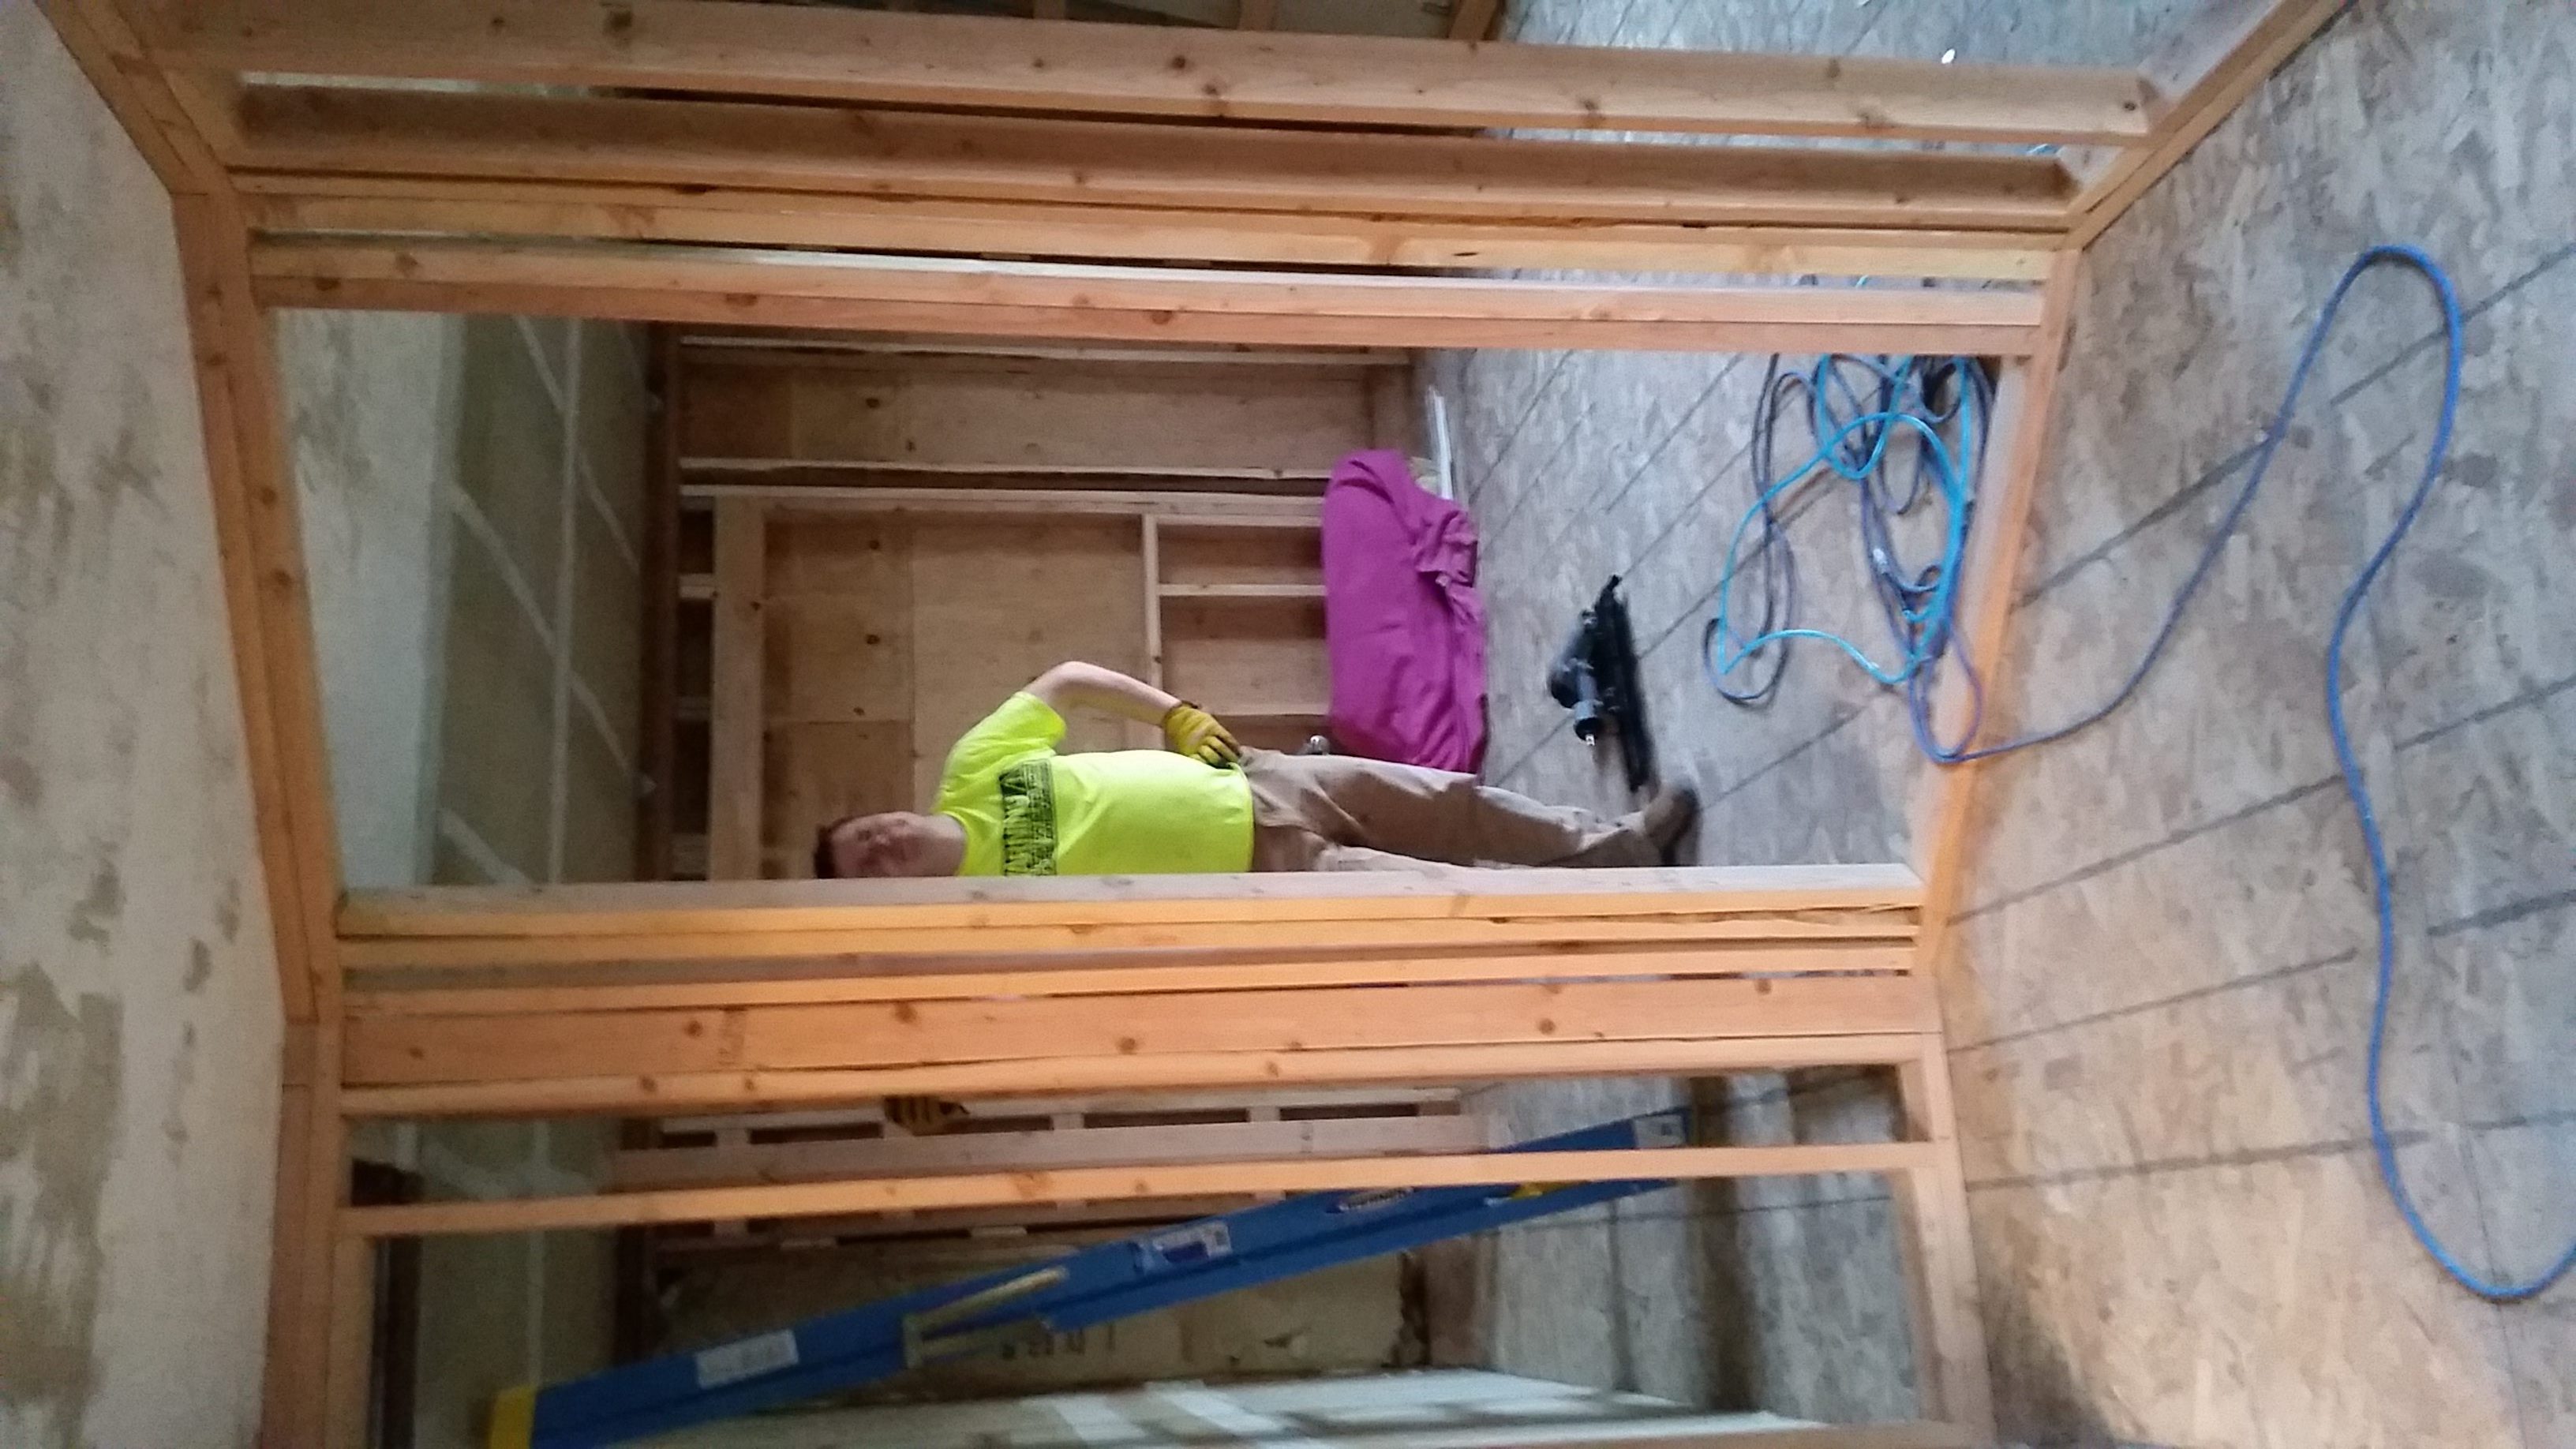
The master bathroom doesn’t have a door on it, instead, the toilet room has a pocket door, and our shower (the section Todd is in below) is a walk in. The floorspace between the shower/toilet wall and our counter is not very big, but it is perfect for us. Besides, as we joked during construction, it’s incentive to stay thin. 😉
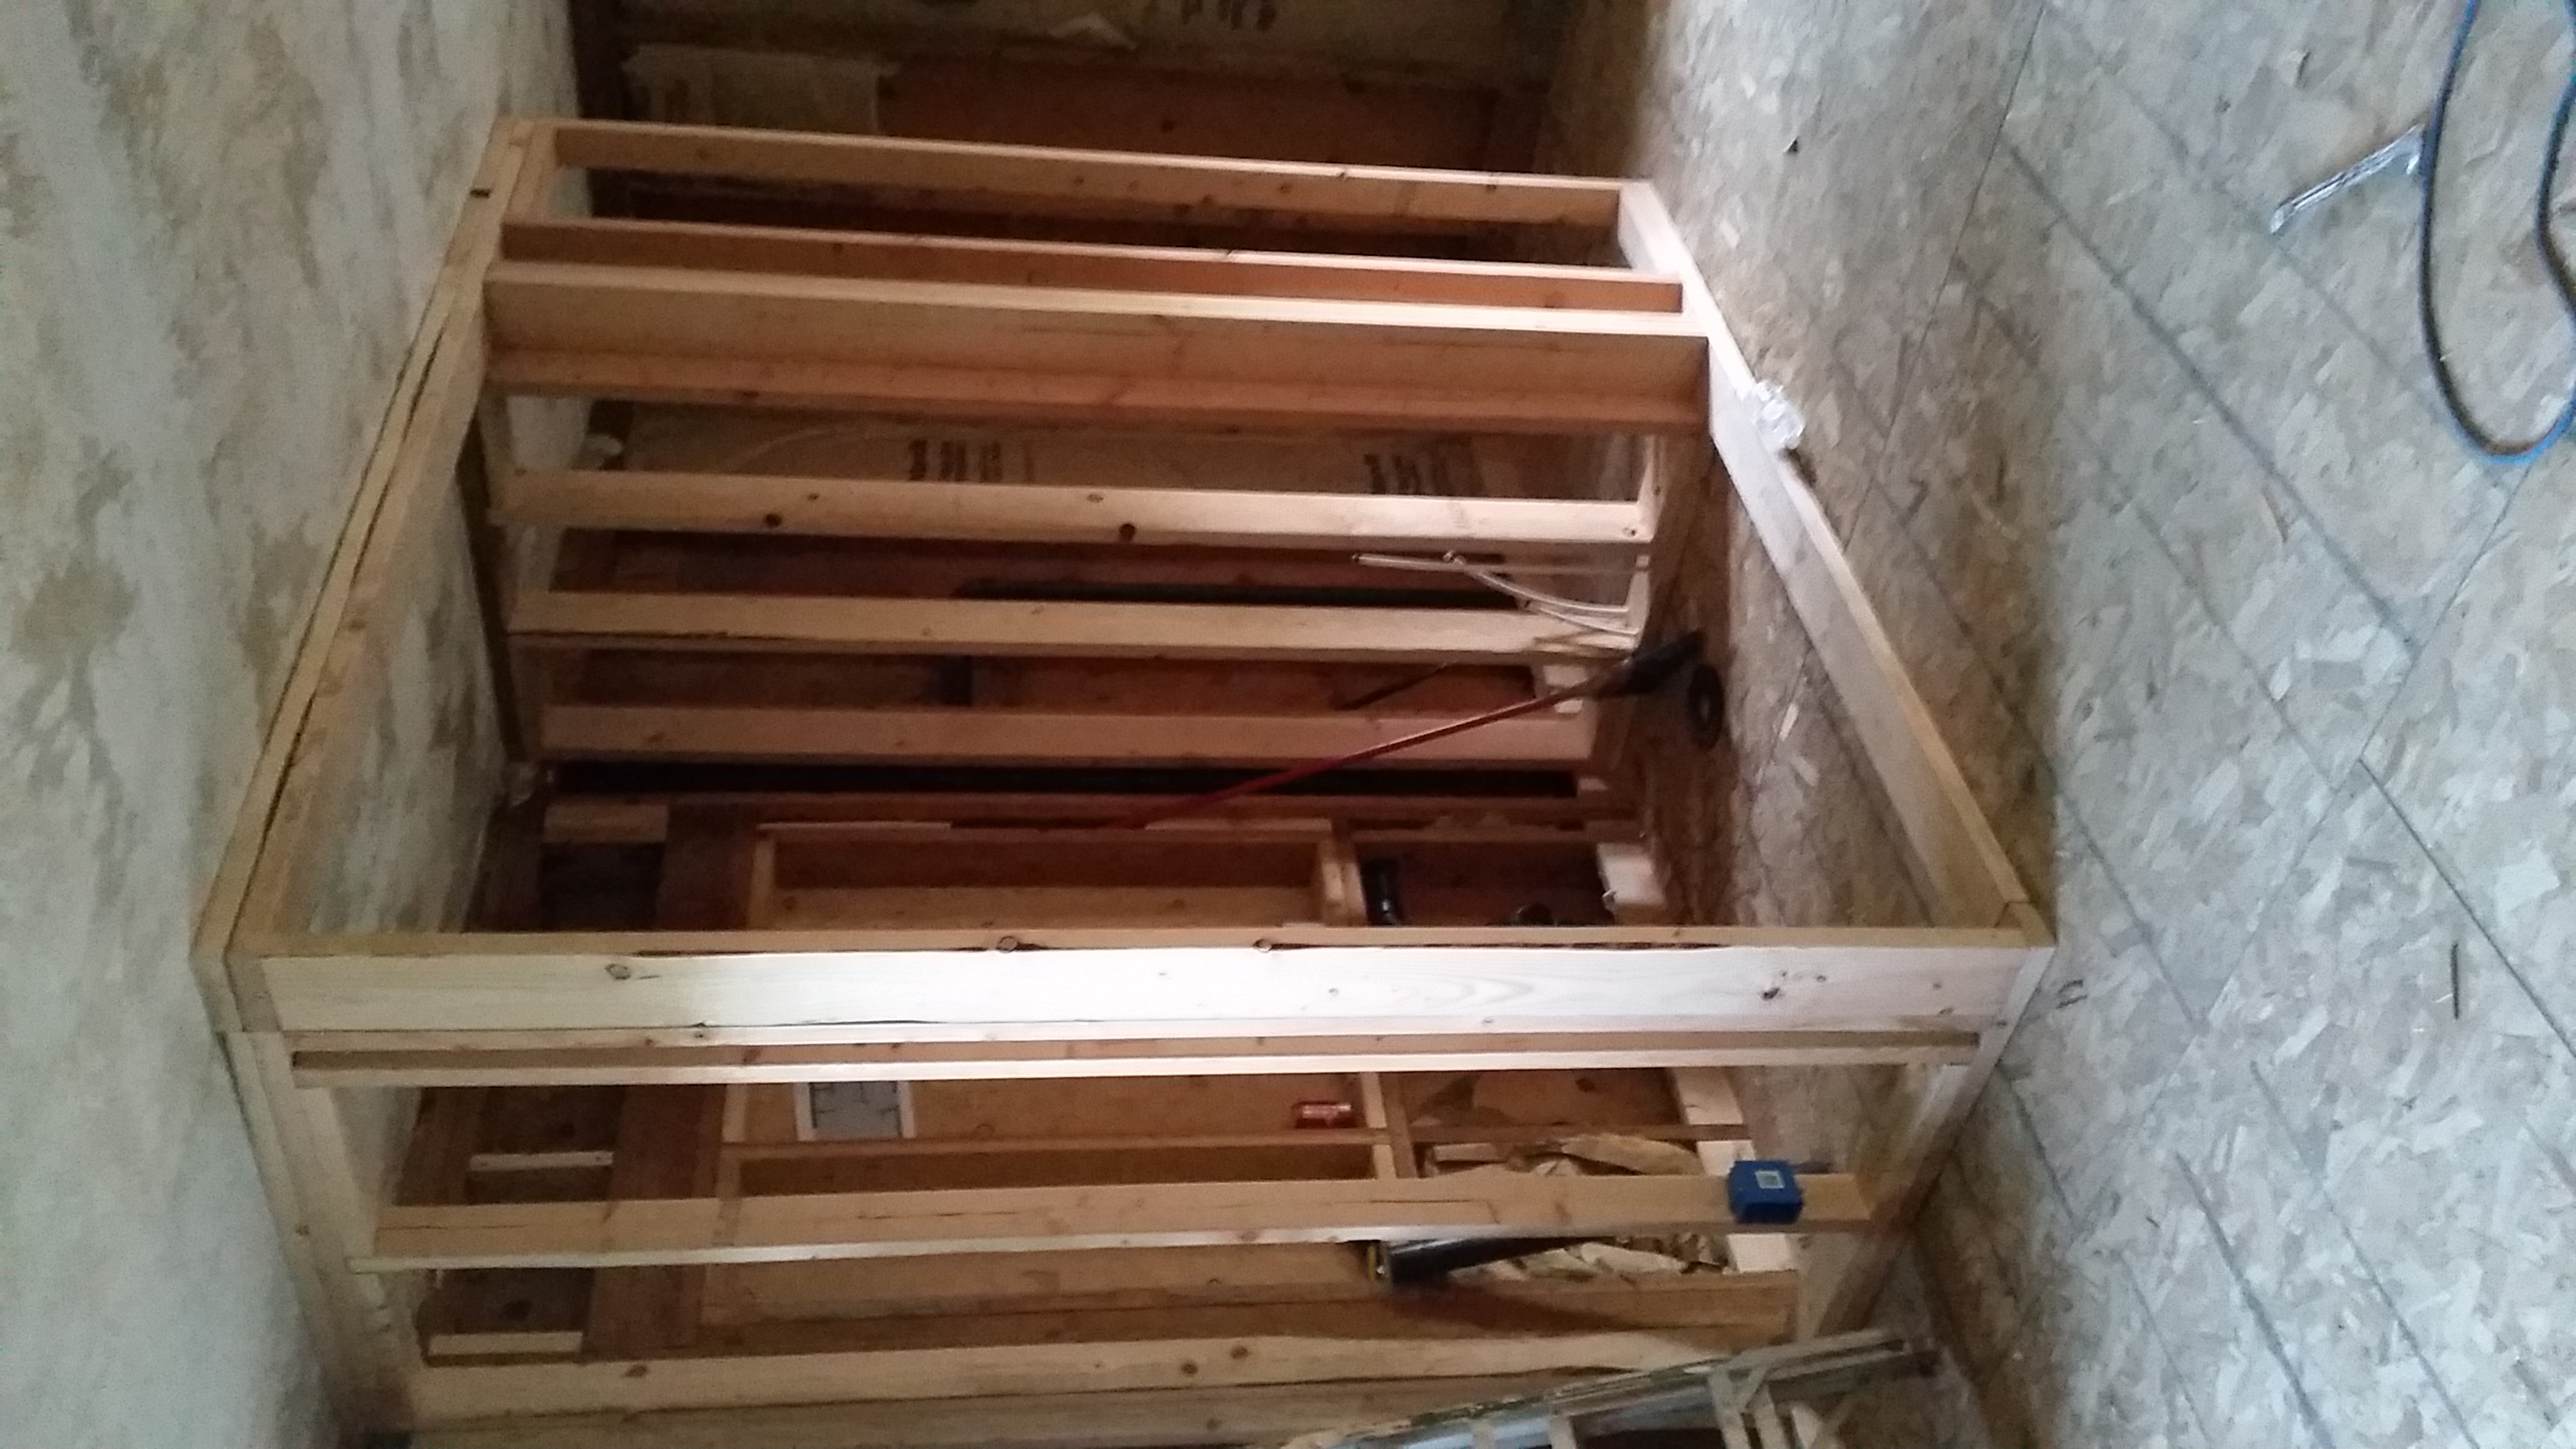

This is the master closet – it’s small, but we make it work. I actually like that I had to downsize to move in.
So, once the framing started, it was time for each individual room to be finished starting with sheetrock, tape, and texturing, and those posts will be coming soon! Thank you for following along with this process!

Nature Girl. Mom. Wife. Friend. Photographer. Sewer. Crafter. Artist.
To borrow a phrase – “Yeet Ye Riche”

One thought on “The Garage”
Comments are closed.